MediaWiki is a wiki application written in PHP that the Wikimedia Foundation developed to run several of their projects. The encyclopedia Wikipedia is the most popular of these projects.
A wiki is a type of website that allows its users to create and edit content in a collaborative manner. It can be used in several ways, including as a knowledge base, documentation library, community website, or company intranet.
These kinds of websites are especially useful in contexts where several people need to create and modify pages in a quick and easy way.
This guide will show you how to install and set up the application, giving you the basis to deploy your own wiki site.
We will use the domain name “mediawiki.example.com” in this guide. Replace it with the domain name or IP address you have configured on your server.
Step 1 – Install LAMP Server
First, you will need to install the Apache, MariaDB, PHP and other PHP extensions to your server. You can install all of them using the following command:
apt-get install apache2 mariadb-server php libapache2-mod-php php-mbstring php-xml php-json php-mysql php-curl php-intl php-gd php-mbstring texlive imagemagick unzip -y
Once all the packages are installed, you can proceed to create a database.
Step 2 – Create a Database
Next, login to the MariaDB shell with the following command:
mysql
Once you are login, create a database and user for MediaWiki with the following command:
CREATE DATABASE mediawiki;
GRANT ALL PRIVILEGES ON mediawiki.* TO 'wikiuser'@'localhost' IDENTIFIED BY 'password';
Next, flush the privileges and exit from the MariaDB with the following command:
flush privileges;
exit;
At this point, your MariaDB database is created.
Step 3 – Download MediaWiki
Next, you will need to download the latest version of MediaWiki to the Apache web root directory. You can download it with the following command:
wget https://releases.wikimedia.org/mediawiki/1.35/mediawiki-1.35.2.zip
Once the download is completed, unzip the downloaded file with the following command:
unzip mediawiki-1.35.2.zip
Next, move the extracted directory to the Apache web root directory:
mv mediawiki-1.35.2 /var/www/html/mediawiki
Next, you will need to install Composer in your system. You can install it with the following command:
apt-get install composer -y
Once the Composer is installed, change the directory to the MediaWiki and install all PHP dependencies using the following command:
cd /var/www/html/mediawiki
composer install --no-dev
Once all the dependencies are installed, set proper permission to the MediaWiki with the following command:
chown -R www-data:www-data /var/www/html/mediawiki
Step 4 – Configure Apache for MediaWiki
Next, create an Apache virtual host configuration file for MediaWiki with the following command:
nano /etc/apache2/sites-available/mediawiki.conf
Add the following lines:
<VirtualHost *:80>
    ServerAdmin admin@example.com
    DocumentRoot /var/www/html/mediawiki/
    ServerName mediawiki.example.com

    <Directory /var/www/html/mediawiki/>
        Options FollowSymLinks
        AllowOverride All
        Order allow,deny
        allow from all
    </Directory>

    ErrorLog /var/log/apache2/mediawiki_error
    CustomLog /var/log/apache2/mediawiki_access common
</VirtualHost>
Save and close the file then enable the virtual host file and restart the Apache service with the following command:
a2ensite mediawiki.conf
systemctl reload apache2
Step 5 – Access MediaWiki
Now, open your web browser and access the MediaWiki installation page using the URL http://mediawiki.example.com.
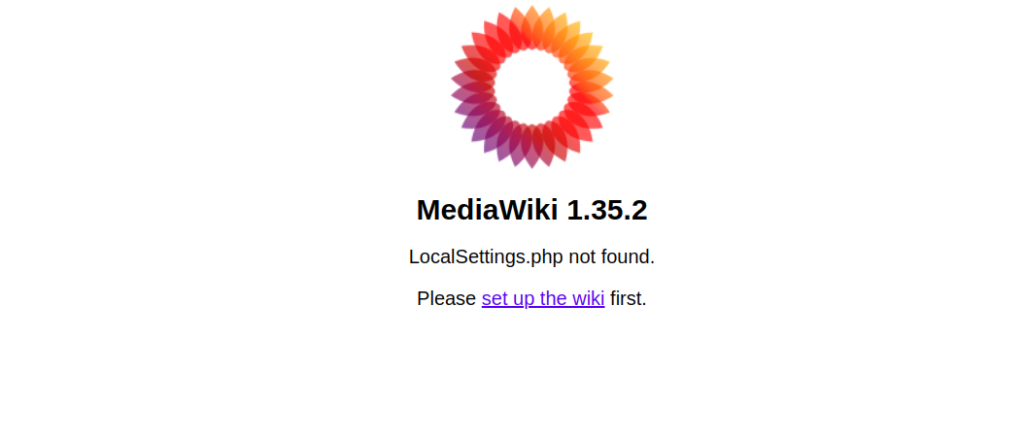
MediaWiki will now show its version. It will also say “LocalSettings.php not found”. We’ll be creating that file based on the next few steps. Get started by clicking on the link to “set up the wiki”.
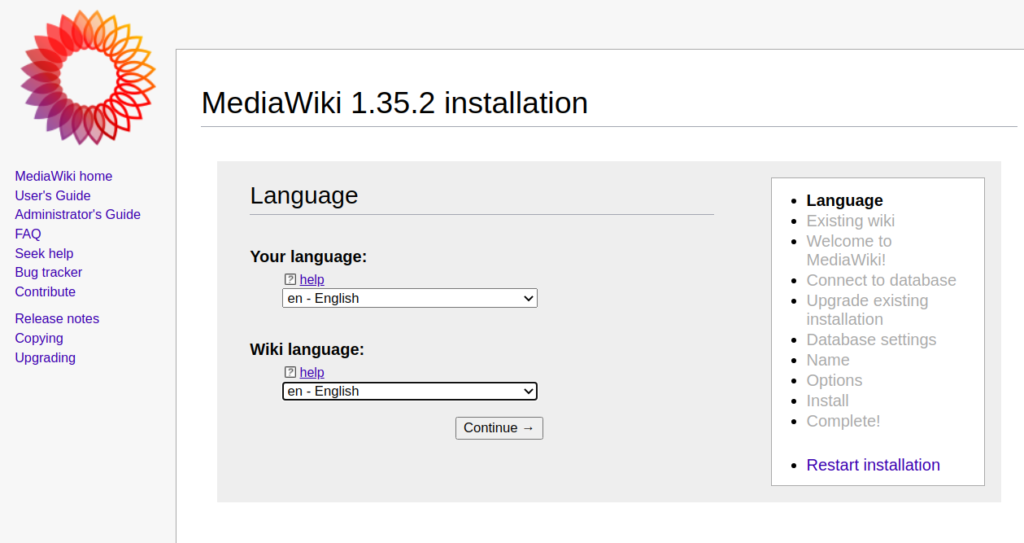
On this page, you can choose the language for your wiki. Select your preferred options and click “Continue”. You should see the following page:
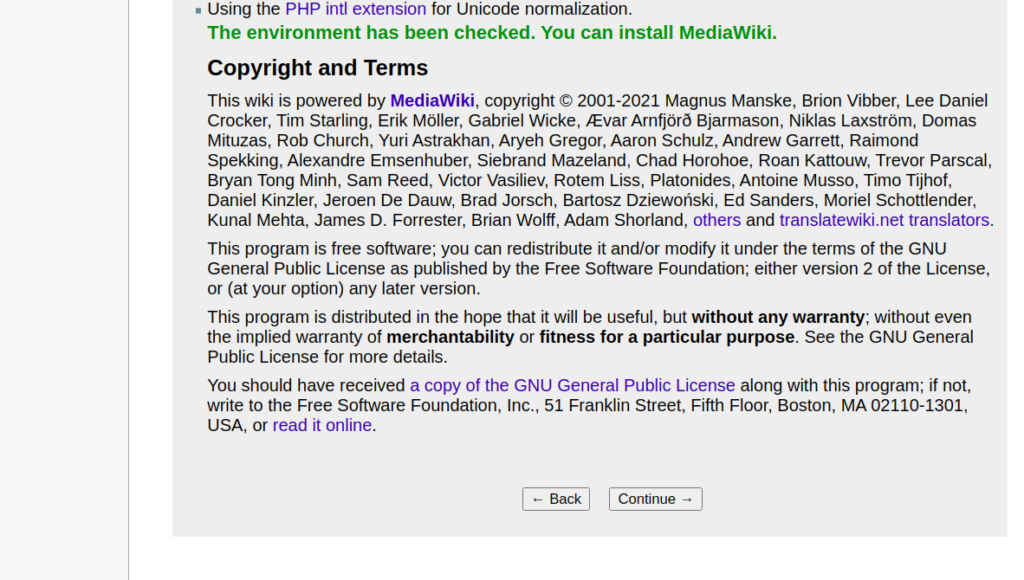
At this point, MediaWiki performs several checks before proceeding with the configuration.
If all is OK, the message “The environment has been checked. You can install MediaWiki” will appear. Press “Continue” to advance to the next step.
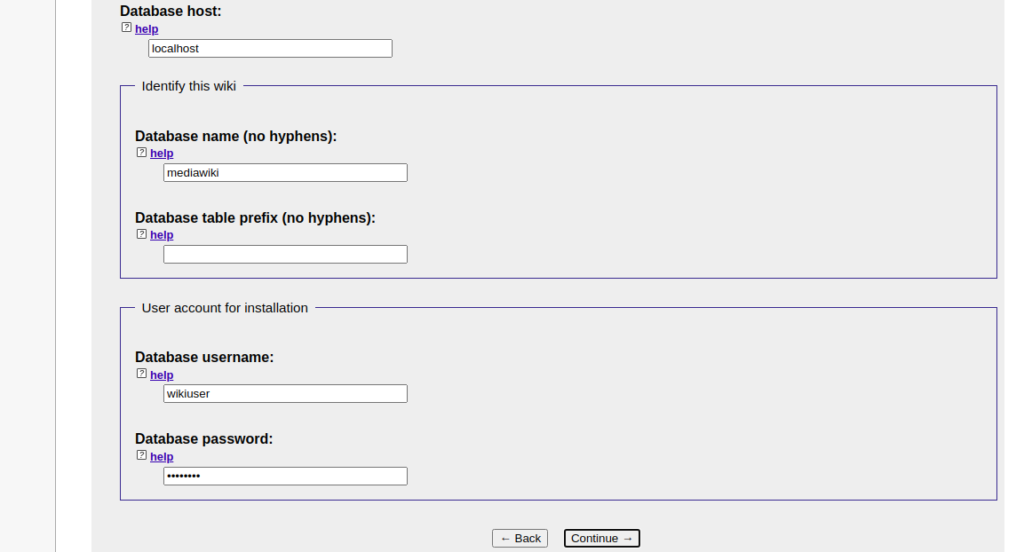
Provide your database details and click on the Continue button. You should see the following page:
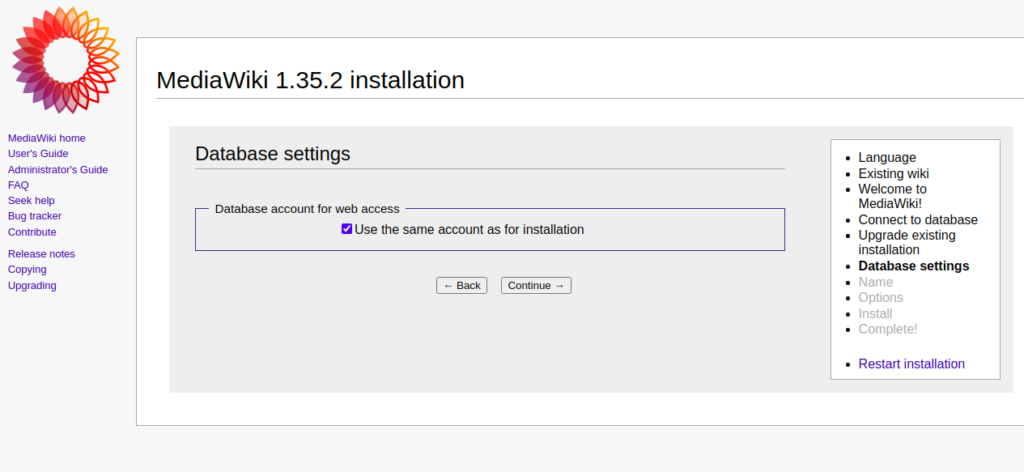
Uncheck “Use the same account as for installation” and click on the Continue button. You should see the following page:
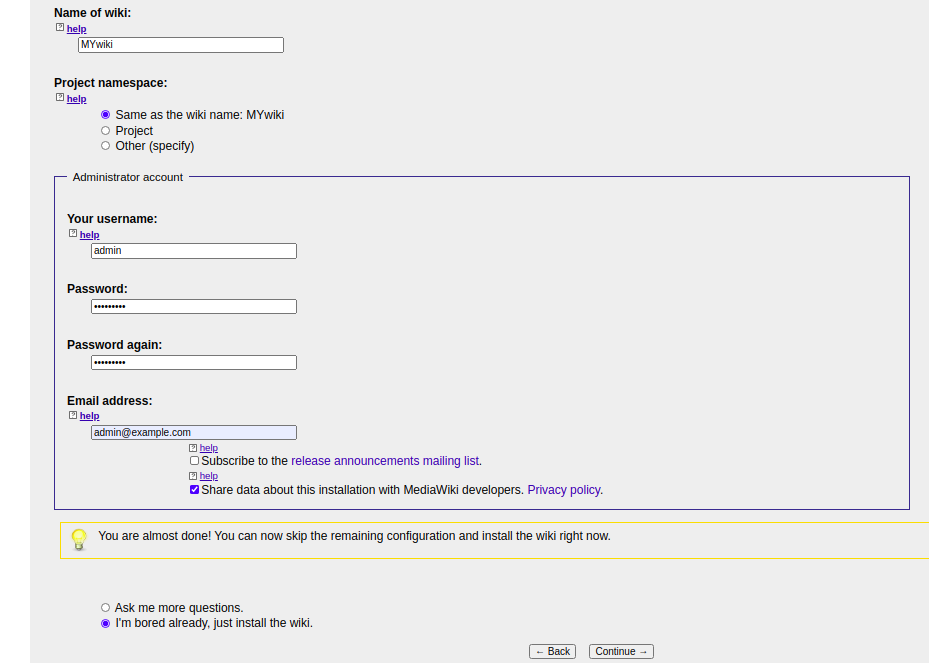
Provide your sitename, admin username, password and click on the Continue button. You should see the following page:
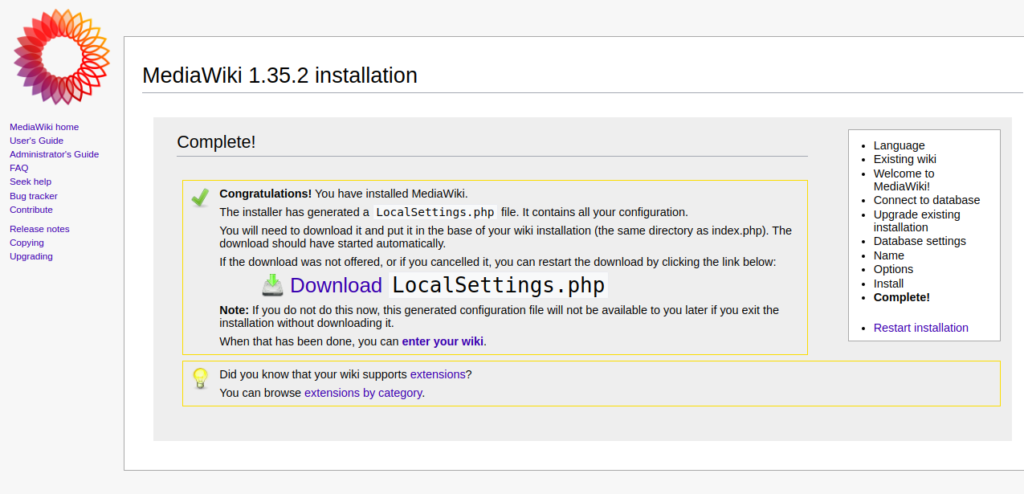
Now, download the “LocalSettings.php” file to your system and copy it to the /var/www/html/mediawiki directory over the SSH. Then, set the correct ownership using the following command:
chown www-data:www-data /var/www/html/mediawiki/LocalSettings.php
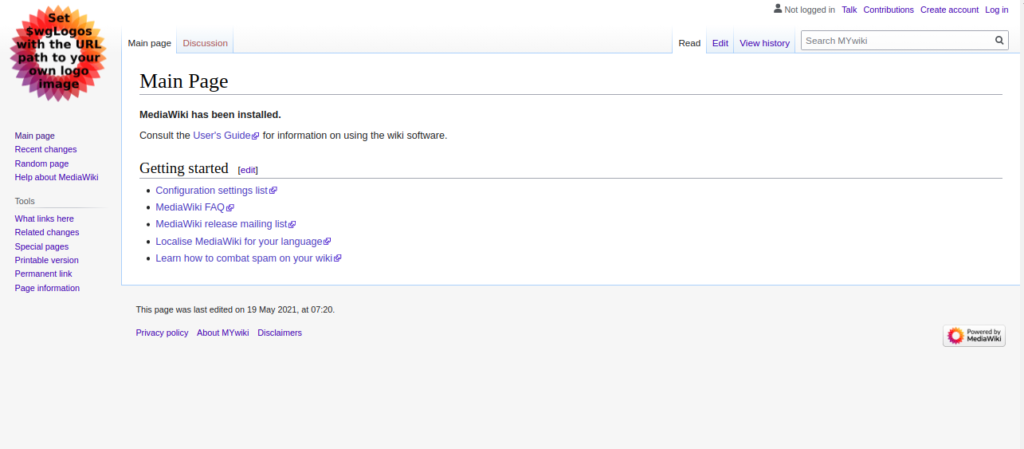
Once you have completed this last step, back in your browser click the “enter your wiki” link. You will be redirected to the MediaWiki dashboard:
More Resources
The default main page of your wiki includes several useful links where you can learn more about all the features included with MediaWiki and the ways to use it.
An excellent starting point is the MediaWiki User’s Guide.
Thank you for following along this how-to, please check out our other related articles at the bottom of the page.
* This post is for informational purposes only and does not constitute professional, legal, financial, or technical advice. Each situation is unique and may require guidance from a qualified professional.
Readers should conduct their own due diligence before making any decisions.