NetBox, an open-source web application designed to manage and document computer networks, stands as an invaluable tool for network engineers and administrators. With its intuitive interface and robust feature set, NetBox simplifies network infrastructure management, offering functionalities such as IP address management (IPAM), device inventory, circuit tracking, and more.
This guide outlines the step-by-step process to install NetBox on Ubuntu 24.04.
Step 1 – Install PostgreSQL Server
NetBox uses PostgreSQL as a database engine, so you must install it on your server. You can install it with the following command.
apt update -y
apt install postgresql postgresql-contrib -y
Next, verify the PostgreSQL service.
systemctl status postgresql
Output.
● postgresql.service - PostgreSQL RDBMS
     Loaded: loaded (/usr/lib/systemd/system/postgresql.service; enabled; preset: enabled)
     Active: active (exited) since Wed 2025-05-14 04:44:25 UTC; 1 day 8h ago
   Main PID: 1444 (code=exited, status=0/SUCCESS)
        CPU: 1ms

May 14 04:44:25 ubuntu systemd[1]: Starting postgresql.service - PostgreSQL RDBMS...
May 14 04:44:25 ubuntu systemd[1]: Finished postgresql.service - PostgreSQL RDBMS.
Next, login to PostgreSQL.
sudo -i -u postgres psql
Create a database and user for Netbox.
CREATE DATABASE netbox;
CREATE USER netbox WITH PASSWORD 'password';
ALTER DATABASE netbox OWNER TO netbox;
Exit from the PostgreSQL shell.
\q
Step 2 – Install Redis
NetBox uses Redis for caching, so you will need to install it on your server. You can install it using the following command.
apt install redis -y
You can verify the Redis installation using the following command.
redis-server -v
Output.
Redis server v=7.0.15 sha=00000000:0 malloc=jemalloc-5.3.0 bits=64 build=3ec7bf4ec5bfafb8
Next, edit the Redis configuration file.
nano /etc/redis/redis.conf
Change the following line to enable Redis authentication.
requirepass password
Save the file then restart the Redis to apply the changes.
systemctl restart redis-server
Step 3 – Install Netbox
First, install all required dependencies.
apt install -y python3 python3-pip python3-venv python3-dev build-essential libxml2-dev libxslt1-dev libffi-dev libpq-dev libssl-dev zlib1g-dev
Next, create a directory for NetBox.
mkdir -p /opt/netbox/
Then, change the directory to NetBox and download the latest version of NetBox from the Git repo.
cd /opt/netbox
git clone -b master --depth 1 https://github.com/netbox-community/netbox.git .
git config --global --add safe.directory /opt/netbox
Next, create a user and group for NetBox.
adduser --system --group netbox
Change the ownership of the NetBox directory.
chown --recursive netbox /opt/netbox
chown --recursive netbox /opt/netbox/netbox/media/
Next, rename the NetBox sample configuration file.
cd /opt/netbox/netbox/netbox/
cp configuration_example.py configuration.py
Then, generate a secret key.
python3 ../generate_secret_key.py
Output.
3ChOm5a9!J)Ik*vxXNZBu&MdaQN545_Dyh93#PnII7uv_AeqNP
Next, edit the NetBox configuration file.
nano configuration.py
Change the following lines:
ALLOWED_HOSTS = ['netbox.example.com', '']

DATABASE = {
    'NAME': 'netbox',
    'USER': 'netbox',
    'PASSWORD': 'password',
    'HOST': 'localhost',
    'PORT': '',
    'CONN_MAX_AGE': 300,
}

REDIS = {
    'tasks': {
        'HOST': 'localhost',
        'PORT': 6379,
        'PASSWORD': 'password',
        'DATABASE': 0,
        'SSL': False,
    },
    'caching': {
        'HOST': 'localhost',
        'PORT': 6379,
        'PASSWORD': 'password',
        'DATABASE': 1,
        'SSL': False,

    }
}

SECRET_KEY = '3ChOm5a9!J)Ik*vxXNZBu&MdaQN545_Dyh93#PnII7uv_AeqNP'
Save and close the file, then install NetBox using the following command.
/opt/netbox/upgrade.sh
Step 4 – Create a Netbox Admin User
First, activate the NetBox virtual environment.
source /opt/netbox/venv/bin/activate
Next, create a superuser for NetBox.
cd /opt/netbox/netbox
python3 manage.py createsuperuser
Define your user and password as shown below.
Username (leave blank to use 'root'): nadmin
Email address: [email protected]
Password:
Password (again):
Superuser created successfully.
Next, create a symbolic link to the NetBox service file.
ln -s /opt/netbox/contrib/netbox-housekeeping.sh /etc/cron.daily/netbox-housekeeping
Step 5 – Start Netbox Server
You can now start the NetBox server using the following command.
python3 manage.py runserver 0.0.0.0:8000 --insecure
Output.
System check identified no issues (0 silenced).
May 15, 2025 - 13:15:59
Django version 5.0.10, using settings 'netbox.settings'
Starting development server at http://0.0.0.0:8000/
Quit the server with CONTROL-C.
Now, open your web browser and access NetBox using the URL http://netbox.example.com:8000. You will see the NetBox following page.
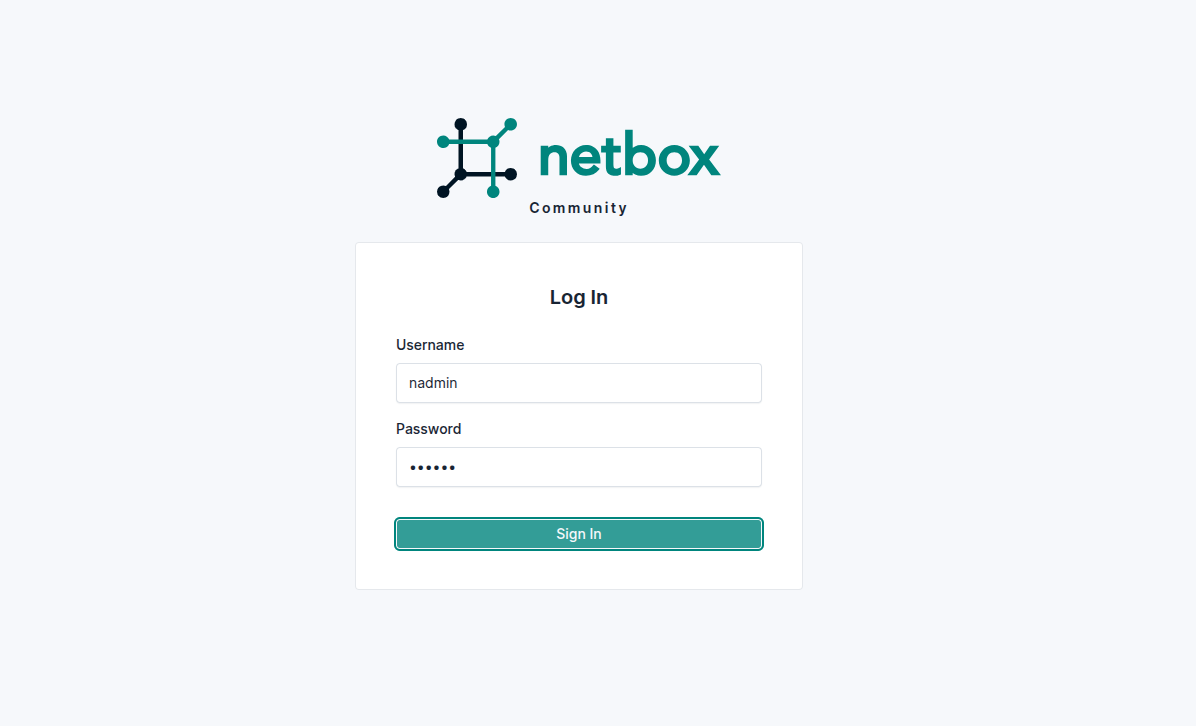
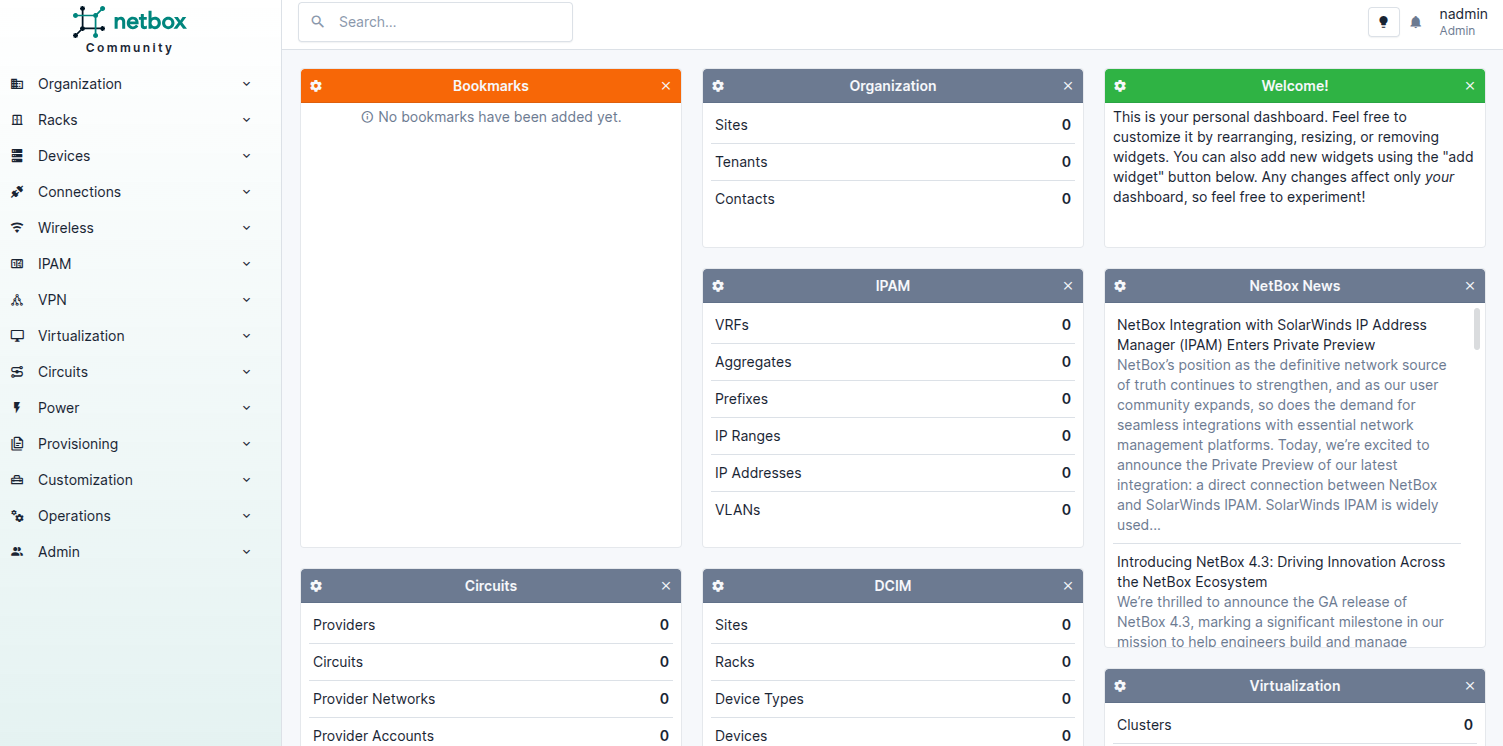
Provide your admin username and password and click on Sign In. You will see the NetBox dashboard on the following screen.
Finally, deactivate from the virtual environment using the following command.
deactivate
Step 6 – Create a Systemd Service File
By default, Netbox comes with a pre-built system file to manage the NetBox.
First, copy all required files to the desired location.
cp /opt/netbox/contrib/gunicorn.py /opt/netbox/gunicorn.py
cp -v /opt/netbox/contrib/*.service /etc/systemd/system/
GIve necessary permissions to /opt/netbox directory:
chmod -R 755 /opt/netbox
chown -R netbox:netbox /opt/netbox
Next, reload the systemd daemon to apply the changes.
systemctl daemon-reload
Next, start and enable the NetBox service.
systemctl start netbox netbox-rq
systemctl enable netbox netbox-rq
You can now verify the NetBox service using the following command.
systemctl status netbox
Output.
● netbox.service - NetBox WSGI Service
     Loaded: loaded (/etc/systemd/system/netbox.service; disabled; vendor preset: enabled)
     Active: active (running) since Thu 2025-05-15 03:20:32 UTC; 5s ago
       Docs: https://docs.netbox.dev/
   Main PID: 113448 (gunicorn)
      Tasks: 6 (limit: 4579)
     Memory: 506.7M
        CPU: 6.533s
     CGroup: /system.slice/netbox.service
             ├─113448 /opt/netbox/venv/bin/python3 /opt/netbox/venv/bin/gunicorn --pid /var/tmp/netbox.pid --pythonpath /opt/netbox/netbox --config /opt/netbox/gunicor>
             ├─113450 /opt/netbox/venv/bin/python3 /opt/netbox/venv/bin/gunicorn --pid /var/tmp/netbox.pid --pythonpath /opt/netbox/netbox --config /opt/netbox/gunicor>
             ├─113451 /opt/netbox/venv/bin/python3 /opt/netbox/venv/bin/gunicorn --pid /var/tmp/netbox.pid --pythonpath /opt/netbox/netbox --config /opt/netbox/gunicor>
             ├─113452 /opt/netbox/venv/bin/python3 /opt/netbox/venv/bin/gunicorn --pid /var/tmp/netbox.pid --pythonpath /opt/netbox/netbox --config /opt/netbox/gunicor>
             ├─113453 /opt/netbox/venv/bin/python3 /opt/netbox/venv/bin/gunicorn --pid /var/tmp/netbox.pid --pythonpath /opt/netbox/netbox --config /opt/netbox/gunicor>
             └─113454 /opt/netbox/venv/bin/python3 /opt/netbox/venv/bin/gunicorn --pid /var/tmp/netbox.pid --pythonpath /opt/netbox/netbox --config /opt/netbox/gunicor>
Step 7 – Configure Nginx as a Reverse Proxy
First, install the Nginx packages.
apt install nginx
Next, edit the Nginx main configuration file.
nano /etc/nginx/nginx.conf
Add the following line after the line http{:
server_names_hash_bucket_size 64;
Then, create a new Nginx virtual host configuration file.
nano /etc/nginx/conf.d/netbox.conf
Add the following configurations.
server {

  listen         80;
  server_name    netbox.example.com;
  access_log                /var/log/nginx/netbox.access.log;
  error_log                 /var/log/nginx/netbox.error.log;

  client_max_body_size 25m;

  # Proxy everything over to the netbox server
  location /static/ {
    alias /opt/netbox/netbox/static/;
  }

  location / {
    proxy_set_header        X-Real-IP $remote_addr;
    proxy_set_header        X-Forwarded-Proto $scheme;
    proxy_set_header	    X-Forwarded-Host $http_host;
    proxy_pass              http://127.0.0.1:8001;
  }
}
Save the file then verify the Nginx for any syntax error.
nginx -t
Output.
nginx: the configuration file /etc/nginx/nginx.conf syntax is ok
nginx: configuration file /etc/nginx/nginx.conf test is successful
Finally, restart the Nginx service to apply the changes.
systemctl restart nginx
You can now access NetBox using the URL http://netbox.example.com.
Conclusion
By following the installation process outlined in this guide, network administrators can harness the full potential of NetBox to streamline operations, enhance visibility, and maintain a well-documented network infrastructure. Embrace the power of NetBox on Ubuntu 24.04 and take control of your network infrastructure with confidence. Try to deploy NetBox on dedicated server hosting from Atlantic.Net!