Table of Contents
Netbox is an IP address management and data center infrastructure management tool for modeling and documenting modern networks. It is designed for network and infrastructure to empower engineers with network automation. It helps you to make your work easier by creating a map of every device in the data center. It is free and open-source so you don’t need to pay for this solution.
In this post, we will show you how to install Netbox on Arch Linux.
Step 1 – Configure Repository
By default, the default repository is outdated in Arch Linux, so you will need to modify the default mirror list. You can do it by editing the mirror list configuration file:
nano /etc/pacman.d/mirrorlist
Remove all lines and add the following lines:
## Score: 0.7, United States
Server = http://mirror.us.leaseweb.net/archlinux/$repo/os/$arch
## Score: 0.8, United States
Server = http://lug.mtu.edu/archlinux/$repo/os/$arch
Server = http://mirror.nl.leaseweb.net/archlinux/$repo/os/$arch
## Score: 0.9, United Kingdom
Server = http://mirror.bytemark.co.uk/archlinux/$repo/os/$arch
## Score: 1.5, United Kingdom
Server = http://mirrors.manchester.m247.com/arch-linux/$repo/os/$arch
Server = http://archlinux.dcc.fc.up.pt/$repo/os/$arch
## Score: 6.6, United States
Server = http://mirror.cs.pitt.edu/archlinux/$repo/os/$arch
## Score: 6.7, United States
Server = http://mirrors.acm.wpi.edu/archlinux/$repo/os/$arch
## Score: 6.8, United States
Server = http://ftp.osuosl.org/pub/archlinux/$repo/os/$arch
## Score: 7.1, India
Server = http://mirror.cse.iitk.ac.in/archlinux/$repo/os/$arch
## Score: 10.1, United States
Server = http://mirrors.xmission.com/archlinux/$repo/os/$arch
Save and close the file, then update all the package indexes with the following command:
pacman -Syu
Step 2 – Install Require Dependencies
First, you will need to install Redis and other Python dependencies on your server. You can install all of them by running the following command.
pacman -S redis python python-pip git
After the successful installation, start and enable the Redis service with the following command.
systemctl start redis
systemctl enable redis
Step 3 – Install and Configure PostgreSQL
Netbox uses PostgreSQL as a database backend, so you will need to install PostgreSQL on your server.
First, install PostgreSQL using the following command.
pacman -S postgresql
Next, initialize PostgreSQL with the following command.
sudo -u postgres initdb --locale en_US.UTF-8 -D /var/lib/postgres/data
Next, start and enable the PostgreSQL service.
systemctl start postgresql
systemctl enable postgresql
Next, log in to PostgreSQL with the following command.
sudo -u postgres psql
Next, create a database and user for Netbox using the following command.
CREATE USER netbox WITH PASSWORD 'password';
CREATE DATABASE netbox OWNER netbox;
GRANT ALL PRIVILEGES ON DATABASE netbox TO netbox;
ALTER DATABASE netbox OWNER TO netbox;
Finally, exit from the PostgreSQL shell with the following command.
\q
Step 4 – Install and Configure Netbox
First, create a dedicated netbox user with the following command.
useradd -U netbox
Next, create a netbox directory and download the latest version of netbox inside the /opt/netbox.
mkdir /opt/netbox
cd /opt/netbox
git clone -b master https://github.com/netbox-community/netbox.git .
Next, change the ownership of the netbox directory.
chown -R root:netbox /opt/netbox/
Next, navigate to the netbox directory and copy the sample configuration file.
cd /opt/netbox/netbox/netbox
cp configuration_example.py configuration.py
Next, generate the secret key.
/opt/netbox/netbox/generate_secret_key.py
Output.
e1y$sW(RBxLfT0Qn9592j_5^^ESOXDavM+n0iT+wP!4Y6XEYn%
Next, edit the Netbox configuration file.
nano /opt/netbox/netbox/netbox/configuration.py
Define your allowed hosts, database, and secret key as shown below:
ALLOWED_HOSTS = ['*']

# PostgreSQL database configuration. See the Django documentation for a complete list of available parameters:
#   https://docs.djangoproject.com/en/stable/ref/settings/#databases
DATABASE = {
    'NAME': 'netbox',         # Database name
    'USER': 'netbox',               # PostgreSQL username
    'PASSWORD': 'password',           # PostgreSQL password
    'HOST': 'localhost',      # Database server
    'PORT': '',               # Database port (leave blank for default)
    'CONN_MAX_AGE': 300,      # Max database connection age
}

SECRET_KEY = 'e1y$sW(RBxLfT0Qn9592j_5^^ESOXDavM+n0iT+wP!4Y6XEYn%'
Save and close the file.
Then, navigate to the /opt/netbox directory and run the upgrade.sh script to install all required dependencies.
cd /opt/netbox/
  ./upgrade.sh
If everything is fine, you should see the following output.
 netbox.service ExecStart:
  /opt/netbox/venv/bin/gunicorn

netbox-rq.service ExecStart:
  /opt/netbox/venv/bin/python

After modifying these files, reload the systemctl daemon:
  > systemctl daemon-reload
--------------------------------------------------------------------
Upgrade complete! Don't forget to restart the NetBox services:
  > sudo systemctl restart netbox netbox-rq
Next, activate the Netbox virtual environment with the following command.
source /opt/netbox/venv/bin/activate
Next, navigate to the netbox directory:
cd /opt/netbox/netbox
Next, create a super user for Netbox:
python3 manage.py createsuperuser
Define your admin user and password as shown below:
Username (leave blank to use 'root'): admin
Email address: admin@example.com
Password:
Password (again):
Superuser created successfully.
Step 5 – Create a Systemd Service File for Netbox
First, copy the gunicorn and another service file to the desired location.
cp /opt/netbox/contrib/gunicorn.py /opt/netbox/gunicorn.py
cp -v /opt/netbox/contrib/*.service /etc/systemd/system/
Next, deactivate from the Python virtual environment.
deactivate
Next, reload the systemd daemon, start both netbox services, and enable them to start at system reboot.
systemctl daemon-reload
systemctl start netbox netbox-rq
systemctl enable netbox netbox-rq
Wait for some time to start the Netbox completely. Then, check the Netbox listening port with the following command.
ss -antpl | grep 8001
You should see the following output.
LISTEN 0 0 127.0.0.1:8001 0.0.0.0:* users:(("gunicorn",pid=62051,fd=5),("gunicorn",pid=62050,fd=5),("gunicorn",pid=62049,fd=5),("gunicorn",pid=62048,fd=5),("gunicorn",pid=62047,fd=5),("gunicorn",pid=62045,fd=5))
Step 6 – Configure Nginx as a Reverse Proxy
At this point, Netbox is installed and listening on port 8001 on localhost. To access Netbox from the outside network, you will need to configure Nginx as a reverse proxy for Netbox.
First, install Nginx with the following command.
pacman -S nginx-mainline
After installing Nginx, start and enable the Nginx service using the following command.
systemctl start nginx
systemctl enable nginx
Next, create a directory to store Nginx virtual host files.
mkdir /etc/nginx/sites-enabled
Next, create an Nginx configuration file for Netbox.
nano /etc/nginx/sites-enabled/netbox.conf
Add the following configuration.
server {
    listen 80;

    # CHANGE THIS TO YOUR SERVER'S NAME
    server_name netbox.example.com;

    client_max_body_size 25m;

    location /static/ {
        alias /opt/netbox/netbox/static/;
    }

    location / {
        proxy_pass http://127.0.0.1:8001;
        proxy_set_header X-Forwarded-Host $http_host;
        proxy_set_header X-Real-IP $remote_addr;
        proxy_set_header X-Forwarded-Proto $scheme;
    }
}
Save and close the file, then edit the Nginx main configuration file.
nano /etc/nginx/nginx.conf
Add the following lines after http{:
server_names_hash_bucket_size 64;
include sites-enabled/*;
Save the file when you are done. Then, verify the Nginx configuration.
nginx -t
You will see the following output.
nginx: the configuration file /etc/nginx/nginx.conf syntax is ok
nginx: configuration file /etc/nginx/nginx.conf test is successful
Next, restart the Nginx service to implement the changes.
systemctl restart nginx
Step 7 – Access Netbox Web Interface
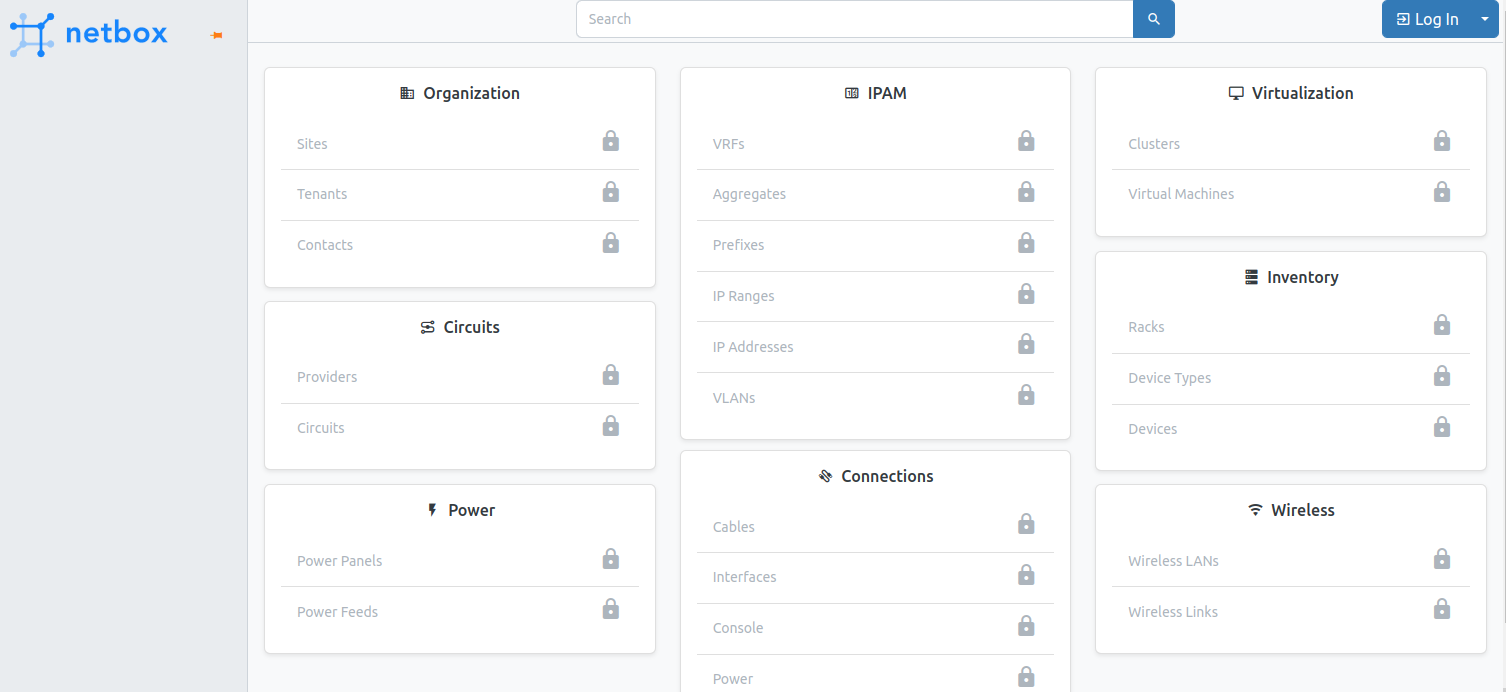
Now, open your web browser and access the Netbox using the URL http://netbox.example.com. You should see the Netbox welcome screen.
Click on the Login button. You should see the Netbox login page.
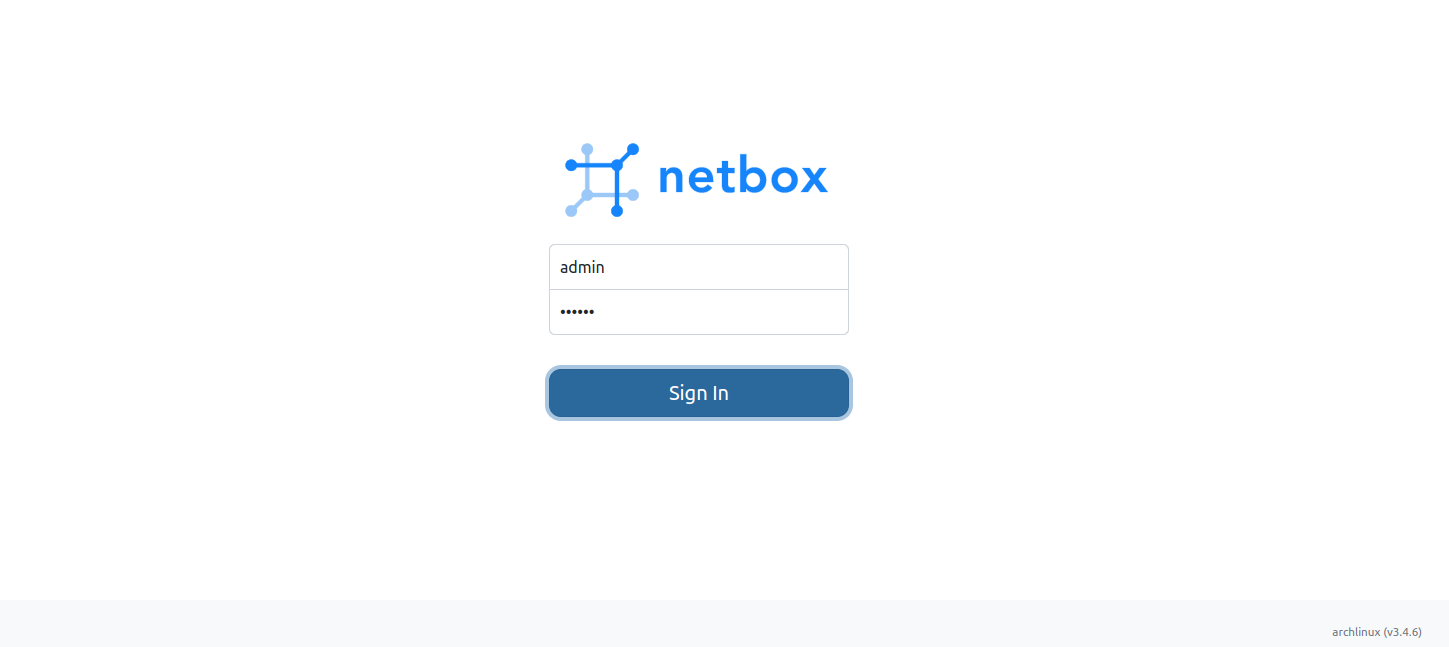
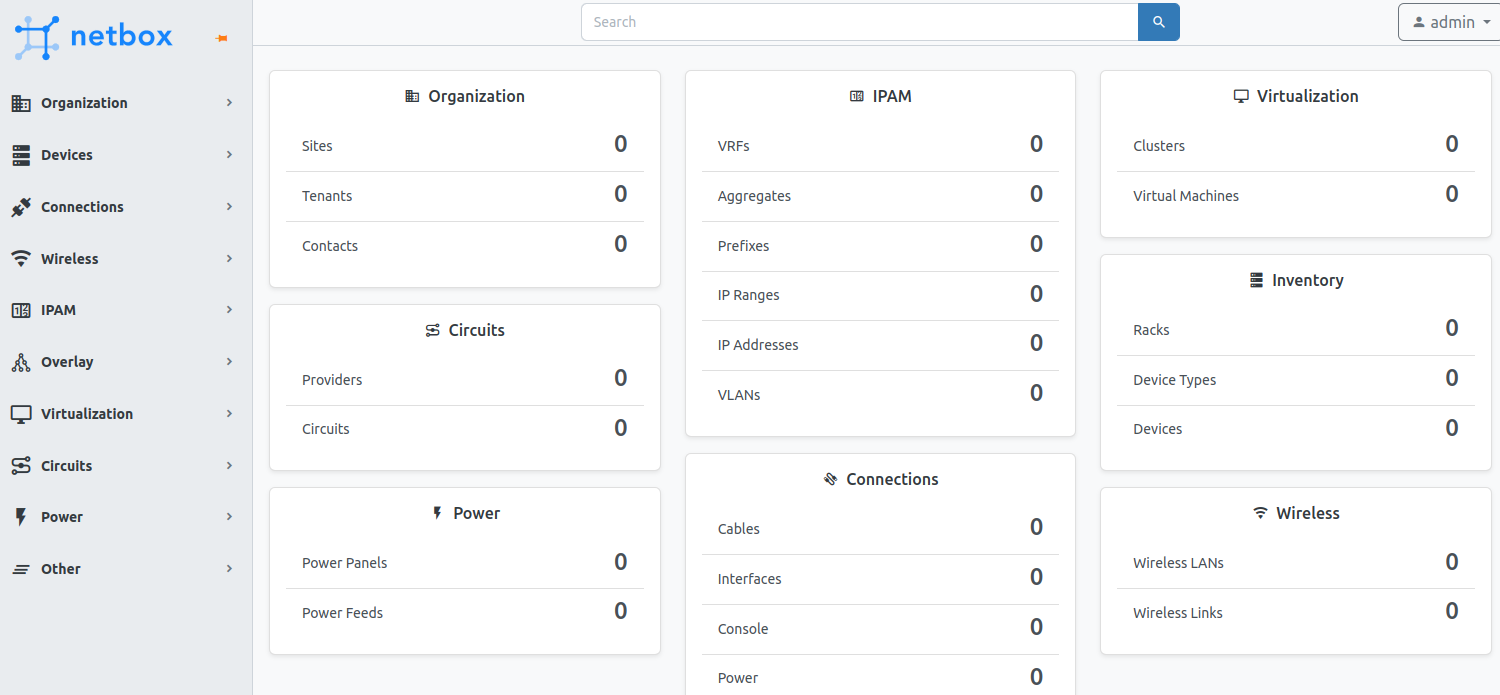
Provide your admin username and password and click on the Sign in button. You should see the Netbox dashboard on the following screen.
Conclusion
In this post, we explained how to install Netbox on Arch Linux. We also showed you how to configure Nginx as a reverse proxy for Netbox. You can now use Netbox in your organization and start managing all devices from a web browser. You can implement Netbox on dedicated server hosting from Atlantic.Net!
* This post is for informational purposes only and does not constitute professional, legal, financial, or technical advice. Each situation is unique and may require guidance from a qualified professional.
Readers should conduct their own due diligence before making any decisions.