phpIPAM is a free, open-source, lightweight, and modern IP address monitoring tool for system and network administrators. It uses MySQL as a database system and is written in PHP, jQuery libraries, Ajax, and HTML5/CSS3. phpIPAM gives you a real-time inventory of used and unassigned IP addresses with other details like subnets, status, hostname, and more.
This post will show you how to install phpIPAM with Nginx on Arch Linux.
Step 1 – Configure Repository
By default, the default repository is outdated in Arch Linux, so you will need to modify the default mirror list. You can do it by editing the mirror list configuration file:
nano /etc/pacman.d/mirrorlist
Remove all lines and add the following lines:
## Score: 0.7, United States
Server = http://mirror.us.leaseweb.net/archlinux/$repo/os/$arch
## Score: 0.8, United States
Server = http://lug.mtu.edu/archlinux/$repo/os/$arch
Server = http://mirror.nl.leaseweb.net/archlinux/$repo/os/$arch
## Score: 0.9, United Kingdom
Server = http://mirror.bytemark.co.uk/archlinux/$repo/os/$arch
## Score: 1.5, United Kingdom
Server = http://mirrors.manchester.m247.com/arch-linux/$repo/os/$arch
Server = http://archlinux.dcc.fc.up.pt/$repo/os/$arch
## Score: 6.6, United States
Server = http://mirror.cs.pitt.edu/archlinux/$repo/os/$arch
## Score: 6.7, United States
Server = http://mirrors.acm.wpi.edu/archlinux/$repo/os/$arch
## Score: 6.8, United States
Server = http://ftp.osuosl.org/pub/archlinux/$repo/os/$arch
## Score: 7.1, India
Server = http://mirror.cse.iitk.ac.in/archlinux/$repo/os/$arch
## Score: 10.1, United States
Server = http://mirrors.xmission.com/archlinux/$repo/os/$arch
Save and close the file, then update all the package indexes with the following command:
pacman -Syu
Step 2 – Install Nginx
The Nginx package is included in the Arch Linux default repository by default. You can install it with the following command.
pacman -S nginx-mainline
After installing Nginx, start and enable the Nginx service using the following command.
systemctl start nginx
systemctl enable nginx
Step 3 – Install and Configure PHP
phpIPAM is a PHP-based application, so you must install PHP and other extensions to your server. You can install all of them using the following command.
pacman -S php php-fpm php-gd unzip
Next, you must install the Pear PHP extension to your system. You can download and install it with the following command.
wget http://pear.php.net/go-pear.phar
php go-pear.phar
Next, edit the PHP configuration file and enable all the required PHP extensions.
nano /etc/php.ini
Add/modify the following lines.
extension=pdo_mysql
extension=gd
extension=json
extension=mysqli
extension=intl
extension=xml
extension=bcmath
extension=gmp
extension=iconv
extension=gettext
extension=sockets
Save and close the file, then start the PHP-FPM service and enable it to start at system reboot.
systemctl start php-fpm
systemctl enable php-fpm
Step 4 – Install and Configure MariaDB Database
Next, you will need to install the MariaDB database on your system. You can install it with the following command.
pacman -S mariadb
Once the MariaDB server is installed, initialize the MariaDB database with the following command.
mysql_install_db --user=mysql --basedir=/usr --datadir=/var/lib/mysql
Next, start and enable the MariaDB service using the following command.
systemctl start mysqld
systemctl enable mysqld
Next, connect to the MariaDB shell:
mysql
Next, create a database and user for phpIPAM using the following command.
CREATE DATABASE phpipam;
GRANT ALL ON phpipam.* TO phpipam@localhost IDENTIFIED BY 'password';
FLUSH PRIVILEGES;
Next, exit from the MariaDB with the following command.
QUIT;
Step 5 – Install phpIPAM
First, download the latest version of phpIPAM to the Nginx root directory.
mkdir /var/www/html
git clone --recursive https://github.com/phpipam/phpipam.git /var/www/html/phpipam
Next, navigate to the phpipam directory and copy the sample configuration file.
cd /var/www/html/phpipam
cp config.dist.php config.php
Next, edit the configuration file.
nano config.php
Add the following line:
$allow_untested_php_versions=true;
Define your database settings:
/**
* database connection details
******************************/
$db['host'] = 'localhost';
$db['user'] = 'phpipam';
$db['pass'] = 'password';
$db['name'] = 'phpipam';
$db['port'] = 3306;
Save and close the file, then import the phpIPAM database.
cd /var/www/html/phpipam
mysql -u root -p phpipam < db/SCHEMA.sql
Next, change the ownership of the phpipam directory.
chown -R http:http /var/www/html/phpipam
Step 6 – Configure Nginx for phpIPAM
Next, you must create an Nginx virtual host configuration file to serve phpIPAM.
First, create a directory to store the Nginx virtual host.
mkdir /etc/nginx/sites-enabled
Next, create an Nginx configuration file for phpIPAM.
nano /etc/nginx/sites-enabled/phpipam.conf
Add the following configuration.
server {
    listen       80;
    # root directory
    server_name ipam.example.com;
    index        index.php;
    root   /var/www/html/phpipam;


    location / {
            try_files $uri $uri/ /index.php$is_args$args;
        }

    location ~ \.php$ {
            try_files $uri =404;
            fastcgi_split_path_info ^(.+\.php)(/.+)$;
             fastcgi_pass   unix:/run/php-fpm/php-fpm.sock;
            fastcgi_param SCRIPT_FILENAME $document_root$fastcgi_script_name;
            fastcgi_index index.php;
            include fastcgi_params;
        }

 }
Save the file, then edit the Nginx main configuration file.
nano /etc/nginx/nginx.conf
Add the following lines after http{:
server_names_hash_bucket_size 64;
include sites-enabled/*;
Save the file when you are done. Then, verify the Nginx configuration.
nginx -t
You will see the following output.
nginx: the configuration file /etc/nginx/nginx.conf syntax is ok
nginx: configuration file /etc/nginx/nginx.conf test is successful
Next, restart the Nginx service to implement the changes.
systemctl restart nginx
Step 7 – Access phpIPAM Web UI
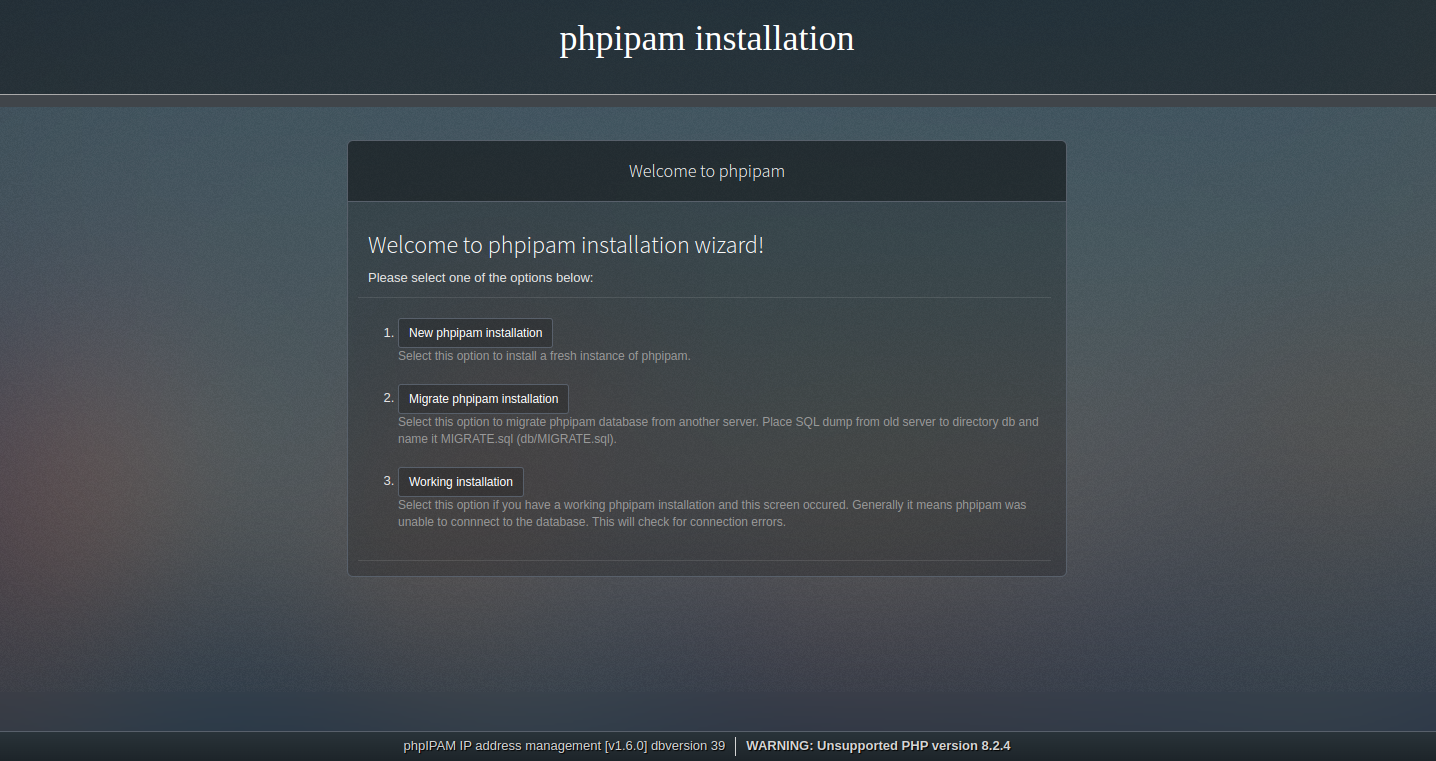
Now, open your web browser and access the phpIPAM web interface using the URL http://ipam.example.com. You should see the phpIPAM welcome screen.
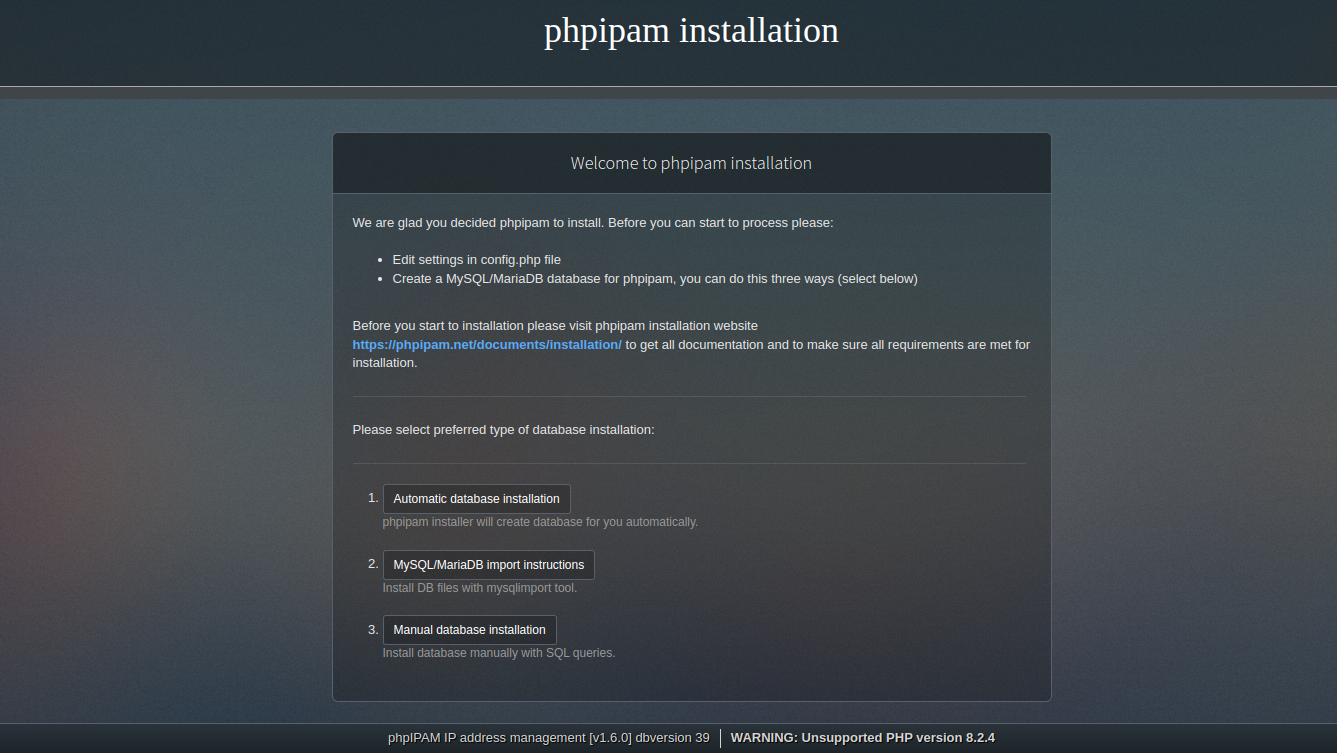
Click on the New phpipam installation. You should see the following screen.
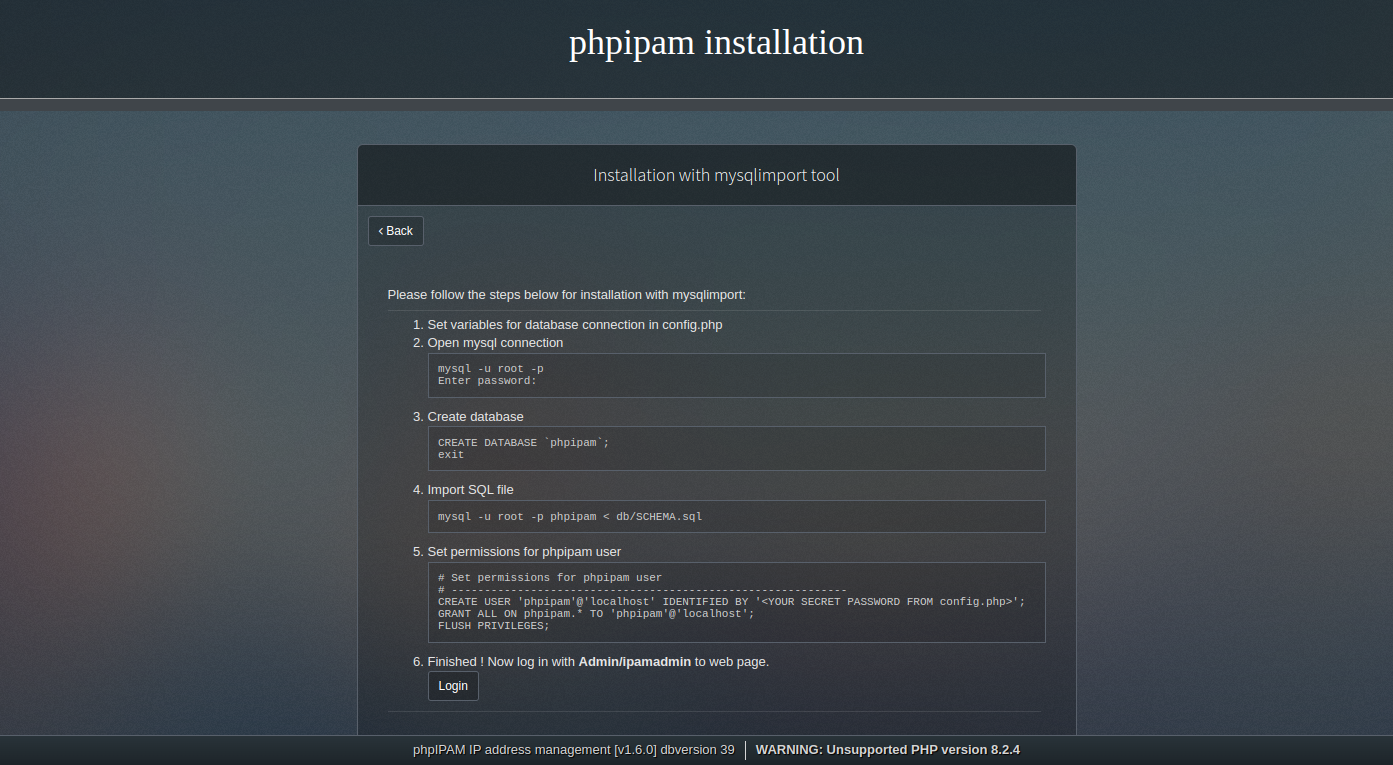
Click on the MySQL/MariaDB import instructions. You should see the following screen.
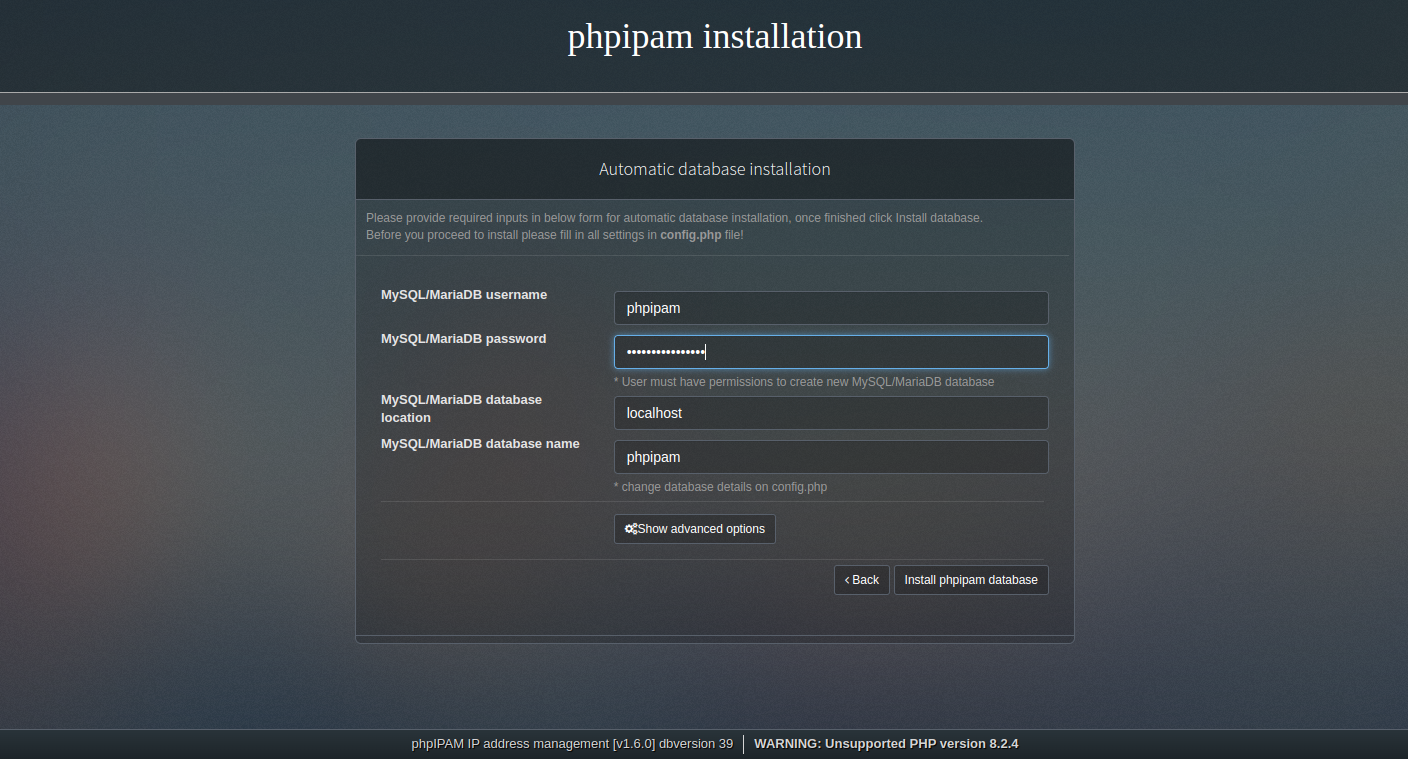
Provide your phpIPAM database details and click on the install phpipam database. You should see the following screen.
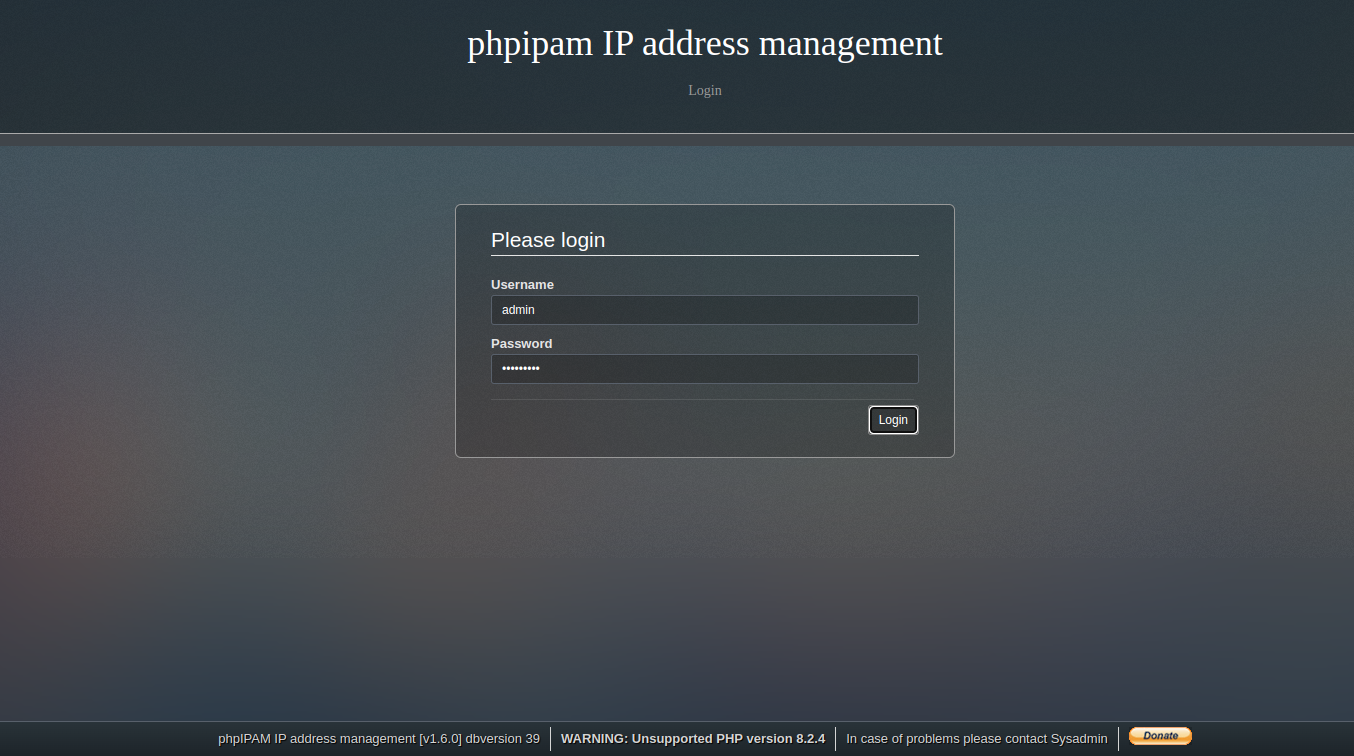
Click on the Login. You should see your phpIPAM login screen.
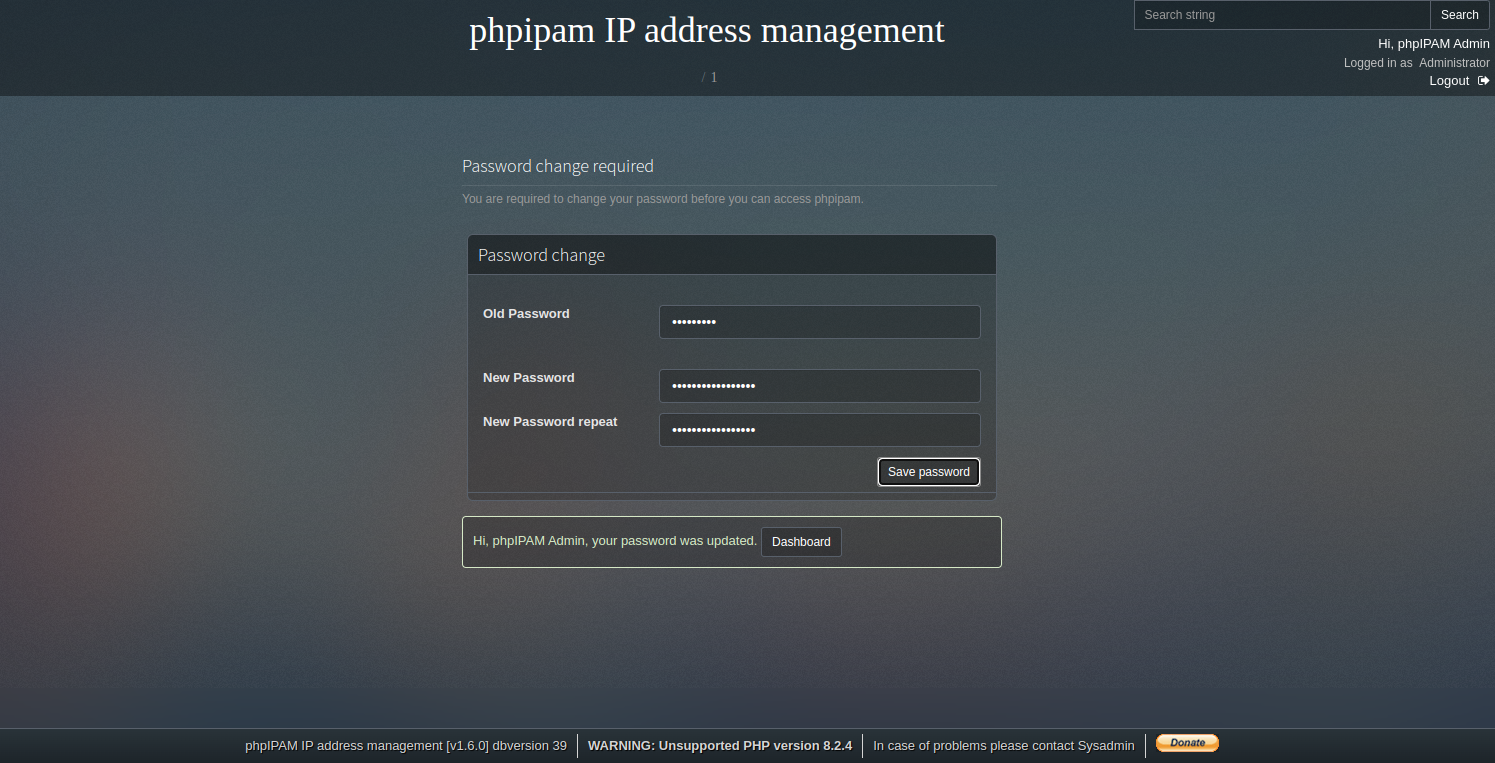
Provide phpIPAM admin username admin and password as ipamadmin, then click the Login button. You should see the change password screen.
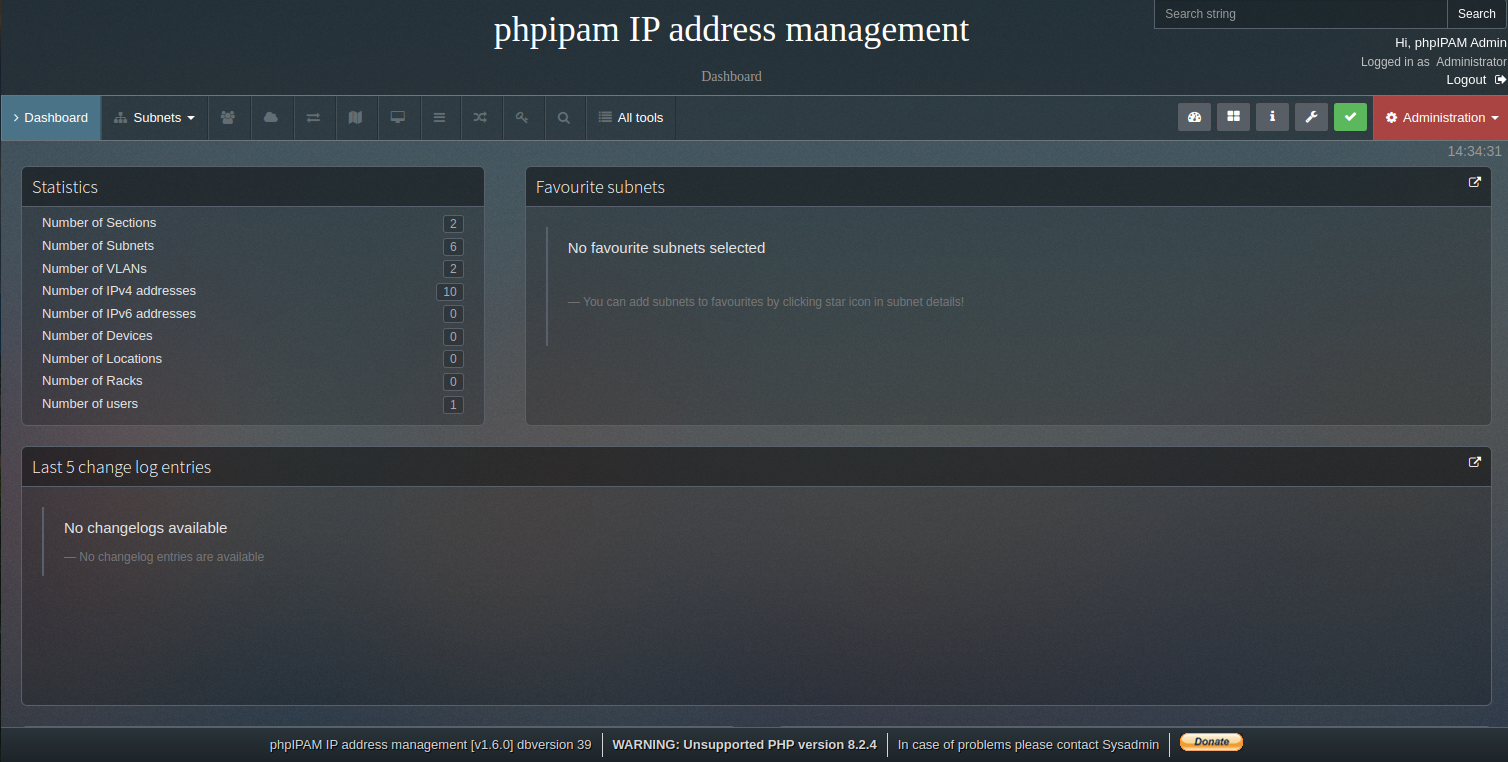
Change your default password and click on the Save password. Then, click on the Dashboard button. You should see the following screen.
Conclusion
Congratulations! You have successfully installed the phpIPAM password management tool on Arch Linux. You can now easily install phpIPAM on your server and test it. You can also try to deploy phpIPAM on dedicated server hosting from Atlantic.Net!
