RethinkDB is a free and open-source No-SQL database manager that can be used in applications that require continuous access to data. It has very minimal response times and updates and supports the most popular languages, including PHP, Java, Ruby, and Python. RethinkDB is designed with automatic failover and robust fault tolerance. It uses a new database access model instead of polling for changes. RethinkDB also offers a built-in web interface to manage the database.
In this tutorial, we will show you how to install RethinkDB on CentOS 8.
Step 1 – Install RethinkDB
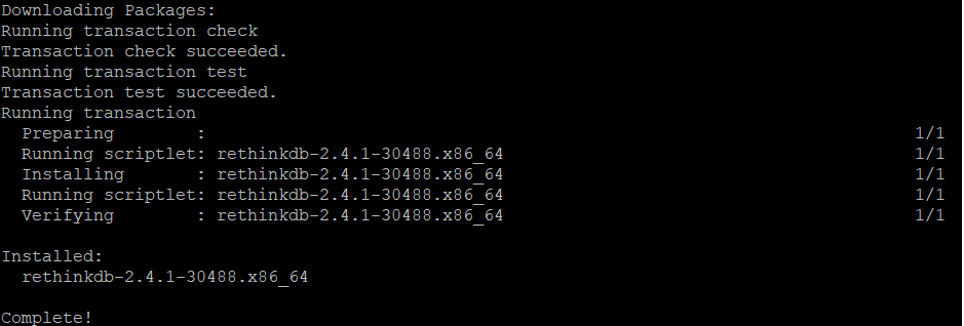
By default, RethinkDB is not available in the CentOS 8 default repository, so you will need to install it from the RPM package. You can run the following command to download and install the RethinkDB RPM package in your system.
Once installed, you should get the following output:
Step 2 – Configure RethinkDB
First, you will need to copy RethinkDB sample configuration file with the following command:
cp /etc/rethinkdb/default.conf.sample /etc/rethinkdb/instances.d/instance1.conf
Next, edit the configuration file using the following command:
nano /etc/rethinkdb/instances.d/instance1.conf
Change the following lines to enable the RethinkDB web console:
http-port=8080
server-name=server1

directory=/var/lib/rethinkdb/default
log-file=/var/log/rethinkdb
bind=0.0.0.0
Save and close the file when you are finished. Next, create the necessary files and provide proper permissions with the following command:
touch /var/log/rethinkdb
chown -R rethinkdb:rethinkdb  /var/log/rethinkdb /var/lib/rethinkdb
chmod -R 775 /var/log/rethinkdb /var/lib/rethinkdb
Now, start the RethinkDB service and enable it to start at system reboot with the following command:
systemctl enable --now rethinkdb
systemctl start rethinkdb
You can now verify the status of the RethinkDB service with the following command:
systemctl status rethinkdb
You should get the following output:
Step 3 – Access RethinkDB Web Interface
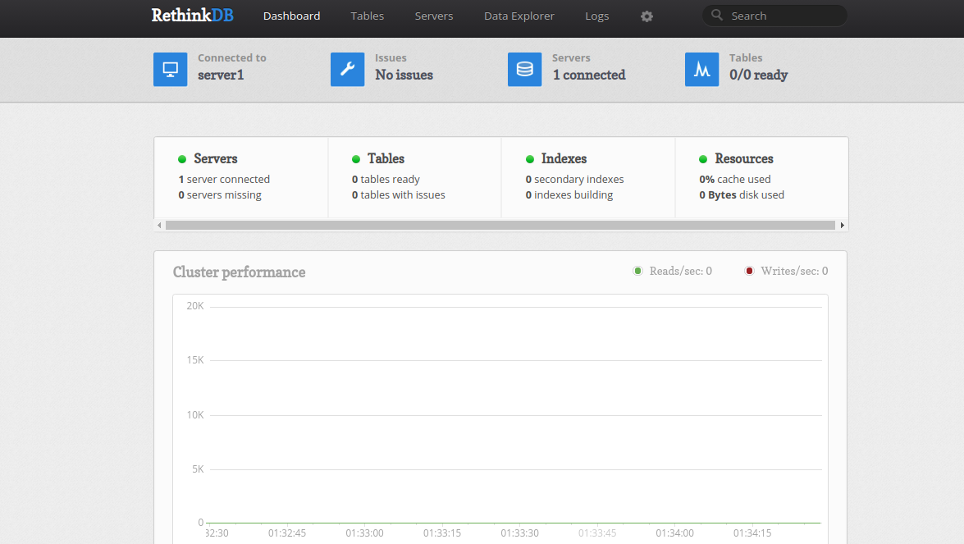
Now, open your web browser and access RethinkDB using the URL http://your-server-ip:8080. You should see the following page:
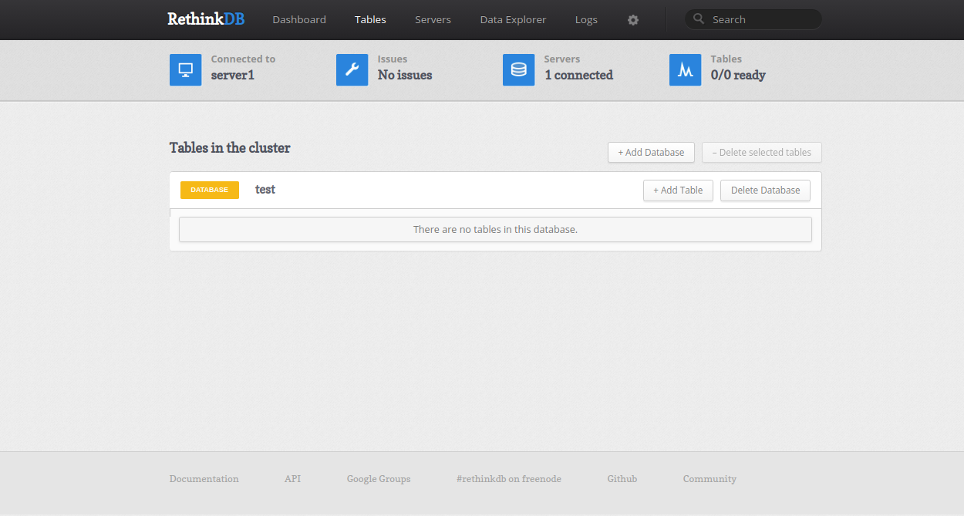
Now, click on the Tables button. You should see the following page:
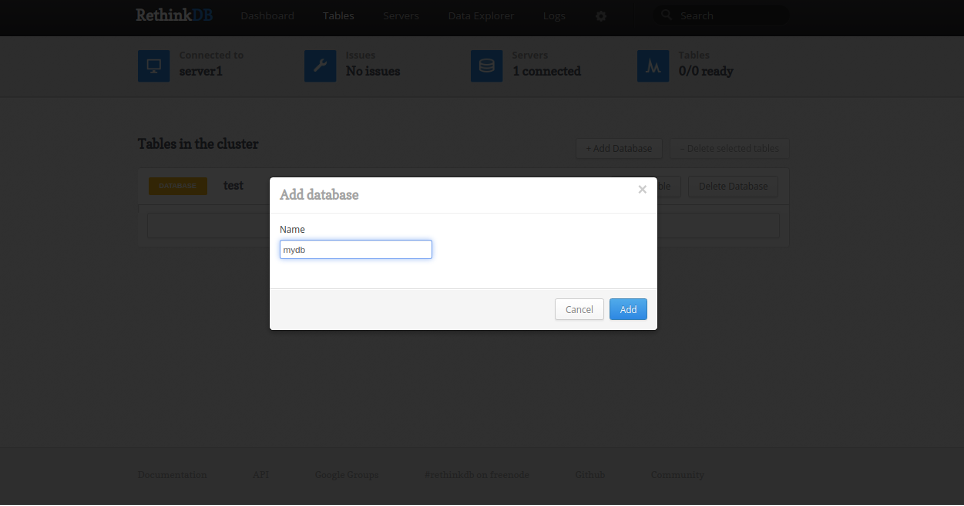
Click on the Add Database button. You should see the following page:
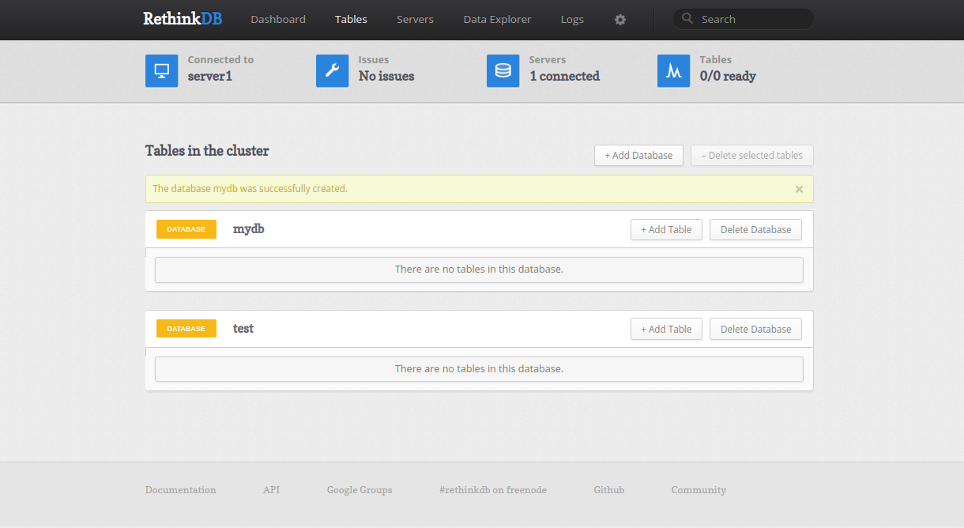
Provide your database name and click on the Add button. You should see your database in the following page:
Conclusion
Congratulations! You have successfully installed RethinkDB on CentOS 8. You can now easily use RethinkDB to build your large-scale applications. For more information, visit the RethinkDB official documentation. Install RethinkDB on your Atlantic.Net dedicated server today.
