Etherpad is a free, open-source, web-based file editing application that allows you to collaborate on a file in actual time. It is written in Nodejs and supports thousands of simultaneous real-time users. It has data export capabilities and runs on your server, under your control. It allows authors and editors to see all of the participants’ edits in real-time.
In this post, we will show you how to install Etherpad on Rocky Linux 8.
Step 1 – Install and Configure Database
First, enable the MariaDB version 10.04 repository using the following command:
dnf update -y
dnf module enable mariadb:10.5
Next, install MariaDB 10.5 with the following command:
dnf install mariadb-server -y
After the installation, start and enable the MariaDB service using the command below:
systemctl start mariadb
systemctl enable mariadb
Next, log in to the MariaDB shell with the following command:
mysql
Once you are connected, create a database and user for Etherpad:
create database `etherpaddb`;
create user 'etherpaduser'@'localhost' identified by 'yourpassword';
Next, grant all the privileges to the etherpad database:
grant CREATE,ALTER,SELECT,INSERT,UPDATE,DELETE on `etherpaddb`.* to 'etherpaduser'@'localhost';
Next, flush the privileges and exit from MariaDB with the following command:
flush privileges;
exit;
Step 2 – Install Node.js
Etherpad is written in Node.js, so it must be installed on your server.
First, enable the Node.js repository using the following command:
curl --silent --location https://rpm.nodesource.com/setup_18.x | bash -
Next, install the Node.js with the following command:
dnf install nodejs git -y
Once Node.js is installed, verify the Node.js version using the following command:
node --version
You will get the following output:
v18.19.0
Step 3 – Install Etherpad on Rocky Linux 8
First, create a dedicated user to run Etherpad:
adduser --system --home /opt/etherpad --create-home --user-group etherpad
Next, switch the user to etherpad and download the latest version of Etherpad with the following command:
su - etherpad
cd /opt/etherpad
git clone --branch master git://github.com/ether/etherpad-lite.git
Next, change the directory to the downloaded directory and run Etherpad with the following command:
cd etherpad-lite
./src/bin/run.sh
If everything is fine, you will get the following output:
[2021-12-05 11:19:21.804] [INFO] server - Installed plugins:
[2021-12-05 11:19:21.805] [INFO] console - Report bugs at https://github.com/ether/etherpad-lite/issues
[2021-12-05 11:19:21.806] [INFO] console - Your Etherpad version is 1.8.16 (142a47c)
[2021-12-05 11:19:23.514] [INFO] http - HTTP server listening for connections
[2021-12-05 11:19:23.514] [INFO] console - You can access your Etherpad instance at http://0.0.0.0:9001/
[2021-12-05 11:19:23.514] [WARN] console - Admin username and password not set in settings.json. To access admin please uncomment and edit "users" in settings.json
[2021-12-05 11:19:23.514] [WARN] console - Etherpad is running in Development mode. This mode is slower for users and less secure than production mode. You should set the NODE_ENV environment variable to production by using: export NODE_ENV=production
[2021-12-05 11:19:23.514] [INFO] server - Etherpad is running
Press CTRL+C to stop the Etherpad.
Next, edit the settings.json file and define your database settings:
nano settings.json
Comment out the following lines:
//  "dbType": "dirty",
//  "dbSettings": {
//    "filename": "var/dirty.db"
//  },
Change the following lines:
  "dbType" : "mysql",
  "dbSettings" : {
    "user":     "etherpaduser",
    "host":     "localhost",
    "port":     3306,
    "password": "yourpassword",
    "database": "etherpaddb",
    "charset":  "utf8mb4"
  },

  "trustProxy": true,
Save and close the file, then exit from the Etherpad user:
exit
Step 4 – Create a Systemd Service File for Etherpad
Next, create a systemd service file to manage the Etherpad service:
nano /etc/systemd/system/etherpad.service
Add the following lines:
[Unit]
Description=Etherpad, a collaborative web editor.
After=syslog.target network.target

[Service]
Type=simple
User=etherpad
Group=etherpad
WorkingDirectory=/opt/etherpad
Environment=NODE_ENV=production
ExecStart=/usr/bin/node --experimental-worker /opt/etherpad/etherpad-lite/node_modules/ep_etherpad-lite/node/server.js
Restart=always

[Install]
WantedBy=multi-user.target
Save and close the file, then reload the systemd daemon using the command below:
systemctl daemon-reload
Next, start and enable the Etherpad service using the following command:
systemctl start etherpad
systemctl enable etherpad
You can check the status of Etherpad using the following command:
systemctl status etherpad
You should see the following output:
● etherpad.service - Etherpad, a collaborative web editor.
   Loaded: loaded (/etc/systemd/system/etherpad.service; disabled; vendor preset: disabled)
   Active: active (running) since Sun 2021-12-05 11:22:04 UTC; 5s ago
 Main PID: 13518 (node)
    Tasks: 13 (limit: 11411)
   Memory: 104.9M
   CGroup: /system.slice/etherpad.service
           └─13518 /usr/bin/node --experimental-worker /opt/etherpad/etherpad-lite/node_modules/ep_etherpad-lite/node/server.js

Dec 05 11:22:04 rockylinux node[13518]:   DEFAULT_CHARACTER_SET_NAME: 'latin1',
Dec 05 11:22:04 rockylinux node[13518]:   DEFAULT_COLLATION_NAME: 'latin1_swedish_ci'
Dec 05 11:22:04 rockylinux node[13518]: } utf8mb4 latin1_swedish_ci
Dec 05 11:22:04 rockylinux node[13518]: [2021-12-05 11:22:04.915] [INFO] plugins - Running npm to get a list of installed plugins...
Dec 05 11:22:08 rockylinux node[13518]: [2021-12-05 11:22:08.268] [INFO] plugins - Loading plugin ep_etherpad-lite...
Dec 05 11:22:08 rockylinux node[13518]: [2021-12-05 11:22:08.270] [INFO] plugins - Loaded 1 plugins
Dec 05 11:22:08 rockylinux node[13518]: [2021-12-05 11:22:08.932] [INFO] APIHandler - Api key file read from: "/opt/etherpad/etherpad-lite/AP>
Dec 05 11:22:09 rockylinux node[13518]: [2021-12-05 11:22:09.000] [INFO] server - Installed plugins:
Dec 05 11:22:09 rockylinux node[13518]: [2021-12-05 11:22:09.001] [INFO] console - Report bugs at https://github.com/ether/etherpad-lite/issu>
Dec 05 11:22:09 rockylinux node[13518]: [2021-12-05 11:22:09.002] [INFO] console - Your Etherpad version is 1.8.16 (142a47c)
Step 5 – Configure Nginx as a Reverse Proxy for Etherpad
Next, you will need to install and configure Nginx as a reverse proxy for Etherpad.
First, install Nginx with the following command:
dnf install nginx -y
Once Nginx is installed, start and enable the Nginx service using the command below:
systemctl start nginx
systemctl enable nginx
Next, create an Nginx virtual host configuration file:
nano /etc/nginx/conf.d/etherpad.conf
Add the following configuration:
server {
    listen       80;
    server_name  etherpad.example.com;

    access_log  /var/log/nginx/etherpad.access.log;
    error_log   /var/log/nginx/etherpad.error.log;


    location / {
        rewrite  ^/$ / break;
        rewrite  ^/locales/(.*) /locales/$1 break;
        rewrite  ^/locales.json /locales.json break;
        rewrite  ^/admin(.*) /admin/$1 break;
        rewrite  ^/p/(.*) /p/$1 break;
        rewrite  ^/static/(.*) /static/$1 break;
        rewrite  ^/pluginfw/(.*) /pluginfw/$1 break;
        rewrite  ^/javascripts/(.*) /javascripts/$1 break;
        rewrite  ^/socket.io/(.*) /socket.io/$1 break;
        rewrite  ^/ep/(.*) /ep/$1 break;
        rewrite  ^/minified/(.*) /minified/$1 break;
        rewrite  ^/api/(.*) /api/$1 break;
        rewrite  ^/ro/(.*) /ro/$1 break;
        rewrite  ^/error/(.*) /error/$1 break;
        rewrite  ^/jserror(.*) /jserror$1 break;
        rewrite  ^/redirect(.*) /redirect$1 break;
        rewrite  /favicon.ico /favicon.ico break;
        rewrite  /robots.txt /robots.txt break;
        rewrite  /(.*) /p/$1;

        proxy_pass         http://127.0.0.1:9001;
        proxy_buffering    off;
        proxy_set_header   Host $host;
        proxy_pass_header  Server;

        # proxy headers
        proxy_set_header    X-Real-IP $remote_addr;
        proxy_set_header    X-Forwarded-For $remote_addr;
        proxy_set_header    X-Forwarded-Proto $scheme;
        proxy_http_version  1.1;


    }
}
Save and close the file, then edit the nginx.conf file and define hash_bucket size:
nano /etc/nginx/nginx.conf
Add the following line below the line http {:
server_names_hash_bucket_size 64;
Save and close the file, then verify Nginx for any syntax errors:
nginx -t
You should see the following output:
nginx: the configuration file /etc/nginx/nginx.conf syntax is ok
nginx: configuration file /etc/nginx/nginx.conf test is successful
Finally, restart Nginx to apply the configuration changes:
systemctl restart nginx
Step 6 – Access Etherpad Web Interface
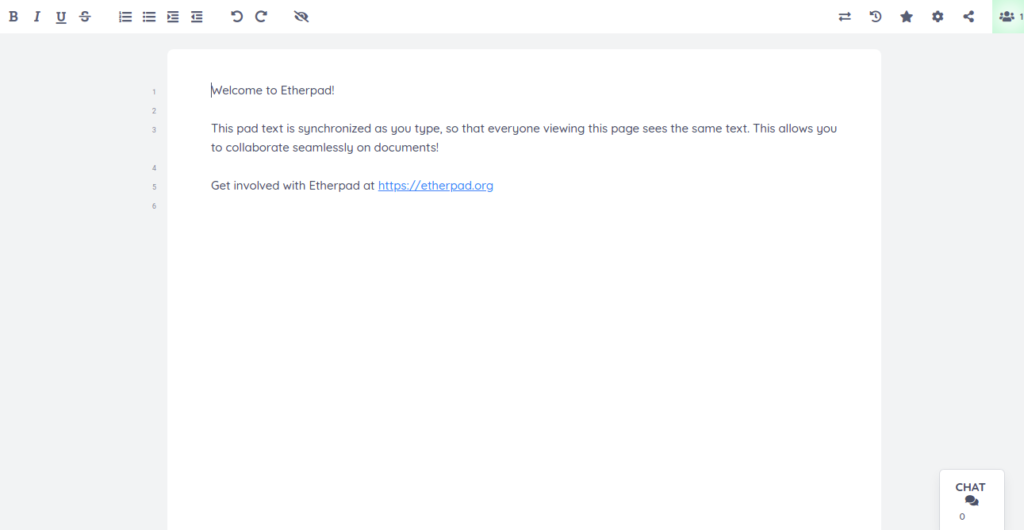
Now, open your favorite web browser and access the Etherpad web interface using the URL http://etherpad.example.com. You should see the following page:

Provide your pad name and click on the OK button. You should see the following page:
Conclusion
Congratulations! You have successfully installed Etherpad with Nginx as a reverse proxy on Rocky Linux 8. You can now use Etherpad to manage your content easily from the central location. Try it on dedicated hosting from Atlantic.Net!
* This post is for informational purposes only and does not constitute professional, legal, financial, or technical advice. Each situation is unique and may require guidance from a qualified professional.
Readers should conduct their own due diligence before making any decisions.