Typo3 is a free and open-source content management system written in PHP language. It is a simple, flexible, and professional CMS that offers services and solutions for teams across industries. It is a great alternative to popular CMS platforms like WordPress, Joomla, and Drupal. Additionally, it can be installed on all major operating systems and runs on Apache, Nginx, and IIS web servers.
In this post, we will show you how to install Typo3 CMS on Arch Linux.
Step 1 – Configure Repository
By default, the default repository is outdated in Arch Linux, so you will need to modify the default mirror list if you have not done so already. You can do it by editing the mirror list configuration file:
nano /etc/pacman.d/mirrorlist
Remove all lines and add the following lines:
## Score: 0.7, United States
Server = http://mirror.us.leaseweb.net/archlinux/$repo/os/$arch
## Score: 0.8, United States
Server = http://lug.mtu.edu/archlinux/$repo/os/$arch
Server = http://mirror.nl.leaseweb.net/archlinux/$repo/os/$arch
## Score: 0.9, United Kingdom
Server = http://mirror.bytemark.co.uk/archlinux/$repo/os/$arch
## Score: 1.5, United Kingdom
Server = http://mirrors.manchester.m247.com/arch-linux/$repo/os/$arch
Server = http://archlinux.dcc.fc.up.pt/$repo/os/$arch
## Score: 6.6, United States
Server = http://mirror.cs.pitt.edu/archlinux/$repo/os/$arch
## Score: 6.7, United States
Server = http://mirrors.acm.wpi.edu/archlinux/$repo/os/$arch
## Score: 6.8, United States
Server = http://ftp.osuosl.org/pub/archlinux/$repo/os/$arch
## Score: 7.1, India
Server = http://mirror.cse.iitk.ac.in/archlinux/$repo/os/$arch
## Score: 10.1, United States
Server = http://mirrors.xmission.com/archlinux/$repo/os/$arch
Save and close the file, then update all the package indexes with the following command:
pacman -Syu
Step 2 – Install Apache and PHP
Typo3 CMS is written in PHP and runs on a web server, so you will need to install the Apache web server and PHP on your server.
First, install the Apache web server package with the following command:
pacman -Sy apache
After the successful installation, start and enable the Apache service with the following command:
systemctl start httpd
systemctl enable httpd
Next, install PHP and other required extensions using the following command:
pacman -Sy php php-gd php-cgi php-intl php-apache unzip
Next, edit the PHP configuration file and enable the required extensions:
nano /etc/php/php.ini
Add / Modify the following lines.
extension=pdo_mysql
extension=gd
extension=json
extension=mysqli
extension=intl
extension=xml
extension=bcmath

max_execution_time = 300
max_input_vars = 1500
memory_limit = 128M
Save and close the file when you are finished.
Step 3 – Install and Configure MariaDB Database
First, install the MariaDB server with the following command:
pacman -S libmariadbclient mariadb mariadb-clients
Next, initialize the MariaDB database with the following command:
mysql_install_db --user=mysql --basedir=/usr --datadir=/var/lib/mysql
Next, start and enable the MariaDB service with the following command:
systemctl start mysqld
systemctl enable mysqld
Next, log in to the MariaDB console using the following command:
mysql
Once you are logged in, create a database and user for Typo3 CMS:
CREATE DATABASE typo3;
GRANT ALL ON typo3.* TO typo3@localhost IDENTIFIED BY 'password';
Next, flush the privileges and exit from the MariaDB shell with the following command:
FLUSH PRIVILEGES;
EXIT;
Step 4 – Download Typo3 CMS
First, download the latest version of Typo3 CMS with the following command.
wget --content-disposition https://get.typo3.org/11.5.12
Once the download is completed, extract the downloaded file with the following command.
tar -xvzf typo3_src-11.5.12.tar.gz
Next, move the extracted directory to the Apache web root:
mv typo3_src-11.5.12 /srv/http/typo3
Next, change the ownership of the Typo3 directory to Apache:
chown -R http:http /srv/http/typo3/
chmod -R 775 /srv/http/typo3/
Step 5 – Create an Apache Virtual Host Configuration File
Next, you will need to create an Apache virtual host configuration file to host Typo3 CMS on the internet.
nano /etc/httpd/conf/extra/typo3.conf
Add the following lines:
<VirtualHost *:80>
    ServerAdmin admin@example.com
    DocumentRoot "/srv/http/typo3"
    ServerName typo3.example.com
    DirectoryIndex index.php
    <Directory "/srv/http/typo3">
          Options FollowSymlinks
          AllowOverride All
          Require all granted

    </Directory>
ErrorLog /var/log/httpd/error.log
CustomLog /var/log/httpd/access.log combined

</VirtualHost>
Save and close the file when you are finished. Next, edit the Apache main configuration file.
nano /etc/httpd/conf/httpd.conf
Uncomment the following line:
Include conf/extra/httpd-vhosts.conf
LoadModule mpm_prefork_module modules/mod_mpm_prefork.so
LoadModule rewrite_module modules/mod_rewrite.so
Comment on the following line:
#LoadModule mpm_event_module modules/mod_mpm_event.so
Add the following lines:
LoadModule php_module modules/libphp.so
AddHandler php-script .php
Include conf/extra/php_module.conf
Include conf/extra/typo3.conf
Save and close the file when you are done.
Next, restart the Apache service to apply the changes:
systemctl restart httpd
Step 6 – Access Typo3 CMS
Now, open your web browser and access the Typo3 CMS using the URL http://typo3.example.com. You should see the following screen.
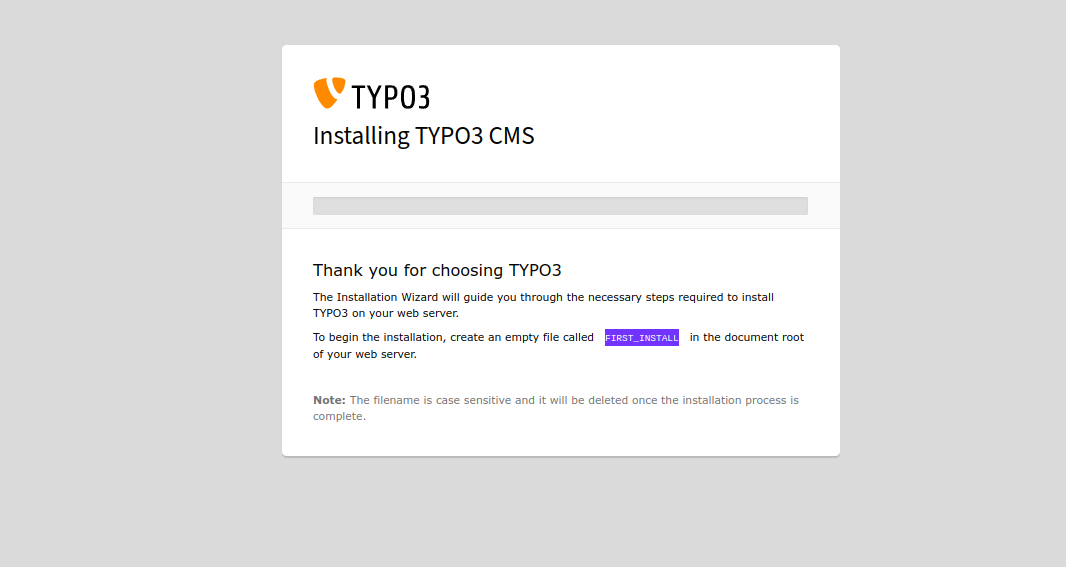
Next, open your terminal and create an empty file using the following command.
touch /srv/http/typo3/FIRST_INSTALL
Next, go back to the web browser and refresh the page. You should see the following page.
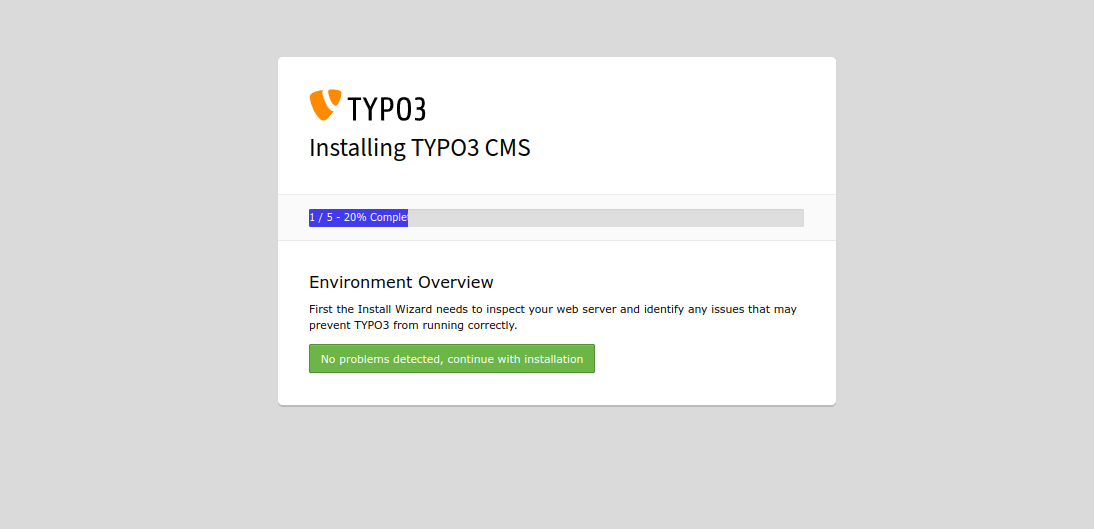
Click on No problems detected, continue with installation. You should see the following page.
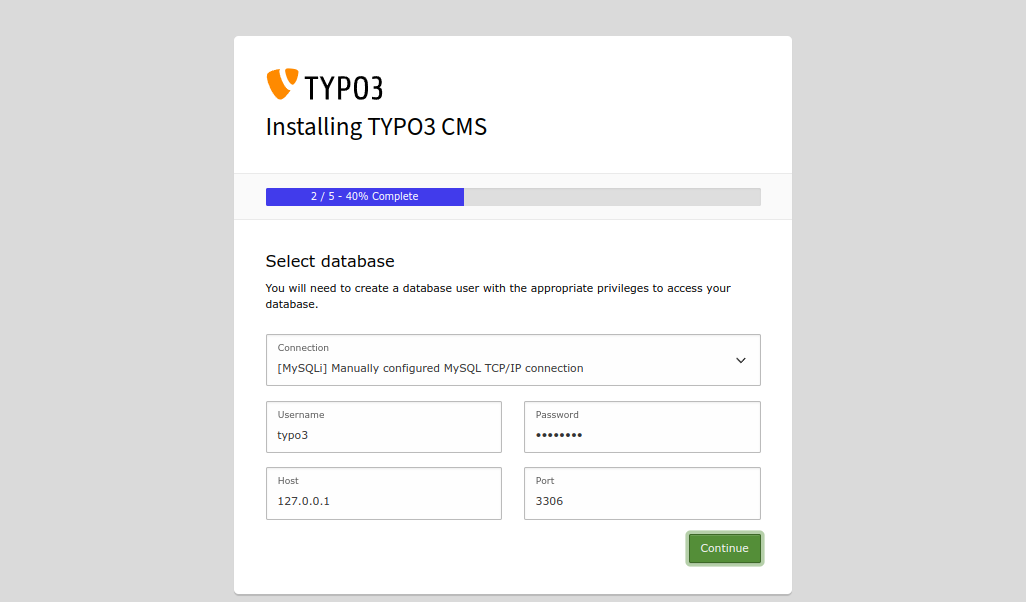
Provide your database username and password and click on the Continue button. You should see the following page.
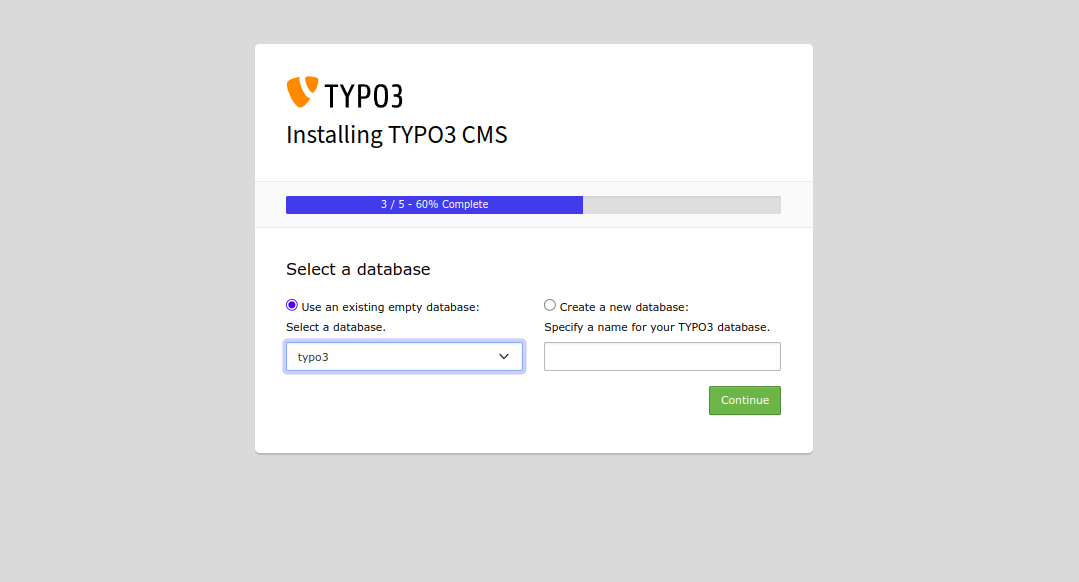
Select your database and click on the Continue button. You should see the following page.
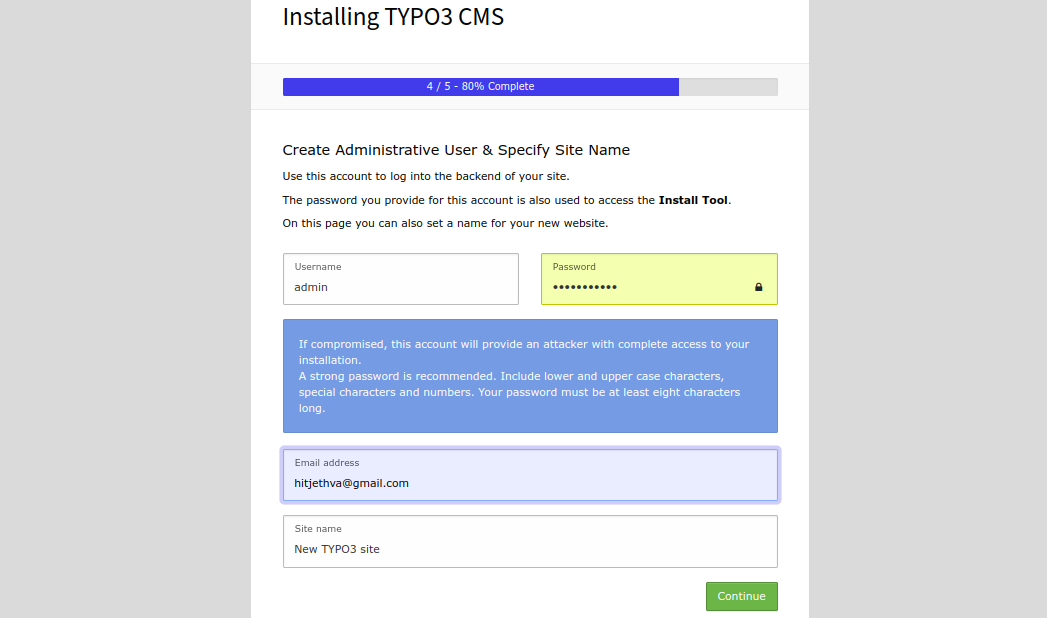
Provide your admin username, password, email, and site name, and click on the Continue button. Once the installation has been completed, you should see the following page.
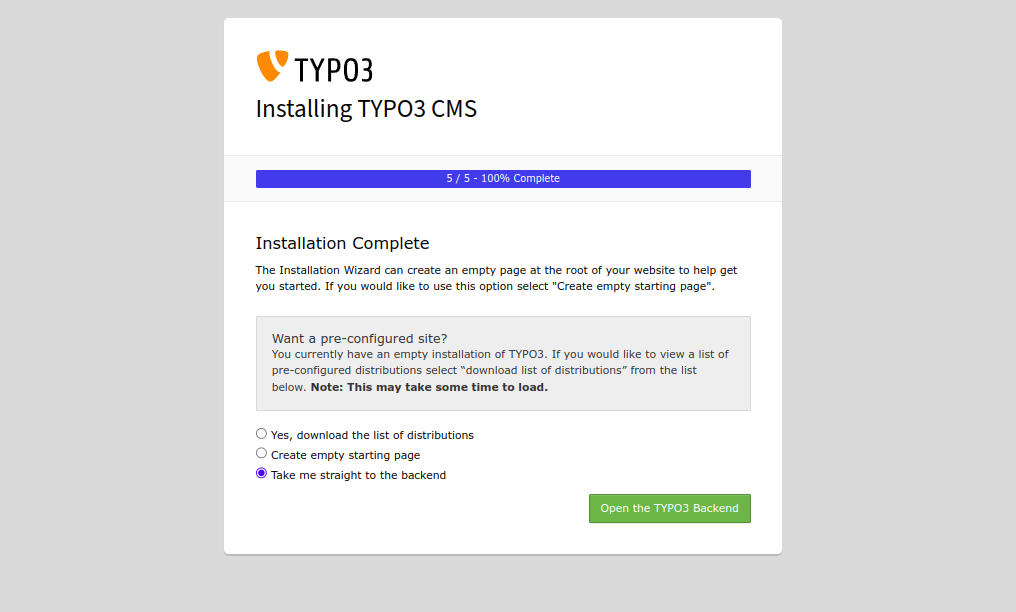
Select Take me straight to the backend and click on Open the TYPO3 Backend. You should see the Typo3 login page.
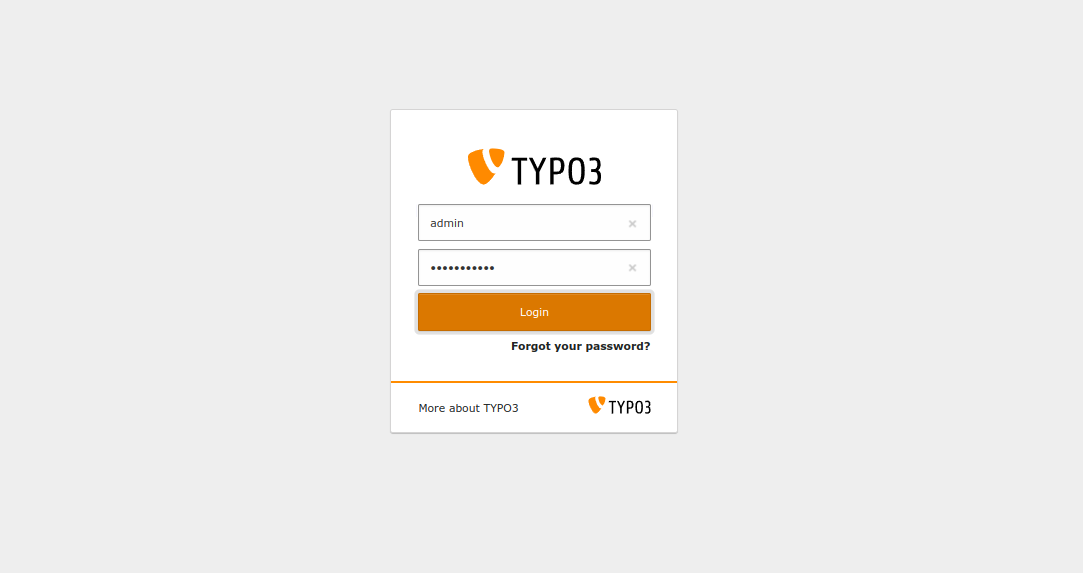
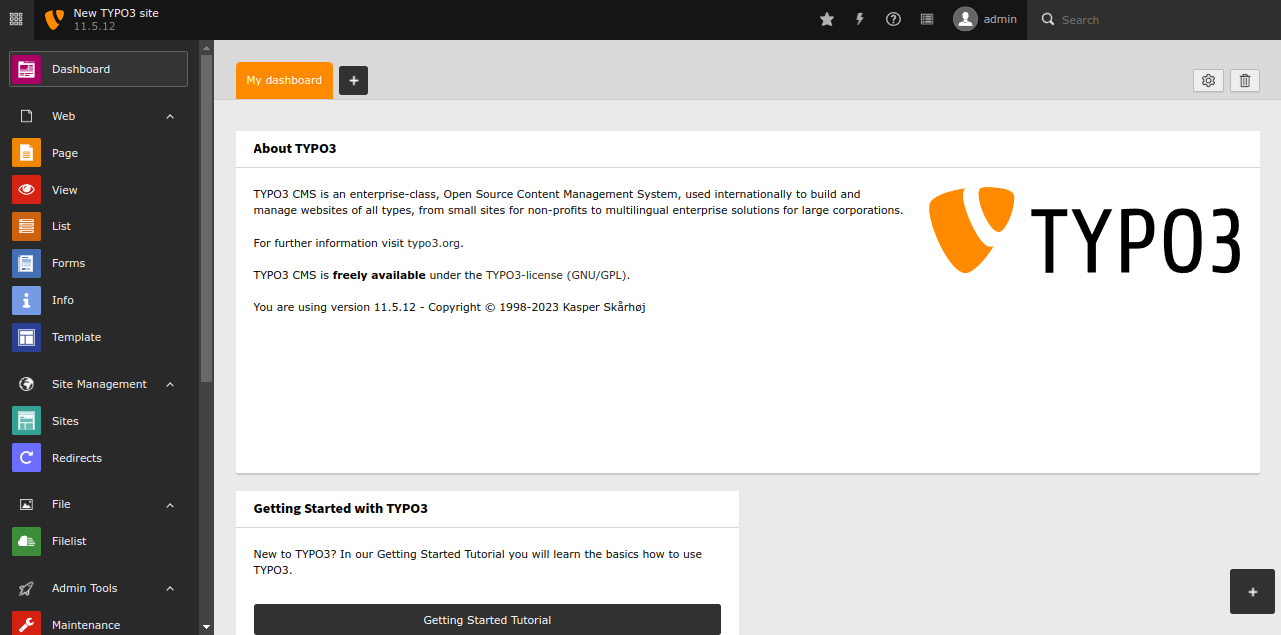
Provide your admin username and password and click on the Login button. You should see the Typo3 dashboard on the following page.
Conclusion
Congratulations! You have successfully installed Typo3 CMS with Apache on Arch Linux. You can now build awesome websites using the Typo3 CMS. You can also try Typo3 CMS on one of our dedicated server hosting from Atlantic.Net!
* This post is for informational purposes only and does not constitute professional, legal, financial, or technical advice. Each situation is unique and may require guidance from a qualified professional.
Readers should conduct their own due diligence before making any decisions.