Uptime Kuma is a self-hosted, open-source monitoring tool that helps you keep track of the uptime and status of your websites, servers, and applications. It provides real-time status updates, notifications, and detailed reports on the availability and performance of your monitored services. Uptime Kuma is designed to be a modern and flexible alternative to other uptime monitoring solutions.
This guide will walk you through the process of installing Uptime Kuma on an Ubuntu 24.04 system.
Step 1 – Install Nodejs
Before starting, you will need to install Nodejs on your server. Follow the steps below to install the latest stable version of Node.js.
First, create a directory to store the Nodejs GPG key.
mkdir -p /etc/apt/keyrings
Download the Nodejs GPG key to the above directory.
curl -fsSL https://deb.nodesource.com/gpgkey/nodesource-repo.gpg.key | sudo gpg --dearmor -o /etc/apt/keyrings/nodesource.gpg
Add the Nodejs repository to the APT source file.
echo "deb [signed-by=/etc/apt/keyrings/nodesource.gpg] https://deb.nodesource.com/node_22.x nodistro main" | sudo tee /etc/apt/sources.list.d/nodesource.list
Update the repository index.
apt update
Finally, install the Nodejs using the following command:
apt install nodejs
After the installation, you can verify the Nodejs version using the following command:
node --version
Output:
v22.15.1
Step 2 – Install and Setup Uptime Kuma
First, clone the Uptime Kuma repository from GitHub.
git clone https://github.com/louislam/uptime-kuma.gitNavigate to the uptime-kuma directory and run the setup script using npm:
cd uptime-kuma
npm run setup
Step 3 – Install PM2 for Process Management
PM2 is a process manager for Node.js applications that allows you to keep your app running in the background and restart it if it crashes. Install PM2 globally:
npm install pm2 -g
Install the PM2 log rotation module to manage log files efficiently:
pm2 install pm2-logrotate
You should see output similar to this:
┌────┬──────────────────┬─────────────┬─────────┬─────────┬──────────┬────────┬──────┬───────────┬──────────┬──────────┬──────────┬──────────┐
│ id │ name             │ namespace   │ version │ mode    │ pid      │ uptime │ ↺    │ status    │ cpu      │ mem      │ user     │ watching │
└────┴──────────────────┴─────────────┴─────────┴─────────┴──────────┴────────┴──────┴───────────┴──────────┴──────────┴──────────┴──────────┘
Module
┌────┬──────────────────────────────┬───────────────┬──────────┬──────────┬──────┬──────────┬──────────┬──────────┐
│ id │ module                       │ version       │ pid      │ status   │ ↺    │ cpu      │ mem      │ user     │
├────┼──────────────────────────────┼───────────────┼──────────┼──────────┼──────┼──────────┼──────────┼──────────┤
│ 0  │ pm2-logrotate                │ 2.7.0         │ 87179    │ online   │ 0    │ 0%       │ 11.0mb   │ root     │
└────┴──────────────────────────────┴───────────────┴──────────┴──────────┴──────┴──────────┴──────────┴──────────┘
Step 4 – Start Uptime Kuma with PM2
Start the Uptime Kuma server using PM2:
pm2 start server/server.js --name uptime-kuma
You should see output similar to this:
[PM2] Starting /root/uptime-kuma/server/server.js in fork_mode (1 instance)
[PM2] Done.
┌────┬──────────────────┬─────────────┬─────────┬─────────┬──────────┬────────┬──────┬───────────┬──────────┬──────────┬──────────┬──────────┐
│ id │ name             │ namespace   │ version │ mode    │ pid      │ uptime │ ↺    │ status    │ cpu      │ mem      │ user     │ watching │
├────┼──────────────────┼─────────────┼─────────┼─────────┼──────────┼────────┼──────┼───────────┼──────────┼──────────┼──────────┼──────────┤
│ 1  │ uptime-kuma      │ default     │ 1.23.13 │ fork    │ 87203    │ 0s     │ 0    │ online    │ 0%       │ 5.7mb    │ root     │ disabled │
└────┴──────────────────┴─────────────┴─────────┴─────────┴──────────┴────────┴──────┴───────────┴──────────┴──────────┴──────────┴──────────┘
Module
┌────┬──────────────────────────────┬───────────────┬──────────┬──────────┬──────┬──────────┬──────────┬──────────┐
│ id │ module                       │ version       │ pid      │ status   │ ↺    │ cpu      │ mem      │ user     │
├────┼──────────────────────────────┼───────────────┼──────────┼──────────┼──────┼──────────┼──────────┼──────────┤
│ 0  │ pm2-logrotate                │ 2.7.0         │ 87179    │ online   │ 0    │ 0%       │ 52.3mb   │ root     │
└────┴──────────────────────────────┴───────────────┴──────────┴──────────┴──────┴──────────┴──────────┴──────────┘
Check the status of the process to ensure it’s running correctly:
pm2 status
To ensure Uptime Kuma starts on system boot, configure PM2 with the following command:
pm2 startup
Step 5 – Install and Configure Nginx
To make Uptime Kuma accessible via a web domain, we will use Nginx as a reverse proxy. First, install Nginx:
apt install nginx -y
Create a new Nginx configuration file for Uptime Kuma:
nano /etc/nginx/conf.d/kuma.conf
Add the following configuration to the file:
server  {
    listen 80;
    server_name kuma.example.com;
    location / {
        proxy_pass         http://localhost:3001;
        proxy_http_version 1.1;
        proxy_set_header   Upgrade $http_upgrade;
        proxy_set_header   Connection "upgrade";
        proxy_set_header   Host $host;
    }
}
Edit the Nginx main configuration file and set max hash bucket size:
nano /etc/nginx/nginx.confAdd the following line after http {:
server_names_hash_bucket_size 64; Test the Nginx configuration for syntax errors:
nginx -t
You should see the following output if the configuration is correct:
nginx: the configuration file /etc/nginx/nginx.conf syntax is ok
nginx: configuration file /etc/nginx/nginx.conf test is successful
Restart Nginx to apply the changes:
systemctl restart nginx
Step 6 – Access Uptime Kuma
You can now access your Uptime Kuma instance through your web browser by navigating to http://kuma.example.com. You will see the account creation page.
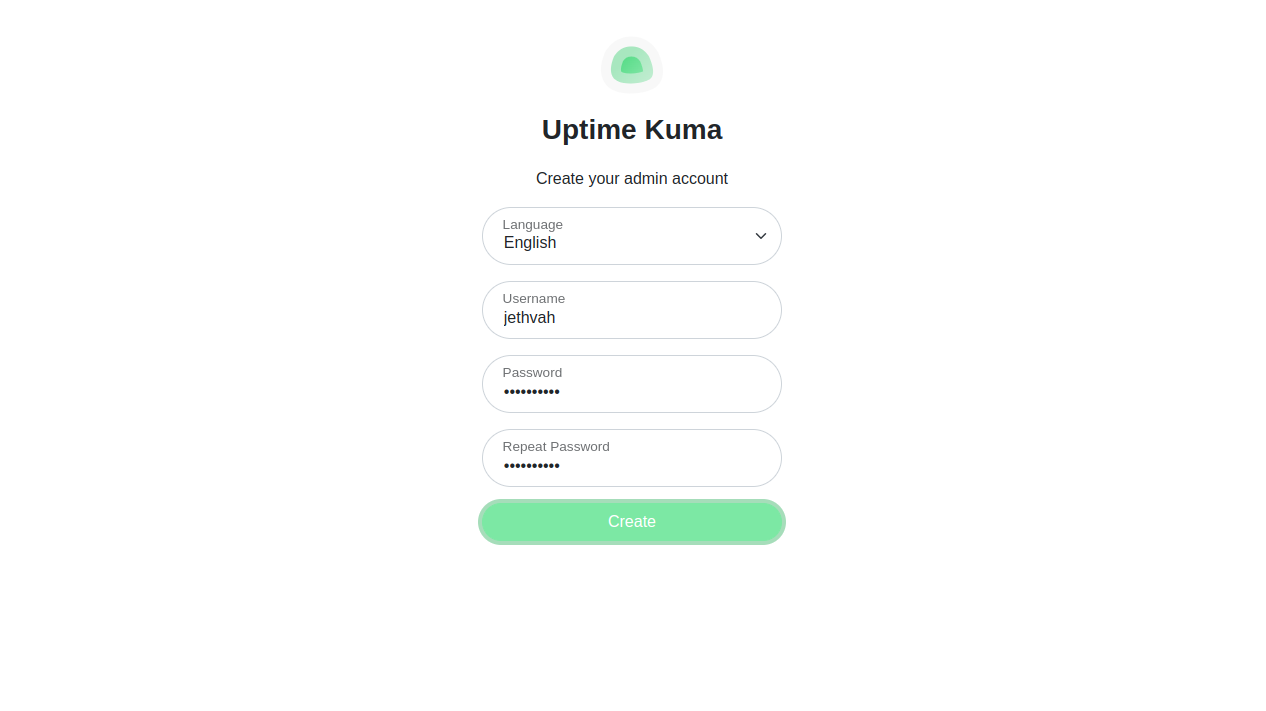
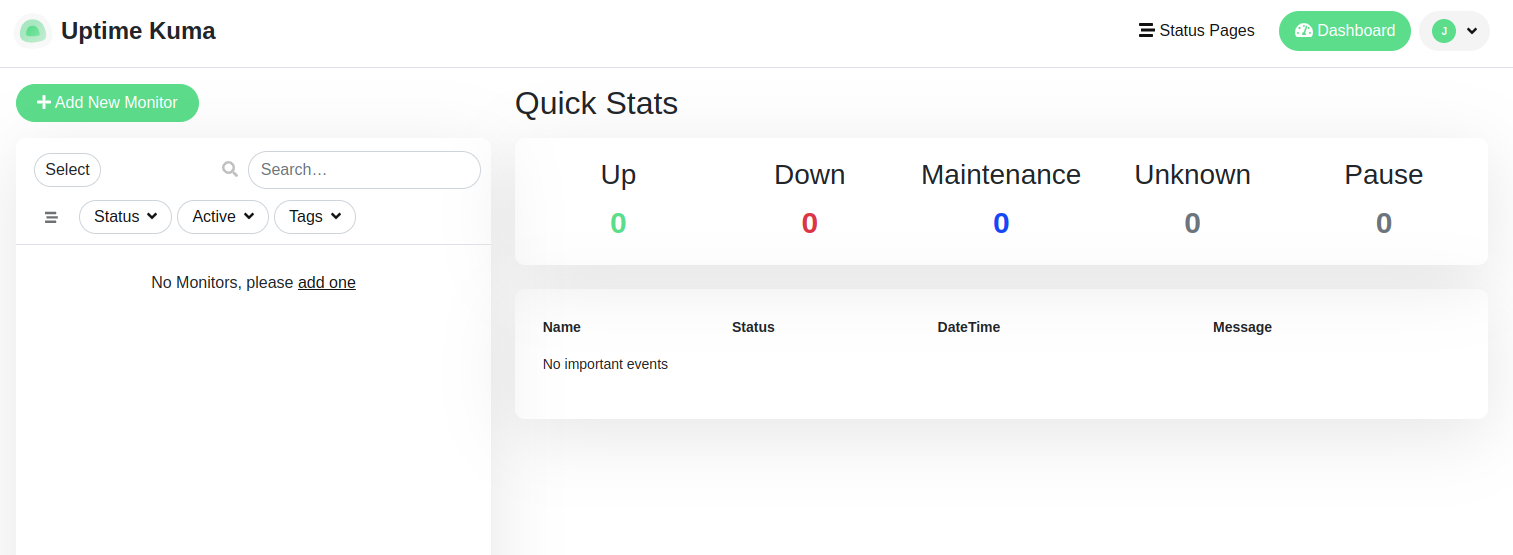
Define your admin username, password and click on Create. You will see the Uptime Kuma dashboard.
Conclusion
Congratulations! You have successfully installed and configured Uptime Kuma on Ubuntu 24.04. Uptime Kuma is now running behind Nginx and can be accessed via your configured domain. This setup ensures that your monitoring tool is robust, easy to manage, and ready to alert you in case of any issues with your websites or servers. You can now monitor your application using Uptime Kuma on dedicated server hosting from Atlantic.Net!
* This post is for informational purposes only and does not constitute professional, legal, financial, or technical advice. Each situation is unique and may require guidance from a qualified professional.
Readers should conduct their own due diligence before making any decisions.