Lighttpd is a free, open-source, and lightweight web server known for its fast speed. It is simple and easy to install and it provides a web-based interface to control and manage the application.
WordPress is a free and open-source content management system that allows you to create a blog and website from a web-based interface. Installing WordPress with Lighttpd will increase the speed and performance of your website.
In this post, we will show you how to install WordPress with a Lighttpd web server on Ubuntu 20.04.
Step 1 – Install Lighttpd, MariaDB, and PHP
First, install the Lighttpd, MariaDB, PHP, and other PHP extensions using the following command:
apt-get install mysql-server lighttpd php php-fpm php-mysql php-cli php-curl php-xml php-json php-zip php-mbstring php-gd php-intl php-cgi -y
The above command will also install the Apache package to your server, so you will need to remove it and stop the Apache service.
apt-get remove apache2 -y
systemctl stop apache2
Next, start the Lighttpd service and enable it to start at system reboot:
systemctl start lighttpd
systemctl enable lighttpd
Step 2 – Configure PHP-FPM to Work with Lighttpd
Next, you will need to configure PHP-FPM to work with Lighttpd. To do so, edit the www.conf file:
nano /etc/php/7.4/fpm/pool.d/www.conf
Find the following line:
listen = /run/php/php7.4-fpm.sock
And, replace it with the following line:
listen = 127.0.0.1:9000
Save and close the file, then edit the 15-fastcgi-php.conf file:
nano /etc/lighttpd/conf-available/15-fastcgi-php.conf
Find the following lines:
"bin-path" => "/usr/bin/php-cgi",
"socket" => "/var/run/lighttpd/php.socket",
And, replaced them with the following lines:
"host" => "127.0.0.1",
"port" => "9000",
Save and close the file, then enable the required modules with the following command:
lighty-enable-mod fastcgi
lighty-enable-mod fastcgi-php
Next, restart the Lighttpd and PHP-FPM service to apply the changes:
systemctl restart lighttpd
systemctl restart php7.4-fpm
Step 3 – Create a Database for WordPress
Next, log in to the MariaDB with the following command:
mysql
Once you are log in, create a database and user with the following command:
CREATE DATABASE wpdb;
GRANT ALL PRIVILEGES on wpdb.* TO 'wpuser'@'localhost' IDENTIFIED BY 'password';
Next, flush the privileges and exit from the MariaDB:
FLUSH PRIVILEGES;
EXIT;
Step 4 – Install WordPress
Next, change the directory to the Lighttpd web root directory and download the latest version of WordPress using the following command:
cd /var/www/html
wget https://wordpress.org/latest.tar.gz
Once the download is completed, extract the downloaded file with the following command:
tar -xvzf latest.tar.gz
Next, change the directory to WordPress and rename the sample configuration file:
cd wordpress
mv wp-config-sample.php wp-config.php
Next, edit the configuration file and define your database settings:
nano wp-config.php
Change the following lines:
/** The name of the database for WordPress */
define( 'DB_NAME', 'wpdb' );

/** MySQL database username */
define( 'DB_USER', 'wpuser' );

/** MySQL database password */
define( 'DB_PASSWORD', 'password' );

/** MySQL hostname */
define( 'DB_HOST', 'localhost' );

/** Database Charset to use in creating database tables. */
define( 'DB_CHARSET', 'utf8' );
Save and close the file, then set proper permissions and ownership with the following command:
chown -R www-data:www-data /var/www/html/wordpress
chmod -R 755 /var/www/html/wordpress
Step 5 – Configure Lighttpd for WordPress
First, create a directory to store the virtual host configuration file:
mkdir -p /etc/lighttpd/vhosts.d/
Next, edit the Lighttpd configuration file:
nano /etc/lighttpd/lighttpd.conf
Add mod_rewrite in the following block:
server.modules = (
        "mod_access",
        "mod_alias",
        "mod_compress",
        "mod_redirect",
        "mod_rewrite",
)
And define the path of your virtual host configuration directory:
include_shell "cat /etc/lighttpd/vhosts.d/*.conf"
Save and close the file. Then, create a new virtual host configuration file for WordPress:
nano /etc/lighttpd/vhosts.d/wordpress.conf
Add the following lines:
$HTTP["host"] =~ "(^|.)wordpress.example.com$" {
server.document-root = "/var/www/html/wordpress"
server.errorlog = "/var/log/lighttpd/wordpress-error.log"

}
Save and close the file, then restart the Lighttpd service to apply the changes:
systemctl restart lighttpd
Step 6 – Access WordPress Dashboard
Now, open your web browser and access the WordPress installation wizard using the URL http://wordpress.example.com. You should see the following page:
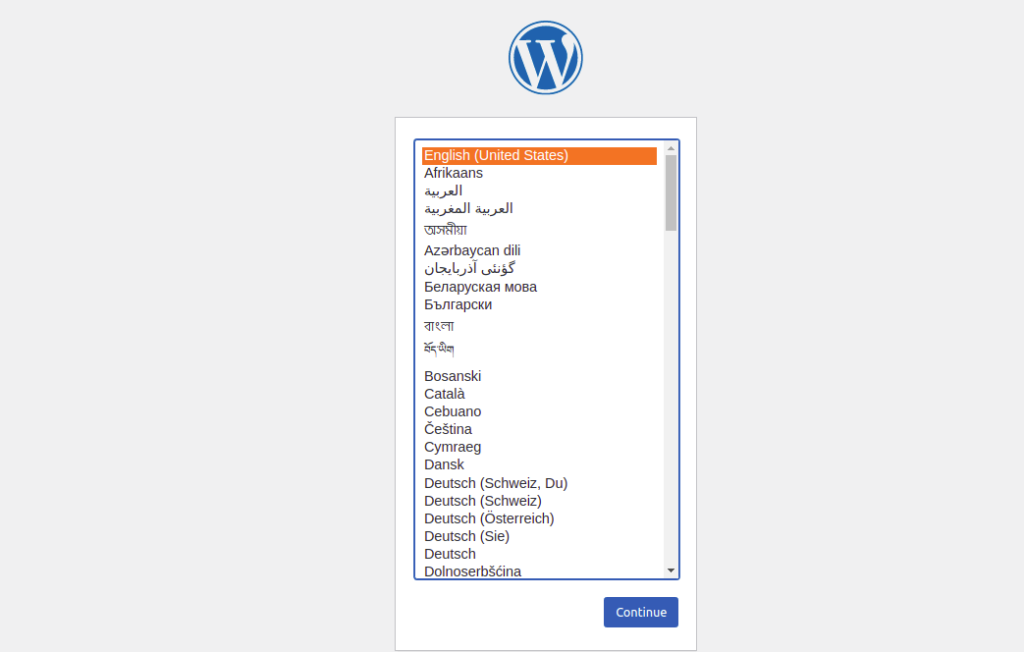
Select your language and click on the Continue button. You should see the following page:

Provide your site information and click on the Start the installation button. Once the installation is completed, you should see the following screen:
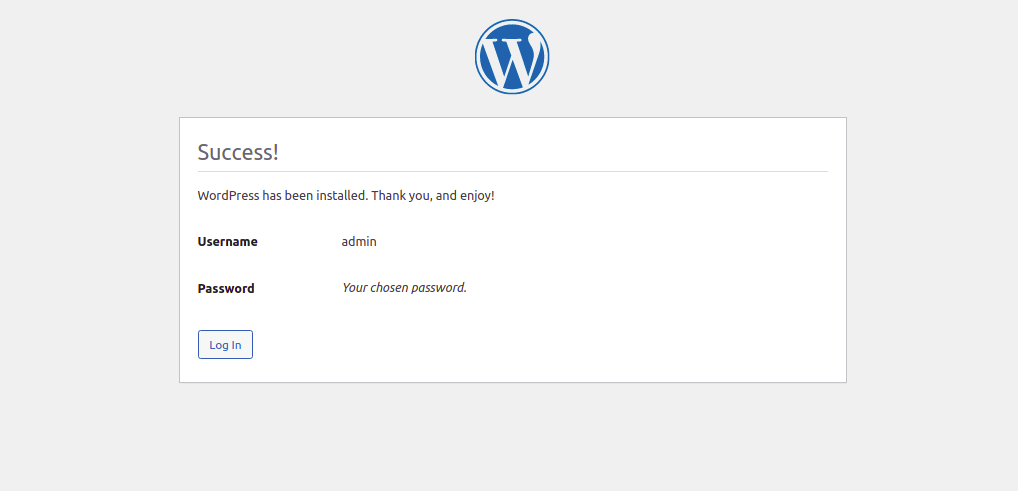
Click on the Login button. You should see the WordPress login page;
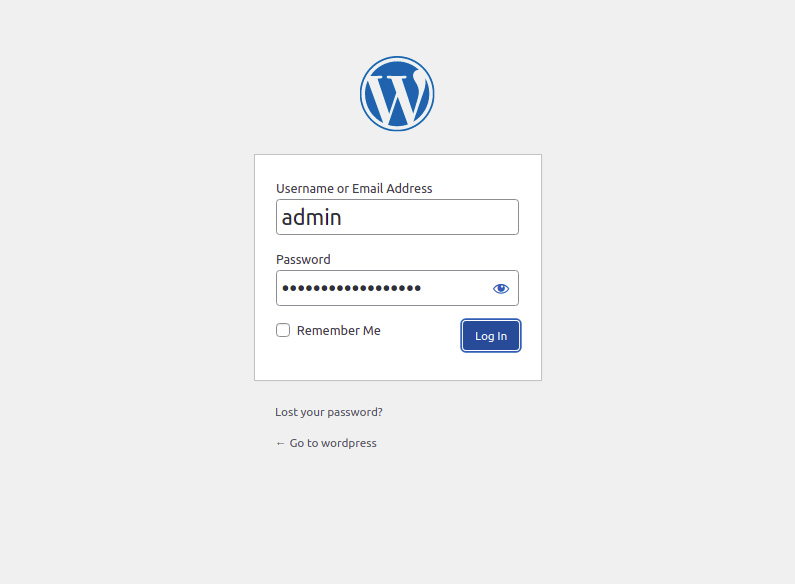
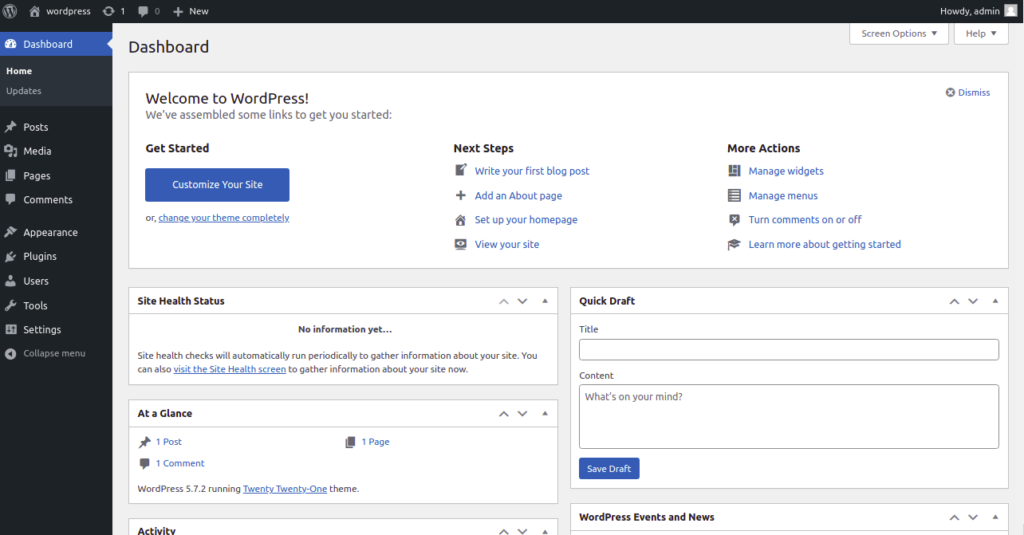
Provide your admin username and password and click on the Login button. You should see the WordPress admin dashboard on the following screen:
Conclusion
Congratulations! You have successfully installed WordPress with Lighttpd on Ubuntu 20.04. You can now create a high-performance website or blog from the WordPress dashboard on your dedicated server from Atlantic.Net.
* This post is for informational purposes only and does not constitute professional, legal, financial, or technical advice. Each situation is unique and may require guidance from a qualified professional.
Readers should conduct their own due diligence before making any decisions.