Zimplit is an extremely lightweight, simple, and customizable content management system. It consists of only one file and does not require a database. It allows you to create a fast, secure, and powerful website or blog in seconds. It has a built-in site editor that helps you create and edit a website without logging in to the admin panel.
In this post, we will show you how to install Zimplit CMS on Oracle Linux 8.
Step 1 – Install Apache and PHP
First, you will need to install the Apache web server, PHP, and other PHP dependencies to your server. You can install all of them by running the following command:
dnf install httpd php php-zip php-fpm php-soap php-cli php-common php-gd php-mbstring php-mysqlnd php-xml unzip -y
Once all the packages are installed, start and enable the Apache and PHP-FPM service with the following command:
systemctl start httpd
systemctl start php-fpm
systemctl enable httpd
systemctl enable php-fpm
Step 2 – Download Zimplit CMS
First, download the latest version of Zimplit CMS from the Git repository using the wget command:
wget https://codeload.github.com/niutech/zimplitcms/zip/master
Once the download is completed, unzip the downloaded file with the following command:
unzip master
Next, move the extracted directory to the Apache web directory using the following command:
mv zimplitcms-master /var/www/html/zimplit
chown -R apache:apache /var/www/html/zimplit
chmod -R 755 /var/www/html/zimplit
Step 3 – Configure Apache for Zimplit
Next, you will need to create an Apache virtual host to host Zimplit on the Internet. You can create it with the following command:
nano /etc/httpd/conf.d/zimplit.conf
Add the following lines:
<Virtualhost *:80>
        Servername zimplit.example.com
        Documentroot /var/www/html/zimplit
<directory /var/www/html/zimplit>
Allowoverride all
Allow from all
</directory>
</Virtualhost>
Save and close the file, then restart the Apache service to apply the changes:
systemctl restart httpd
To check the Apache status, run the following command:
systemctl status httpd
You should see the Apache status in the following output:
● httpd.service - The Apache HTTP Server
   Loaded: loaded (/usr/lib/systemd/system/httpd.service; disabled; vendor preset: disabled)
  Drop-In: /usr/lib/systemd/system/httpd.service.d
           └─php-fpm.conf
   Active: active (running) since Thu 2022-08-11 04:57:06 EDT; 3s ago
     Docs: man:httpd.service(8)
 Main PID: 2028 (httpd)
   Status: "Started, listening on: port 80"
    Tasks: 213 (limit: 11409)
   Memory: 24.3M
   CGroup: /system.slice/httpd.service
           ├─2028 /usr/sbin/httpd -DFOREGROUND
           ├─2030 /usr/sbin/httpd -DFOREGROUND
           ├─2031 /usr/sbin/httpd -DFOREGROUND
           ├─2032 /usr/sbin/httpd -DFOREGROUND
           └─2033 /usr/sbin/httpd -DFOREGROUND

Aug 11 04:57:05 oraclelinux8 systemd[1]: httpd.service: Succeeded.
Aug 11 04:57:05 oraclelinux8 systemd[1]: Stopped The Apache HTTP Server.
Aug 11 04:57:05 oraclelinux8 systemd[1]: Starting The Apache HTTP Server...
Step 4 – Access Zimplit CMS
You can now access the Zimplit CMS using the URL http://zimplit.example.com/zimplit.php in your web browser. You should see the account creation screen:
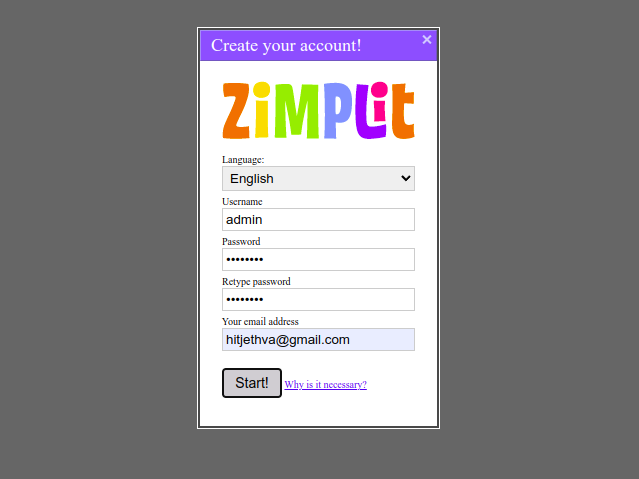
Provide your admin username, password, and email, and click on the Start button. You should see the following screen:
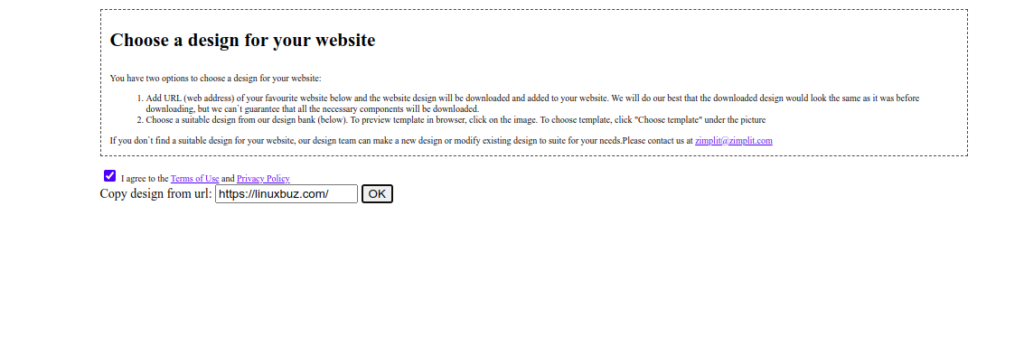
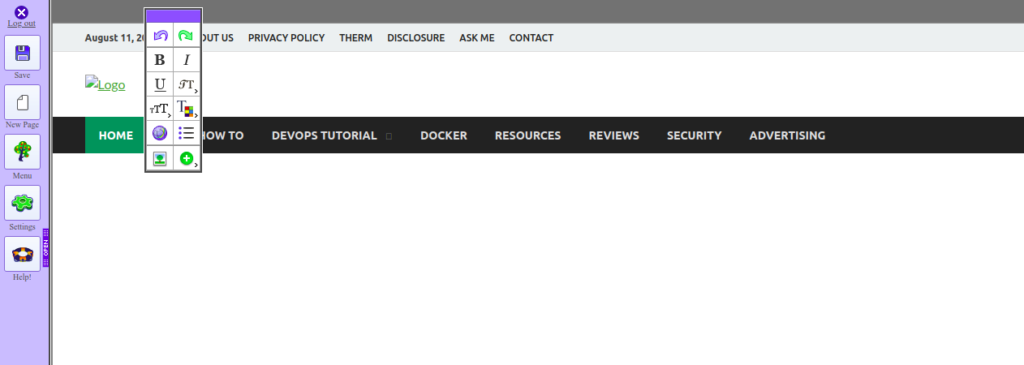
Agree to the terms of service and type any website URL to copy their design and click on the OK button. You should see the Zimplit CMS dashboard on the following screen:
Conclusion
Congratulations! You have successfully installed Zimplit CMS with Apache on Oracle Linux 8. You can now easily create a new website in a minimal time. Try it on dedicated hosting from Atlantic.Net!