Koel is a free, open-source, web-based personal audio streaming server written in Laravel. Koel client is written in Vue.js. Koel Player is the official mobile app for Koel, which supports both iOS and Android without the limitations of the mobile web version. Koel allows you to stream your music and access it from anywhere through the Internet.
In this post, we will show you how to install a Koel streaming server on Oracle Linux 8.
Step 1 – Install Nginx, MariaDB and PHP
First, install Nginx and MariaDB with the following command:
dnf install nginx mariadb-server -y
Next, reset the default PHP modules and enable the PHP 8.0 module with the following command:
dnf module reset php
dnf module enable php:8.0
Next, install PHP 8.0 and other required dependencies with the following command:
dnf install php php-cli php-fpm php-json php-common php-mysqlnd php-zip php-gd php-mbstring php-curl php-xml php-pear php-bcmath php-tokenizer openssl php-json -y
Once all the packages are installed, edit the PHP-FPM file:
nano /etc/php-fpm.d/www.conf
Change the user from Apache to Nginx:
user = nginx
group = nginx
Next, find the following line:
;listen = /run/php-fpm/www.sock
And replace it with the following line:
listen = 9000
Save and close the file, then start and enable the Nginx, MariaDB, and PHP-FPM services:
systemctl start nginx mariadb php-fpm
systemctl enable nginx mariadb php-fpm
Step 2 – Install Required Dependencies
Before starting, you will need to install some required dependencies on your server. First, install the development tools group package and Composer with the following command:
dnf group install "Development Tools"  -y
curl -sS https://getcomposer.org/installer -o composer-setup.php
php composer-setup.php --install-dir=/usr/local/bin --filename=composer
Next, enable the EPEL and RPM fusion repo with the following command:
dnf install https://dl.fedoraproject.org/pub/epel/epel-release-latest-8.noarch.rpm
dnf install https://download1.rpmfusion.org/free/el/rpmfusion-free-release-8.noarch.rpm https://download1.rpmfusion.org/nonfree/el/rpmfusion-nonfree-release-8.noarch.rpm
Next, install the SDL2 and FFMPEG package with the following command:
dnf install http://rpmfind.net/linux/centos/8-stream/PowerTools/x86_64/os/Packages/SDL2-2.0.10-2.el8.x86_64.rpm -y
dnf install ffmpeg ffmpeg-devel -y
Step 3 – Create a Database and User for Koel
Next, you will need to create a database and user for Koel.
First, connect to MariaDB with the following command:
mysql
Once you are connected, create a database and user with the following command:
CREATE DATABASE koeldb;
CREATE USER 'koeluser'@'localhost' IDENTIFIED BY 'password';
Next, grant all the privileges to the Koel database with the following command:
GRANT ALL PRIVILEGES ON koeldb . * TO 'koeluser'@'localhost';
Next, flush the privileges and exit from MariaDB with the following command:
FLUSH PRIVILEGES;
EXIT;
Step 4 – Install Node.js and Yarn
Next, you will also need to install Node.js and Yarn on your server.
First, list all available Node.js versions using the following command.
dnf module list --all nodejs
You will see the following output.
Name      Stream    Profiles                                Summary
nodejs    10 [d]    common [d], development, minimal, s2i   Javascript runtime
nodejs    12        common [d], development, minimal, s2i   Javascript runtime
nodejs    14        common [d], development, minimal, s2i   Javascript runtime
nodejs    16        common [d], development, minimal, s2i   Javascript runtime
nodejs    18        common [d], development, minimal, s2i   Javascript runtime
nodejs    20        common, development, minimal, s2i       Javascript runtime
Next, enable the Node.js version 20 repo using the following command.
dnf module enable nodejs:20
Next, install the Node.js by running the following command:
dnf install nodejs -y
Once Node.js is installed, you can verify the Node.js version using the following command:
node --version
You will get the following output:
v20.0.0
Next, import the Yarn repository with the following command:
curl -sS https://dl.yarnpkg.com/debian/pubkey.gpg | gpg --dearmor -o /usr/share/keyrings/yarn-archive-keyring.gpg
Next, create a new file in the /etc/apt/sources.list.d/ directory to store the Yarn repository information:
echo "deb [signed-by=/usr/share/keyrings/yarn-archive-keyring.gpg] https://dl.yarnpkg.com/debian/ stable main" | sudo tee /etc/apt/sources.list.d/yarn.list
Finally, update the repository and install Yarn using the following command.
apt update -y
apt install yarn -y
Step 5- Install and Configure Koel
First, download the Laravel installer with the following command:
composer global require laravel/installer
Next, download the latest version of Koel using the following command:
git clone https://github.com/koel/koel.git --recursive
Next, change the directory to Koel and install all required dependencies with the following commands:
cd koel
npm install
npm audit fix
npm audit fix --force
composer install
Next, rename the example environment file:
mv .env.example .env
Next, edit the .env file:
nano .env
Define your database and other settings as shown below:
DB_CONNECTION=mysql
DB_HOST=127.0.0.1
DB_PORT=3306
DB_DATABASE=koeldb
DB_USERNAME=koeluser
DB_PASSWORD=password

MEMORY_LIMIT=512
FFMPEG_PATH=/usr/bin/ffmpeg
Save and close the file, then migrate the database with the following command:
php artisan koel:init --no-interaction
Next, set the admin password with the following command:
php artisan koel:admin:change-password
Define your new admin password as shown below:
Changing the user's password (ID: 1, email: admin@koel.dev)

 Your desired password:
 >

 Again, just to be sure:
 >

Alrighty, the new password has been saved. Enjoy! 👌
Next, create a directory for Koel inside the Nginx web root:
mkdir /var/www/html/streaming/
Next, move the Koel directory to the streaming directory:
cd
mv ~/koel /var/www/html/streaming/
Step 6 – Configure Nginx for Koel
Next, create an Nginx virtual host configuration file for Koel:
nano /etc/nginx/conf.d/koel.conf
Add the following lines:
server {
        listen       80;
        server_name  koel.example.com;
        root         /var/www/html/streaming/koel/public;
        index index.html index.htm index.php;

        location / {
                try_files $uri /index.php$is_args$args;
        }

location ~ \.php$ {
    try_files $uri $uri/ /index.php?$args;

    fastcgi_param     PATH_INFO $fastcgi_path_info;
    fastcgi_param     PATH_TRANSLATED $document_root$fastcgi_path_info;
    fastcgi_param     SCRIPT_FILENAME $document_root$fastcgi_script_name;

    fastcgi_pass              127.0.0.1:9000;
    fastcgi_index             index.php;
    fastcgi_split_path_info   ^(.+\.php)(/.+)$;
    fastcgi_intercept_errors  on;
    include                   fastcgi_params;
        }
    }
Save and close the file, then edit the Nginx main configuration file:
nano /etc/nginx/nginx.conf
Define the hash bucket size below the line http {:
server_names_hash_bucket_size 64;
Save and close the file, then set proper permissions and ownership:
chown -R nginx:nginx /var/www/html/streaming/
chmod -R 755 /var/www/html/streaming/
Finally, restart the Nginx and PHP-FPM services to apply the changes:
systemctl restart nginx php-fpm
Step 7 – Access Koel Web UI
Now, open your web browser and access the Koel web interface using the URL http://koel.example.com. You should see the Koel login page:
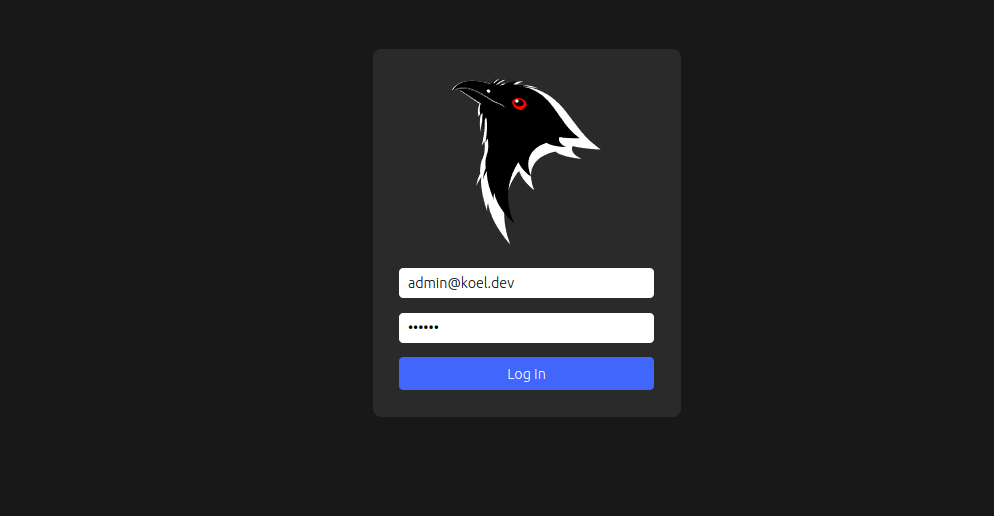
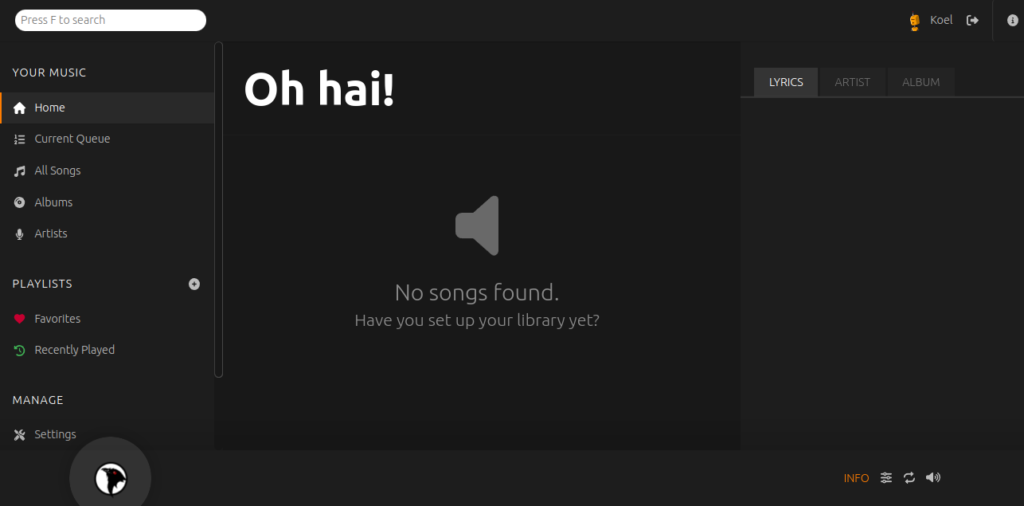
Provide the Koel default username as admin@koel.dev and the password which you set earlier, then click on the Log In button. You should see the Koel dashboard on the following page:
Conclusion
Congratulations! You have successfully installed and configured the Koel music streaming server on Oracle Linux 8. You can now upload media on your server, install the Koel client app on your smartphone and start listening to your music on your smartphone. Try Koel on dedicated hosting from Atlantic.Net!
* This post is for informational purposes only and does not constitute professional, legal, financial, or technical advice. Each situation is unique and may require guidance from a qualified professional.
Readers should conduct their own due diligence before making any decisions.