Transcoding means changing a media file from one format to another. This process can use a lot of CPU and GPU power, especially for large files, which might be too much for a regular computer to handle. A good solution is to use a special server made for transcoding. These servers are fast, powerful, and often use hardware acceleration to speed up the process.
HandBrake is a free, open-source tool that converts video files. You can set it up on a server just for transcoding. When you combine HandBrake with FileBrowser, you can use cloud-based GPU power to make the conversion faster and more efficient.
In this guide, you’ll learn how to create a transcoding server using HandBrake on an Atlantic.Net Cloud GPU server.
Prerequisites
- An Ubuntu 24.04 server with an NVIDIA GPU.
- A root user or a user with sudo privileges.
- NVIDIA drivers installed.
Step 1: Create a User
1. First, create a dedicated user for your project.
adduser example-user2. Add your user to the sudo group.
usermod -aG sudo example-user3. Add the user to the Docker group.
usermod -aG docker example-userStep 2: Install HandBrake
In this section, we will create a HandBrake container.
1. Log in as an example-user.
su - example-user2. Verify that the Docker service is up and running.
sudo service docker status3. Start a new HandBrake container.
docker run -d --name=handbrake -p 8000:5800 -v /docker/appdata/handbrake:/config:rw -v /home/handbrake-user/:/storage:rw -v /home/handbrake-user/HandBrake/watch:/watch:rw -v /home/handbrake-user/HandBrake/output:/output:rw jlesage/handbrakeExplanation:
- The above Docker run command starts a HandBrake container in the background (-d) with the name handbrake.
- It maps port 5800 inside the container to port 8000 on the host, allowing you to access HandBrake’s web interface via http://localhost:8000.
- Several volumes are mounted: /docker/appdata/handbrake is used to store HandBrake’s configuration files, /home/handbrake-user/ provides general file access, and specific folders (watch and output) are used for input and output video files.
- The container uses the jlesage/handbrake image, which includes a web-based interface for transcoding videos.
4. Verify that the HandBrake container is created and running.
docker psOutput.
CONTAINER ID   IMAGE               COMMAND   CREATED          STATUS          PORTS                                                   NAMES
00dd17e8cada   jlesage/handbrake   "/init"   11 seconds ago   Up 10 seconds   5900/tcp, 0.0.0.0:8000->5800/tcp, [::]:8000->5800/tcp   handbrake
5. Also, verify if HandBrake is listening on port 8000.
ss -antpl | grep 8000Output.
LISTEN 0      4096         0.0.0.0:8000      0.0.0.0:*
LISTEN 0      4096            [::]:8000         [::]:*
Step 2: Install FileBrowser
FileBrowser is an open-source, self‑hosted web-based file manager that lets you interact with files and folders on your server through a browser.
1. First, create a new directory for storing FileBrowser files.
sudo mkdir /home/handbrake-user/Files2. Create a database file for FileBrowser.
sudo touch /home/handbrake-user/Files/filebrowser.db3. Create a new container for FileBrowser.
docker run -d --name=filebrowser -v /home/handbrake-user/Files:/srv -v /home/handbrake-user/Files/filebrowser.db:/database.db -e PGID=$(id -g) -e PUID=$(id -u) -p 8001:80 filebrowser/filebrowserThis command runs a FileBrowser container named filebrowser in the background, maps port 80 in the container to port 8001 on the host, mounts a file directory and database, and sets user permissions using your current user and group ID, enabling web-based file management at http://localhost:8001.
4. Verify that the FileBrowser container created and running.
docker psOutput.
CONTAINER ID   IMAGE                     COMMAND          CREATED          STATUS                   PORTS                                                   NAMES
f621cca33d0a   filebrowser/filebrowser   "/filebrowser"   10 seconds ago   Up 9 seconds (healthy)   0.0.0.0:8001->80/tcp, [::]:8001->80/tcp                 filebrowser
00dd17e8cada   jlesage/handbrake         "/init"          2 minutes ago    Up 2 minutes             5900/tcp, 0.0.0.0:8000->5800/tcp, [::]:8000->5800/tcp   handbrake
Step 3: Configure Nginx as a Reverse proxy
In this section, you’ll configure Nginx as a reverse proxy to securely route incoming traffic to the internal ports, 8000 for HandBrake and 8001 for FileBrowser, allowing safe and streamlined access to both applications.
1. Install the Nginx server.
sudo apt install nginx -y2. Delete the default Nginx host configuration file.
sudo rm /etc/nginx/sites-enabled/default3. Create a new HandBrake configuration file.
sudo nano /etc/nginx/conf.d/handbrake.confAdd the following configuration.
map $http_upgrade $connection_upgrade {
     default upgrade;
     '' close;
 }

 server {
     listen 80;
     server_name handbrake.example.com;

     location / {
         proxy_pass http://127.0.0.1:8000;
         proxy_set_header Host $host;
         proxy_set_header X-Real-IP $remote_addr;
     }

     location /websockify {
         proxy_pass http://127.0.0.1:8000;
         proxy_http_version 1.1;
         proxy_set_header Upgrade $http_upgrade;
         proxy_set_header Connection $connection_upgrade;
         proxy_read_timeout 86400;
     }
     }
4. Test the Nginx configuration.
sudo nginx -tOutput.
nginx: the configuration file /etc/nginx/nginx.conf syntax is ok
nginx: configuration file /etc/nginx/nginx.conf test is successful
5. Create a FileBrowser configuration file.
sudo nano /etc/nginx/conf.d/filebrowser.confAdd the following configuration.
 server {
 listen 80;
 server_name filebrowser.example.com;

 location / {
     proxy_pass http://127.0.0.1:8001;
     proxy_set_header Host $host;
     proxy_set_header X-Real-IP $remote_addr;
 }

 }
6. Restart Nginx to apply the changes.
sudo systemctl restart nginxStep 4: Upload Files Using FileBrowser
In this section, you will access the FileBrowser and upload a video file.
1. Open your web browser and access the FileBrowser at http://filebrowser.example.com.
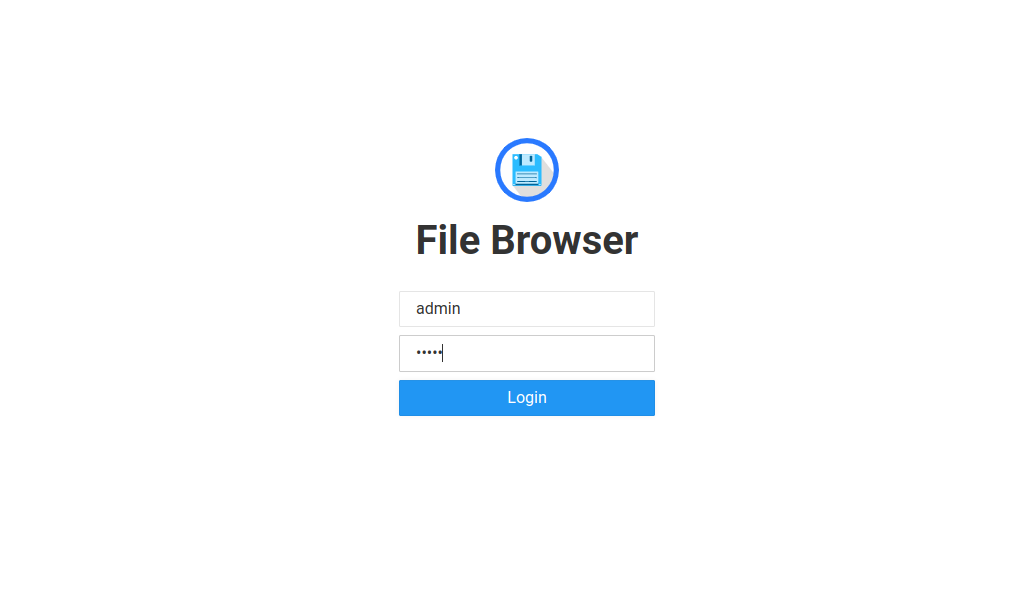
2. Provide the default administrator username admin and password admin to log in to FileBrowser.
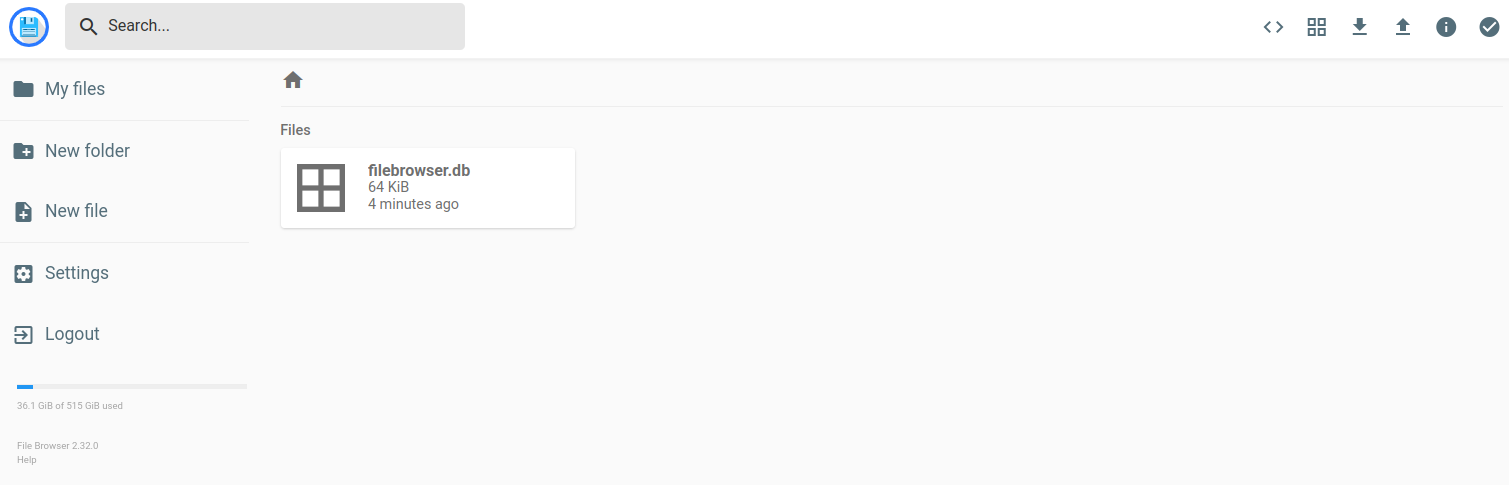
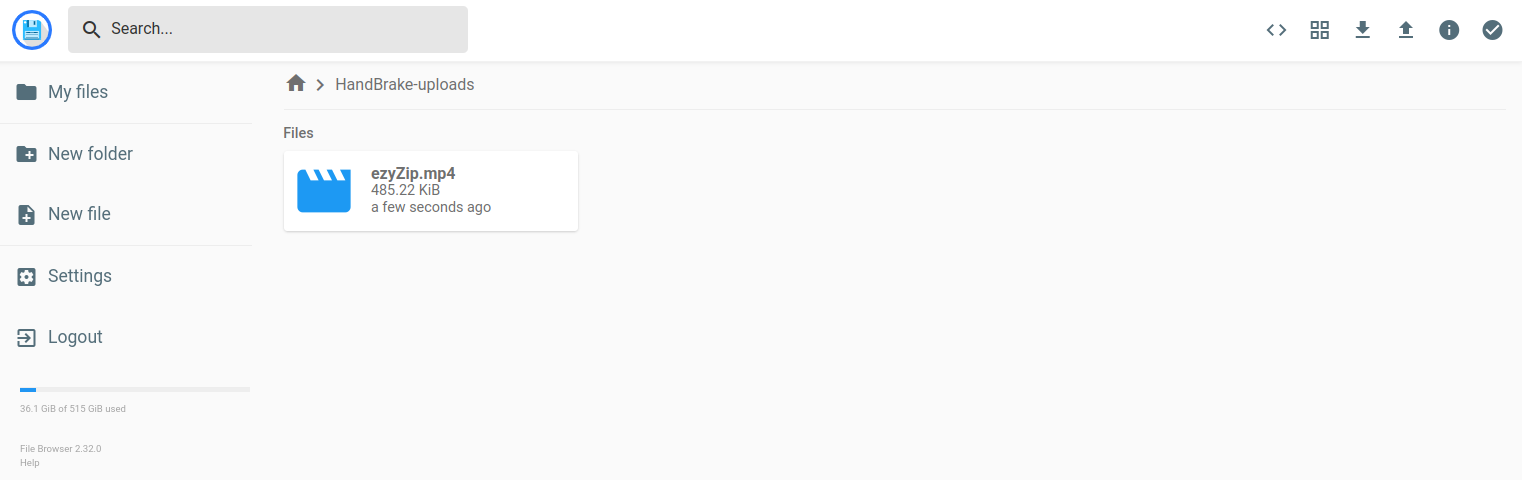
3. Click New Folder on the left navigation menu to create a new folder named HandBrake-uploads.
4. Click the Upload ↑ button on the top right bar.
5. In the pop-up window, click File to browse and upload a video file from your computer.
6. After the upload finishes, check that the file appears in the directory so you can begin the transcoding process with HandBrake.
Step 5: Transcode Files Using Handbrake
In this section, you will access the Handbrake web interface and transcode your uploaded video file using Handbrake.
1. Access the Handbrake web UI using the URL http://handbrake.example.com.
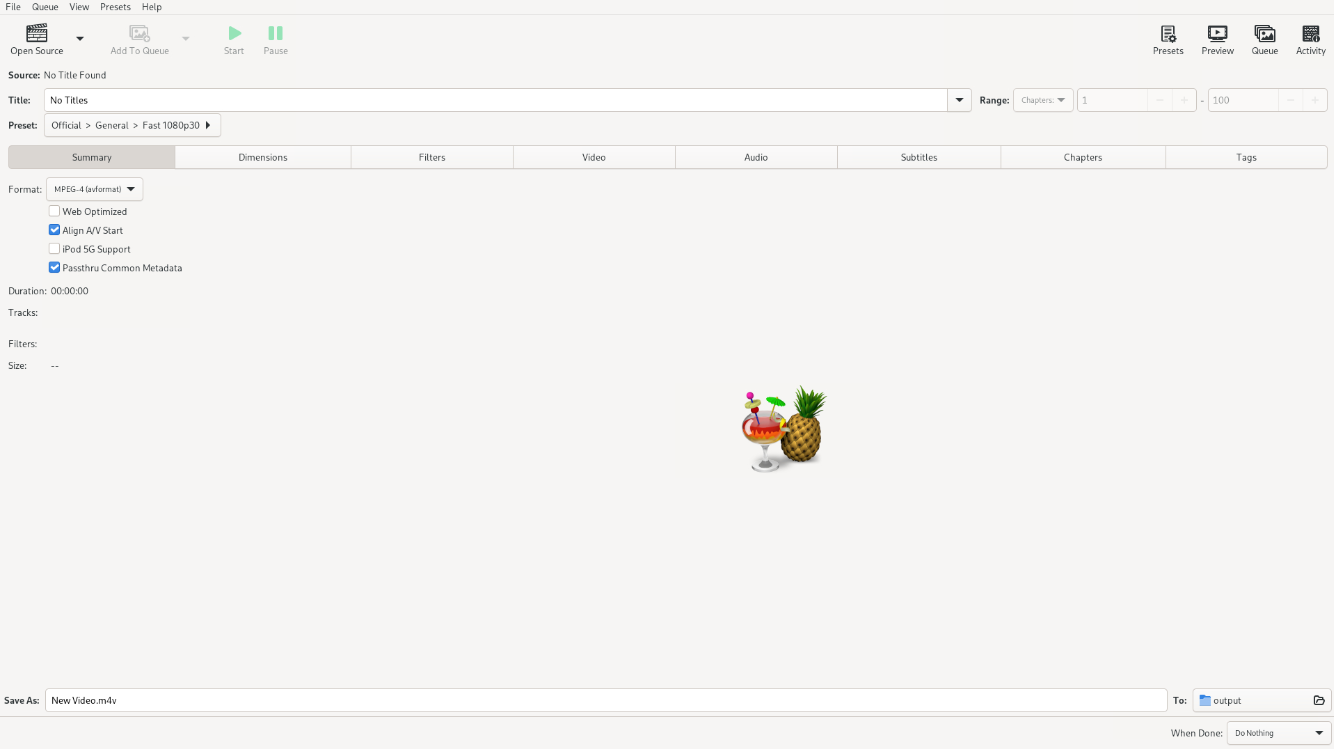
2. Click Open Source to locate your media file.
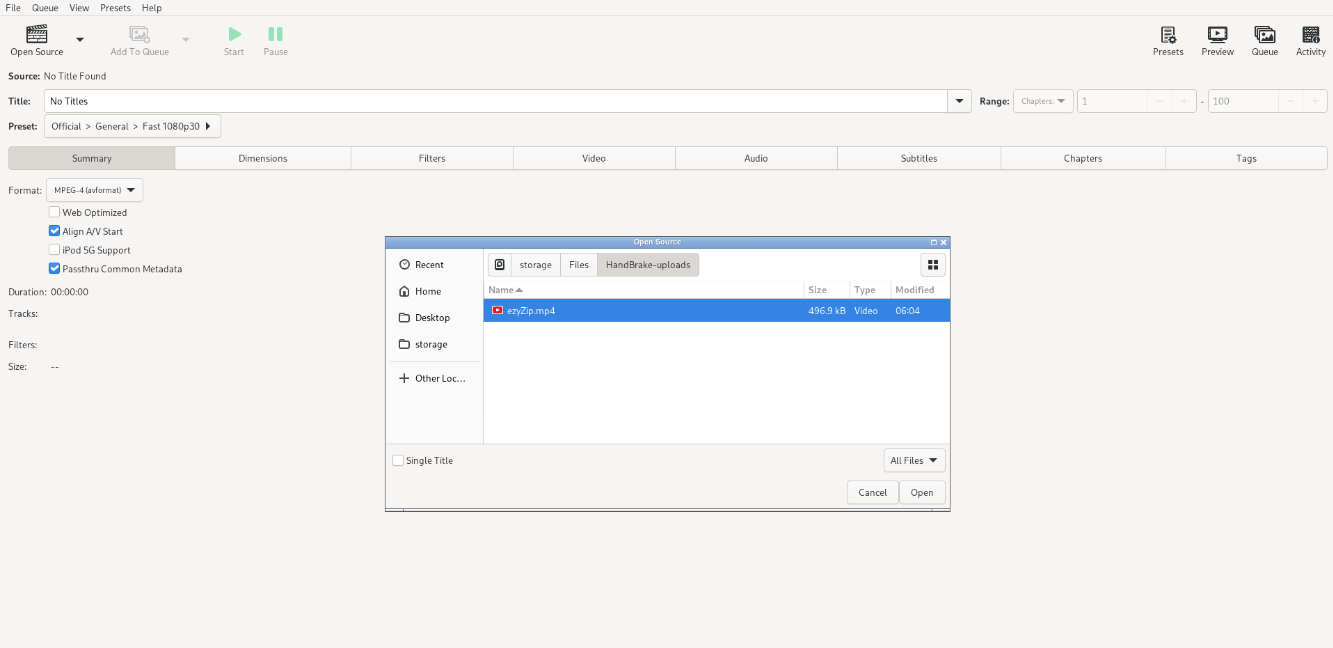
3. Navigate to the Files directory where you uploaded the media file and click Open to load it.
4. Click the Presets button in the top-right toolbar, choose your preferred transcode preset (e.g., Creator 2160p60 4K) from the dropdown, then close the popup by clicking the X.
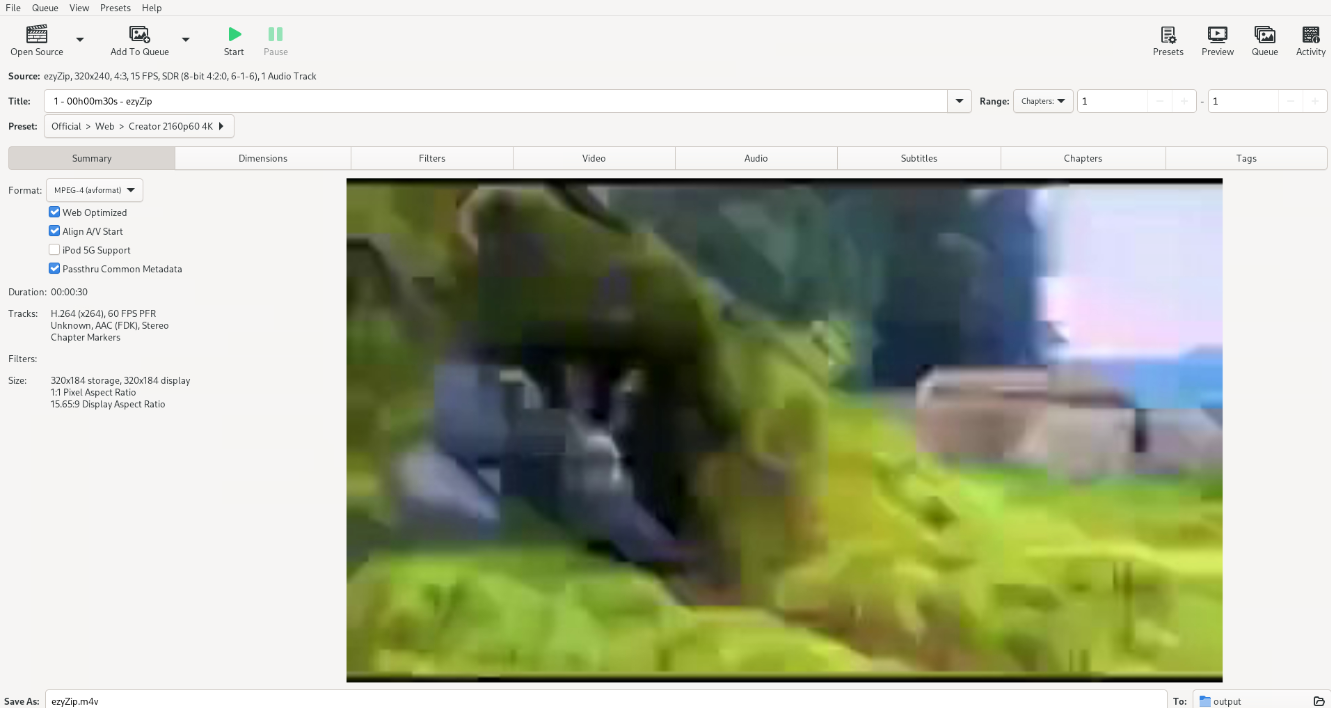
5. In the Summary section, open the Format dropdown and choose your desired output format.
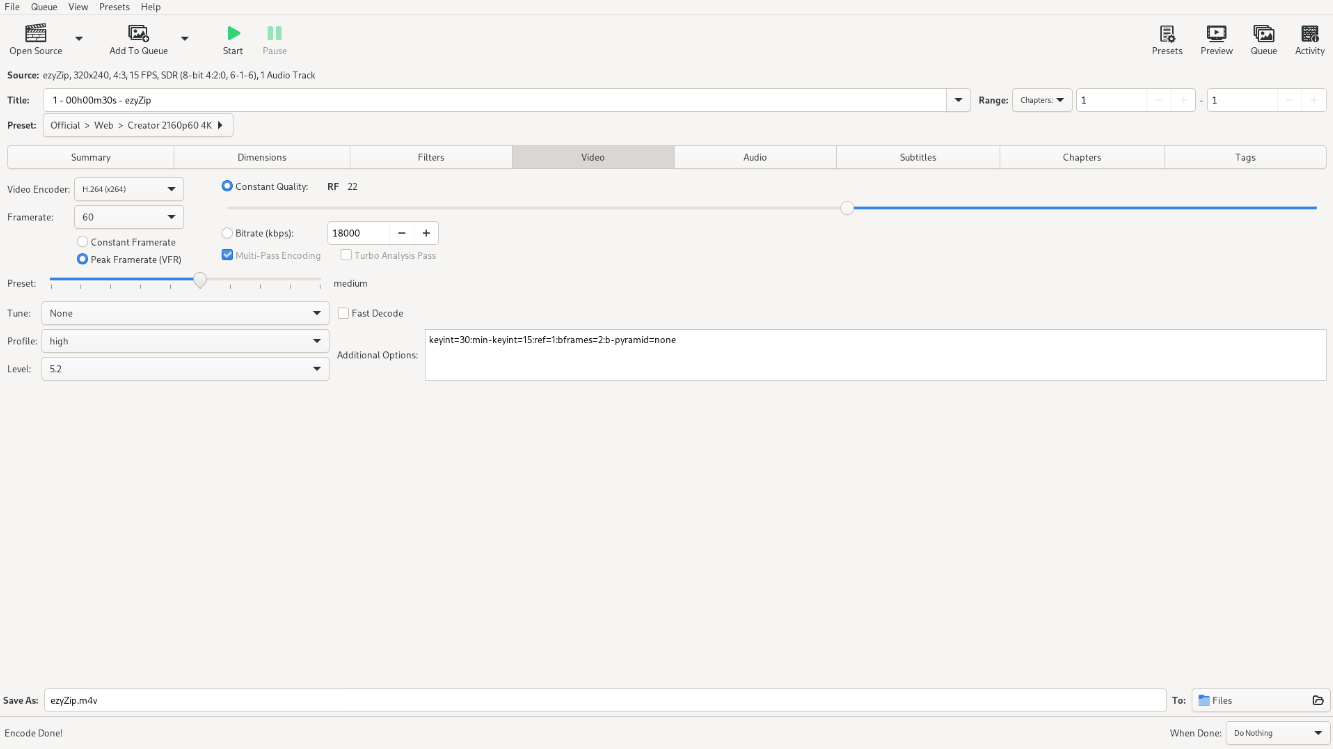
6. In the Video section, set your preferred Video Encoder and Framerate.
7. Adjust settings in the Audio, Subtitles, and Tags sections as needed.
8. In the Save As field at the bottom, enter a name for the output file. Under the TO: dropdown, click it, scroll down, select Other, then use the file manager to open the storage folder and choose the Files directory as the output location.
9. Click Start to begin the transcoding process.
Step 6: Download Transcoded Files
1. Go back to the FileBrowser dashboard.
2. Verify that the new transcoded file is available in your Files directory.
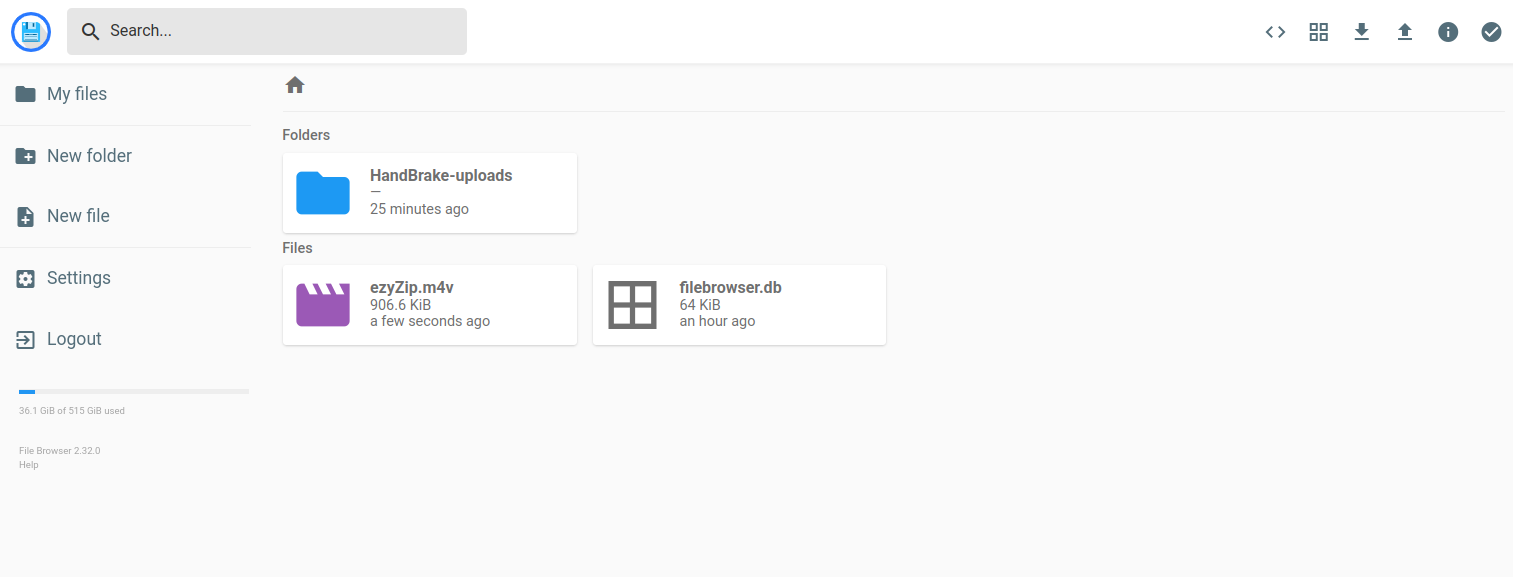
3. Click the file, then click the Download ↓ button on the top right bar.
4. Download and save the file on your computer.
Conclusion
You’ve successfully set up a transcoding server using HandBrake on an Atlantic.net Cloud GPU. With GPU acceleration, you can transcode multiple files simultaneously while maintaining high output quality, which can be easily downloaded via FileBrowser. If you need faster conversions or have heavier workloads, you can scale your GPU instance for more processing power. To increase storage capacity, simply attach a block storage volume.
* This post is for informational purposes only and does not constitute professional, legal, financial, or technical advice. Each situation is unique and may require guidance from a qualified professional.
Readers should conduct their own due diligence before making any decisions.