Memcached is a free, high-performance, and distributed memory object caching system written in C language. It is used for speeding up dynamic database-driven websites by caching data and objects in RAM. Memcached works by storing the content of the website database table and query in the memory, increasing website performance drastically. You can create and deploy a highly scalable and high-performance website with Memcached. Memcached is now used by many companies including Facebook, Reddit, Wikipedia, Craigslist, Yellowbot, YouTube and more.
In this tutorial, we will explain step-by-step instructions on how to install and secure Memcache on Ubuntu 18.04 VPS.
Step 1 – Install Apache and PHP
First, you will need to install the Apache webserver and PHP to your server. You can install them with the following command:
apt-get install apache2 php php-dev php-pear libapache2-mod-php -y
Once all the packages are installed, start the Apache web server and enable it to start after system reboot with the following command:
systemctl start apache2
systemctl enable apache2
Step 2 – Install Memcached
By default, Memcached is available in the Ubuntu 18.04 default repository. You can install Memcached with PHP module with the following command:
apt-get install memcached libmemcached-tools php-memcached -y
Once installed, you must restart the Apache service to apply the changes:
systemctl restart apache2
Next, you can check the status of Memcached service with the following command:
systemctl status memcached
You should get the following output:
● memcached.service - memcached daemon
   Loaded: loaded (/lib/systemd/system/memcached.service; enabled; vendor preset: enabled)
   Active: active (running) since Fri 2019-08-30 09:30:02 UTC; 41s ago
     Docs: man:memcached(1)
 Main PID: 19088 (memcached)
    Tasks: 10 (limit: 1114)
   CGroup: /system.slice/memcached.service
           └─19088 /usr/bin/memcached -m 64 -p 11211 -u memcache -l 127.0.0.1 -P /var/run/memcached/memcached.pid

Aug 30 09:30:02 ubuntu1804 systemd[1]: Started memcached daemon.
By default, Memcached is running on port 11211. You can check it with the following command:
netstat -plunt | grep memcached
Output:
tcp 0 0 127.0.0.1:11211 0.0.0.0:* LISTEN 19088/memcached
You can also check the current statistics of your Memcached server with the following command:
echo "stats settings" | nc localhost 11211
You should get the following output:
STAT maxbytes 67108864
STAT maxconns 1024
STAT tcpport 11211
STAT udpport 0
STAT inter 127.0.0.1
STAT verbosity 0
STAT oldest 0
STAT evictions on
STAT domain_socket NULL
STAT umask 700
STAT growth_factor 1.25
STAT chunk_size 48
STAT num_threads 4
STAT num_threads_per_udp 4
STAT stat_key_prefix :
STAT detail_enabled no
STAT reqs_per_event 20
STAT cas_enabled yes
STAT tcp_backlog 1024
STAT binding_protocol auto-negotiate
Step 3 – Configure Memcached
The default Memcache configuration file is located at /etc/memcached.conf. Now, open the Memcached config file and set Memcached to listen on localhost(127.0.0.1), with 2GB of memory, and allow a maximum of 1000 connections:
nano /etc/memcached.conf
Make the following changes:
# Run memcached as a daemon. This command is implied, and is not needed for the
-d

# Log memcached's output to /var/log/memcached
logfile /var/log/memcached.log

# memory
-m 2048

# Default connection port is 11211
-p 11211

# Run the daemon as root. The start-memcached will default to running as root if no
# -u command is present in this config file
-u memcache

# Specify which IP address to listen on. The default is to listen on all IP addresses
-l 127.0.0.1

# Limit the number of simultaneous incoming connections. The daemon default is 1024
-c 500

# Use a pidfile
-P /var/run/memcached/memcached.pid
Save and close the file. Then, restart the Memcached service to apply the changes:
systemctl restart memcached
Step 4 – Test Memcached
Memcached is now installed and running. Next, check if Memcache PHP extension is enabled and working properly. To do so, create a info.php file inside Apache root directory:
nano /var/www/html/info.php
Add the following lines:
<?php
phpinfo();
?>
Save and close the file. Then, open your web browser and type the URL http://your-server-ip/info.php. You should get the following page with Memcached enabled:
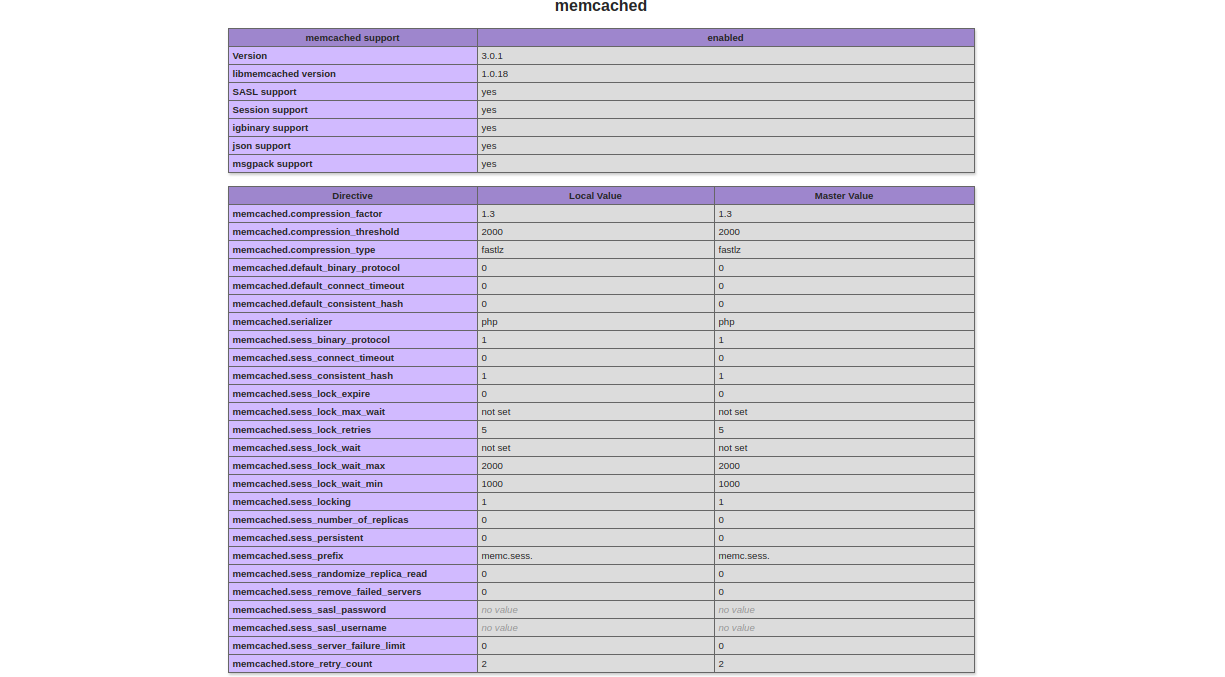
It is good practice to remove the info.php file after testing to protect your server from hackers.
Rm -rf /var/www/html/info.php
Step 5 – Secure Memcached with SASL
Without any security, Memcached can contribute to denial of service attacks. It is recommended to secure Memcached with SASL support and user authentication.
First, check the Memcached connection without any security by running the following command:
memcstat --servers="127.0.0.1"
Output:
Server: 127.0.0.1 (11211)
             pid: 16805
             uptime: 764
             time: 1566107468
             version: 1.5.6
             libevent: 2.1.8-stable
Next, open Memcached configuration file and enable SASL support and verbose logging with the following command:
nano /etc/memcached.conf
Add the following line at the end of the file:
-S
-vv
Save and close the file. Then, restart the Memcached service:
systemctl restart memcached
Next, check the Memcached log to check whether SASL support has been enabled or not:
journalctl -u memcached
You should see the following output with SASL support:
Aug 18 05:52:37 hitesh30 09:47:14 ubuntu1804 systemd-memcached-wrapper[19941]: Initialized SASL.
Next, check the Memcached connectivity again with the following command:
memcstat --servers="127.0.0.1"
You should not get any output; that means SASL support has been enabled in Memcached.
Next, you will need to add an authenticated user for Memcached.
To do so, first install SASL package with the following command:
apt-get install sasl2-bin -y
Once installed, create a directory and file for SASL configuration:
mkdir /etc/sasl2
nano /etc/sasl2/memcached.conf
Add the following lines:
mech_list: plain
log_level: 5
sasldb_path: /etc/sasl2/memcached-sasldb2
Save and close the file. Then, create a SASL database with user named memcacheadmin with the following command:
saslpasswd2 -a memcached -c -f /etc/sasl2/memcached-sasldb2 user1
You will be prompted to enter password:
Password:
Again (for verification):
Next, change the ownership of the SASL database:
chown memcache:memcache /etc/sasl2/memcached-sasldb2
Finally, restart Memcached service to apply the configuration changes:
systemctl restart memcached
Next, check the Memcached connectivity again with our authentication credentials:
memcstat --servers="127.0.0.1" --username=user1 --password=admin@123
You should get the following output:
Server: 127.0.0.1 (11211)
             pid: 18776
             uptime: 30
             time: 1566107912
             version: 1.5.6 Ubuntu
             libevent: 2.1.8-stable
That means Memcached is now secured with SASL support and user authentication.
* This post is for informational purposes only and does not constitute professional, legal, financial, or technical advice. Each situation is unique and may require guidance from a qualified professional.
Readers should conduct their own due diligence before making any decisions.