Verified and Tested 09/02/15
Introduction
This how-to will guide you through installing a FEMP stack. FEMP is simply a software bundle that consists of 4 components that work together to form a powerful web server. However, in this setup the acronym’s are as follows: FreeBSD 10 (F) is the core of the platform which will sustain the other components. Nginx (E) is used for the web service. MySQL (M) is used for database management, and PHP (P) is used as the programming language.
Install FEMP on FreeBSD 10
To get started, login to your FreeBSD server via SSH or Console. If you are using the Atlantic.Net cloud service, note that they are setup as minimal installations to avoid having unnecessary packages from being installed and never used. If some software packages that you’re used to using aren’t installed by default, feel free to install them as needed.
Let us download nano so we can simplify this tutorial.
pkg install nano
Let’s make sure that your server is fully up-to-date so we can complete the preparation.
freebsd-update fetch
freebsd-update install
With the server up-to-date, we can continue the process and install FEMP on your server.
Install Nginx on FreeBSD 10
Begin by installing Nginx with the following commands:
pkg install nginx
Rehash
Enable and start the Nginx service with the following commands:
sysrc nginx_enable=yes
service nginx start
You can now verify that Nginx is installed correctly by typing http:// and your IP address on your browser(http://YOUR.IP.ADD.RESS ).
To get your servers IP Address enter the following command:
ifconfig vtnet0 | grep "inet " | awk '{ print $2 }'
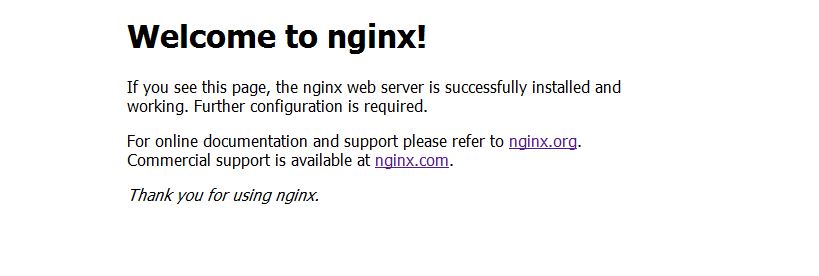
This is the test page created to verify Nginx was installed correctly in FreeBSD
Configure Nginx on FreeBSD 10
The first change to the configuration file is to make a backup of the original config, just in case anything ever happens and we want to revert back. We will accomplish this task by moving the file and renaming it nginx.conf.backup.
mv /usr/local/etc/nginx/nginx.conf /usr/local/etc/nginx/nginx.conf.backup
Now, we create the nginx.conf file with the following command:
nano /usr/local/etc/nginx/nginx.conf
Paste the following configurations to your empty file then save your session.
Note: To simplify our configurations, this file contains the PHP configurations as well.
user www;
worker_processes  1;
error_log /var/log/nginx/error.log info;

events {
    worker_connections  1024;
}

http {
    include       mime.types;
    default_type  application/octet-stream;

    access_log /var/log/nginx/access.log;

    sendfile        on;
    keepalive_timeout  65;

    server {
        listen       80;
        server_name  example.com www.example.com;
        root /usr/local/www/nginx;
        index index.php index.html index.htm;

        location / {
            try_files $uri $uri/ =404;
        }

        error_page      500 502 503 504  /50x.html;
        location = /50x.html {
            root /usr/local/www/nginx-dist;
        }

        location ~ \.php$ {
                try_files $uri =404;
                fastcgi_split_path_info ^(.+\.php)(/.+)$;
                fastcgi_pass unix:/var/run/php-fpm.sock;
                fastcgi_index index.php;
                fastcgi_param SCRIPT_FILENAME $request_filename;
                include fastcgi_params;
        }
    }
}
After, we will create the log file directory for Nginx and create the empty log files. This will allow the system o store errors and helpful information for troubleshooting.
mkdir -p /var/log/nginx
Create the access and error log files with the touch command:
touch /var/log/nginx/access.log
touch /var/log/nginx/error.log
By default, Nginx has the web files going to the “nginx-dist” directory via a symbolic link. We must remove that link and point it to the correct location that is the “nginx” directory.
rm -rf /usr/local/www/nginx
Then remake the directory with the following command:
mkdir /usr/local/www/nginx
With the link broken/removed and the new directory made, we need to copy the index.html file to the new directory with the following command:
cp /usr/local/www/nginx-dist/index.html /usr/local/www/nginx
Finally, restart Nginx and the system, so all the configurations take effect with the following commands:
service nginx restart
rehash
Install MySQL on FreeBSD 10
We then would like to continue by installing MySQL. After running the following MySQL, command hit y and then enter to confirm your installation.
pkg install mysql55-server
Enable and start the MySQL service with the following commands:
sysrc mysql_enable=yes
service mysql-server start
Configure MySQL on FreeBSD 10
To ensure the security of the default settings of MySQL, continue with the command below:
mysql_secure_installation
Note: When prompt with “Enter current password for root” hit enter for none then Y(Yes) to set MYSQL password. You will then be prompted with a series of questions. Just type Y for yes on all of them, see the screen shot below:
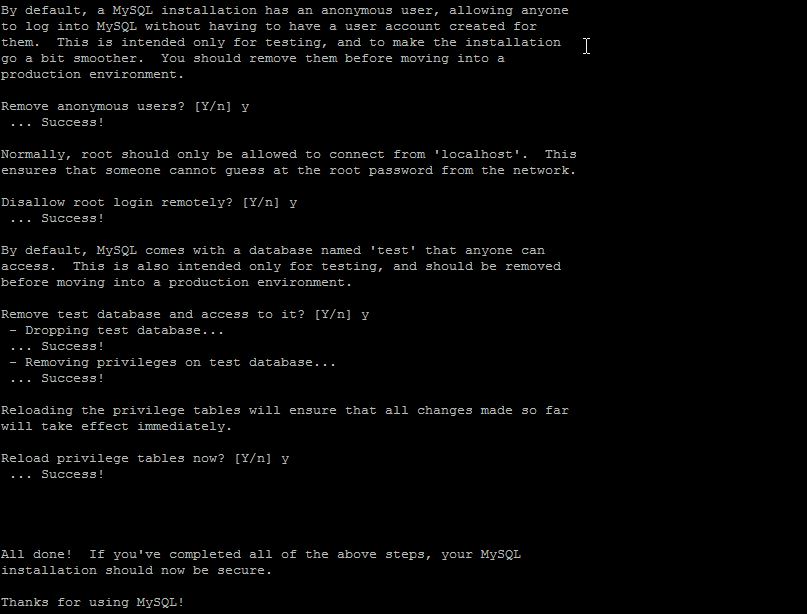
This is the secure installation of screen when installing MySql on a FreeBSD FEMP Stack server.
Restart the MySQL and the system, so all the configurations take effect with the following commands:
service mysql-server restart
rehash
Install PHP on FreeBSD 10
Finally, we will conclude with the FEMP Stack by installing PHP and configuring it to work with Nginx.
pkg install php55-mysql php55-mysqli
With PHP installed, we can go ahead a begin the preparation to configure it with Nginx. Copy the sample PHP configuration file to the correct location.
cp /usr/local/etc/php.ini-production /usr/local/etc/php.ini
Enable and start the PHP-FPM service with the following commands:
sysrc php_fpm_enable=yes
service php-fpm start
Configure PHP on FreeBSD 10
We will now have to make minor changes to the PHP-FPM configuration. Using your text editor, type the following command to access the configurations.
nano /usr/local/etc/php-fpm.conf
Locate the line that reads listen = 127.0.0.1:9000 and replace it with the following line, so it listens to php-fpm.sock:
#locate
listen = 127.0.0.1:9000
#Replace
listen = /var/run/php-fpm.sock
Then you will need to locate the following lines and uncomment(Remove the semi-colon) from them:
listen.owner = www
listen.group = www
listen.mode = 0660
Go ahead and create the PHP file to make sure that it works with the following command:
nano /usr/local/www/nginx/info.php
Then insert the following PHP script to the empty info.php file with the following command:
<?php phpinfo(); ?>
Additionally, restart the PHP-FPM, so all the configurations take effect with the following command:
service php-fpm restart
Finally, restart Nginx and the system, so all the configurations take effect with the following commands:
service nginx restart
rehash
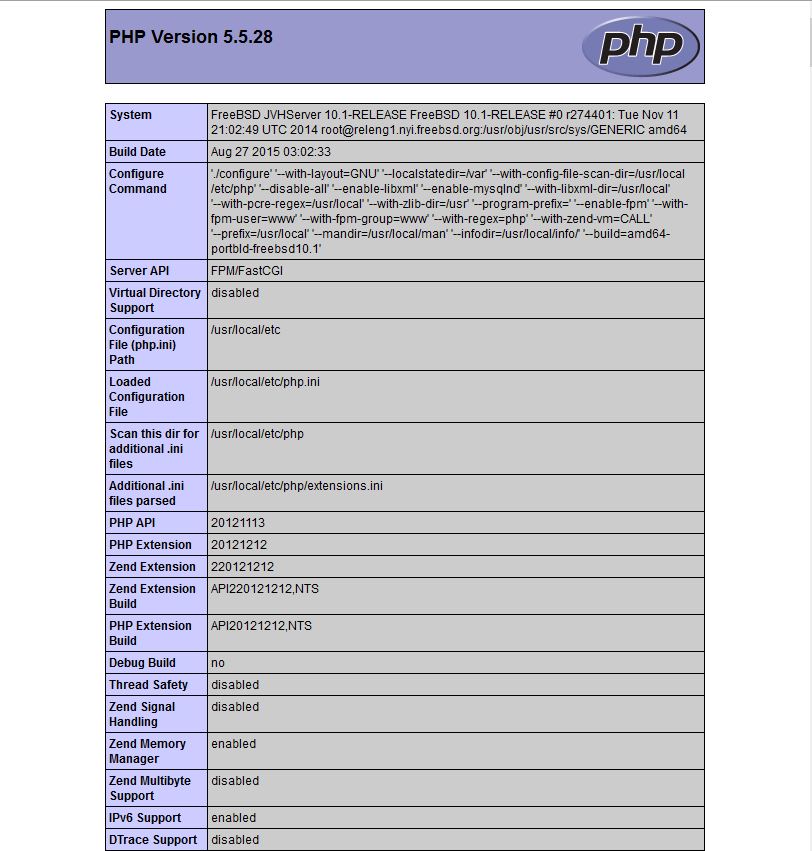
You can now verify that PHP is installed correctly by typing the following on your browser. Below is the default page after installing PHP on an FEMP Stack FreeBSD server when viewing the following URL: http://YOUR.IP.ADD.RESS/info.php
What’s Next?
Congratulations! You now have a server with an FEMP Stack platform for your web environment. Thank you for following along and feel free to check back with us for further updates.
* This post is for informational purposes only and does not constitute professional, legal, financial, or technical advice. Each situation is unique and may require guidance from a qualified professional.
Readers should conduct their own due diligence before making any decisions.