Table of Contents
- Choosing a WordPress Server Software Stack
- Step 1 - Install and Configure Apache Web Server
- Step 2 - Install and Configure MariaDB
- Step 3 - Install PHP
- Step 4 - Download WordPress
- Step 5 - Configure Apache for WordPress
- Step 6 - Install and Configure Nginx for WordPress
- Step 7 - Access WordPress
- Step 8 - Install and Configure Redis Cache
- Conclusion
Developers have several options for hosting a WordPress website, but in most cases, cloud hosting is going to be the preferred option.
Choosing a WordPress Server Software Stack
The best configuration for a high-performance WordPress website in the cloud is a combination of Apache, MySQL and Nginx as a reverse proxy. Apache is known for its power and backend compatibility, while Nginx is known for its speed. Using Nginx as a reverse proxy for Apache can dramatically improve the performance of your WordPress website.
In this tutorial, we will install and configure Apache to run on port 8080 and configure Nginx as a reverse proxy. Nginx proxies website requests through to Apache, and Apache processes your WordPress website.
Step 1 – Install and Configure Apache Web Server
In this section, we will install Apache web server and configure it to run on port 8080.
First, install Apache web server by running the following command:
apt-get install apache2 -y
After installing Apache web server, you will need to configure Apache to run on port 8080.
To do so, edit the file /etc/apache2/ports.conf using your preferred text editor:
nano /etc/apache2/ports.conf
Find the following line:
Listen 80
Replace it with the following:
Listen 127.0.0.1:8080
Save and close the file. Then, disable the Apache default virtual host configuration file with the following command:
a2dissite 000-default
Next, restart the Apache service to apply the configuration:
systemctl restart apache2
At this point, you have an Apache webserver running on port 8080.
Step 2 – Install and Configure MariaDB
In this section, we will install MariaDB database server and create a database and user for WordPress.
First, install MariaDB server with the following command:
apt-get install mariadb-server -y
Once the installation is completed, you will need to secure the MariaDB installation and set the root password. You can do it by running the following script:
mysql_secure_installation
Answer all the questions as shown below:
Set root password? [Y/n] Y
New password:
Re-enter new password:
Remove anonymous users? [Y/n] Y
Disallow root login remotely? [Y/n] Y
Remove test database and access to it? [Y/n] Y
Reload privilege tables now? [Y/n] Y
Next, log in to the MariaDB shell with the following command:
mysql -u root -p
Provide your root password when prompted, then create a database and user with the following command:
CREATE DATABASE wpdb;
GRANT ALL ON wpdb.* TO 'wpuser'@'localhost' IDENTIFIED BY 'password';
Next, flush the privileges and exit from the MariaDB shell with the following command:
FLUSH PRIVILEGES;
EXIT;
Now you have a database installed and configured on your server.
Step 3 – Install PHP
Next, you will need to install PHP and other required modules in your server. You can install all of them with the following command:
apt-get install php7.2 libapache2-mod-php7.2 php7.2-common php7.2-mbstring php7.2-xmlrpc php7.2-soap php7.2-gd php7.2-xml php7.2-intl php7.2-mysql php7.2-cli php7.2-ldap php7.2-zip php7.2-curl unzip -y
Once all the packages are installed, open the file php.ini and tweak some settings:
nano /etc/php/7.2/apache2/php.ini
Change the following lines:
memory_limit = 256M
upload_max_filesize = 50M
max_execution_time = 360
date.timezone = America/Chicago
Save and close the file when you are finished.
Step 4 – Download WordPress
In this section, we will download WordPress and set permissions on it.
First, download the latest version of WordPress with the following command:
cd /var/www/html
wget http://wordpress.org/latest.tar.gz
Once downloaded, extract the downloaded file with the following command:
tar -xzvf latest.tar.gz
Next, change the directory to wordpress and rename the sample configuration file:
cd wordpress
mv wp-config-sample.php wp-config.php
Next, edit the wp-config.php file:
nano wp-config.php
Define the database connection info as shown below:
/** The name of the database for WordPress */
define('DB_NAME', 'wpdb');

/** MySQL database username */
define('DB_USER', 'wpuser');

/** MySQL database password */
define('DB_PASSWORD', 'password');

/** MySQL hostname */
define('DB_HOST', 'localhost');
Save and close the file. Then, set up proper permissions for the wordpress directory:
chown -R www-data:www-data /var/www/html/wordpress
At this point, you have WordPress installed and configured in your server.
Step 5 – Configure Apache for WordPress
In this section, we will configure Apache to serve the WordPress website on localhost. To do so, create a new Apache virtual host configuration file with the following command:
nano /etc/apache2/sites-available/wordpress.conf
Add the following lines:
<VirtualHost *:8080>
   ServerAdmin admin@example.com
   DocumentRoot /var/www/html/wordpress
   ServerName 127.0.0.1

   <Directory /var/www/html/wordpress/>
      Options Indexes FollowSymLinks MultiViews
      AllowOverride All
      Order allow,deny
      allow from all
   </Directory>

   ErrorLog ${APACHE_LOG_DIR}/wordpress_error.log
   CustomLog ${APACHE_LOG_DIR}/wordpress_access.log combined
</VirtualHost>
Save and close the file. Then, enable the Apache virtual host configuration file with the following command:
a2ensite wordpress
Next, enable the Apache rewrite module and restart the Apache service with the following command:
a2enmod rewrite
systemctl restart apache2
At this point, Apache is configured to serve WordPress on localhost.
Step 6 – Install and Configure Nginx for WordPress
In this section, we will install and configure Nginx as a reverse proxy that proxies the request to the Apache webserver.
First, install the Nginx web server with the following command:
apt-get install nginx -y
Once installed, create an Nginx virtual host configuration file with the following command:
nano /etc/nginx/sites-available/wordpress.conf
Add the following lines:
server {
   listen 80;
   server_name example.com;
   location / {
      try_files $uri @apache;
   }

   location @apache {
      proxy_set_header X-Real-IP  $remote_addr;
      proxy_set_header X-Forwarded-For $remote_addr;
      proxy_set_header X-Forwarded-Proto $scheme;
      proxy_set_header Host $host;
      proxy_pass http://127.0.0.1:8080;
   }

   location ~[^?]*/$ {
      proxy_set_header X-Real-IP  $remote_addr;
      proxy_set_header X-Forwarded-For $remote_addr;
      proxy_set_header X-Forwarded-Proto $scheme;
      proxy_set_header Host $host;
      proxy_pass http://127.0.0.1:8080;
   }

   location ~ \.php$ {
      proxy_set_header X-Real-IP  $remote_addr;
      proxy_set_header X-Forwarded-For $remote_addr;
      proxy_set_header X-Forwarded-Proto $scheme;
      proxy_set_header Host $host;
      proxy_pass http://127.0.0.1:8080;
   }

}
Save and close the file. Then, check Nginx for any syntax error and enable the configuration.
nginx -t
ln -s /etc/nginx/sites-available/wordpress.conf /etc/nginx/sites-enabled/
Finally, restart Nginx to apply the configuration:
systemctl restart nginx
At this point, we have configured Nginx to proxy requests to the Apache webserver.
Step 7 – Access WordPress
Now, open your web browser and type the URL http://example.com. You will be redirected to the WordPress language selection page:
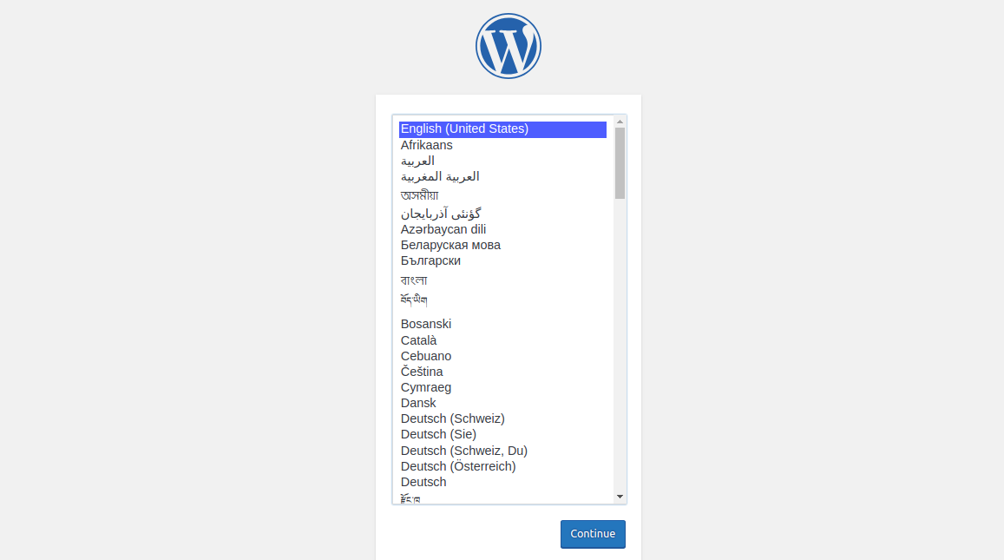
Select your desired language and click on the Continue button. You should see the following page:

Provide your site name, admin username, password, and email and click on the Install WordPress button. Once the installation has been finished, you should see the following page:
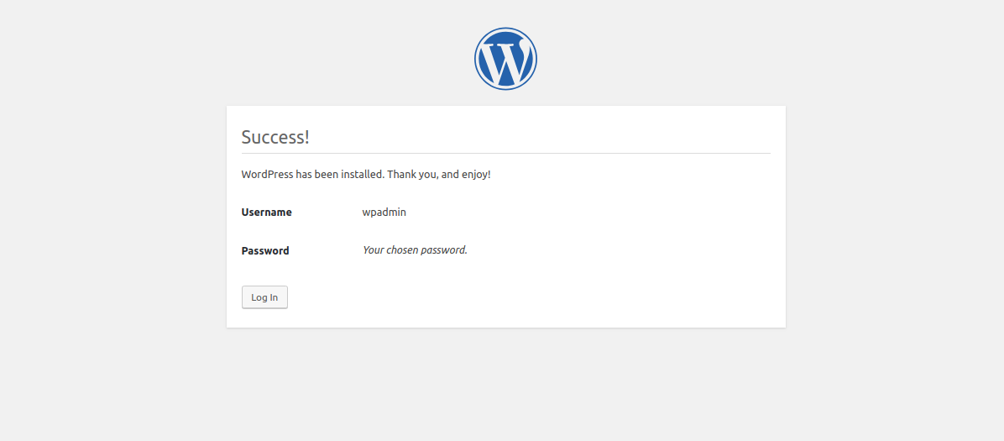
Click on the Log In button. You should see the WordPress login page:
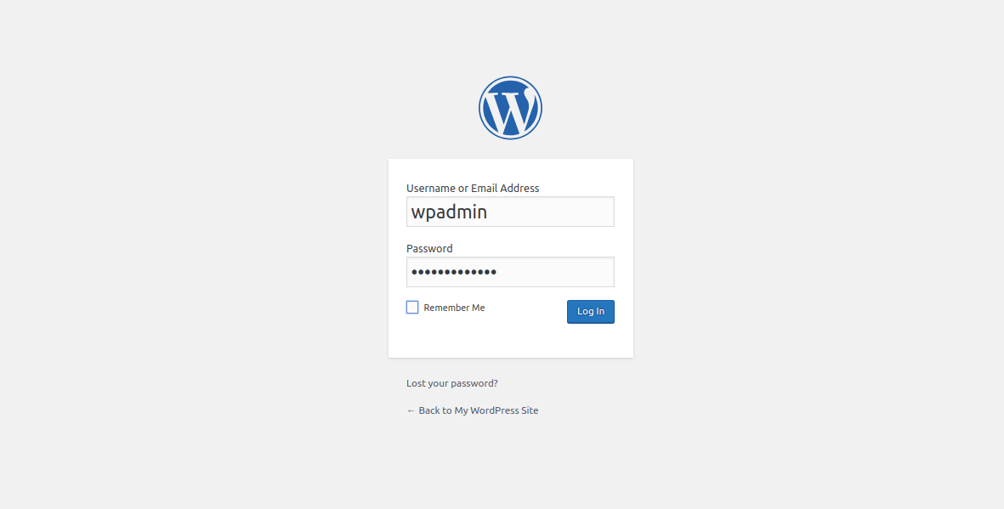
Provide your WordPress admin username and password and click on the Log In button. You should see your WordPress dashboard:

Step 8 – Install and Configure Redis Cache
Redis is a powerful and advanced in-memory, persistent and key-value database. Redis stores and manipulates high-level data types including lists, maps, sets, and sorted sets. Redis provides a mechanism to cache your queries and speed up your WordPress page load time.
First, install Redis by running the following command:
apt-get install redis-server php-redis -y
Next, you will need to configure Redis as the cache for WordPress. To do so, first open the file /etc/redis/redis.conf:
nano /etc/redis/redis.conf
Add the following lines at the end of the file:
##Set this memory settings according to the RAM of your server.
maxmemory 128mb
maxmemory-policy allkeys-lru
Save and close the file.
Next, you will need to enable the Redis cache settings in wp-config.php file:
nano /var/www/html/wordpress/wp-config.php
Find the section “* Authentication Unique Keys and Salts” and add the following lines at the end of this section:
define('WP_CACHE_KEY_SALT', 'example.com');
define('WP_CACHE', true);
Save and close the file when you are finished.
Next, you will need to download Redis Object Cache script from the Git repository to instruct WordPress to utilize Redis. You can download it inside the /var/www/html/wordpress/wp-content directory as shown below:
cd /var/www/html/wordpress/wp-content
wget https://raw.githubusercontent.com/ericmann/Redis-Object-Cache/master/object-cache.php
Once downloaded, give proper permissions with the following command:
chown www-data:www-data object-cache.php
chmod 755 object-cache.php
Finally, restart Redis and Apache service to apply the changes:
systemctl restart redis-server
systemctl restart apache2
That’s it. Your WordPress site is now using Redis caching.
Next, open your WordPress dashboard and navigate around your admin area. Then, open your terminal and monitor your Redis with the following command:
redis-cli monitor
Conclusion
Congratulations! You have successfully installed and configured WordPress with Nginx as a reverse proxy to Apache. Now you have a high-performance WordPress website with the benefits of Apache and Nginx.
* This post is for informational purposes only and does not constitute professional, legal, financial, or technical advice. Each situation is unique and may require guidance from a qualified professional.
Readers should conduct their own due diligence before making any decisions.