
OpenLiteSpeed is an open-source version of the LiteSpeed Enterprise Web Server developed by LiteSpeed Technologies. It is a lightweight, high-performance, secure, easy-to-use, and low-resource-usage web server that can be used to manage hundreds of thousands of simultaneous connections.
OpenLiteSpeed comes with a user-friendly web interface that helps you to create and manage your websites easily. It is highly optimized to run all kinds of scripts including Java, PHP, Ruby, Perl, and more, and supports various operating systems, including Linux, MacOS, FreeBSD and SunOS.
Features
- User-friendly web interface
- Intelligent cache acceleration
- Event-driven architecture with low resource overhead
- Able to handle thousands of concurrent connections
- Supports high-performance page caching
- Support of third-party modules to enhance its functionality
In this tutorial, we will show you how to install and configure the OpenLiteSpeed web server with PHP and MariaDB on an Ubuntu 18.04 VPS.
Step 1 – Install OpenLiteSpeed
By default, OpenLiteSpeed is not available in the Ubuntu 18.04 default repository. You will need to compile OpenLiteSpeed from their source.
Before compiling OpenLiteSpeed, you will need to install required dependencies in your system. You can install all the dependencies with the following command:
apt-get install build-essential libexpat1-dev libgeoip-dev libxml2-dev rcs libpng-dev libpng-dev openssl autoconf g++ make openssl libssl-dev libcurl4-openssl-dev libcurl4-openssl-dev pkg-config libpcre3-dev libudns-dev zlib1g-dev libssl-dev libxml2 libsasl2-dev libzip-dev wget -y
Once all the required dependencies are installed, visit the OpenLiteSpeed download page and download the latest version of OpenLiteSpeed using the wget command as shown below:
wget https://openlitespeed.org/packages/openlitespeed-1.6.4.tgz
Once the download is completed, extract the downloaded file using the following command:
tar -xvzf openlitespeed-1.6.4.tgz
Next, change the directory to the extracted directory with the following command:
cd openlitespeed
Next, install OpenLiteSpeed by running the following script:
sh install.sh
Once the installation has completed successfully, you should get the following output:
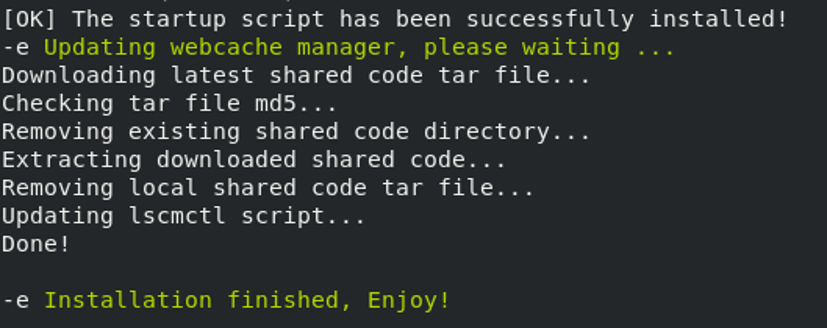
At this point, you have OpenLiteSpeed installed in your system.
Step 2 – Configure Administrative Password
By default, the admin password for OpenLiteSpeed is set to 123456. It is always recommended to change the default password. You can change the default password with the following command:
/usr/local/lsws/admin/misc/admpass.sh
You will be asked to provide the administrative username as shown below:
Please specify the user name of administrator.
This is the user name required to login the administration Web interface.

User name [admin]: openadmin
Provide your desired username and hit Enter to continue. You will be asked to provide the administrator's password:

Please specify the administrator's password.
This is the password required to login the administration Web interface.

Password:
Retype password:
Provide your desired password and hit Enter to set the password. You should get the following output:
Administrator's username/password is updated successfully!
Next, start the OpenLiteSpeed service and enable it to start after system reboot with the following command:
systemctl start lsws
systemctl enable lsws
OpenLiteSpeed is now listening on port 7080 and 8088. You can verify it with the following command:
netstat -ant
You should see the following output:
Active Internet connections (servers and established)
Proto Recv-Q Send-Q Local Address           Foreign Address         State
tcp        0      0 0.0.0.0:7080            0.0.0.0:*               LISTEN
tcp        0      0 127.0.0.53:53           0.0.0.0:*               LISTEN
tcp        0      0 0.0.0.0:22              0.0.0.0:*               LISTEN
tcp        0      0 0.0.0.0:8088            0.0.0.0:*               LISTEN
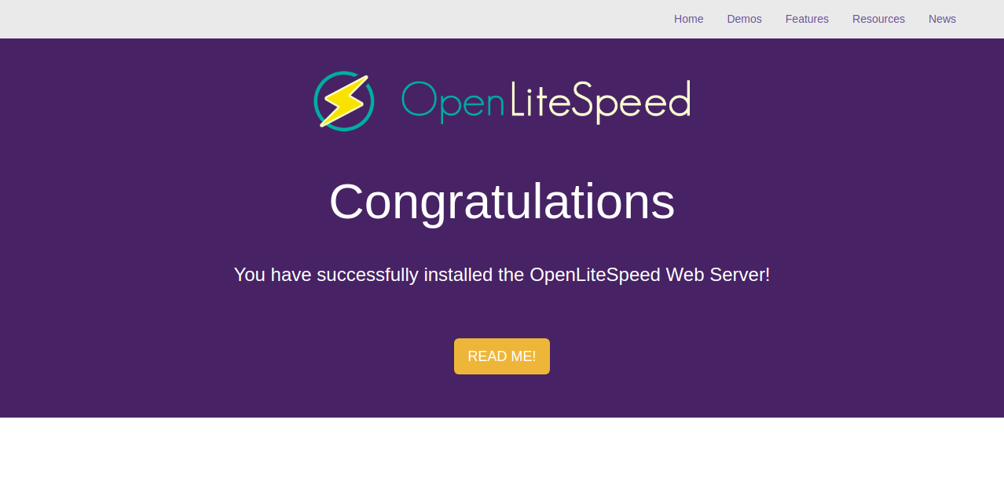
You can also verify the OpenLiteSpeed installation by visiting the URL http://YOUR_IP_ADDRESS:8088. You will be redirected to the OpenLiteSpeed default web page:
Step 3 – Install MariaDB Database Server
By default, MariaDB is available in the Ubuntu 18.04 default repository. You can install it by running the following command:
apt-get install mariadb-server mariadb-client -y
After installing MariaDB , you will need to secure it first. You can secure it by running the following script:
mysql_secure_installation
First, you will be asked to enter your current root password as shown below:
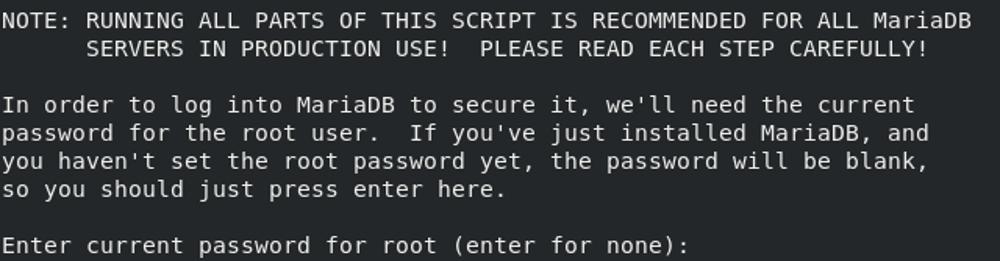
Just press the Enter button. You will be asked to change the root password as shown below:
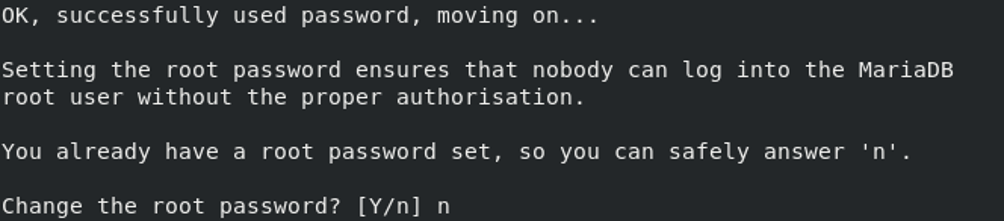
Type n and press Enter button. You should see the following output:
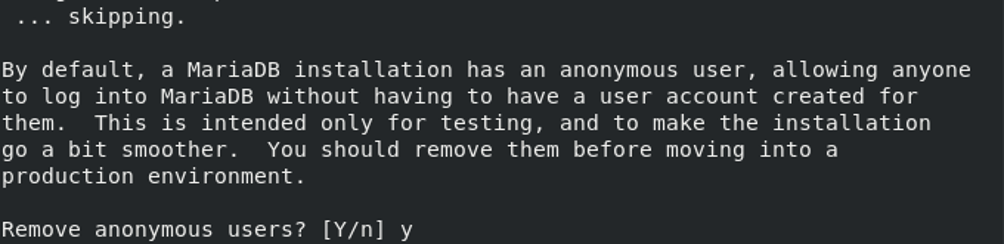
Type Y and press Enter button to remove the anonymous users:

Type Y and press Enter button to disallow root login remotely:

Type Y and press Enter button to remove the test database and access to it:
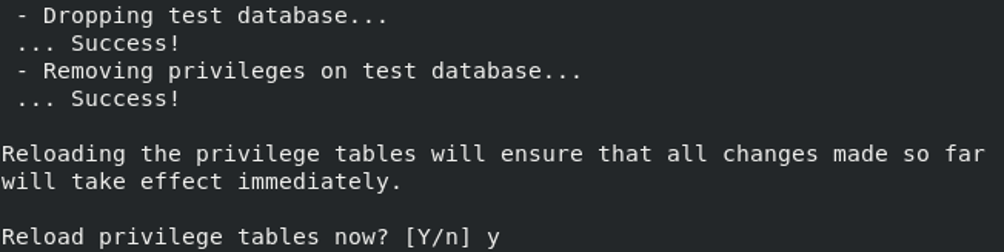
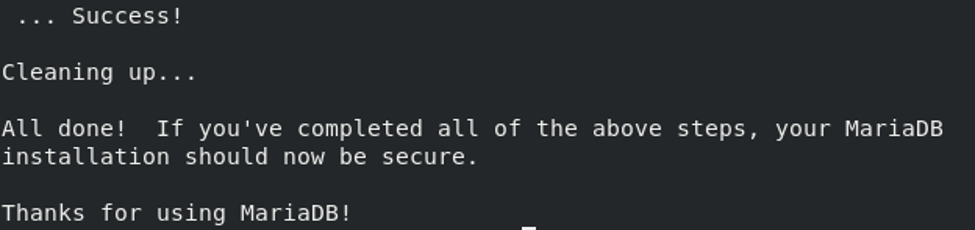
Finally, type Y and press Enter button to reload privilege tables. Once the MariaDB is secured, you should see the following output:
Step 4 – Access OpenLiteSpeed Administrative Interface
In this section, we will learn how to download and compile PHP from the OpenLiteSpeed web interface and change the OpenLiteSpeed default port 8088.
Step 5 – Install PHP for OpenLiteSpeed
OpenLiteSpeed uses a different PHP version than the PHP version available in the Ubuntu repository. You will need to compile and configure PHP through their admin interface.
First, open your web browser and type the URL https://example.com:7080. You will be redirected to the OpenLiteSpeed administrative login page:
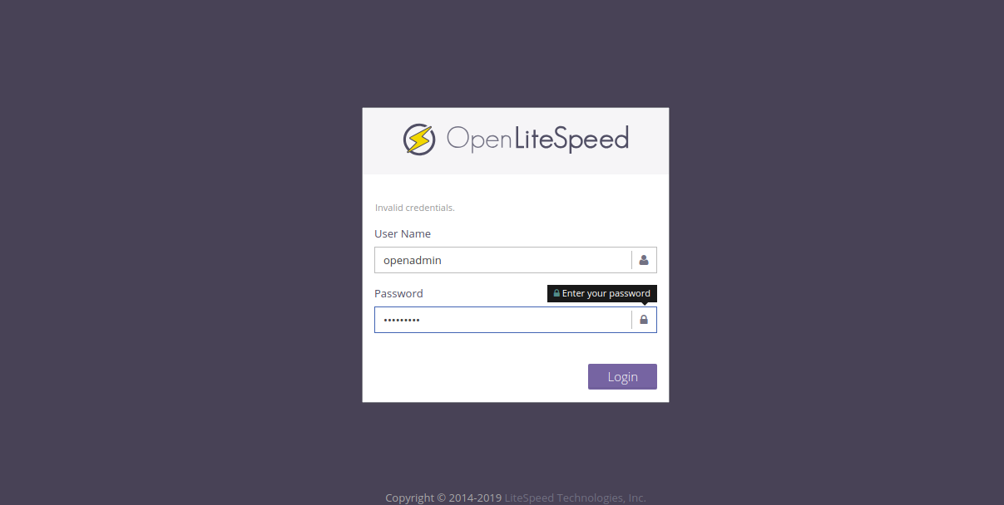
Provide your administrative username, password and click on the Login button. You should see the OpenLiteSpeed dashboard in the following page:
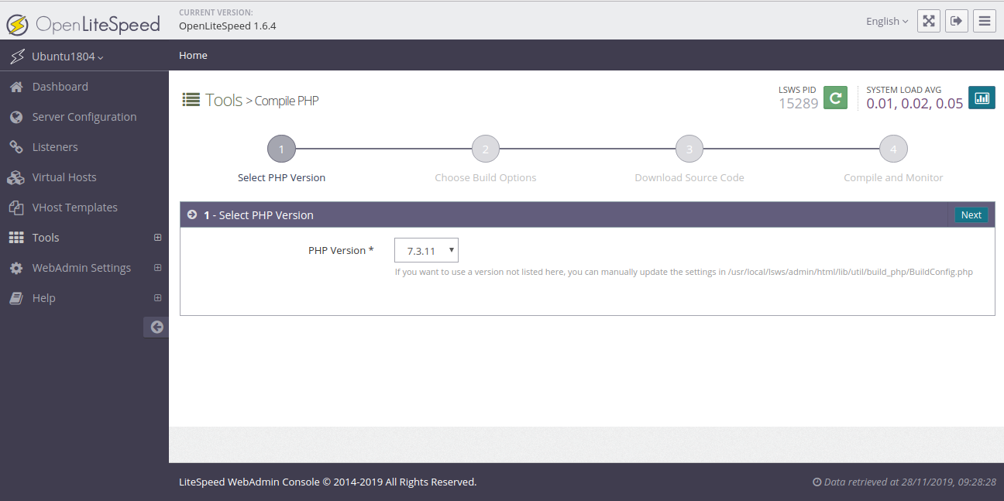
In the left pane, click on the Tools >> Compile PHP button, then select your desired PHP version and click on the Next button. You should see the following page:
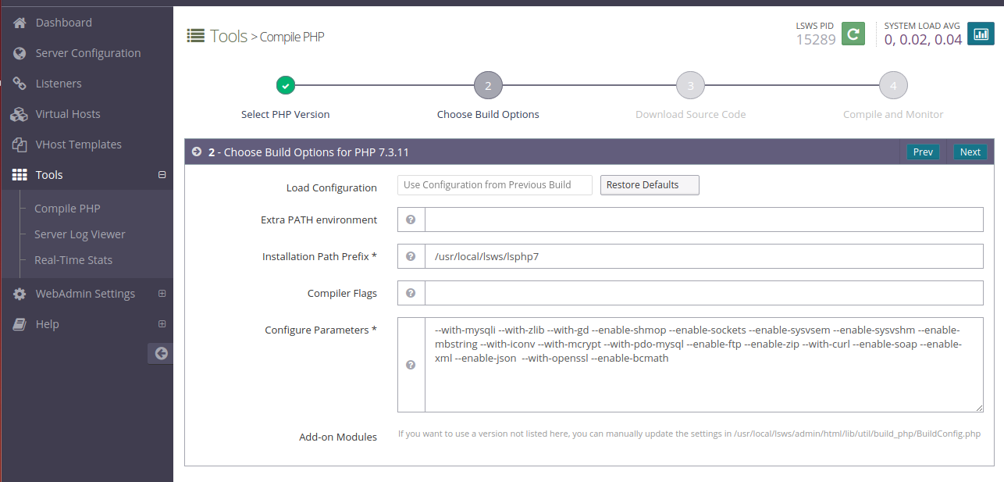
Now, select your desired options and click on the Next button to start the installation. Once the installation has been completed successfully, you should see the following page:
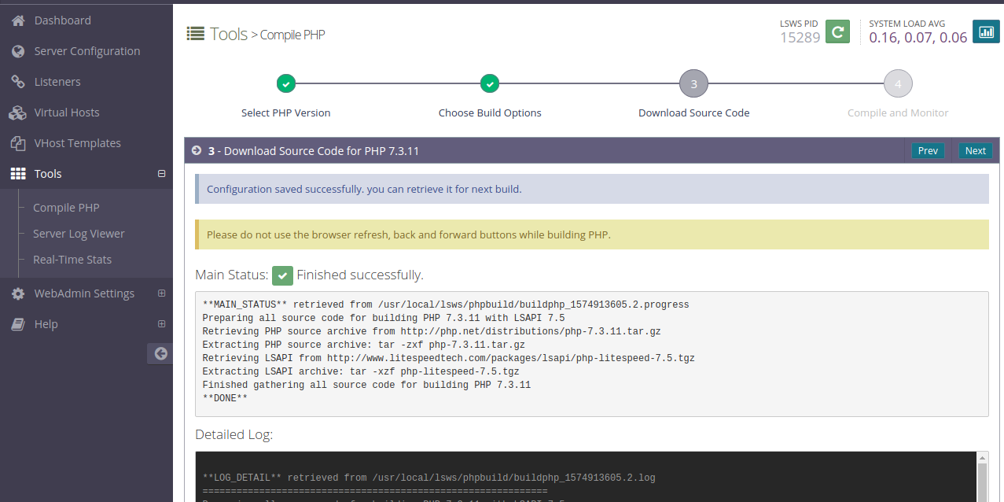
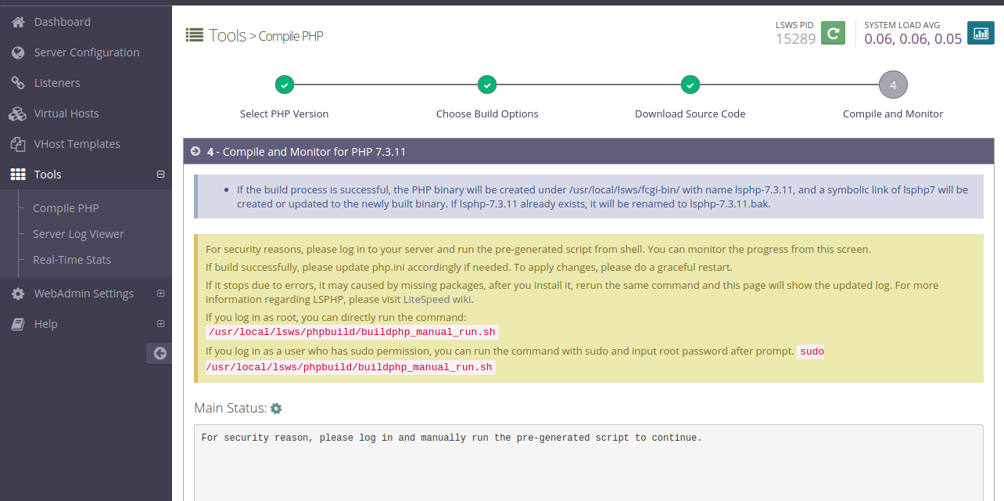
Now, open your terminal and run the following command to build PHP manually:
/usr/local/lsws/phpbuild/buildphp_manual_run.sh
Once the process has been completed, you should see the following page:
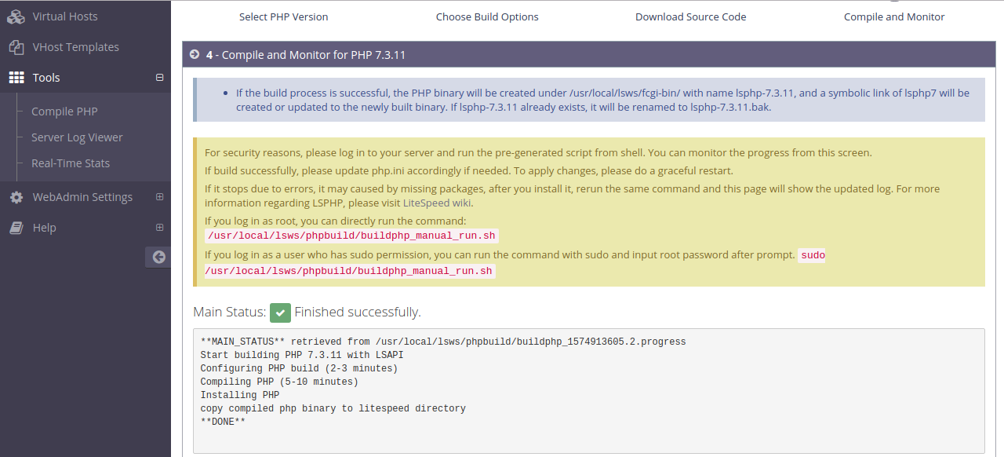
You can also check the installation log with the following command:
tail -f /usr/local/lsws/phpbuild/buildphp_1574913605.2.log
You should get the following output:
copy compiled php binary to litespeed directory
cd /usr/local/lsws//fcgi-bin
ln -sf lsphp-7.3.11 lsphp7

==============================================
Finished building PHP 7.3.11 with LSAPI
==============================================
Thu Nov 28 04:16:41 UTC 2019

**DONE**
At this point, you have PHP installed on your server.
Step 6 – Change OpenLiteSpeed Port for the Default Site
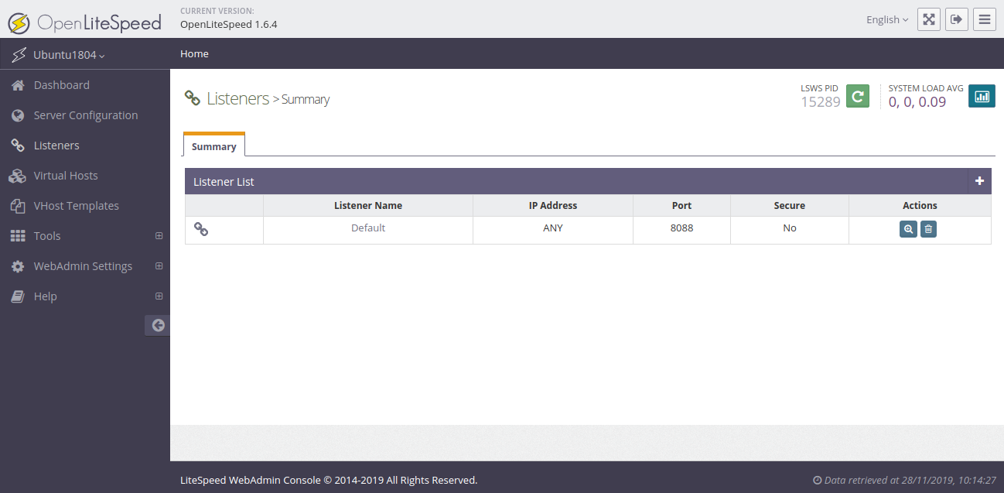
By default, OpenLiteSpeed uses port 8088. It is a good idea to change the default port from 8088 to 80.
To do so, go to the OpenLiteSpeed admin interface and click on the Listeners. You should see the following page:
Next, click on the Edit button. You should see the following page:
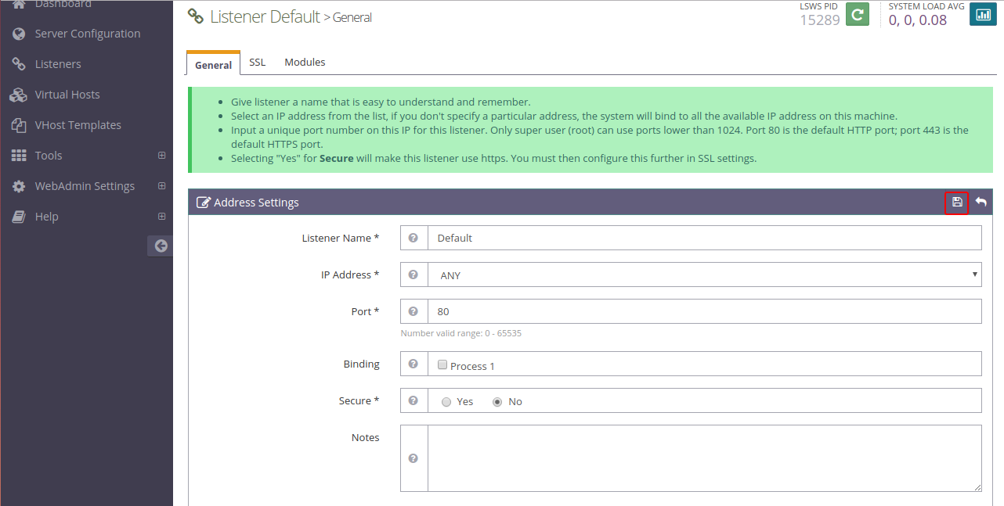
Next, change the port from 8088 to 80 and click on the Save button. You should see the following page:
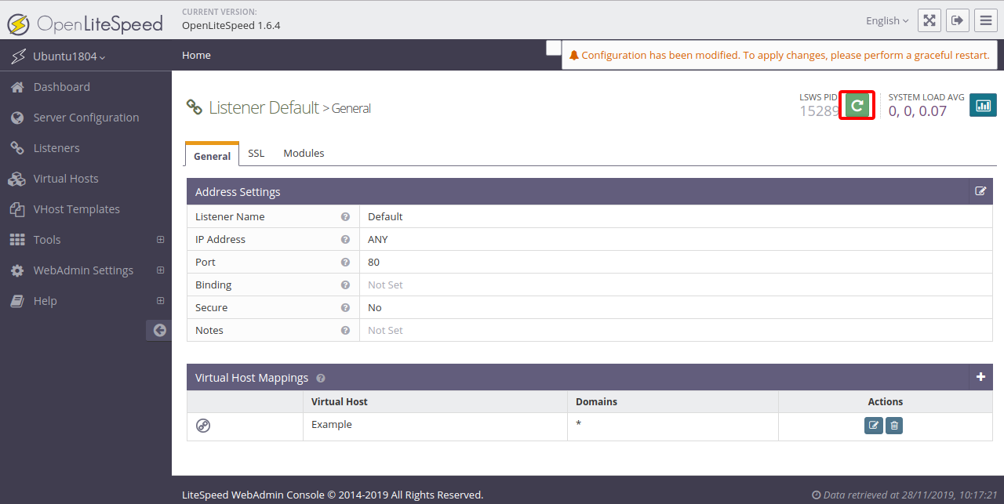
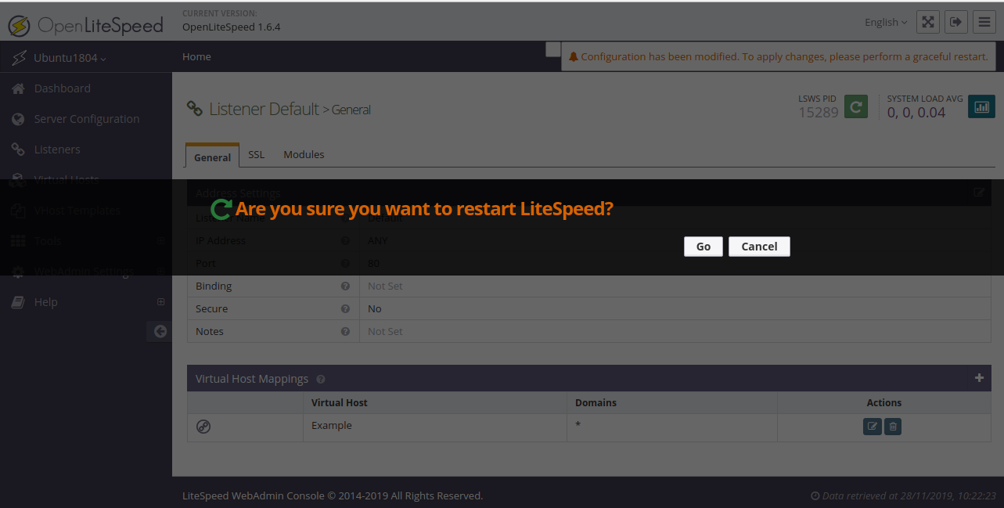
Next, you will need to perform a graceful restart to apply the changes. Click on the green button to restart the OpenLiteSpeed server.
Step 7 – Validate PHP
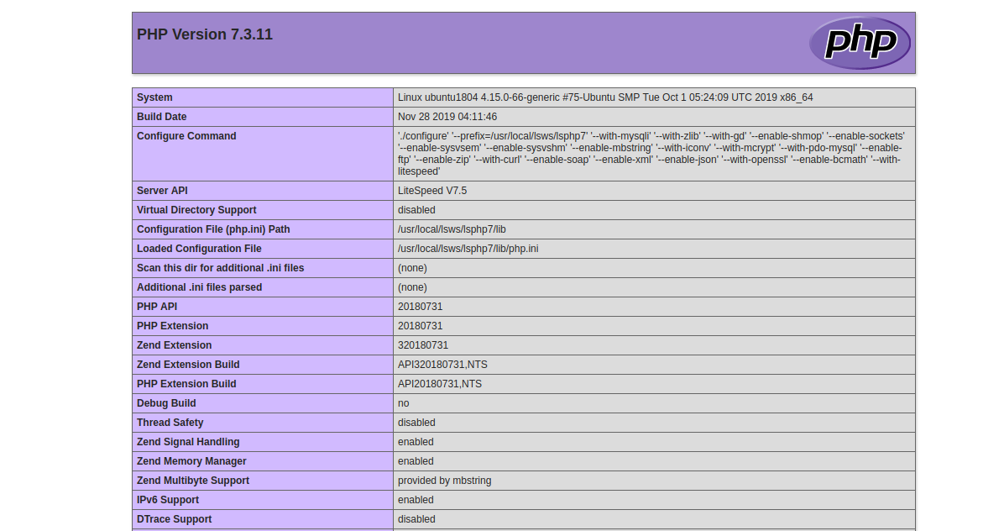
At this point, you have PHP installed on your server. It’s time to validate the PHP whether it is working or not.
Open your web browser and visit the URL http://example.com/phpinfo.php. You should see your installed PHP version in the following page:
Conclusion
Congratulations! you have successfully installed OpenLiteSpeed with PHP support on Ubuntu 18.04 VPS. You can now host your own high-performance website using OpenLiteSpeed – get started with an Atlantic.Net VPS.

Written by
Hitesh Jethva is a regular contributor to the Atlantic.Net blog. With over 15 years of experience in Linux and open-source technologies, he founded Linux Buz, a website dedicated to Linux enthusiasts.