pgAdmin is a free, open-source, and web-based tool for managing a PostgreSQL database server. It is written in Python and Jquery and runs on most popular operating systems, including Windows, Linux, and Mac OS. pgAdmin comes with a rich set of features, a few of which are listed below:
- Multi-platform compatible with multiple deployment models
- Monitoring dashboard
- Supports desktop mode and server mode
- User-friendly, with powerful graphical interfaces
- Powerful query tool and syntax highlighting editor
In this tutorial, we will show you how to install and configure pgAdmin on Ubuntu 18.04.
Step 1 – Install PostgreSQL Server
By default, the latest version of the PostgreSQL is not available in the Ubuntu 18.04 default repository. You will need to add the PostgreSQL repository in your system.
First, download and add the Postgres key with the following command:
wget --quiet -O - https://www.postgresql.org/media/keys/ACCC4CF8.asc | apt-key add -
Next, add the PostgreSQL repository with the following command:
echo "deb http://apt.postgresql.org/pub/repos/apt/ `lsb_release -cs`-pgdg main" | tee /etc/apt/sources.list.d/pgdg.list
Next, update the repository and install the PostgreSQL server with the following command:
apt-get update -y
apt-get install postgresql postgresql-contrib -y
Once the installation is completed, verify the status of the PostgreSQL server with the following command:
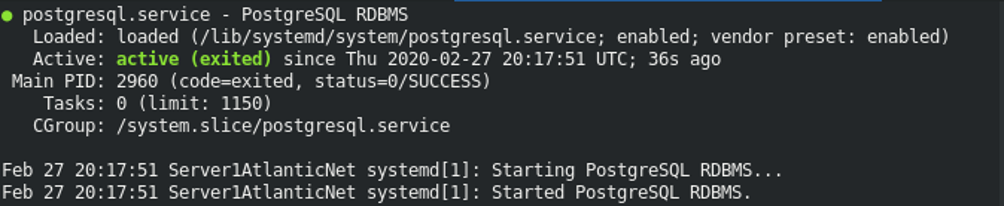
systemctl status postgresql
You should get the following output:
Step 2 – Set PostgreSQL User Password
By default, the password of the PostgreSQL user is not set.
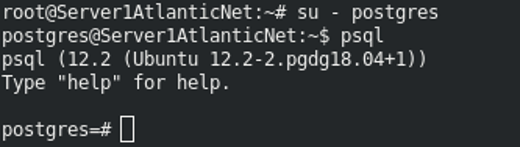
To set it, log in to the Postgres user with the following command:
su - postgres
psql
You should get the following output:
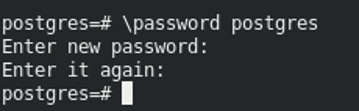
Next set the Postgres user password with the following command:
\password postgres
Provide your desired password as shown below:
Next, exit from the Postgres Shell with the following command:
exit
Next, exit from the Postgres user with the following command:
exit
Step 3 – Install pgAdmin
Next, you can install the latest version of pgAdmin by running the following command:
apt-get install pgadmin4 pgadmin4-apache2 -y
During the installation, you will be asked to provide your initial email address to create an admin user, as shown below:
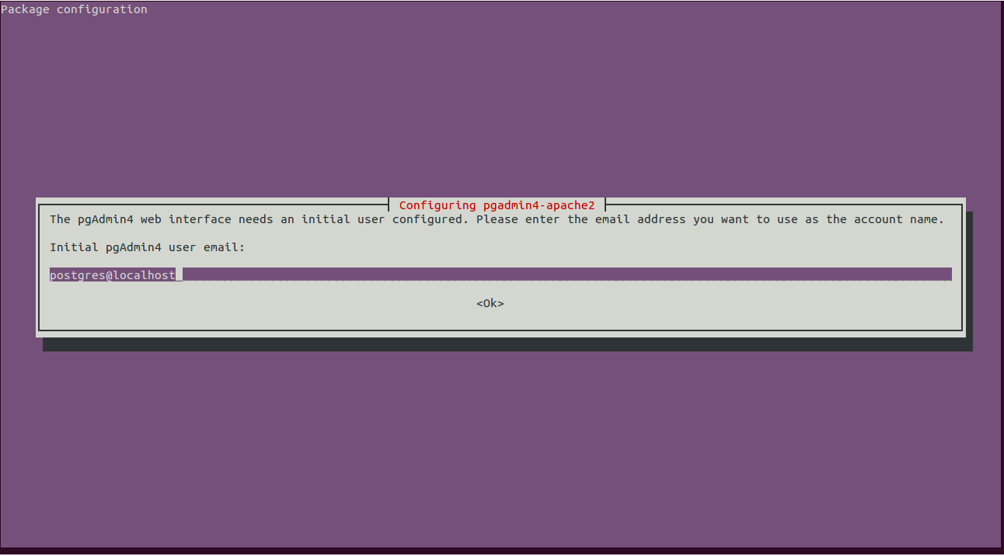
Note: You will need these credentials later, so make sure to copy them down.
Provide your email address and click on the Ok button. You will also need set an admin password, as shown below:
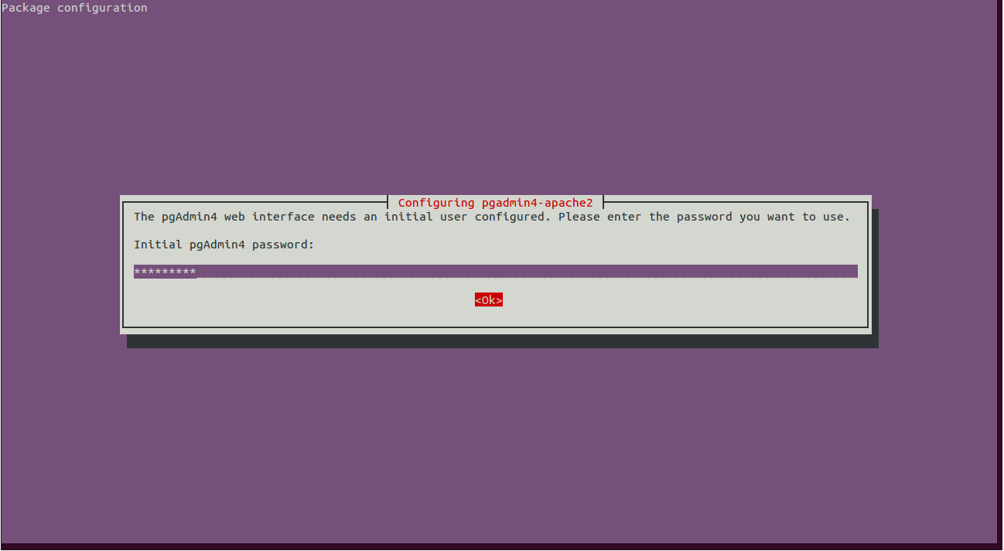
Provide your desired password and click on the Ok button to start the installation process.
Once the installation has finished, you can proceed to the next step.
Step 4 – Access pgAdmin Web Interface
Now, open your web browser and type the URL http://YOUR_IP_ADDRESS/pgadmin4 – you will be redirected to the pgAdmin web interface in the following screen:

Provide your email address and password and click on the Login button. You should see the pgAdmin default dashboard in the following screen:

Next, click on the Add New Server button. You should see the following screen:
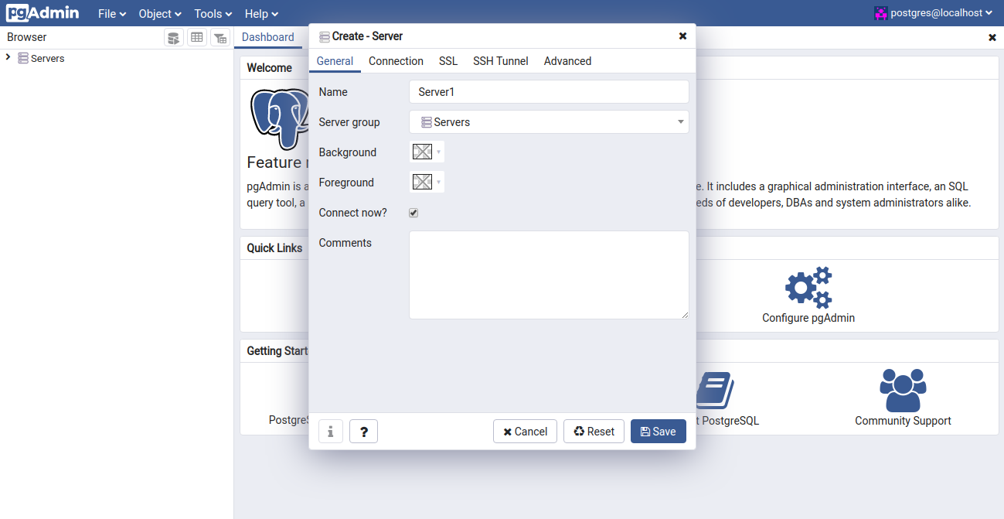
In the General tab, provide the name of the server and click on the Connection tab. You should see the following screen:
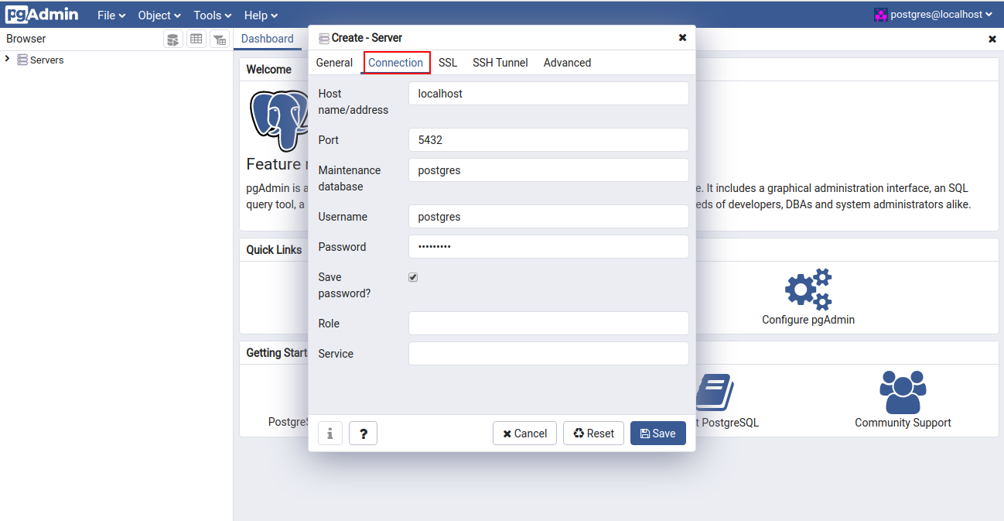
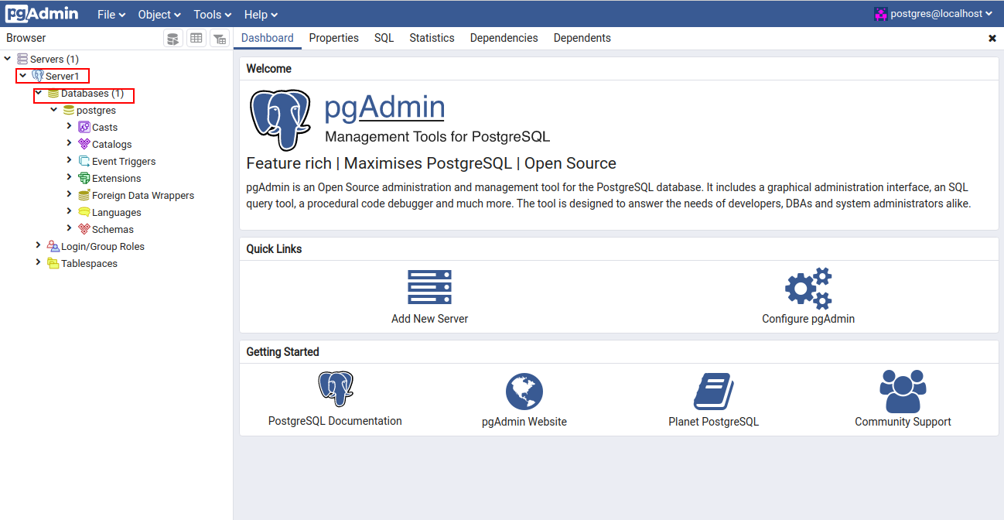
Provide the Hostname or IP address of the server that you want to connect, as well as the Port number, PostgreSQL username, and password, and click on the Save button. Once the connection has been established, you should see the detailed information about your PostgreSQL database in the left pane:
Conclusion
Congratulations! You have successfully installed pgAdmin on Ubuntu 18.04. You have also accessed pgAdmin and connected it to the local PostgreSQL database. For more information, read the pgAdmin documentation at pgAdmin doc. Get started with pgAdmin on a VPS from Atlantic.Net today!
* This post is for informational purposes only and does not constitute professional, legal, financial, or technical advice. Each situation is unique and may require guidance from a qualified professional.
Readers should conduct their own due diligence before making any decisions.