Let’s Chat is a persistent messaging application designed for small teams. It is an open-source and self-hosted chat application that runs on Node.js and MongoDB. Let’s Chat supports private and password-protected rooms, multiple rooms, notifications. Giphy search, Kerberos and LDAP authentication, multi-user chat, and more.
In this tutorial, we will show you how to install Let’s Chat with Nginx as a reverse proxy on Ubuntu 20.04.
Step 1 – Install Nodejs
First, install the necessary dependencies using the following command.
apt-get install -y ca-certificates curl gnupg
Next, download the Node.js GPG key.
mkdir -p /etc/apt/keyrings
curl -fsSL https://deb.nodesource.com/gpgkey/nodesource-repo.gpg.key | gpg --dearmor -o /etc/apt/keyrings/nodesource.gpg
Next, add the NodeSource repo to the APT source list.
echo "deb [signed-by=/etc/apt/keyrings/nodesource.gpg] https://deb.nodesource.com/node_18.x nodistro main" | tee /etc/apt/sources.list.d/nodesource.list
Then, update the repository index and install the Ndoe.js with the following command.
apt update
apt-get install -y nodejs
Next, verify the Node.js version using the following command.
node -v
Output.
v18.19.0
Step 2 – Install MongoDB
Let’s Chat uses MongoDB as a database backend, so you will need to install it in your server. By default, the latest version of MongoDB is not available in the Ubuntu 20.04 default repository, so you will need to add the MongoDB repository to your system.
First, download and add the GPG key with the following command:
curl -fsSL https://www.mongodb.org/static/pgp/server-4.4.asc | apt-key add -
Next, add the MongoDB repository with the following command:
echo "deb [ arch=amd64,arm64 ] https://repo.mongodb.org/apt/ubuntu focal/mongodb-org/4.4
multiverse" | tee /etc/apt/sources.list.d/mongodb-org-4.4.list
Next, update the repository and install MongoDB with the following command:
apt-get update -y
apt-get install mongodb-org -y
After installing the MongoDB, start the MongoDB service and enable it to start at system reboot:
systemctl start mongod
systemctl enable mongod
Step 3 – Install Let’s Chat
First, download the latest version of Let’s Chat from the Git repository with the following command:
git clone https://github.com/sdelements/lets-chat.git
Next, change the directory to the downloaded directory and install all required dependencies with the following command:
cd lets-chat
npm install
Next, copy the sample configuration file and start the Node server with the following command:
cp settings.yml.sample settings.yml
npm start
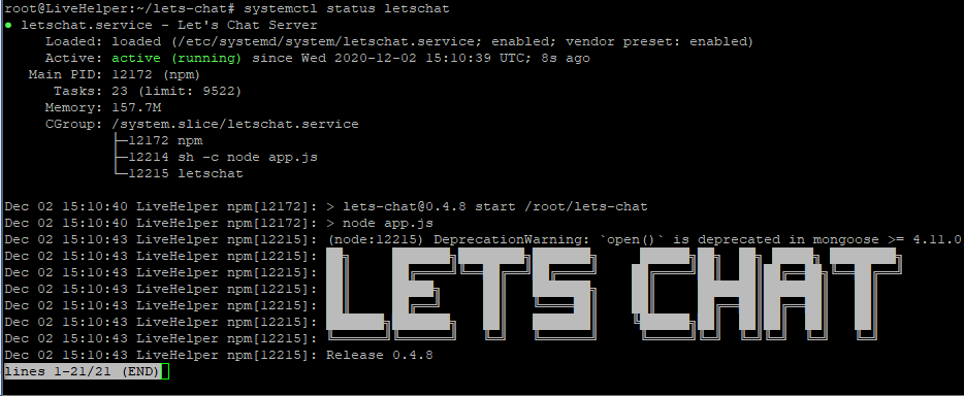
Once the server is started successfully, you should get the following output:
Now, press CTRL+C to stop the server.
Step 4 – Create a Systemd Service File for Let’s Chat
Next, you will need to create a systemd service file for Let’s Chat. You can create it with the following command:
nano /etc/systemd/system/letschat.service
Add the following lines:
[Unit]
Description=Let's Chat Server
Wants=mongodb.service
After=network.target mongod.service

[Service]
Type=simple
WorkingDirectory=/root/lets-chat
ExecStart=/usr/bin/npm start
User=root
Group=root
Restart=always
RestartSec=9

[Install]
WantedBy=multi-user.target
Save and close the file, then reload the systemd daemon with the following command:
systemctl daemon-reload
Next, start the Let’s Chat service and enable it to start at system reboot with the following command:
systemctl start letschat
systemctl enable letschat
You can now check the status of the Let’s Chat with the following command:
systemctl status letschat
You should get the following output:
At this point, Let’s Chat service is started and listening on port 5000. You can check it with the following command:
ss -antpl | grep 5000
You should get the following output:
LISTEN    0         511              127.0.0.1:5000           0.0.0.0:*
users:(("letschat",pid=31534,fd=20))
Step 5 – Install and Configure Nginx for Let’s Chat
Next, you will need to install and configure Nginx as a reverse proxy for Let’s Chat. First, install the Nginx server with the following command:
apt-get install nginx -y
Once installed, create a new Nginx virtual host configuration file with the following command:
nano /etc/nginx/sites-available/letschat.conf
Add the following lines:
server {
server_name letschat.example.com;
listen 80;

access_log /var/log/nginx/lets_chat-access.log;
error_log /var/log/nginx/lets_chat-error.log;

location / {
proxy_set_header   X-Real-IP $remote_addr;
proxy_set_header   Host      $host;
proxy_http_version 1.1;
proxy_set_header   Upgrade $http_upgrade;
proxy_set_header   Connection 'upgrade';
proxy_cache_bypass $http_upgrade;
proxy_pass         http://127.0.0.1:5000;
}

}
Save and close the file, then activate the Nginx virtual host with the following command:
ln -s /etc/nginx/sites-available/letschat.conf /etc/nginx/sites-enabled/
Next, you will need to set hash_bucket size in the Nginx main configuration file.
nano /etc/nginx/nginx.conf
Add the following line below http {:
server_names_hash_bucket_size 64;
Save and close the file, then restart the Nginx service to apply the changes:
systemctl restart nginx
Step 6 – Access Let’s Chat Web Interface
Now, open your web browser and access the Let’s Chat web interface using the URL http://letschat.example.com. You will be redirected to the following page:
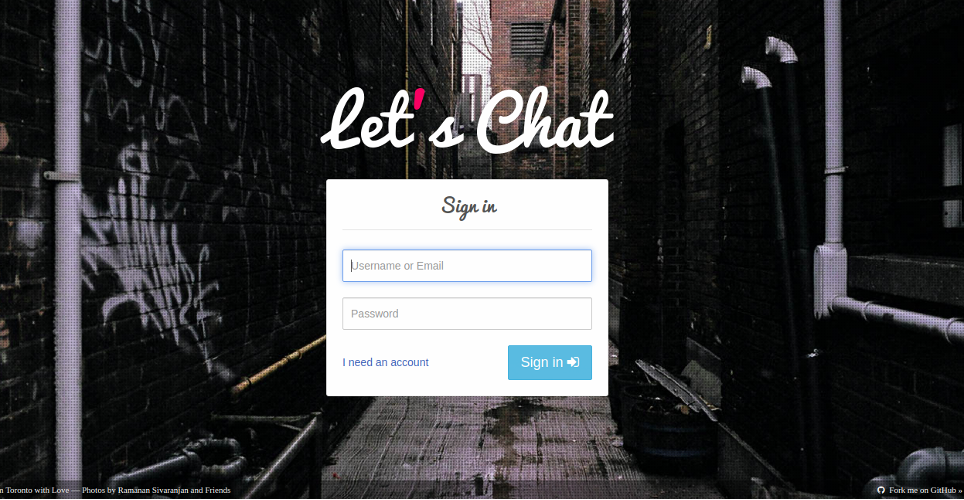
Click on “I need an account” button. You should see the following page:
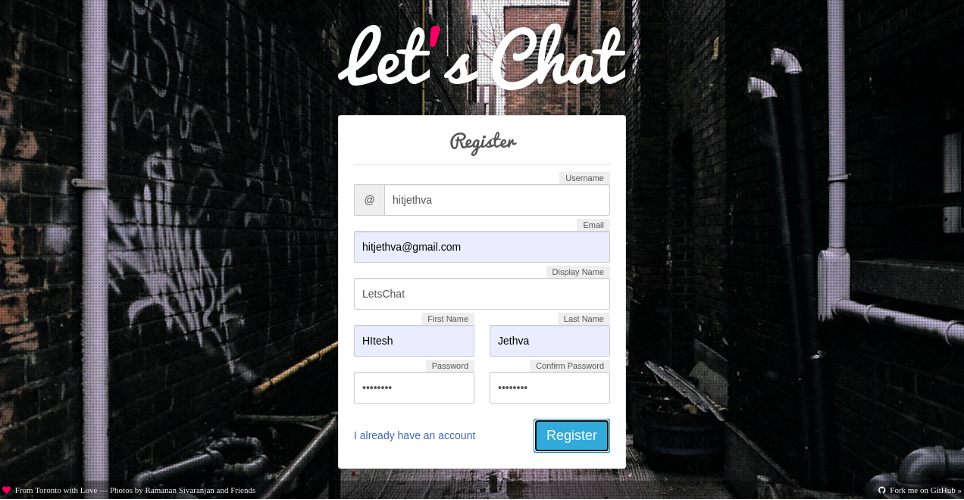
Provide your username, email, and password and click on the Register button. You should see the following page:
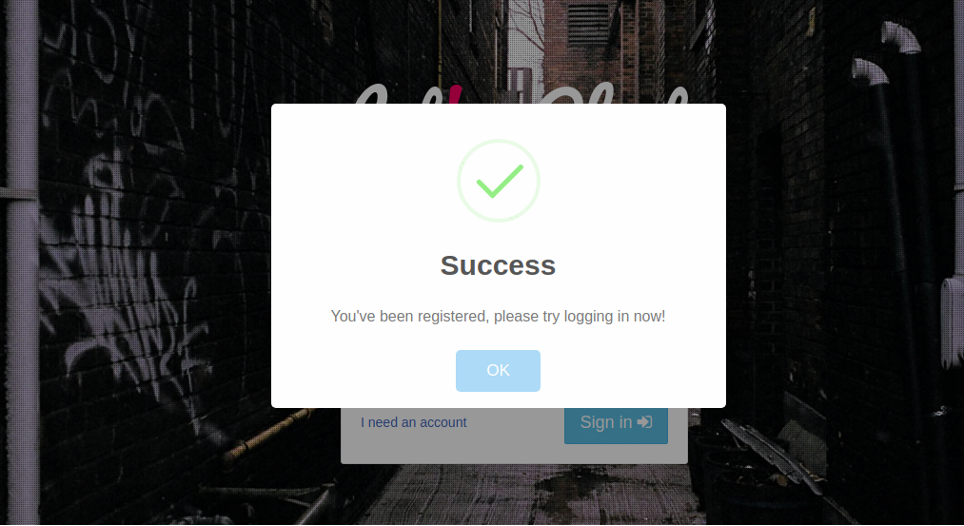
Click on the OK button. You should see the Let’s Chat login page:
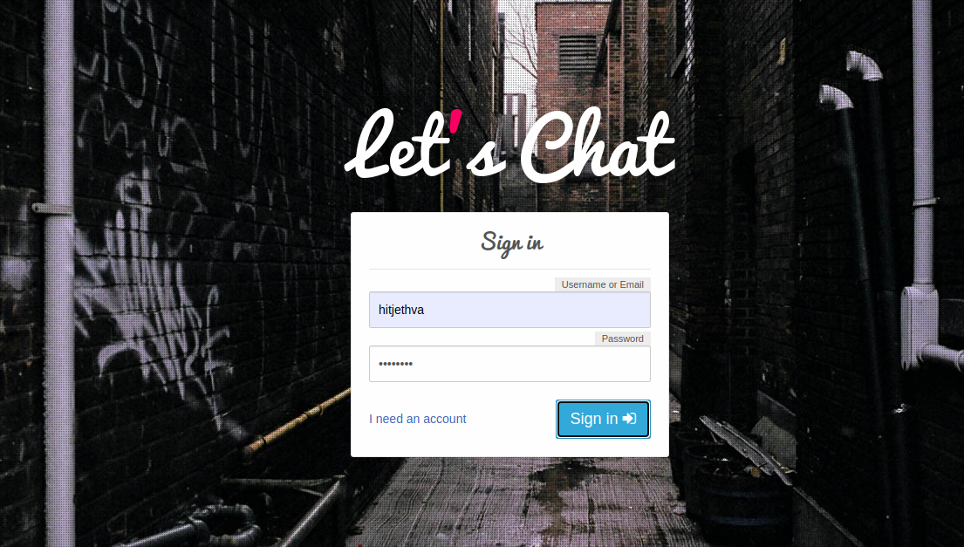
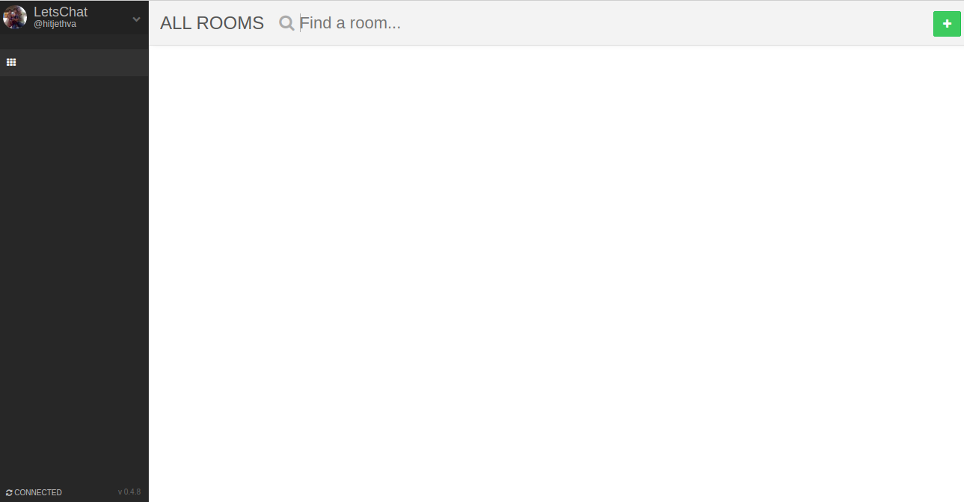
Provide your username and password and click on the Sign in button. You should see the Let’s Chat dashboard in the following page:
Conclusion
Congratulations! You have successfully installed Let’s Chat with Nginx as a reverse proxy on Ubuntu 20.04. You can now create a new chat room and invite users to join this room. Get started with Let’s Chat on VPS hosting from Atlantic.Net now!