OpenMAINT is an open-source CMMS (Computerized Maintenance Management System) application for managing movable assets, including plants, technical devices, furniture, etc. It is designed to manage and streamline maintenance processes at all scales and across all industries. It is implemented on the open-source asset management framework CMDBuild. OpenMAINT has powerful tools, including dashboards, inventory control, reports, and tracking and history records. You can also customize it according to the needs of the organization.
In this post, we will learn how to install OpenMAINT on Ubuntu 20.04.
Step 1 – Update System and Install Java
It is recommended to use a server with at least 8GB of RAM
OpenMAINT is built on Java, so Java must be installed on your server. If not installed, you can install it with the following commands:
apt-get update -y
apt-get install default-jdk -y
Once the Java is installed, you can verify the Java version with the following command:
java --version
You should get the Java version in the following output:
openjdk 11.0.7 2020-04-14
OpenJDK Runtime Environment (build 11.0.7+10-post-Ubuntu-3ubuntu1)
OpenJDK 64-Bit Server VM (build 11.0.7+10-post-Ubuntu-3ubuntu1, mixed mode, sharing)
Next, you will need to install some required dependencies on your server. You can install all of them with the following command:
apt-get install gnupg2 wget unzip git curl -y
Once all the dependencies are installed, you can proceed to the next step.
Step 2 – Install PostgreSQL
OpenMAINT uses PostgreSQL as a database backend, so you must install PostgreSQL version 10 on your server.
First, add the GPG key with the following command:
wget --quiet -O - https://www.postgresql.org/media/keys/ACCC4CF8.asc | apt-key add -
Next, add the PostgreSQL repository to APT with the following command:
echo "deb [arch=amd64] http://apt.postgresql.org/pub/repos/apt/ focal-pgdg main" | tee /etc/apt/sources.list.d/pgdg.list
Next, update the repository and install PostgreSQL with the following command:
apt-get update -y
apt-get install postgresql-10 postgresql-contrib -y
Next, install other PostgreSQL packages with the following command:
apt-get install postgis postgresql-10-postgis-3 libpostgis-java -y
Once all the packages are installed, set the Postgres user password:
passwd postgres
Set the Postgres password as shown below:
New password:
Retype new password:
passwd: password updated successfully
Next, connect to Postgres and set a password for the Postgres database user.
su - postgres
psql -d template1 -c "ALTER USER postgres WITH PASSWORD 'admin';"
Next, exit from the Postgres user with the following command:
exit
Step 3 – Install OpenMAINT
First, create a new user for OpenMAINT with the following command:
adduser tomcat
Next, switch the user to Tomcat with the following command:
su - tomcat
Next, download the latest version of OpenMAIN with the following command:
wget https://downloads.sourceforge.net/project/openmaint/2.1/Core%20updates/openmaint-2.1-3.3.1/openmaint-2.1-3.3.1.war
Once the download is completed, start the OpenMAINT installation with the following command:
java -jar ./openmaint-2.1-3.3.1.war install
Now, follow and type the installation options as shown below:
loading jars .................................................................................................................. done

CMDBuild interactive install wizard - welcome!

this wizard will guide you in the process of installing and configuring a new instance of CMDBuild!


tomcat install location </home/tomcat/cmdbuild_30> :

tomcat http port <8080>:
tomcat shutdown port (offset already applied) <8005>:
tomcat debug port (offset already applied) <8000>:

postrgres db  :
Next, type the PostgreSQL username and the password we have set earlier:
postrgres admin account <postgres/postgres> : postgres/admin
Next, select the default option and hit ENTER to continue. Once the installation has been completed, you should see the following output:
WARNING: server version 10.0.16 is not supported, you may encounter problems
cmdbuild posrgres database name  :
database dump to load  :

we're ready to begin, this is your configuration:

	 tomcat: /home/tomcat/cmdbuild_30
	 http port: 8080
	 shutdown port: 8005
	 debug port: 8000
	 postgres database: localhost:5432/cmdbuild_18d9
	 database dump: demo.dump.xz

if everything is ok, press ENTER to begin installation

BEGIN installation
install tomcat...
OK
create database...
create database cmdbuild_18d9 demo.dump.xz
cmdbuild successfully installed! you can find startup/shutdown scripts in dir /home/tomcat/cmdbuild_30/bin
Step 4 – Start OpenMAINT
At this point, OpenMAINT is installed in /home/tomcat/cmdbuild_30 directory.
Next, change the directory to cmdbuild_30 and start the server with the following command:
cd cmdbuild_30/bin/
./startup.sh
You should see the following output:
Using CATALINA_BASE:   /home/tomcat/cmdbuild_30
Using CATALINA_HOME:   /home/tomcat/cmdbuild_30
Using CATALINA_TMPDIR: /home/tomcat/cmdbuild_30/temp
Using JRE_HOME:        /usr
Using CLASSPATH:       /home/tomcat/cmdbuild_30/bin/bootstrap.jar:/home/tomcat/cmdbuild_30/bin/tomcat-juli.jar
Using CATALINA_PID:    /home/tomcat/cmdbuild_30/bin/catalina.pid
Tomcat started.
Step 5 – Access OpenMAINT Dashboard
At this point, OpenMAINT is started and listening on port 8080. You can access it using the URL http://your-server-ip:8080/cmdbuild.
You will be redirected to the OpenMAINT login page:
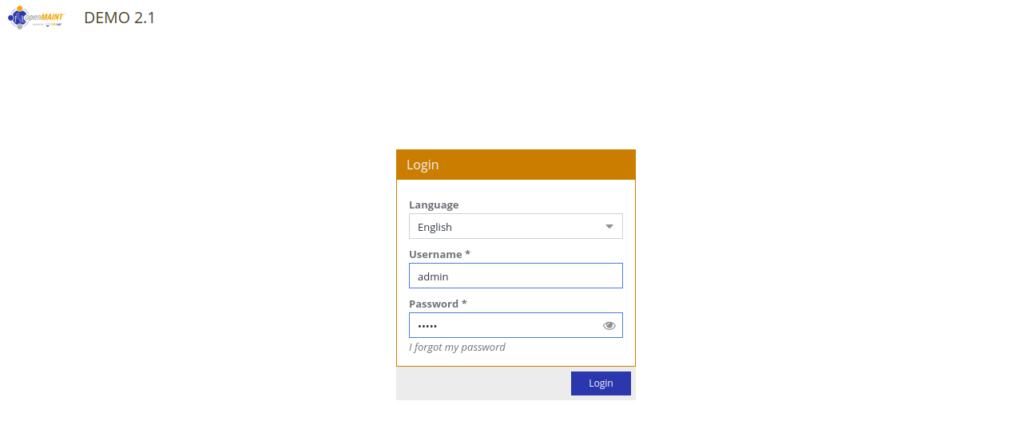
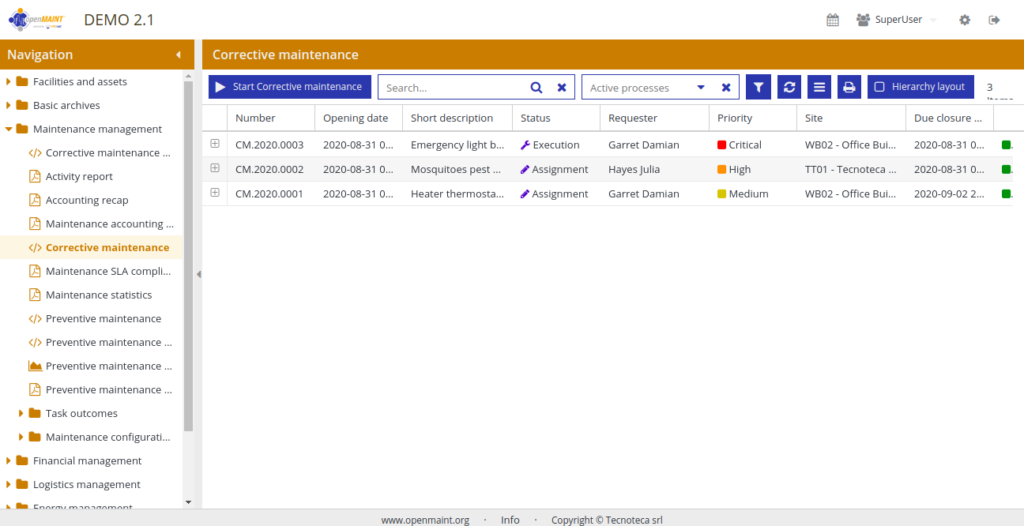
Provide username and password as admin/admin, then click the Login button. You will be redirected to the OpenMAINT dashboard as shown below:
Conclusion
Congratulations! You have successfully installed and configured OpenMAINT on the Ubuntu 20.04 server. You can now use OpenMAINT to manage the inventory, maintenance, logistics, and economic information related to buildings, plants, and movable assets. Try it today on your VPS hosting account from Atlantic.Net!