Sphinx is a powerful documentation generator that makes it easy to create intelligent and beautiful documentation. It is written in Python and supports several Output formats such as PDF, plain text, EPUB, TeX, manual pages, and more. Sphinx uses the reStructuredText markup language by default and can read MyST markdown via third-party extensions. It supports many languages, including Python, C, C++, JavaScript, mathematics, and many more.
In this post, we will show you how to install Sphinx-Doc on Oracle Linux 8.
Step 1 – Install Python
First, you will need to install Python and other required dependencies on your server. You can install all of them by running the following command:
dnf install python39 httpd make gcc -y
Once all the packages are installed, verify the Python version with the following command:
python3.9 --version
You will get the following output:
Python 3.9.7
Next, install the PIP package with the following command:
dnf install python39-pip -y
Next, verify the PIP version using the following command:
pip3 --version
You will get the following output:
pip 20.2.4 from /usr/lib/python3.9/site-packages/pip (python 3.9)
Step 2 – Install Sphinx-Doc on Oracle Linux 8
You can now use the PIP command line utility to install Sphinx-Doc:
pip3 install sphinx
Once the installation has been completed, navigate to the Apache web root directory and configure Sphinx with the following command:
cd /var/www/html/
sphinx-quickstart
Answer all the questions as shown below to configure Sphinx-Doc:
Welcome to the Sphinx 5.1.1 quickstart utility.

Please enter values for the following settings (just press Enter to
accept a default value, if one is given in brackets).

Selected root path: .

You have two options for placing the build directory for Sphinx output.
Either, you use a directory "_build" within the root path, or you separate
"source" and "build" directories within the root path.
> Separate source and build directories (y/n) [n]: n

The project name will occur in several places in the built documentation.
> Project name: myapp
> Author name(s): hitesh jethva
> Project release []: 8.05

If the documents are to be written in a language other than English,
you can select a language here by its language code. Sphinx will then
translate text that it generates into that language.

For a list of supported codes, see
https://www.sphinx-doc.org/en/master/usage/configuration.html#confval-language.
> Project language [en]:

Creating file /var/www/html/conf.py.
Creating file /var/www/html/index.rst.
Creating file /var/www/html/Makefile.
Creating file /var/www/html/make.bat.

Finished: An initial directory structure has been created.

You should now populate your master file /var/www/html/index.rst and create other documentation
source files. Use the Makefile to build the docs, like so:
   make builder
where "builder" is one of the supported builders, e.g. html, latex or linkcheck.
Next, build all configuration files using the following command:
make html
You will get the following output:
Running Sphinx v5.1.1
making output directory... done
building [mo]: targets for 0 po files that are out of date
building [html]: targets for 1 source files that are out of date
updating environment: [new config] 1 added, 0 changed, 0 removed
reading sources... [100%] index
looking for now-outdated files... none found
pickling environment... done
checking consistency... done
preparing documents... done
writing output... [100%] index
generating indices... genindex done
writing additional pages... search done
copying static files... done
copying extra files... done
dumping search index in English (code: en)... done
dumping object inventory... done
build succeeded.

The HTML pages are in _build/html.
Step 3 – Create an Apache Virtual Host for Sphinx-Doc
Next, you will need to create an Apache virtual host configuration file to host Sphinx-Doc on the web.
nano /etc/httpd/conf.d/sphinx.conf
Add the following configurations:
<VirtualHost *:80>
        ServerAdmin [email protected]
        ServerName sphinx.exampledomain.com
        DocumentRoot /var/www/html/_build/html/
        ErrorLog /var/log/httpd/error.log
        CustomLog /var/log/httpd/access.log combined
</VirtualHost>
Save and close the file, then change the ownership of the Apache web root directory:
chown -R apache:apache /var/www/html/
Next, start and enable the Apache service with the following command:
systemctl start httpd
systemctl enable httpd
Next, verify the status of Apache with the following command:
systemctl status httpd
You will get the following output:
● httpd.service - The Apache HTTP Server
   Loaded: loaded (/usr/lib/systemd/system/httpd.service; disabled; vendor preset: disabled)
   Active: active (running) since Thu 2022-09-01 02:03:13 EDT; 7s ago
     Docs: man:httpd.service(8)
 Main PID: 2748 (httpd)
   Status: "Started, listening on: port 80"
    Tasks: 213 (limit: 11409)
   Memory: 25.0M
   CGroup: /system.slice/httpd.service
           ├─2748 /usr/sbin/httpd -DFOREGROUND
           ├─2750 /usr/sbin/httpd -DFOREGROUND
           ├─2751 /usr/sbin/httpd -DFOREGROUND
           ├─2752 /usr/sbin/httpd -DFOREGROUND
           └─2753 /usr/sbin/httpd -DFOREGROUND

Sep 01 02:03:12 oraclelinux8 systemd[1]: Starting The Apache HTTP Server...
Step 4 – Access Sphinx-Doc Web Interface
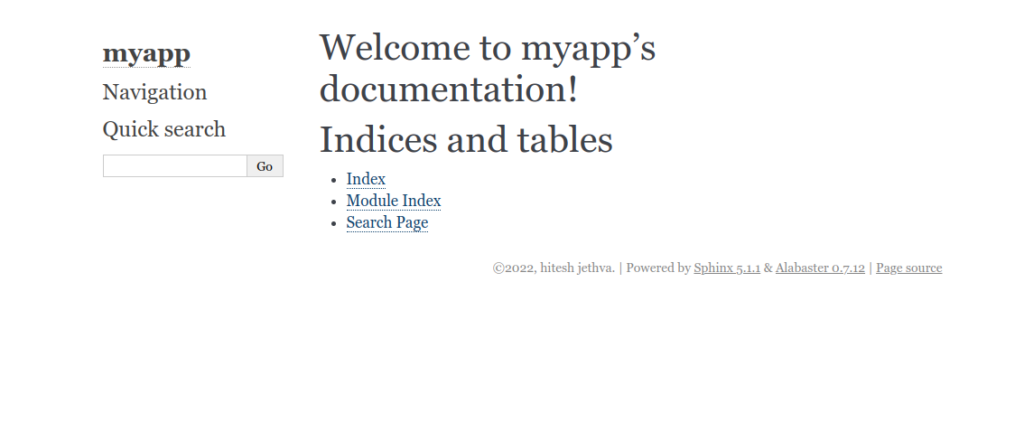
You can now access the Sphinx-Doc web interface using the URL http://sphinx.exampledomain.com. You should see Sphinx-Doc on the following screen:
Conclusion
Congratulations! You have successfully installed Sphinx-Doc on Oracle Linux 8 server. You can now use Sphinx-Doc for any documentation project, including one on your dedicated server from Atlantic.Net.