LAMP is an open-source Web development platform used for hosting highly-scalable websites on the web. It uses Linux as the operating system, Apache as a web server, MariaDB or MySQL as a database server, and PHP, Python, or Perl as a programming language. A LAMP stack is an efficient and flexible method that enables competition with commercial software developers. As per global research, up to 80% of the Internet uses open-source programming and software.
In this post, we will show you how to install a LAMP stack on Arch Linux.
Step 1 – Configure Repository
By default, the default repository is outdated in Arch Linux, so you will need to modify the default mirror list. You can do it by editing the mirrorlist configuration file:
nano /etc/pacman.d/mirrorlist
Remove all lines and add the following lines:
## Score: 0.7, United States
Server = http://mirror.us.leaseweb.net/archlinux/$repo/os/$arch
## Score: 0.8, United States
Server = http://lug.mtu.edu/archlinux/$repo/os/$arch
Server = http://mirror.nl.leaseweb.net/archlinux/$repo/os/$arch
## Score: 0.9, United Kingdom
Server = http://mirror.bytemark.co.uk/archlinux/$repo/os/$arch
## Score: 1.5, United Kingdom
Server = http://mirrors.manchester.m247.com/arch-linux/$repo/os/$arch
Server = http://archlinux.dcc.fc.up.pt/$repo/os/$arch
## Score: 6.6, United States
Server = http://mirror.cs.pitt.edu/archlinux/$repo/os/$arch
## Score: 6.7, United States
Server = http://mirrors.acm.wpi.edu/archlinux/$repo/os/$arch
## Score: 6.8, United States
Server = http://ftp.osuosl.org/pub/archlinux/$repo/os/$arch
## Score: 7.1, India
Server = http://mirror.cse.iitk.ac.in/archlinux/$repo/os/$arch
## Score: 10.1, United States
Server = http://mirrors.xmission.com/archlinux/$repo/os/$arch
Save and close the file, then update all the package indexes with the following command:
pacman -Syu
Step 2 – Install Apache Web Server
First, install the Apache web server with the following command:
pacman -Sy apache
Next, start the Apache service and enable it to start on system reboot:
systemctl start httpd
systemctl enable httpd
You can now check the status of Apache with the following command:
systemctl status httpd
You should see the following output:
● httpd.service - Apache Web Server
     Loaded: loaded (/usr/lib/systemd/system/httpd.service; disabled; preset: disabled)
     Active: active (running) since Tue 2022-09-27 05:56:18 UTC; 2s ago
   Main PID: 55616 (httpd)
      Tasks: 82 (limit: 2362)
     Memory: 6.8M
     CGroup: /system.slice/httpd.service
             ├─55616 /usr/bin/httpd -k start -DFOREGROUND
             ├─55617 /usr/bin/httpd -k start -DFOREGROUND
             ├─55618 /usr/bin/httpd -k start -DFOREGROUND
             └─55619 /usr/bin/httpd -k start -DFOREGROUND

Sep 27 05:56:18 archlinux systemd[1]: Started Apache Web Server.
Next, create a simple index.html file to test the Apache web server.
nano /srv/http/index.html
Add the following codes:
<html>
 <title>LAMP</title>
  <body>
   <h2>Welcome to LAMP Server</h2>
  </body>
</html>
Save and close the file, then open your web browser and access the Apache web page using the URL http://your-server-ip. You should see the following screen:
Step 3 – Install MySQL Database Server
By default, the MySQL server package is included in the Arch Linux default repository. You can install it with the following command:
pacman -S mariadb
Next, initialize the MySQL database with the following command:
mysql_install_db --user=mysql --basedir=/usr --datadir=/var/lib/mysql
Next, start and enable the MySQL service with the following command:
systemctl enable mysqld
systemctl start mysqld
Step 4 – Install PHP
Next, install PHP and other required extensions using the following command:
pacman -S php php-apache
Once PHP is installed, edit the Apache configuration file and add PHP modules:
nano /etc/httpd/conf/httpd.conf
Comment out the following line:
#LoadModule mpm_event_module modules/mod_mpm_event.so
Uncomment the following line:
LoadModule mpm_prefork_module modules/mod_mpm_prefork.so
Add the following lines at the end of the file:
LoadModule php_module modules/libphp.so
AddHandler php7-script php
Include conf/extra/php_module.conf
Save and close the file when you are finished.
Step 5 – Verify PHP Installation
Next, create a simple PHP file inside the Apache web root directory:
nano /srv/http/info.php
Add the following code:
<?php
 phpinfo();
?>
Save and close the file, then restart the Apache server to apply the changes:
systemctl restart httpd
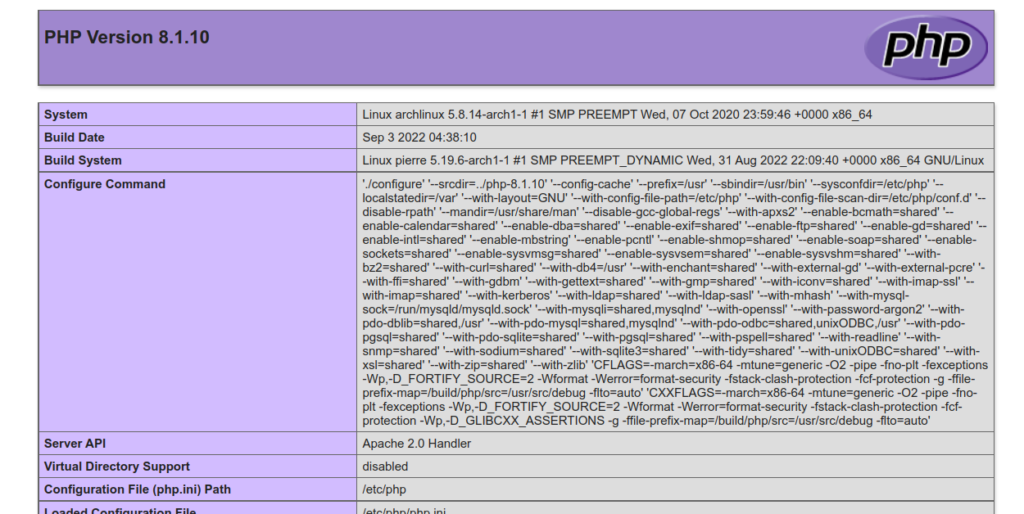
Now, open your web browser and verify the PHP using the URL http://your-server-ip/info.php. You should see the PHP page on the following screen:
Conclusion
In this post, we explained how to install the LAMP server on Arch Linux. You can now use the LAMP stack on the production environment and start developing and deploying a PHP-based application on the web. Try to install LAMP on dedicated hosting from Atlantic.Net!
* This post is for informational purposes only and does not constitute professional, legal, financial, or technical advice. Each situation is unique and may require guidance from a qualified professional.
Readers should conduct their own due diligence before making any decisions.