Velociraptor is an open-source tool that can be used for collecting host-based state information using Velocidex Query Language. It is based on GRR, OSQuery, and Google’s Rekall tool. It can scale thousands of hosts using the Velociraptor Query Language. VQL is an expressive query language that allows you to gather information without deploying any software.
Velociraptor is made from six components including Frontend, Gui, Client, VQL Engine, Data Store, and File Store.
In this guide, we will explain how to install Velociraptor on an Ubuntu server. This procedure is compatible with Ubuntu 20.04 and Ubuntu 24.04.
Step 1 – Install and Configure Velociraptor
By default, Velociraptor is not included in the Ubuntu default repository, so you will need to download it from the Git repository. You can download it with the following command:
wget https://github.com/Velocidex/velociraptor/releases/download/v0.74/velociraptor-v0.74.1-linux-amd64
Once the download is completed, copy the downloaded binary to the system location with the following command:
cp velociraptor-v0.74.1-linux-amd64 /usr/local/bin/velociraptor
Next, set proper permission with the following command:
chmod +x /usr/local/bin/velociraptor
Next, run the following command to configure Velociraptor:
velociraptor config generate -i
Answer all questions as shown below:
?
Welcome to the Velociraptor configuration generator
---------------------------------------------------

I will be creating a new deployment configuration for you. I will
begin by identifying what type of deployment you need.


What OS will the server be deployed on?
 linux
? Path to the datastore directory. /opt/velociraptor
?  Self Signed SSL
? What is the public DNS name of the Master Frontend (e.g. www.example.com): 45.58.43.227
? Enter the frontend port to listen on. 8000
? Enter the port for the GUI to listen on. 8889
? Are you using Google Domains DynDNS? No
? GUI Username or email address to authorize (empty to end): admin
? GUI Username or email address to authorize (empty to end):
[INFO] 2021-06-20T07:09:48Z  _    __     __           _                  __
[INFO] 2021-06-20T07:09:48Z | |  / /__  / /___  _____(_)________ _____  / /_____  _____
[INFO] 2021-06-20T07:09:48Z | | / / _ \/ / __ \/ ___/ / ___/ __ `/ __ \/ __/ __ \/ ___/
[INFO] 2021-06-20T07:09:48Z | |/ /  __/ / /_/ / /__/ / /  / /_/ / /_/ / /_/ /_/ / /
[INFO] 2021-06-20T07:09:48Z |___/\___/_/\____/\___/_/_/   \__,_/ .___/\__/\____/_/
[INFO] 2021-06-20T07:09:48Z                                   /_/
[INFO] 2021-06-20T07:09:48Z Digging deeper!                  https://www.velocidex.com
[INFO] 2021-06-20T07:09:48Z This is Velociraptor 0.5.9 built on 2021-05-10T19:48:17+10:00 (fbe594c5)
[INFO] 2021-06-20T07:09:48Z Generating keys please wait....
? Path to the logs directory. /opt/velociraptor/logs
? Where should i write the server config file? /root/server.config.yaml
Next, edit the Velociraptor configuration file with the following command:
nano /root/server.config.yaml
Find all instances of the following line:
bind_address: 127.0.0.1
Replace them with the following line:
bind_address: your-server-ip
Save and close the file when you are finished.
Step 2 – Create a Systemd Service File for Velociraptor
Next, you will need to create a systemd service file for Velociraptor. You can create it with the following command:
nano /lib/systemd/system/velociraptor.service
Add the following lines:
[Unit]
Description=Velociraptor linux amd64
After=syslog.target network.target

[Service]
Type=simple
Restart=always
RestartSec=120
LimitNOFILE=20000
Environment=LANG=en_US.UTF-8
ExecStart=/usr/local/bin/velociraptor --config /root/server.config.yaml frontend -v

[Install]
WantedBy=multi-user.target
Save and close the file, then reload the systemd daemon:
systemctl daemon-reload
Next, start the Velociraptor service and enable it to start at system reboot:
systemctl enable --now velociraptor
You can now check the status of Velociraptor with the following command:
systemctl status velociraptor
Output:
● velociraptor.service - Velociraptor linux amd64
     Loaded: loaded (/usr/lib/systemd/system/velociraptor.service; disabled; preset: enabled)
     Active: active (running) since Fri 2025-05-16 06:30:40 UTC; 3s ago
   Main PID: 76819 (velociraptor)
      Tasks: 17 (limit: 629145)
     Memory: 85.9M (peak: 86.4M)
        CPU: 4.274s
     CGroup: /system.slice/velociraptor.service
             ├─76819 /usr/local/bin/velociraptor --config /root/server.config.yaml frontend -v
             └─76827 /usr/local/bin/velociraptor --config /root/server.config.yaml frontend -v

May 16 06:30:42 ubuntu24 velociraptor[76819]: [INFO] 2025-05-16T06:30:42Z Upgrading tool OSQueryWindows {"Tool":{"name":"OSQueryWindows","github_project":"Velocidex/OS>
May 16 06:30:42 ubuntu24 velociraptor[76819]: [INFO] 2025-05-16T06:30:42Z Upgrading tool Autorun_386 {"Tool":{"name":"Autorun_386","url":"https://live.sysinternals.com>
May 16 06:30:43 ubuntu24 velociraptor[76819]: [INFO] 2025-05-16T06:30:43Z Compiled all artifacts.
May 16 06:30:43 ubuntu24 velociraptor[76819]: [INFO] 2025-05-16T06:30:43Z CryptoServerManager: Watching for events from Server.Internal.ClientDelete
May 16 06:30:43 ubuntu24 velociraptor[76819]: [INFO] 2025-05-16T06:30:43Z Throttling connections to 100 QPS
May 16 06:30:43 ubuntu24 velociraptor[76819]: [INFO] 2025-05-16T06:30:43Z Starting gRPC API server on 69.28.91.23:8001
May 16 06:30:43 ubuntu24 velociraptor[76819]: [INFO] 2025-05-16T06:30:43Z Launched Prometheus monitoring server on 69.28.91.23:8003
May 16 06:30:43 ubuntu24 velociraptor[76819]: [INFO] 2025-05-16T06:30:43Z GUI will use the Basic authenticator
May 16 06:30:43 ubuntu24 velociraptor[76819]: [INFO] 2025-05-16T06:30:43Z GUI is ready to handle TLS requests on https://69.28.91.23:8889/
May 16 06:30:43 ubuntu24 velociraptor[76819]: [INFO] 2025-05-16T06:30:43Z Frontend is ready to handle client TLS requests at https://69.28.91.23:8000/
Step 3 – Access Velociraptor Web UI
At this point, Velociraptor is installed and listen on port 8889. You can check the listening port with the following command:
ss -antpl | grep 8889
Output:
LISTEN 0 4096 your-server-ip:8889 0.0.0.0:* users:(("velociraptor",pid=1074,fd=27))
You can now access it using the URL https://your-server-ip:8889. You should see the Velociraptor dashboard on the following screen:
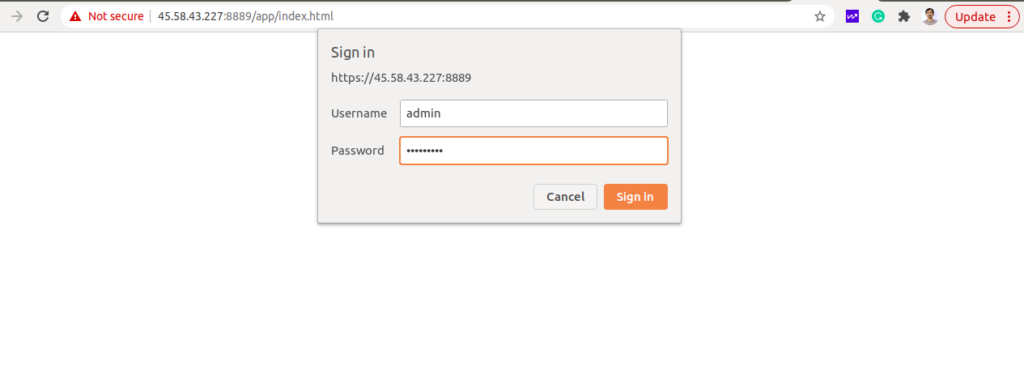
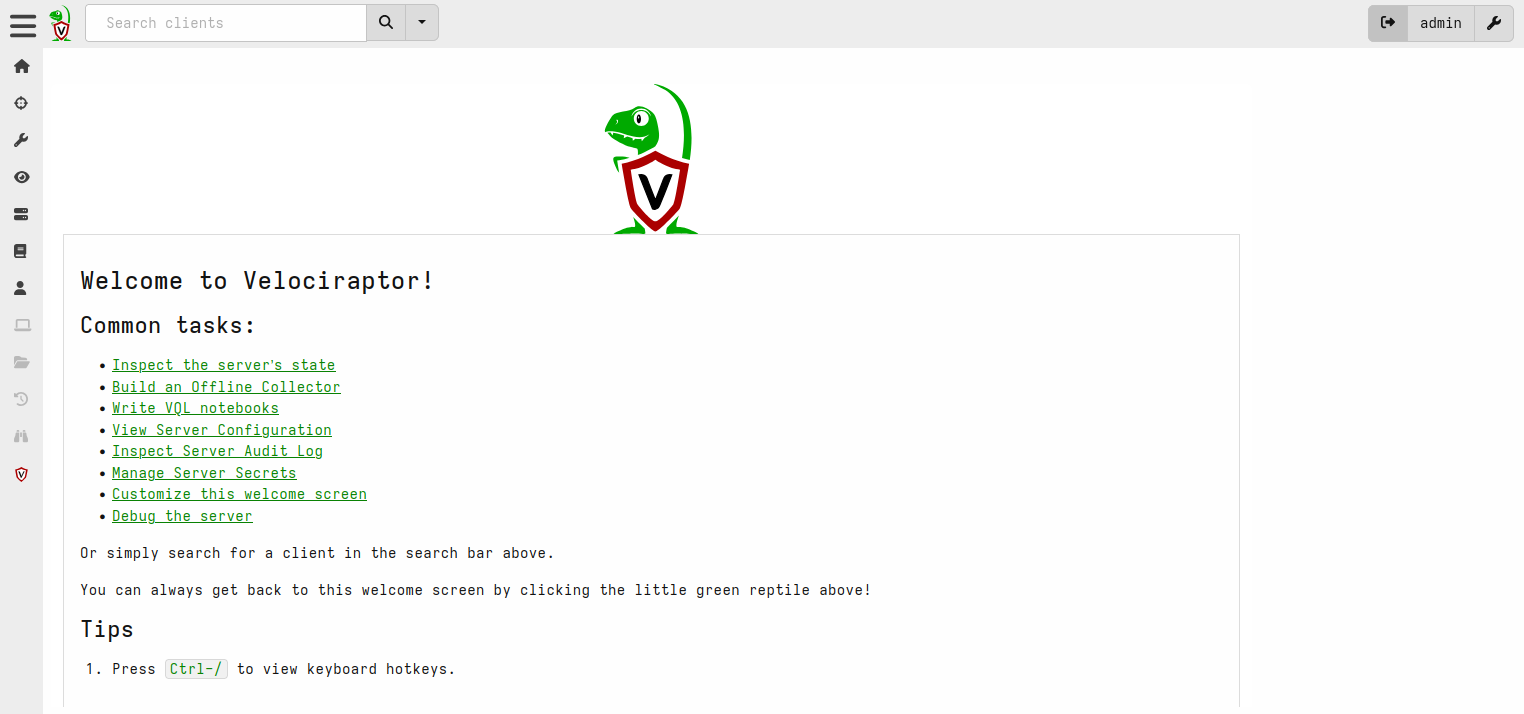
Provide your admin username, password and click on the Sign in. You should see the Velociraptor dashboard on the following page:
Conclusion
Congratulations! You have successfully installed and configured Velociraptor on Ubuntu. You can now configure Velociraptor clients and monitor them from the Velociraptor dashboard. Get started on dedicated hosting from Atlantic.Net.
* This post is for informational purposes only and does not constitute professional, legal, financial, or technical advice. Each situation is unique and may require guidance from a qualified professional.
Readers should conduct their own due diligence before making any decisions.