The Cockpit is a web-based tool that helps system administrators perform day-to-day administrative tasks from a web browser. You can monitor system resources, create and remove user accounts, start and stop services, restart and shut down the system, and create and manage virtual boxes using the Cockpit. Cockpit makes it easier to administer your Linux server via a web-based interface.
Step 1 – Install Cockpit
By default, the Cockpit package is included in the Ubuntu default repository. You can install it by just running the following command:
apt-get update -y
apt-get install cockpit -y
Once the Cockpit is installed, start the Cockpit service and enable it to start at system reboot:
systemctl start cockpit
systemctl enable cockpit
You can also verify the status of the Cockpit service with the following command:
systemctl status cockpit
You should get the following output:
cockpit.service - Cockpit Web Service
Loaded: loaded (/lib/systemd/system/cockpit.service; static; vendor preset>
Active: active (running) since Fri 2021-01-22 15:26:48 UTC; 4s ago
TriggeredBy: ● cockpit.socket
Docs: man:cockpit-ws(8)
Process: 7544 ExecStartPre=/usr/sbin/remotectl certificate --ensure --user=>
Main PID: 7552 (cockpit-tls)
Tasks: 1 (limit: 2353)
Memory: 2.0M
CGroup: /system.slice/cockpit.service
└─7552 /usr/lib/cockpit/cockpit-tls

Jan 22 15:26:48 ubuntu2004 systemd[1]: Starting Cockpit Web Service...
Jan 22 15:26:48 ubuntu2004 remotectl[7544]: Generating temporary certificate us>
Jan 22 15:26:48 ubuntu2004 remotectl[7544]: Error generating temporary dummy ce>
Jan 22 15:26:48 ubuntu2004 remotectl[7544]: Generating temporary certificate us>
Jan 22 15:26:48 ubuntu2004 systemd[1]: Started Cockpit Web Service.
At this point, Cockpit is started and listening on port 9090. You can verify it with the following command:
ss -antpl | grep 9090
You should see the following output:
LISTEN 0 4096 *:9090 *:* users:(("cockpit-
tls",pid=7552,fd=3),("systemd",pid=1,fd=101))
Step 2 – Access Cockpit Web Interface
Now, open your web browser and access the Cockpit web interface using the URL https://your-server-ip:9090. You should see the Cockpit login page:
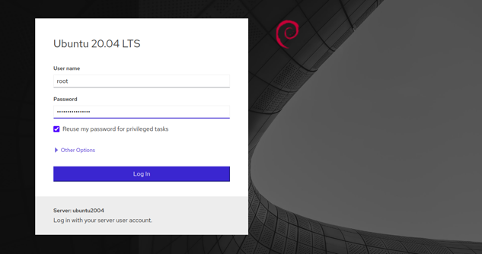
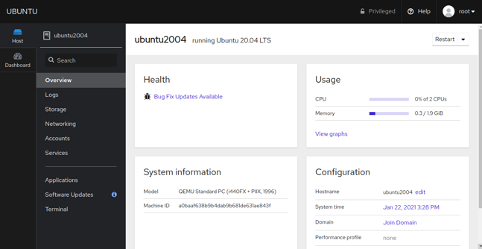
Provide your root username and password and click on the Log in button. You should see the Cockpit dashboard in the following page:
Step 3 – How to Use Cockpit
You can also create and manage the virtual machine using Cockpit.
First, you will need to enable the virtual machine option in Cockpit. You can enable it with the following command:
apt-get install cockpit-machines -y
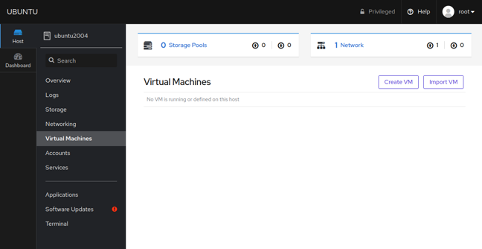
Once installed, log out and log in again, you should see the Virtual machine option in the following page:
Click on the Create VM button to create a virtual machine. You should see the following page:
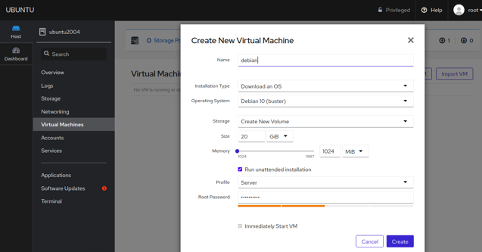
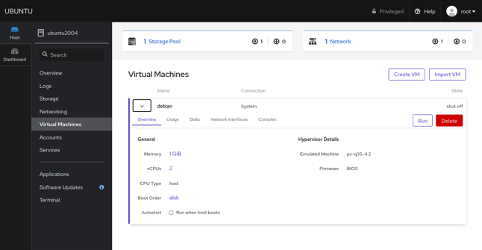
Provide your VM name, operating system, RAM, and Disk and click on the Create button. Once the VM is created, you should see the following page:
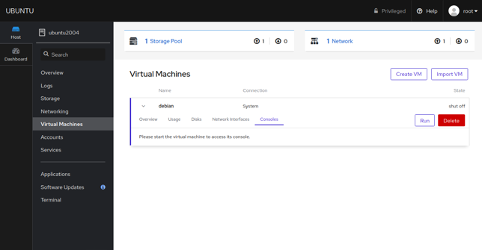
Next, click on the Console tab, you should see the following page:
Click on the Run button to start the Virtual Machine. Once the VM is started, you should see the Virtual Machine login screen in the following page:
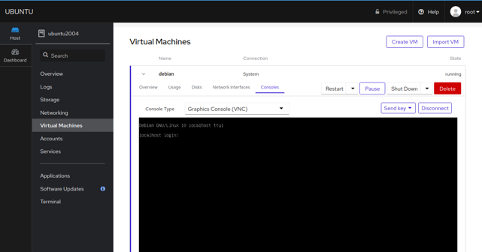
You can now login to VM using your root username and password.
Step 4 – Manage Services and Logs
You can manage the system services and logs from the Cockpit web interface. In the Cockpit web interface, click on the Services button. You should see all system services in the following page:
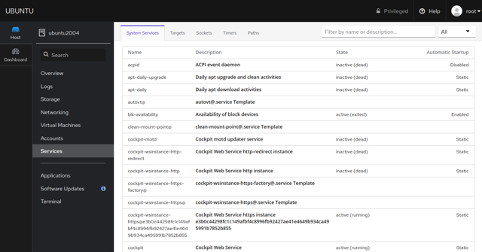
From here, you can start, stop and disable the system services easily.
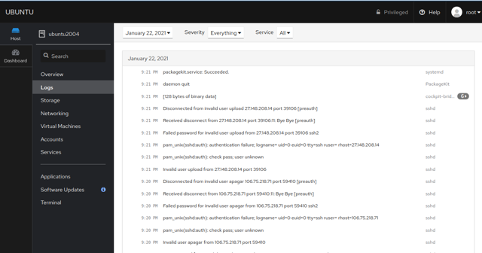
Click on the Logs button in the left pane and you should see all system logs in the following page:
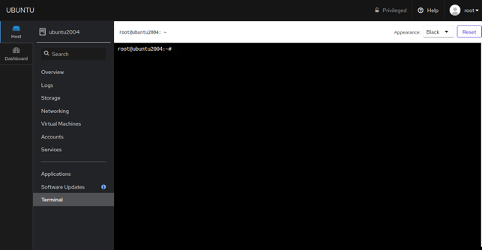
If you want to access your server via terminal, click on the Terminal button. You should see the terminal windows in the following screen:
Conclusion
Congratulations! You have successfully installed Cockpit on Ubuntu 20.04. You can now easily manage your server from its web-based interface. You can also use Cockpit on a dedicated server from Atlantic.Net!
* This post is for informational purposes only and does not constitute professional, legal, financial, or technical advice. Each situation is unique and may require guidance from a qualified professional.
Readers should conduct their own due diligence before making any decisions.