Angular is a component-based framework used for building single-page client applications using HTML and TypeScript. Supported by Google, it is the perfect framework for building large-scale, powerful, and easy-to-serve web apps. It is cross-platform and offers a wide range of features and benefits, including reduced development time, unit test friendliness, and more.
In this post, we will show you how to install Angular on Arch Linux.
Step 1 – Configure Repository
By default, the default repository is outdated in Arch Linux, so you will need to modify the default mirror list. You can do it by editing the mirror list configuration file:
nano /etc/pacman.d/mirrorlist
Remove all lines and add the following lines:
## Score: 0.7, United States
Server = http://mirror.us.leaseweb.net/archlinux/$repo/os/$arch
## Score: 0.8, United States
Server = http://lug.mtu.edu/archlinux/$repo/os/$arch
Server = http://mirror.nl.leaseweb.net/archlinux/$repo/os/$arch
## Score: 0.9, United Kingdom
Server = http://mirror.bytemark.co.uk/archlinux/$repo/os/$arch
## Score: 1.5, United Kingdom
Server = http://mirrors.manchester.m247.com/arch-linux/$repo/os/$arch
Server = http://archlinux.dcc.fc.up.pt/$repo/os/$arch
## Score: 6.6, United States
Server = http://mirror.cs.pitt.edu/archlinux/$repo/os/$arch
## Score: 6.7, United States
Server = http://mirrors.acm.wpi.edu/archlinux/$repo/os/$arch
## Score: 6.8, United States
Server = http://ftp.osuosl.org/pub/archlinux/$repo/os/$arch
## Score: 7.1, India
Server = http://mirror.cse.iitk.ac.in/archlinux/$repo/os/$arch
## Score: 10.1, United States
Server = http://mirrors.xmission.com/archlinux/$repo/os/$arch
Save and close the file, then update all the package indexes with the following command:
pacman -Syu
Step 2 – Install Node JS and NPM
First, download and run the following script to install NVM on your system.
curl -o- https://raw.githubusercontent.com/nvm-sh/nvm/v0.39.2/install.sh | bash
You will get the following output.
export NVM_DIR="$HOME/.nvm"
[ -s "$NVM_DIR/nvm.sh" ] && \. "$NVM_DIR/nvm.sh"  # This loads nvm

=> Close and reopen your terminal to start using nvm or run the following to use it now:
Next, activate the NVM environment variable using the following command.
export NVM_DIR="$HOME/.nvm"
[ -s "$NVM_DIR/nvm.sh" ] && \. "$NVM_DIR/nvm.sh"  # This loads nvm
Next, check the NVM version with the following command.
nvm --version
Output.
0.39.2
Next, install the latest version of Node JS using the following command.
nvm install --lts
You will get the following output.
Installing latest LTS version.
Downloading and installing node v18.14.2...
Downloading https://nodejs.org/dist/v18.14.2/node-v18.14.2-linux-x64.tar.xz...
####################################################################################################################################### 100.0%
Computing checksum with sha256sum
Checksums matched!
Now using node v18.14.2 (npm v9.5.0)
Creating default alias: default -> lts/* (-> v18.14.2)
To verify the Node JS version, run the following command.
node --version
Output.
v18.14.2
Step 3 – Install Angular CLI
Angular provides a CLI tool used to install and manage Angular applications via the command line interface.
First, install Angular CLI with the following command.
npm install -g @angular/cli
After the installation, you can verify the Angular version with the following command.
ng version
You should see the following output.
Thank you for sharing pseudonymous usage data. Should you change your mind, the following
command will disable this feature entirely:

    ng analytics disable --global

Global setting: enabled
Local setting: No local workspace configuration file.
Effective status: enabled

     _                      _                 ____ _     ___
    / \   _ __   __ _ _   _| | __ _ _ __     / ___| |   |_ _|
   / △ \ | '_ \ / _` | | | | |/ _` | '__|   | |   | |    | |
  / ___ \| | | | (_| | |_| | | (_| | |      | |___| |___ | |
 /_/   \_\_| |_|\__, |\__,_|_|\__,_|_|       \____|_____|___|
                |___/


Angular CLI: 15.2.1
Node: 18.14.2
Package Manager: npm 9.5.0
OS: linux x64

Angular:
...

Package                      Version
------------------------------------------------------
@angular-devkit/architect    0.1502.1 (cli-only)
@angular-devkit/core         15.2.1 (cli-only)
@angular-devkit/schematics   15.2.1 (cli-only)
@schematics/angular          15.2.1 (cli-only)
Step 4 – Create an Angular Application
First, install the Git package using the following command.
pacman -S git
Next, create a new Angular application using the following command.
ng new myapp
Once the application is created, you will get the following output.
? Would you like to add Angular routing? No
? Which stylesheet format would you like to use? CSS
CREATE myapp/README.md (1059 bytes)
CREATE myapp/.editorconfig (274 bytes)
CREATE myapp/.gitignore (548 bytes)
CREATE myapp/angular.json (2695 bytes)
CREATE myapp/package.json (1036 bytes)
CREATE myapp/tsconfig.json (901 bytes)
CREATE myapp/tsconfig.app.json (263 bytes)
CREATE myapp/tsconfig.spec.json (273 bytes)
CREATE myapp/.vscode/extensions.json (130 bytes)
CREATE myapp/.vscode/launch.json (474 bytes)
CREATE myapp/.vscode/tasks.json (938 bytes)
CREATE myapp/src/favicon.ico (948 bytes)
CREATE myapp/src/index.html (291 bytes)
CREATE myapp/src/main.ts (214 bytes)
CREATE myapp/src/styles.css (80 bytes)
CREATE myapp/src/assets/.gitkeep (0 bytes)
CREATE myapp/src/app/app.module.ts (314 bytes)
CREATE myapp/src/app/app.component.css (0 bytes)
CREATE myapp/src/app/app.component.html (23083 bytes)
CREATE myapp/src/app/app.component.spec.ts (953 bytes)
CREATE myapp/src/app/app.component.ts (209 bytes)
✔ Packages installed successfully.
Next, navigate to the myapp directory and run the application using the following command.
cd myapp
ng serve --host 0.0.0.0 --port 8080
Once the application started successfully, you should see the following output.
✔ Browser application bundle generation complete.

Initial Chunk Files   | Names         |  Raw Size
vendor.js             | vendor        |   1.71 MB |
polyfills.js          | polyfills     | 314.26 kB |
styles.css, styles.js | styles        | 209.39 kB |
main.js               | main          |  45.98 kB |
runtime.js            | runtime       |   6.51 kB |

                      | Initial Total |   2.28 MB

Build at: 2023-03-03T15:38:15.307Z - Hash: 70299a3e44f1744b - Time: 12653ms

** Angular Live Development Server is listening on 0.0.0.0:8080, open your browser on http://localhost:8080/ **


✔ Compiled successfully.
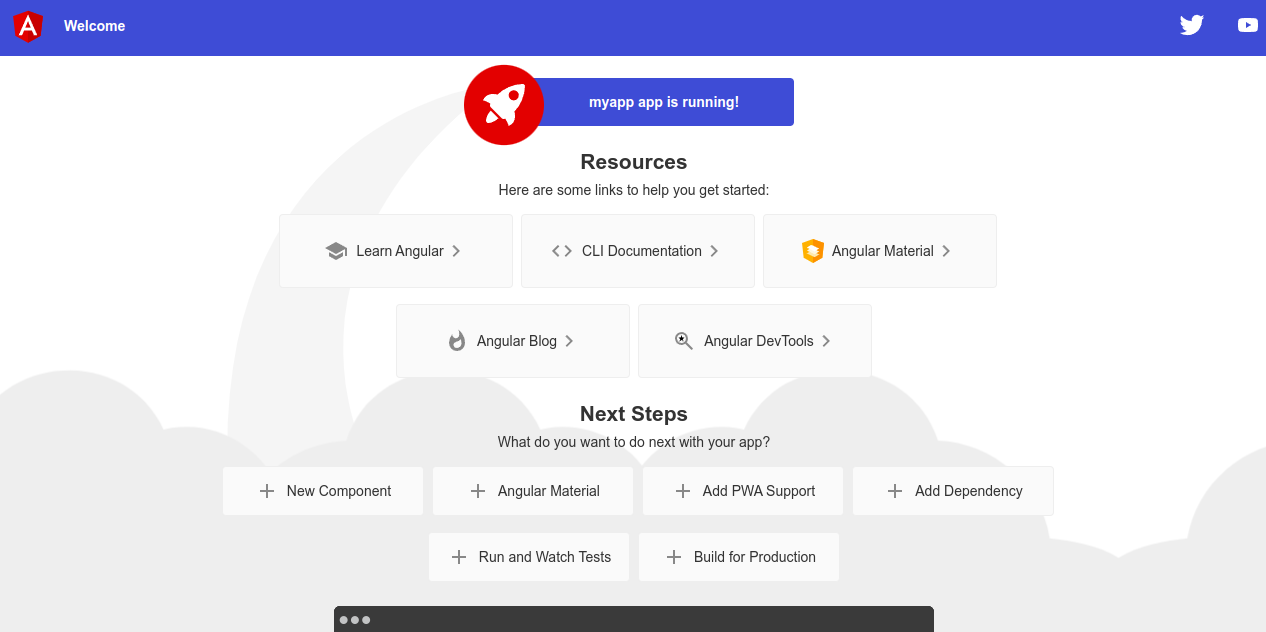
Step 5 – Access Angular Application
At this point, Angular is installed on your server. Now, it’s time to access it via a web browser. Open your web browser and access the Angular web interface using the URL http://your-server-ip:8080. You should see the Angular page on the following screen.
Conclusion
In this tutorial, we explained how to install Angular on Arch Linux. We also create a sample Angular app and test it via a web browser. You can now start creating and deploying your own Angular application on the production server. Try Angular on dedicated server hosting from Atlantic.Net!
* This post is for informational purposes only and does not constitute professional, legal, financial, or technical advice. Each situation is unique and may require guidance from a qualified professional.
Readers should conduct their own due diligence before making any decisions.