MediaWiki is a free and open-source wiki software tool used to build Wikipedia-like websites. It is written in PHP and allows for data to be written to a read-write database and read from read-only databases. It is used by students, teachers, and businesses to create materials, resources, and instructional presentations. It comes with a user-friendly web interface that helps you to add and edit wiki content, creating a group-moderated website.
In this post, we will show you how to install MediaWiki on Arch Linux.
Step 1 – Configure Repository
By default, the default repository is outdated in Arch Linux, so you will need to modify the default mirror list. You can do it by editing the mirror list configuration file:
nano /etc/pacman.d/mirrorlist
Remove all lines and add the following lines:
## Score: 0.7, United States
Server = http://mirror.us.leaseweb.net/archlinux/$repo/os/$arch
## Score: 0.8, United States
Server = http://lug.mtu.edu/archlinux/$repo/os/$arch
Server = http://mirror.nl.leaseweb.net/archlinux/$repo/os/$arch
## Score: 0.9, United Kingdom
Server = http://mirror.bytemark.co.uk/archlinux/$repo/os/$arch
## Score: 1.5, United Kingdom
Server = http://mirrors.manchester.m247.com/arch-linux/$repo/os/$arch
Server = http://archlinux.dcc.fc.up.pt/$repo/os/$arch
## Score: 6.6, United States
Server = http://mirror.cs.pitt.edu/archlinux/$repo/os/$arch
## Score: 6.7, United States
Server = http://mirrors.acm.wpi.edu/archlinux/$repo/os/$arch
## Score: 6.8, United States
Server = http://ftp.osuosl.org/pub/archlinux/$repo/os/$arch
## Score: 7.1, India
Server = http://mirror.cse.iitk.ac.in/archlinux/$repo/os/$arch
## Score: 10.1, United States
Server = http://mirrors.xmission.com/archlinux/$repo/os/$arch
Save and close the file, then update all the package indexes with the following command:
pacman -Syu
Step 2 – Install Nginx
By default, the Nginx package is included in the Arch Linux default repository. You can install it with the following command.
pacman -S nginx-mainline
After installing the Nginx, start and enable the Nginx service using the following command.
systemctl start nginx
systemctl enable nginx
Step 3 – Install and Configure PHP
MediaWiki is a PHP-based application, so you will also need to install PHP and other extensions to your server. You can install all of them using the following command.
pacman -S php php-fpm php-gd unzip
Next, edit the PHP configuration file and enable all the required PHP extensions.
nano /etc/php/php.ini
Add / Modify the following lines:
memory_limit = 512M
post_max_size =32M
upload_max_filesize = 32M
date.timezone = Asia/Kolkata

extension=gd
extension=json
extension=xml
extension=ldap
extension=mysqli
extension=imagemagick
extension=curl
extension=intl
extension=iconv
Save and close the file, then start the PHP-FPM service and enable it to start at system reboot.
systemctl start php-fpm
systemctl enable php-fpm
Step 4 – Install and Configure MariaDB Database
First, install MariaDB with the following command.
pacman -S mariadb
Once the MariaDB server is installed, initialize the MariaDB database with the following command.
mysql_install_db --user=mysql --basedir=/usr --datadir=/var/lib/mysql
Next, start and enable the MariaDB service using the following command.
systemctl start mysqld
systemctl enable mysqld
Next, connect to the MariaDB shell:
mysql
Next, create a database and user using the following command.
CREATE DATABASE mediawiki;
GRANT ALL ON mediawiki.* TO mediawiki@localhost IDENTIFIED BY 'securepassword';

Next, flush the privileges and exit from the MariaDB shell with the following command.
FLUSH PRIVILEGES;
EXIT;
Step 5 – Download Mediawiki
First, download the latest version of MediaWiki from their official download page using the following command.
wget https://releases.wikimedia.org/mediawiki/1.39/mediawiki-1.39.2.zip
Once the download is finished, extract the downloaded file with the following command.
unzip mediawiki-1.39.2.zip
Next, create an Nginx web root directory and move Mediawiki inside the Nginx web root.
mkdir -p /var/www/html/
mv mediawiki-1.39.2 /var/www/html/mediawiki
Next, change the ownership of the Mediawiki directory.
chown -R http:http /var/www/html/mediawiki/
Step 6 – Configure Nginx for Mediawiki
Next, you will need to create an Nginx virtual host configuration file to serve Mediawiki.
First, create a directory to store Nginx virtual host.
mkdir /etc/nginx/sites-enabled
Next, create an Nginx configuration file for MediaWiki.
nano /etc/nginx/sites-enabled/mediawiki.conf
Add the following configurations.
server {
        listen 80;
        server_name mediawiki.example.com;

        root /var/www/html/mediawiki;
        index index.php;

        error_log /var/log/nginx/mediawiki.error;
        access_log /var/log/nginx/mediawiki.access;

        location / {
                try_files $uri $uri/ /index.php;
        }


        location ~ /\.ht {
          deny all;
         }

        location ~ \.php$ {
	    fastcgi_pass unix:/var/run/php-fpm/php-fpm.sock;
            fastcgi_param SCRIPT_FILENAME $document_root$fastcgi_script_name;
            include fastcgi_params;
        }
}
Save the file, then edit the Nginx main configuration file.
nano /etc/nginx/nginx.conf
Add the following lines after http{:
server_names_hash_bucket_size 64;
include sites-enabled/*;
Save the file when you are done. Then, verify the Nginx configuration.
nginx -t
You will see the following output.
nginx: the configuration file /etc/nginx/nginx.conf syntax is ok
nginx: configuration file /etc/nginx/nginx.conf test is successful
Next, restart the Nginx service to implement the changes.
systemctl restart nginx
Step 7 – Perform Mediawiki Web Installation
Now, open your web browser and access Mediawiki using the URL http://mediawiki.example.com/. You should see the following screen.
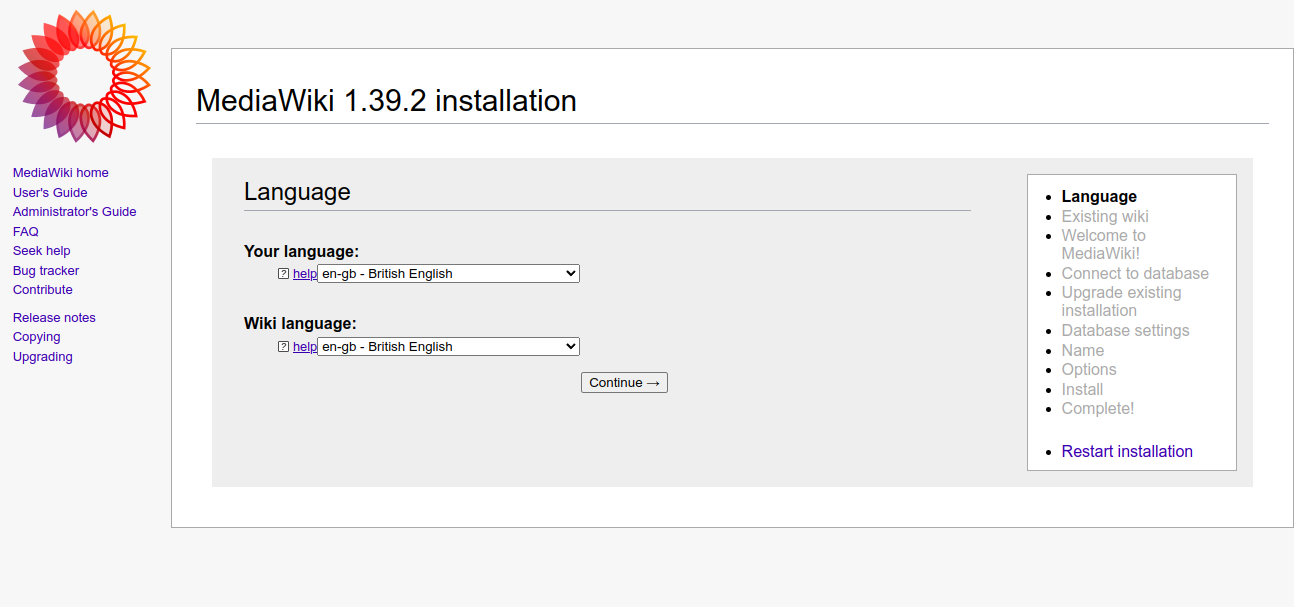
Click on the Set up the wiki. You should see the language selection screen.
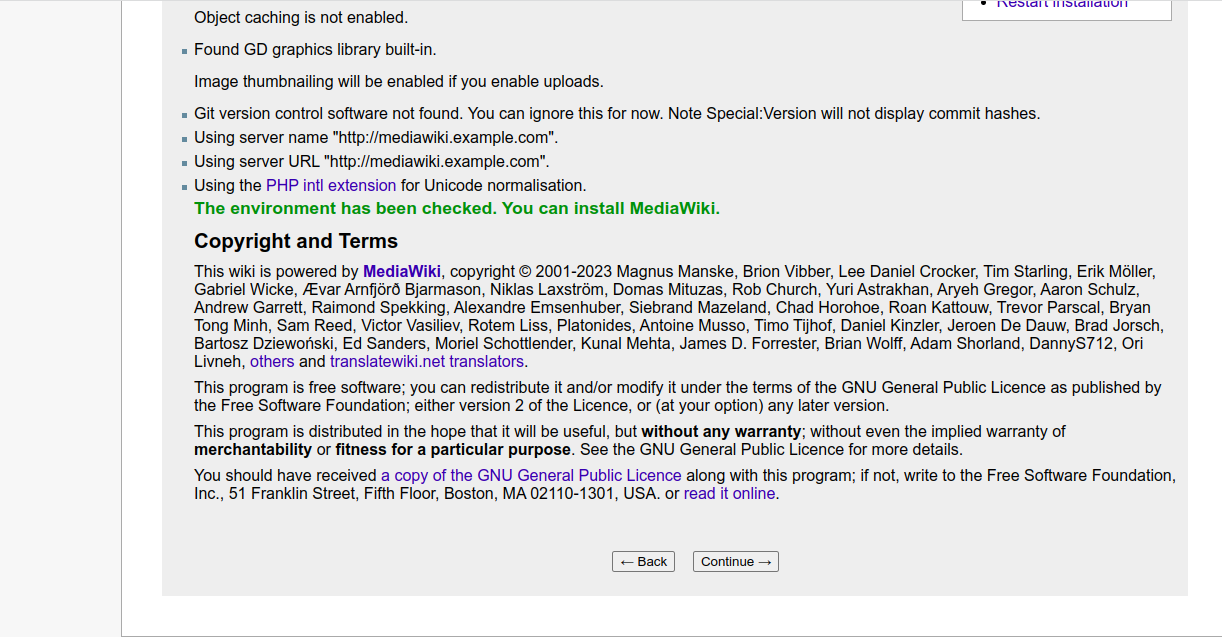
Select your language and click on the Continue button. You should see the terms of service page.
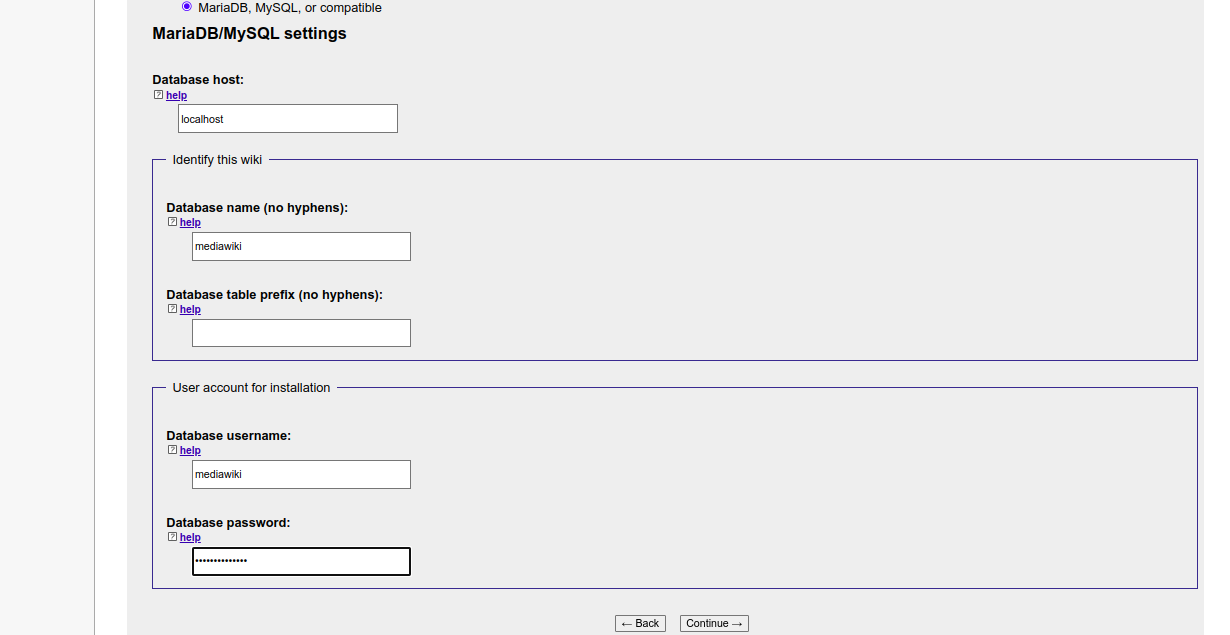
Read the term of service and click on the Continue button. You should see the database settings page.
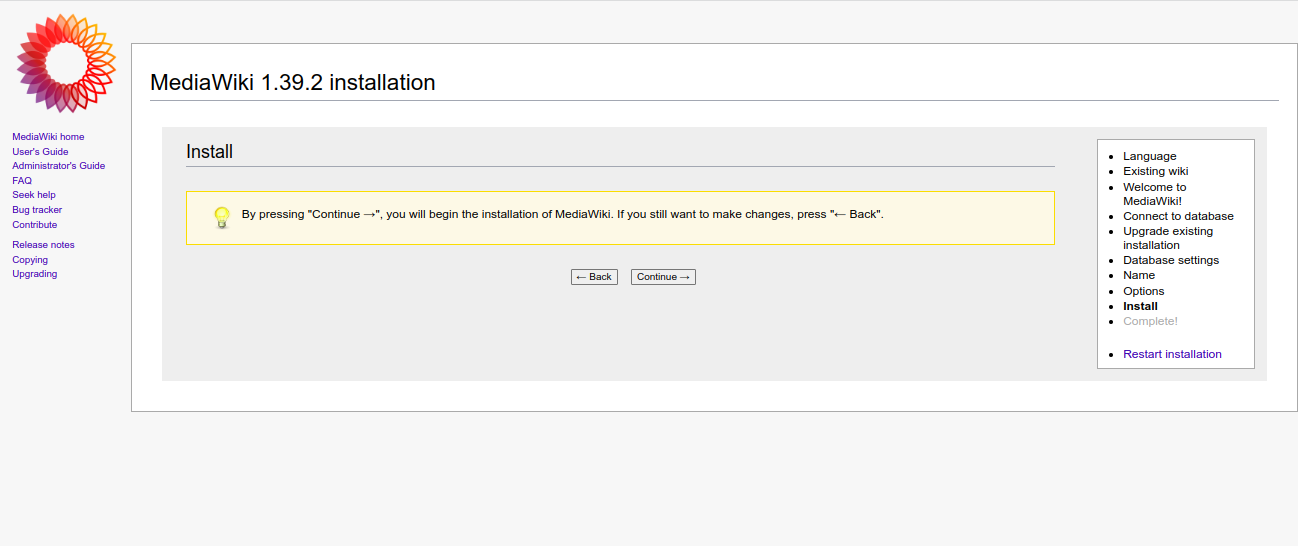
Define your database settings and click on the Continue button. You should see the following page.
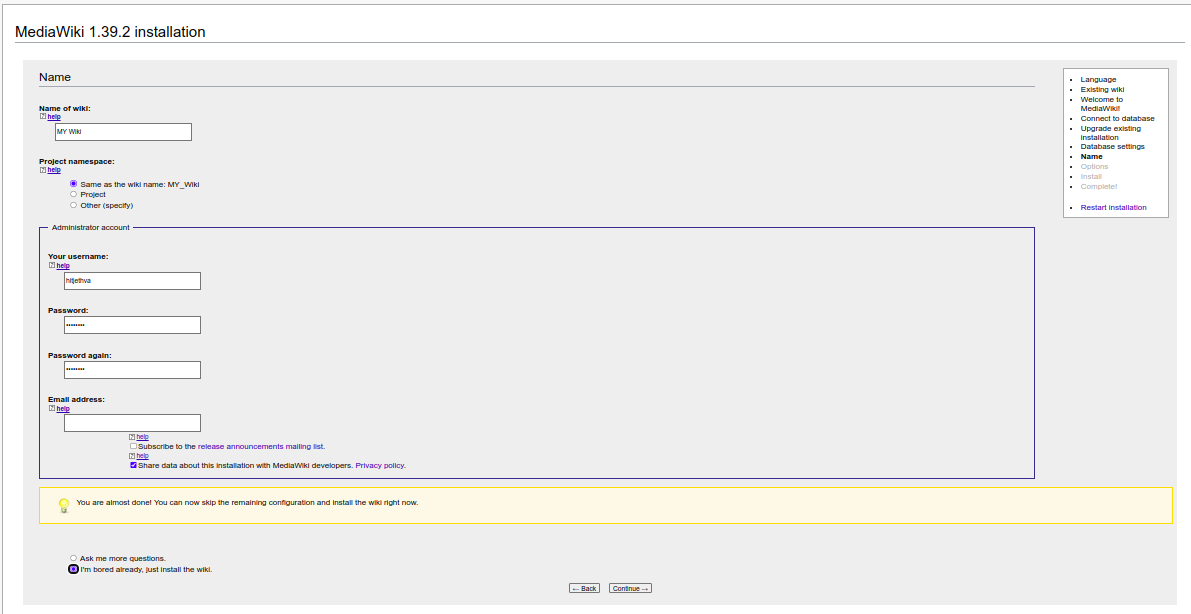
Click on the Continue button. You should see the Mediawiki site configuration page:
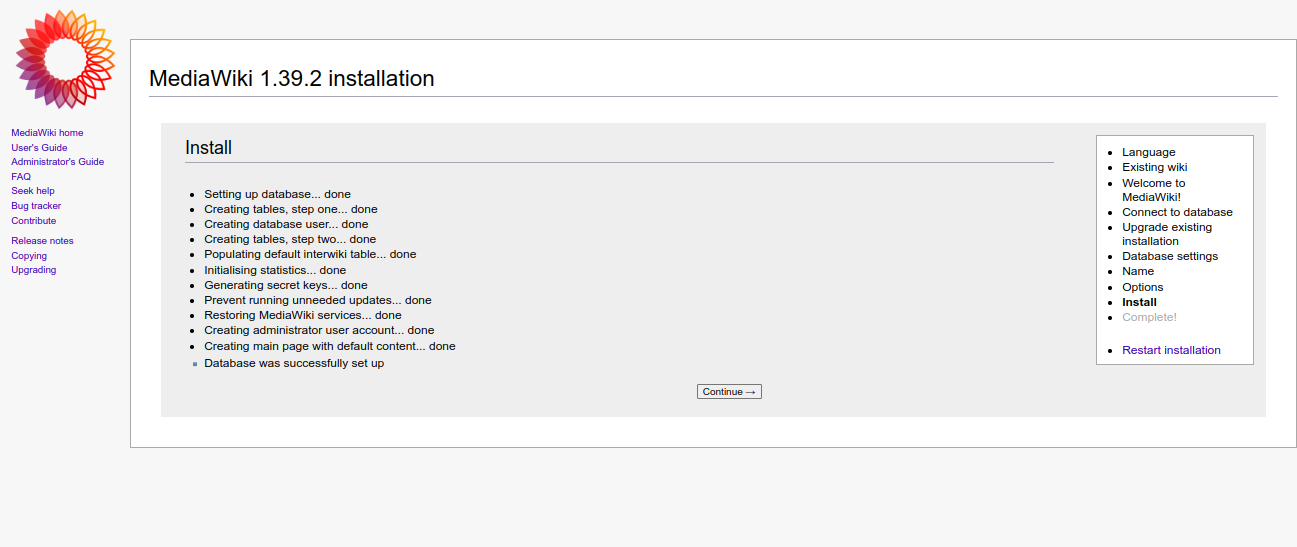
Define your site name, admin username, and password, and click on the Continue button. You should see the following page:
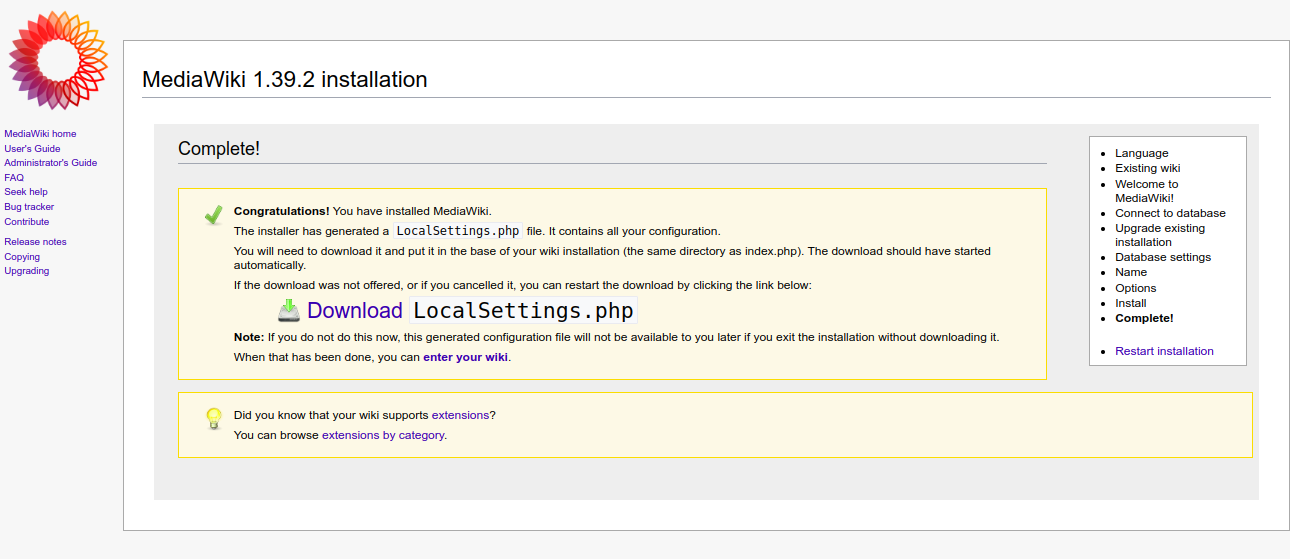
Click on the Continue button. Once the installation has been finished, you should see the following page.
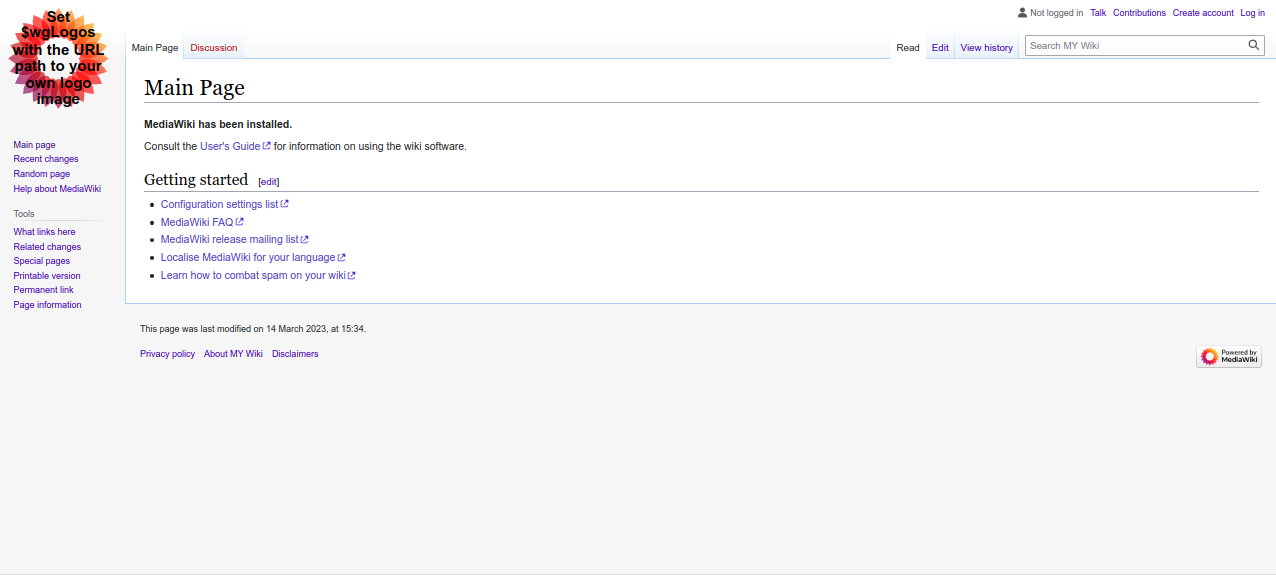
Click on the enter your wiki. You should see your Mediawiki dashboard on the following screen.
Conclusion
Congratulations! You have successfully installed Mediawiki with Nginx on Arch Linux. You can now start deploying your own Wiki website using MediaWiki. You can also try Mediawiki on dedicated server hosting from Atlantic.Net!

