Atlantis CMS is a free and open-source content management system that allows you to easily create a website. It is designed for agencies and marketers to simplify the process of building and maintaining a website. It features on-page editing, a visual form builder, and simple module integrations. Atlantis CMSis built on top of an MVC framework that enables any beginner to create a website, blog, community, or network.
This post will explain how to install Atlantis CMS on Oracle Linux 8.
Step 1 – Install Apache, MariaDB, and PHP
Before starting, you will need to install an Apache web server, MariaDB database server, and PHP on your system.
Let’s start with installing the Apache and MariaDB server using the following command:
dnf install httpd mariadb-server -y
Once both packages are installed, run the following command to install PHP with other required extensions:
dnf install php php-fpm php-common php-gmp php-curl php-json php-intl php-mbstring php-xmlrpc php-mysqli php-gd php-xml php-cli php-zip -y
Next, start the Apache, MariaDB, and PHP-FPM services and enable them to start at system reboot:
systemctl start httpd mariadb php-fpm
systemctl enable httpd mariadb php-fpm
Next, edit the PHP configuration file and change the default settings:
nano /etc/php.ini
Change the following lines:
short_open_tag = On
memory_limit = 256M
upload_max_filesize = 100M
max_execution_time = 360
max_input_vars = 1500
date.timezone = UTC
Save and close the file when you are done.
Step 2 – Create a Database for Atlantis
Next, you will need to create a database and user for Atlantis. First, log in to the MariaDB shell with the following command:
mysql
Once you are logged in, create a database and user for Atlantis:
CREATE DATABASE atlantis;
CREATE USER 'atlantis'@'localhost' IDENTIFIED BY 'password';
Next, grant all privileges to the Atlantis database:
GRANT ALL PRIVILEGES ON atlantis.* TO 'atlantis'@'localhost';
Next, flush the privileges and exit from the MariaDB:
FLUSH PRIVILEGES;
EXIT;
Step 3 – Install Atlantis CMS
First, you will need to install PHP Composer on your system. You can install it with the following command:
curl -sS https://getcomposer.org/installer | php
mv composer.phar /usr/local/bin/composer
chmod +x /usr/local/bin/composer
Next, change the directory to the Apache web root and download the latest version of Atlantis CMS using the Composer command:
cd /var/www/html
composer create-project atlantis-labs/atlantis3 --prefer-dist atlantis3
Next, navigate to the Atlantis directory and migrate the database with the following command:
cd atlantis3/
php artisan atlantis:set:db
You will be asked to define your database as shown below:
 Do you want to set database credential? (yes/no) [no]:
 > yes

 Host:
 > localhost

 Database name:
 > atlantis

 Username:
 > atlantis

 Password:
 >

Database configuration is changed
Next, run the following command to run the migration:
php artisan atlantis:install
You should see the following output:
 Do you want to run migrations? (yes/no) [no]:
 > yes

Migrations complete.

 Do you want to run seeds? (yes/no) [no]:
 > yes

Seeds complete.
Installation complete.
Next, set proper permissions and ownership on the Atlantis directory:
chown -R apache:apache /var/www/html/atlantis3/
chmod -R 755 /var/www/html/atlantis3/
Step 4 – Configure Apache for Atlantis
Next, you must create an Apache virtual host configuration file to host Atlantis. You can create it with the following command:
nano /etc/httpd/conf.d/atlantis.conf
Add the following lines:
<VirtualHost *:80>

ServerName atlantis.example.com
DocumentRoot /var/www/html/atlantis3

<Directory /var/www/html/atlantis3/>
    Options -Indexes +FollowSymLinks
    AllowOverride All
</Directory>

ErrorLog /var/log/httpd/atlantis-error.log
CustomLog /var/log/httpd/atlantis-access.log combined

</VirtualHost>
Save and close the file, then restart the Apache service to apply the changes:
systemctl restart httpd
You can check the status of Apache with the following command:
systemctl status httpd
You will get the following output:
● httpd.service - The Apache HTTP Server
   Loaded: loaded (/usr/lib/systemd/system/httpd.service; disabled; vendor preset: disabled)
  Drop-In: /usr/lib/systemd/system/httpd.service.d
           └─php-fpm.conf
   Active: active (running) since Tue 2022-07-19 06:13:58 EDT; 8s ago
     Docs: man:httpd.service(8)
 Main PID: 34936 (httpd)
   Status: "Started, listening on: port 80"
    Tasks: 213 (limit: 11409)
   Memory: 24.6M
   CGroup: /system.slice/httpd.service
           ├─34936 /usr/sbin/httpd -DFOREGROUND
           ├─34938 /usr/sbin/httpd -DFOREGROUND
           ├─34939 /usr/sbin/httpd -DFOREGROUND
           ├─34940 /usr/sbin/httpd -DFOREGROUND
           └─34941 /usr/sbin/httpd -DFOREGROUND

Jul 19 06:13:58 oraclelinux8 systemd[1]: httpd.service: Succeeded.
Jul 19 06:13:58 oraclelinux8 systemd[1]: Stopped The Apache HTTP Server.
Jul 19 06:13:58 oraclelinux8 systemd[1]: Starting The Apache HTTP Server...
Step 5 – Access Atlantis CMS
Now, open your web browser and access the Atlantis web interface using the URL http://atlantis.example.com/admin. You will be redirected to the Atlantis login page:
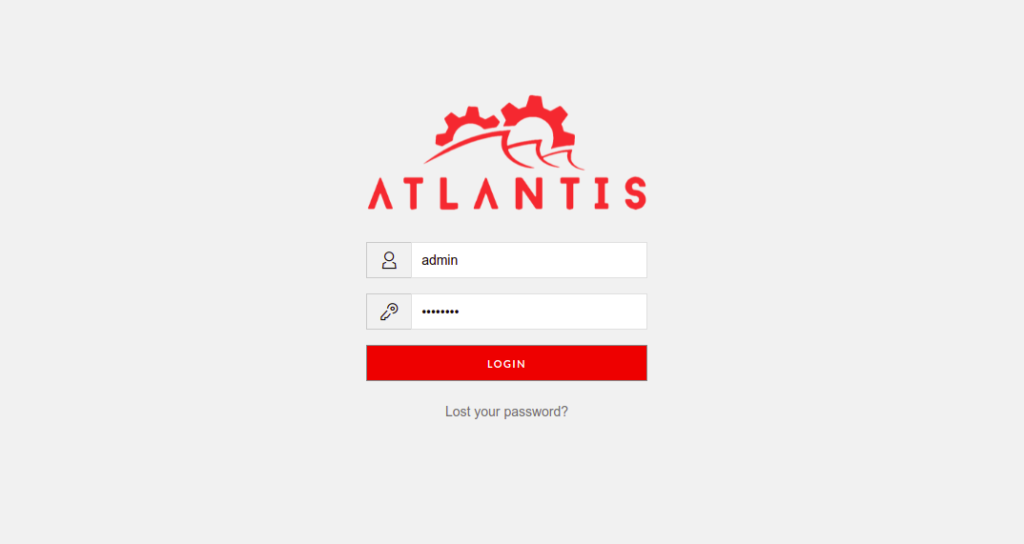
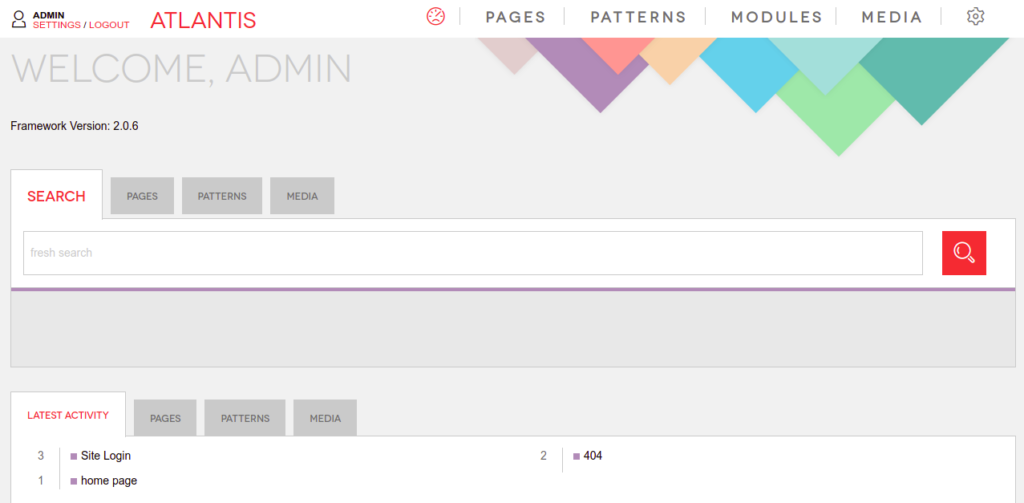
Provide the default username admin and password as admin123, then click on the Login button. You should see the Atlantic CMS dashboard on the following page:
Conclusion
In this post, we explained how to install Atlantis CMS on Oracle Linux 8. You can now easily create and deploy your website or blog on the web. Try it on dedicated hosting from Atlantic.Net!
* This post is for informational purposes only and does not constitute professional, legal, financial, or technical advice. Each situation is unique and may require guidance from a qualified professional.
Readers should conduct their own due diligence before making any decisions.