PrestaShop is a free and open-source shopping cart system that allows you to quickly host your own online shop. It is written in the PHP programming language with support for the MySQL database management system. PrestaShop has over 300 functionalities, such as unlimited products with attributes, categories, multistore, many currencies, languages, payment, delivery methods, CMS, filtering, statistics, e-marketing, transactional e-mailing, and many more.
In this post, we will show you how to install PrestaShop on Oracle Linux 8.
Step 1 – Install the LAMP Server
First, install the Apache and MariaDB server package with the following command:
dnf update -y
dnf install httpd mariadb-server
Once both packages are installed, enable the PHP module with the following command:
dnf module enable php:7.4
You will get the following output:
Last metadata expiration check: 2:06:55 ago on Tuesday 19 July 2022 03:11:19 AM EDT.
Dependencies resolved.
==============================================================================================================================================
 Package                           Architecture                     Version                           Repository                         Size
==============================================================================================================================================
Enabling module streams:
 nginx                                                              1.14
 php                                                                7.4

Transaction Summary
==============================================================================================================================================

Is this ok [y/N]:
Next, install PHP with other required extensions using the following command:
dnf install php php-zip php-xml php-gd php-curl php-fpm php-intl php-xmlrpc php-mbstring php-mysqli php-bcmath php-dom php-posix php-cli php-pdo php-posix php-fileinfo php-json php-iconv -y
Next, edit the PHP configuration file and change some default settings:
nano /etc/php.ini
Change the following lines:
memory_limit = 256M
post_max_size = 64M
upload_max_filesize = 64M
Save and close the file, then start and enable the Apache, MariaDB, and PHP-FPM services:
systemctl start httpd mariadb php-fpm
systemctl enable httpd mariadb php-fpm
Step 2 – Create a Database for PrestaShop
Next, you will need to create a database and user for PrestaShop. First, log in to the MariaDB shell with the following command:
mysql
Once logged in, create a database and user with the following command:
CREATE DATABASE prestadb;
CREATE USER 'prestauser'@'localhost' IDENTIFIED BY 'yourpassword';
Next, grant all the privileges to the prestadb database:
GRANT ALL PRIVILEGES ON prestadb.* TO 'prestauser'@'localhost';
Next, flush the privileges and exit from the MariaDB shell with the following command:
FLUSH PRIVILEGES;
EXIT;
Step 3 – Download PrestaShop
Next, visit the PrestaShop Git Hub download page, pick the latest version and download it with the following command:
wget https://github.com/PrestaShop/PrestaShop/releases/download/1.7.8.6/prestashop_1.7.8.6.zip
Once the download is completed, unzip the downloaded file to the PrestaShop directory:
mkdir /var/www/html/prestashop
unzip prestashop_1.7.8.6.zip -d /var/www/html/prestashop
Next, change the permissions and ownership of the PrestaShop using the following command:
chown -R apache:apache /var/www/html/prestashop
chmod -R 775 /var/www/html/prestashop
Step 4 – Configure Apache for PrestaShop
Next, create an Apache virtual host configuration file using the following command:
nano /etc/httpd/conf.d/prestashop.conf
Add the following configuration:
<VirtualHost *:80>

ServerName prestashop.example.com
DocumentRoot /var/www/html/prestashop

<Directory /var/www/html/prestashop/>
    Options -Indexes +FollowSymLinks
    AllowOverride All
</Directory>

ErrorLog /var/log/httpd/prestashop-error.log
CustomLog /var/log/httpd/prestashop-access.log combined

</VirtualHost>
Save and close the file, then restart the Apache service to apply the configuration:
systemctl restart httpd
To check the Apache status, run the following command:
systemctl status httpd
You will get the following output:
● httpd.service - The Apache HTTP Server
   Loaded: loaded (/usr/lib/systemd/system/httpd.service; disabled; vendor preset: disabled)
  Drop-In: /usr/lib/systemd/system/httpd.service.d
           └─php-fpm.conf
   Active: active (running) since Tue 2022-07-19 05:44:24 EDT; 4s ago
     Docs: man:httpd.service(8)
 Main PID: 33190 (httpd)
   Status: "Started, listening on: port 80"
    Tasks: 213 (limit: 11409)
   Memory: 24.5M
   CGroup: /system.slice/httpd.service
           ├─33190 /usr/sbin/httpd -DFOREGROUND
           ├─33193 /usr/sbin/httpd -DFOREGROUND
           ├─33194 /usr/sbin/httpd -DFOREGROUND
           ├─33195 /usr/sbin/httpd -DFOREGROUND
           └─33196 /usr/sbin/httpd -DFOREGROUND

Jul 19 05:44:24 oraclelinux8 systemd[1]: httpd.service: Succeeded.
Jul 19 05:44:24 oraclelinux8 systemd[1]: Stopped The Apache HTTP Server.
Jul 19 05:44:24 oraclelinux8 systemd[1]: Starting The Apache HTTP Server...
Step 5 – Access PrestaShop Web Interface
At this point, PrestaShop is installed and configured. Now, open your web browser and access the PrestaShop web UI using the URL http://prestashop.example.com. You should see the language selection screen:
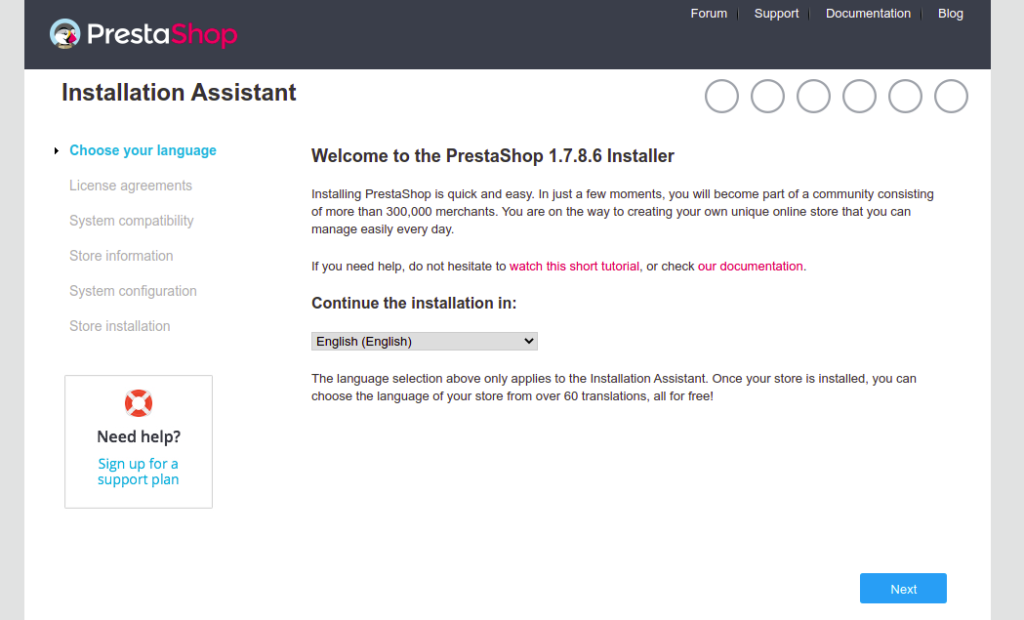
Select your language and click on the Next button. You should see the license agreement screen:
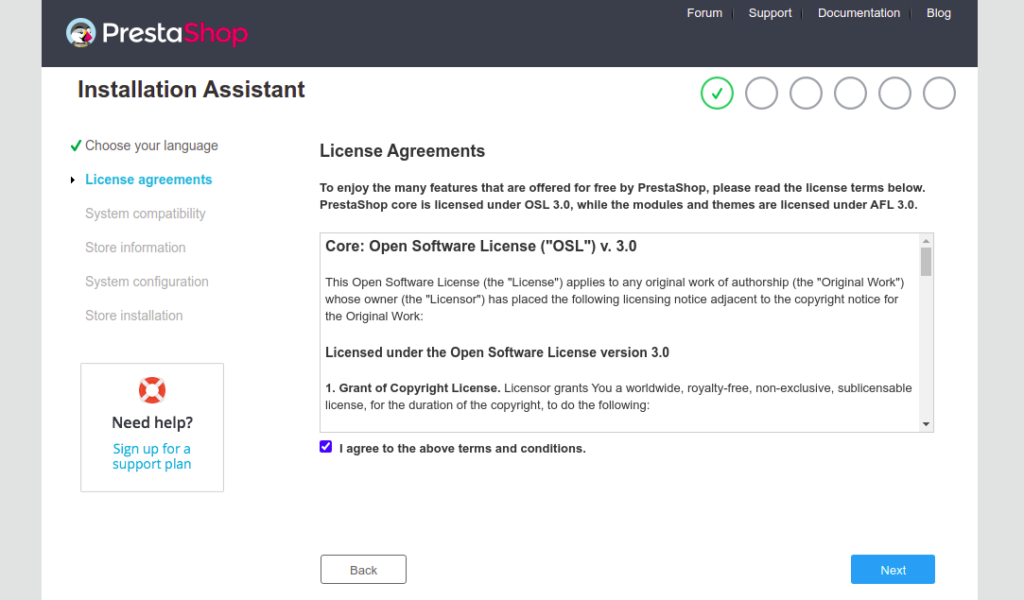
Accept the license agreement and click on the Next button. You should see the store information screen:
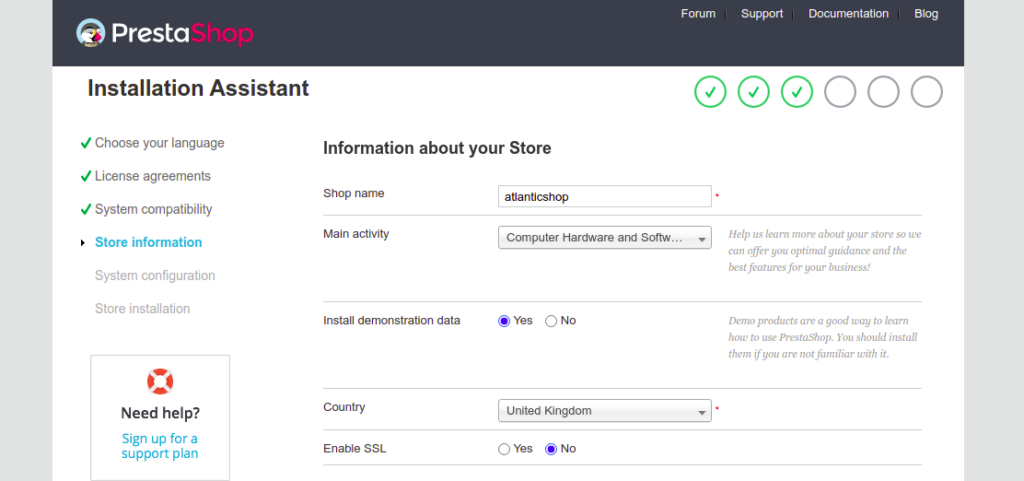
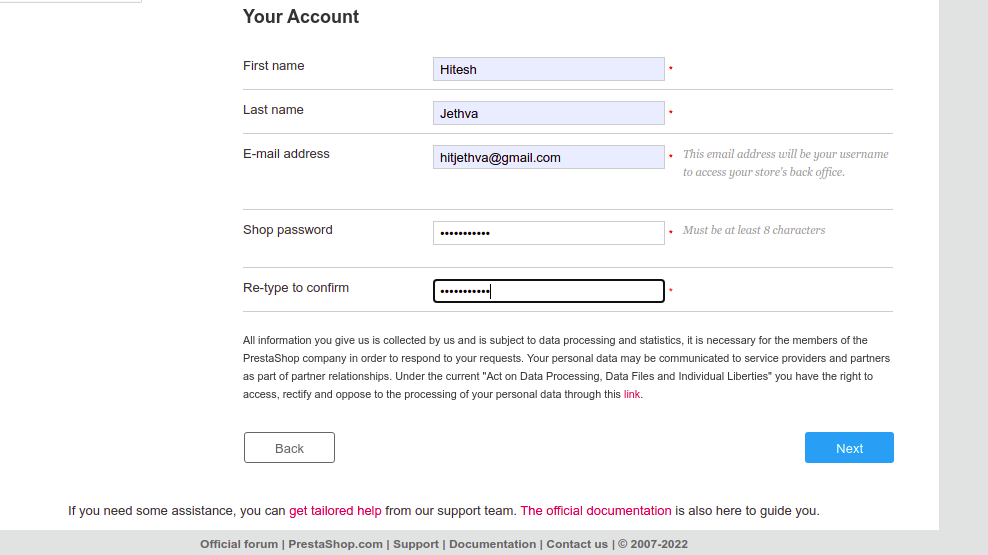
Provide your store information, email, password, then click on the Next button. You should see the database configuration screen:
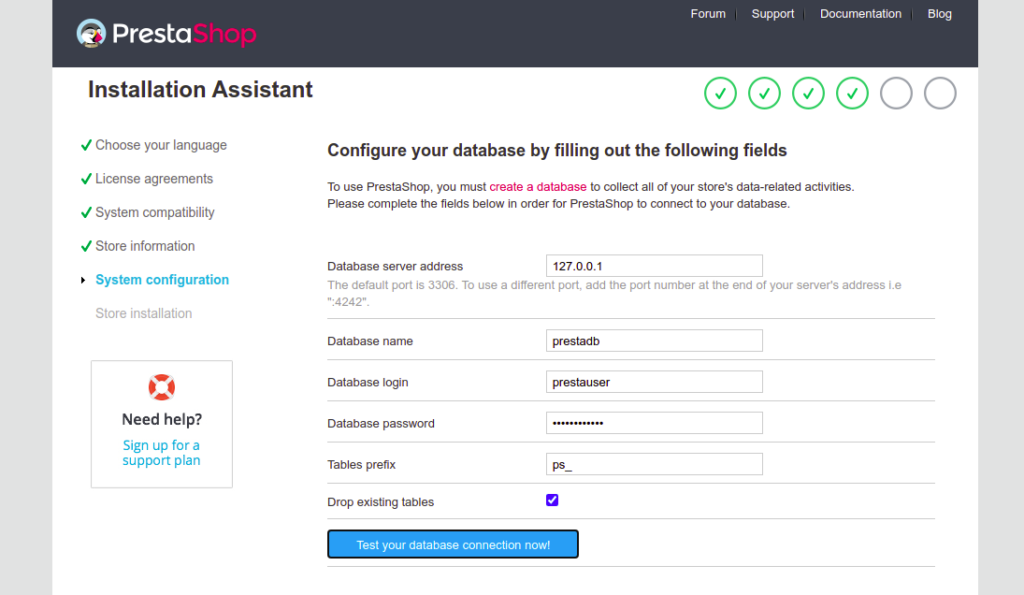
Click on the “Test your database connection now” then click on the Next button. Once the installation is finished, you should see the following screen:
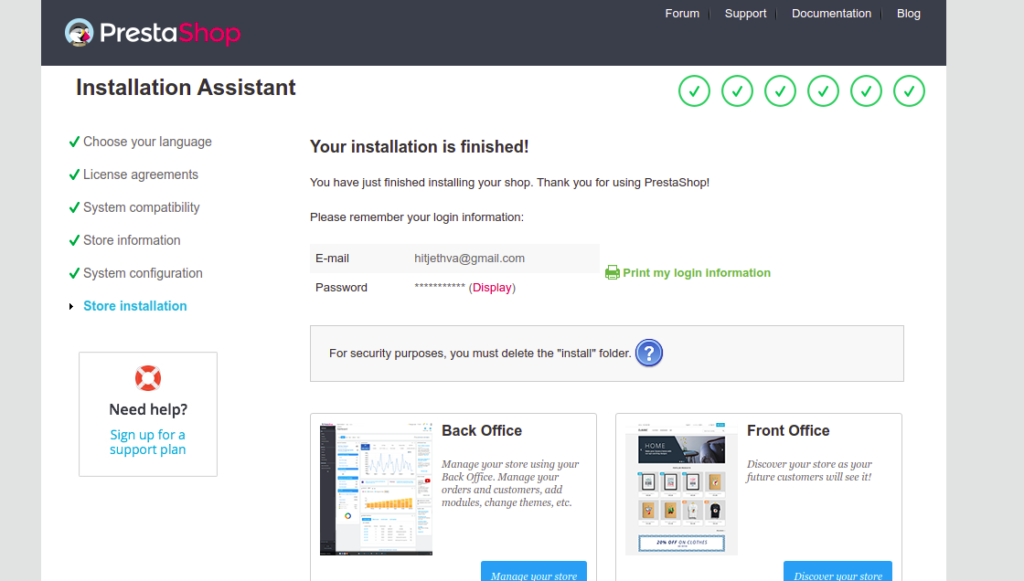
Next, remove the installation directory using the following command:
rm -rf /var/www/html/prestashop/install/
Click on the Manage Your Store button. You should see the PrestaShop login screen:
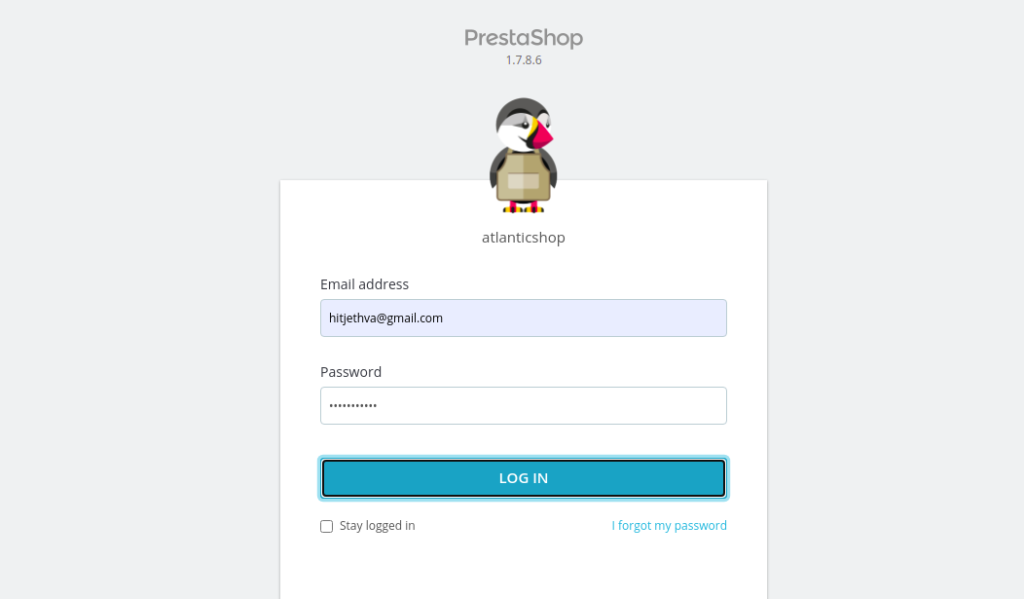
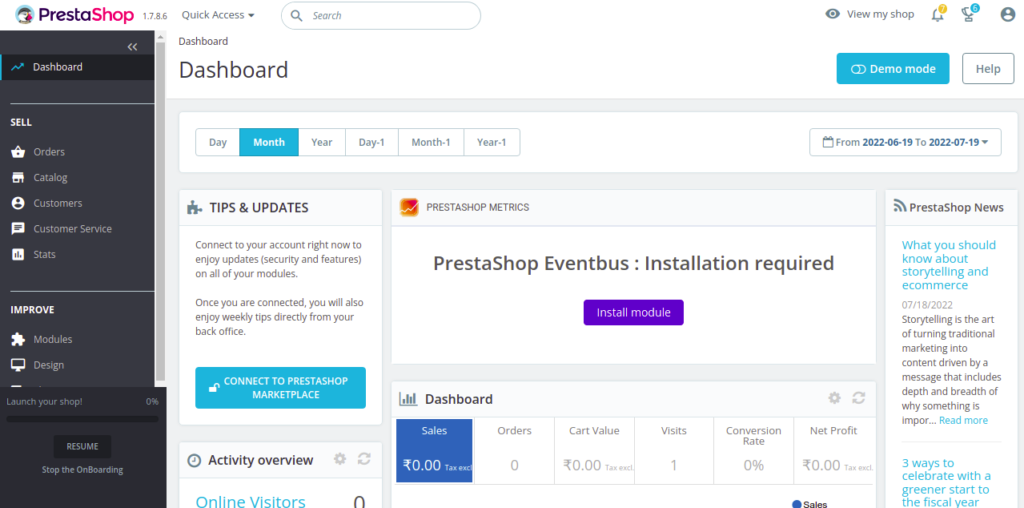
Provide your admin username and password and click on the LOG IN button. You should see the PrestaShop dashboard on the following screen:
Conclusion
In this post, we explained how to install PrestaShop on Oracle Linux 8. You can now host your own e-commerce CMS and start selling your products online. For more information, visit PrestaShop’s documentation. Try it on dedicated hosting from Atlantic.Net!