Atlantis is a free, open-source, Laravel-based content management system that helps you to build and maintain a website for your business. It offers a lot of modules that can be used to extend the functionality of your website. Atlantis provides a rich set of features including real-time on-page editing, CMS search, content discovery, image optimization, image upload and management, free-form URLs, SEO friendly, and more.
In this post, we will show you how to install Atlantis CMS on Ubuntu 20.04.
Step 1 – Install Apache, MariaDB, and PHP
First, install the Apache server, MariaDB, and other packages with the following command:
apt-get update -y
apt-get install apache2 mariadb-server curl git -y
By default, Atlantis CMS supports PHP version 7.0, so you will need to install PHP 7.0 to your server. By default, PHP 7.0 is not included in the Ubuntu default repository, so you will need to add it to the APT.
First, install the required dependencies with the following command:
apt-get install software-properties-common -y
Next, add the PHP repository with the following command:
add-apt-repository ppa:ondrej/php
Next, install PHP 7.0 with all required extensions using the following command:
apt-get install php7.0 libapache2-mod-php7.0 php7.0-common php7.0-gmp php7.0-curl php7.0-intl php7.0-mbstring php7.0-xmlrpc php7.0-mysql php7.0-gd php7.0-xml php7.0-cli php7.0-zip
After installing PHP, edit the php.ini file and change some settings:
nano /etc/php/7.0/apache2/php.ini
Change the following lines:
short_open_tag = On
memory_limit = 256M
upload_max_filesize = 100M
max_execution_time = 360
max_input_vars = 1500
date.timezone = America/Chicago
Save and close the file when you are done.
Step 2 – Create a Database for Atlantis
Next, log in to the MariaDB shell with the following command:
mysql
Once you are logged in, create a database and user for Atlantis:
CREATE DATABASE atlantis;
CREATE USER 'atlantis'@'localhost' IDENTIFIED BY 'password';
Next, grant all privileges to the Atlantis database:
GRANT ALL PRIVILEGES ON atlantis.* TO 'atlantis'@'localhost';
Next, flush the privileges and exit from the MariaDB:
FLUSH PRIVILEGES;
EXIT;
Step 3 – Install Atlantis CMS
First, you will need to install Composer on your server. Run the following command to install Composer:
curl -sS https://getcomposer.org/installer | php
mv composer.phar /usr/local/bin/composer
chmod +x /usr/local/bin/composer
Next, change the directory to the Apache web root and download Atlantis using Composer:
cd /var/www/html
composer create-project atlantis-labs/atlantis3 --prefer-dist atlantis3
Sample output:
> php artisan atlantis:key:generate
Atlantis key [uip4KIUm9AuYrULlE5eXDkzHwG2ZaSPT] set successfully.
> chmod -R 775 storage
> chmod -R 775 resources
> chmod -R 775 modules
> chmod -R 775 bootstrap/cache
> php install-instructions.php
************Please run***************
 php artisan atlantis:set:db
 php artisan atlantis:install
Next, change the directory to atlantis3 and define the database using the following command:
cd atlantis3/
php artisan atlantis:set:db
Sample output:
Do you want to set database credential? (yes/no) [no]:
 > yes

 Host:
 > localhost

 Database name:
 > atlantis

 Username:
 > atlantis

 Password:
 >

Database configuration is changed
Next, migrate the database with the following command:
php artisan atlantis:install
Sample output:
Do you want to run migrations? (yes/no) [no]:
 > yes

Migrations complete.

 Do you want to run seeds? (yes/no) [no]:
 > yes

Seeds complete.
Installation complete.
Next, set proper ownership and permissions to atlantis3:
chown -R www-data:www-data /var/www/html/atlantis3/
chmod -R 755 /var/www/html/atlantis3/
Step 4 – Configure Apache for Atlantis3
Next, create an Apache virtual host configuration file for Atlantis:
nano /etc/apache2/sites-available/atlantis.conf
Add the following lines:
<VirtualHost *:80>
     ServerAdmin admin@example.com
     DocumentRoot /var/www/html/atlantis3/
     ServerName atlantis.example.com

     <Directory /var/www/html/atlantis3/>
        Options +FollowSymlinks
        AllowOverride All
        Require all granted
     </Directory>

     ErrorLog ${APACHE_LOG_DIR}/error.log
     CustomLog ${APACHE_LOG_DIR}/access.log combined

</VirtualHost>
Save and close the file, then activate the virtual host and enable the rewrite module:
a2ensite atlantis.conf
a2enmod rewrite
Next, restart the Apache service to apply the changes:
systemctl restart apache2
Step 6 – Access Atlantis CMS
Now, open your web browser and access the Atlantis admin interface using the URL http://atlantis.example.com/admin. You will be redirected to the Atlantis CMS login page:
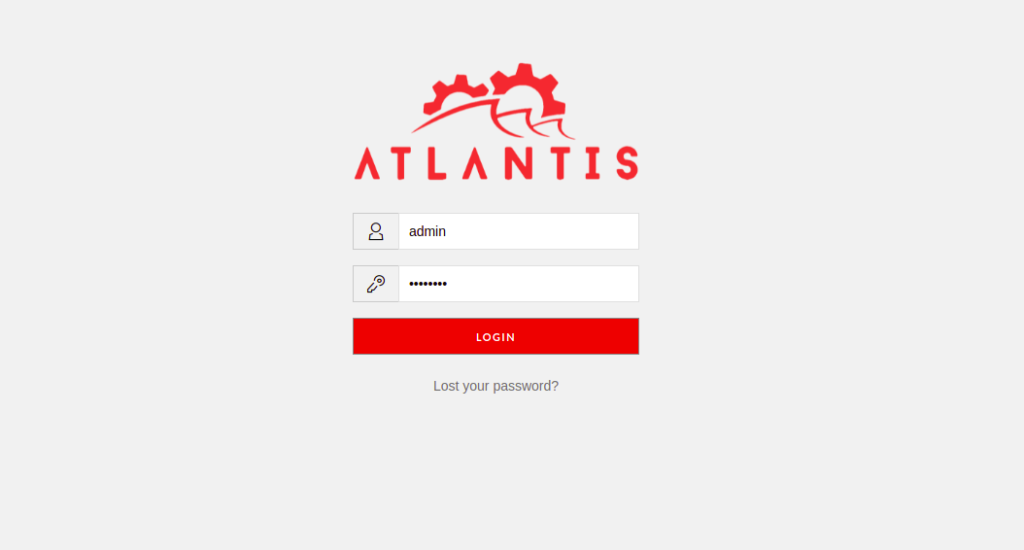
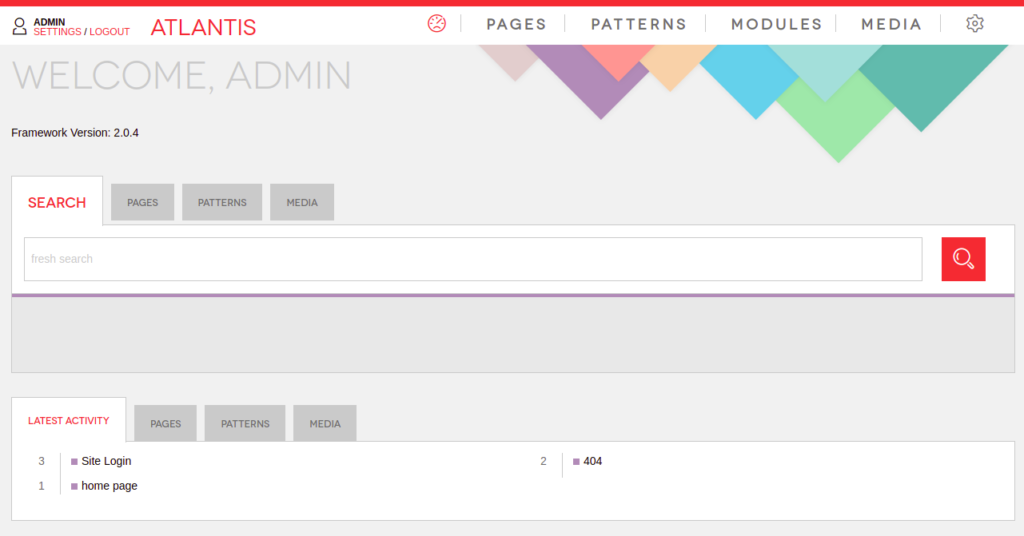
Provide default username admin and password as admin123 then click on the Login button. You should see the Atlantic CMS dashboard on the following page:
Conclusion
In the above guide, you learned how to install Atlantis CMS with Apache on Ubuntu 20.04. Feel free to ask me if you find any errors – get started on your dedicated server hosting account with Atlantic.Net!
* This post is for informational purposes only and does not constitute professional, legal, financial, or technical advice. Each situation is unique and may require guidance from a qualified professional.
Readers should conduct their own due diligence before making any decisions.