OpenCart is an open-source, PHP-based e-commerce platform used to host your online store on the Internet. It provides a user-friendly web interface that makes it easier to manage products, orders, and users in a seamless manner. OpenCart offers a lot of plugins that help you to extend the platform’s functionality and includes features like user management, multi-store functionality, affiliates, discounts, multiple payment gateways, product reviews, and more.
In this post, we will explain how to install and configure the OpenCart e-commerce platform on Ubuntu 20.04.
Step 1 – Install Nginx, PHP, and MariaDB
First, install the Nginx web server and MariaDB database with the following command:
apt-get update -y
apt-get install nginx mariadb-server -y
OpenCart only supports PHP version 8.0, so you will need to install PHP version 8.0 on your server. By default, PHP 8.0 is not included in the Ubuntu default repository, so you will need to add the PHP repository to the APT.
First, install the required dependencies using the following command:
apt-get install software-properties-common git -y
Next, add the PHP repository with the following command:
add-apt-repository ppa:ondrej/php
Once the repository is added, install the PHP 8.0 with all required extensions using the following command:
apt-get install php8.0 php8.0-fpm php8.0-mysql php8.0-curl php8.0-gd php8.0-cli php8.0-zip -y
The above command will also install the Apache package to your server, so you will need to remove it and stop the service.
apt-get remove apache2
systemctl stop apache2
Next, start the Nginx, MariaDB, and PHP-FPM services and enable them to start at system reboot:
systemctl start nginx mariadb php8.0-fpm
systemctl enable nginx mariadb php8.0-fpm
Step 2 – Create a Database for OpenCart
OpenCart uses the MariaDB as a database backend, so you will need to create a database and user for OpenCart.
First, log in to MySQL using the following command:
mysql
Once logged in, create a database and user using the following command:
CREATE DATABASE opencart;
CREATE USER 'opencart'@'localhost' IDENTIFIED BY 'password';
Next, grant all privileges to the OpenCart database:
GRANT ALL PRIVILEGES ON opencart.* TO 'opencart'@'localhost';
Next, flush the privileges and exit from the MariaDB shell with the following command:
FLUSH PRIVILEGES;
EXIT;
Step 3 – Install OpenCart
Next, download the latest version of OpenCart to the Nginx web root directory:
cd /var/www/html
git clone https://github.com/opencart/opencart.git
Once the download is completed, change the directory to upload and rename the config file:
cd opencart/upload
mv config-dist.php config.php
Next, change the directory to admin and rename the config file:
cd admin
mv config-dist.php config.php
Next, set proper ownership to the OpenCart directory:
chown -R www-data:www-data /var/www/html/opencart
Step 4 – Configure Nginx for OpenCart
Next, create an Nginx virtual host configuration file to host OpenCart:
nano /etc/nginx/conf.d/opencart.conf
Add the following lines:
server {
        listen 80;
	server_name opencart.example.com;
	root /var/www/html/opencart/upload;
	index index.php index.htm index.html;
	location / { try_files $uri $uri/ /index.php?$args;
	}
 	location ~ .php$ {
 	fastcgi_pass unix:/run/php/php8.0-fpm.sock;
 	fastcgi_index index.php;
 	fastcgi_read_timeout 240;
	fastcgi_param SCRIPT_FILENAME $document_root$fastcgi_script_name;
 	include fastcgi_params;
	fastcgi_split_path_info ^(.+.php)(/.+)$;
	}
}
Save and close the file, then verify the Nginx for any configuration errors:
nginx -t
Sample output:
nginx: the configuration file /etc/nginx/nginx.conf syntax is ok
nginx: configuration file /etc/nginx/nginx.conf test is successful
Finally, restart the Nginx service to apply the changes:
systemctl restart nginx
Step 5 – Access OpenCart Web Interface
Now, open your web browser and access OpenCart using the URL http://opencart.example.com. You should see the following page:
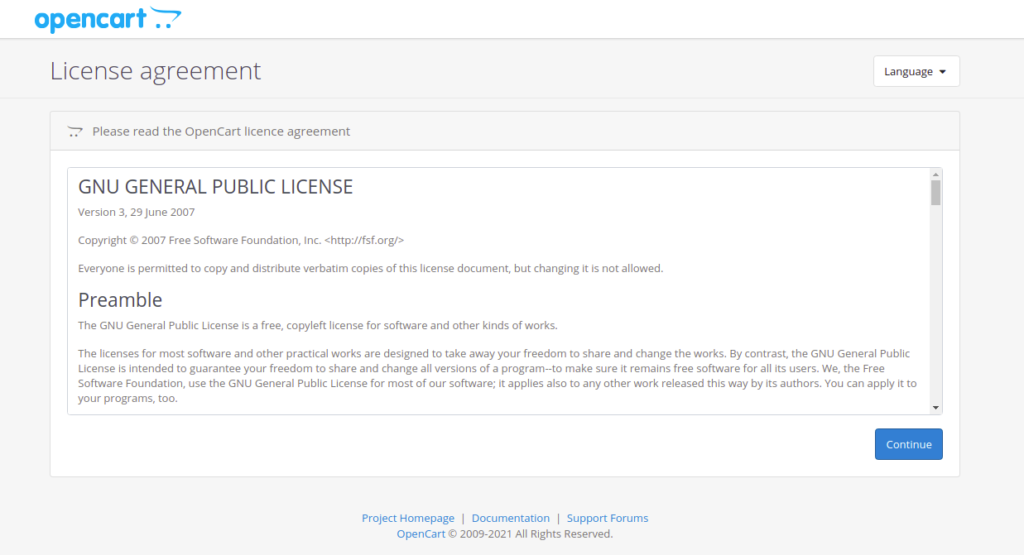
Click on CONTINUE to accept the License. You should see the following page:
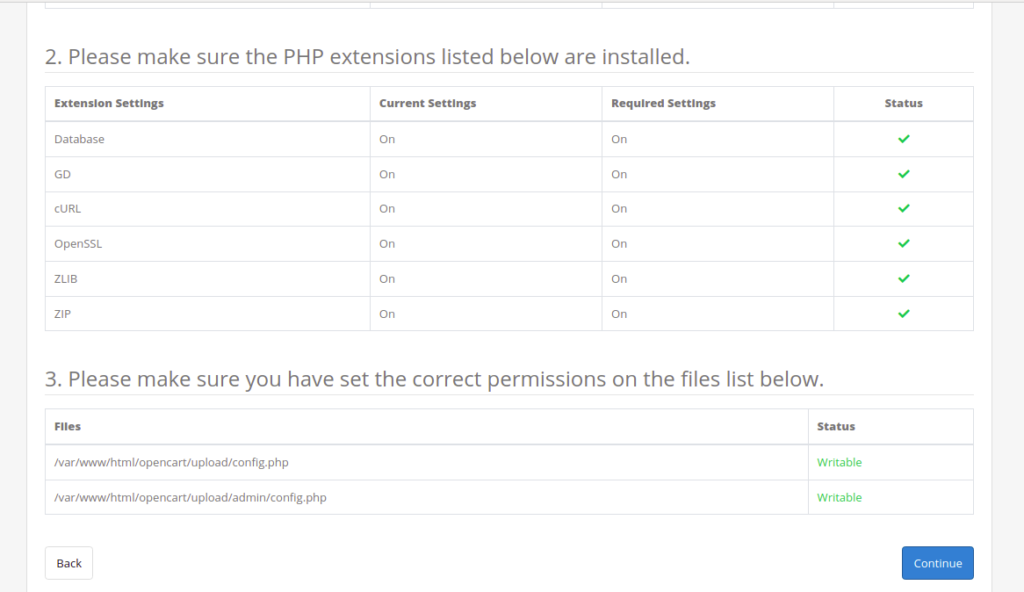
Make sure all the PHP extensions are installed, then click on CONTINUE. You should see the following page:
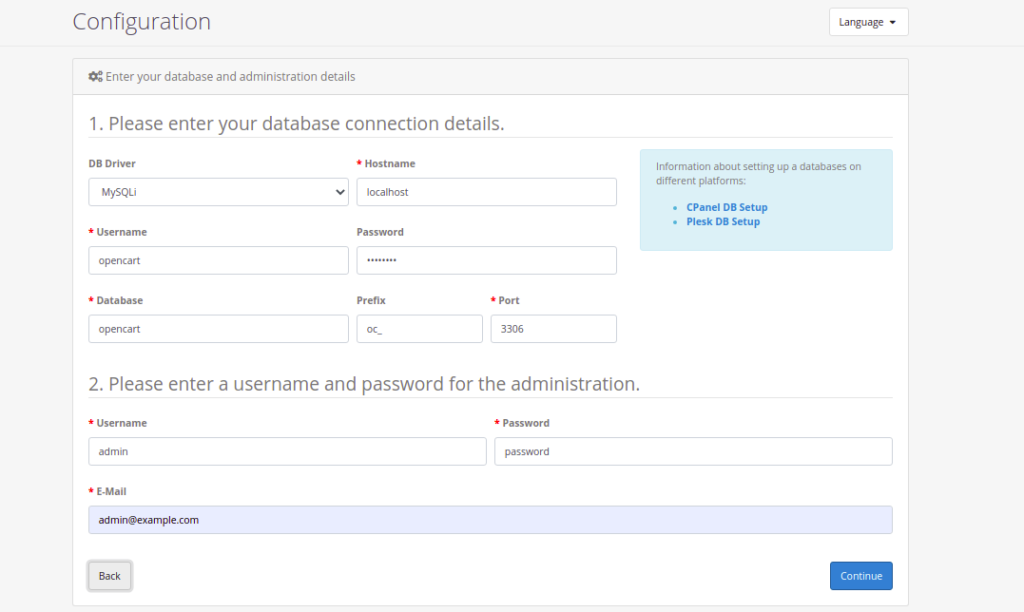
Provide your database information and admin user details and click on CONTINUE. Once the installation has been completed, you should see the following page:
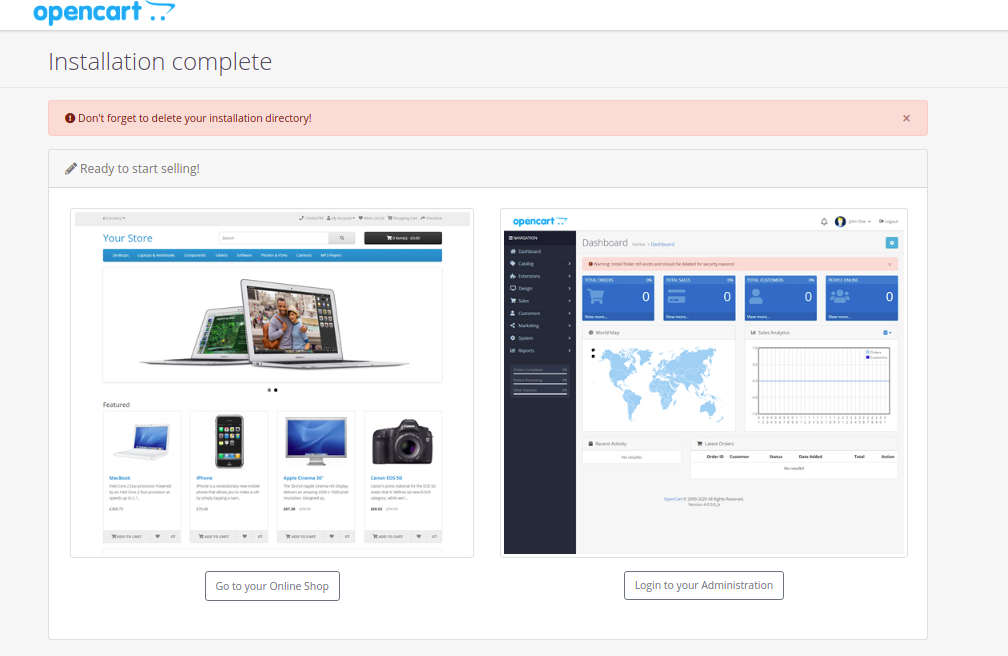
Now, remove the install directory using the following command:
rm -rf /var/www/html/opencart/upload/install
Next, click on the LOGIN TO YOUR ADMINISTRATION. You should see the following page:
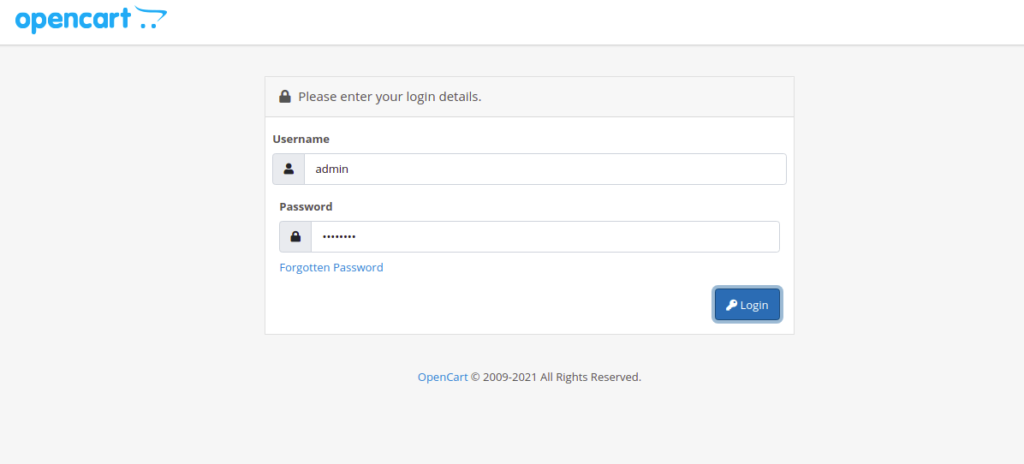
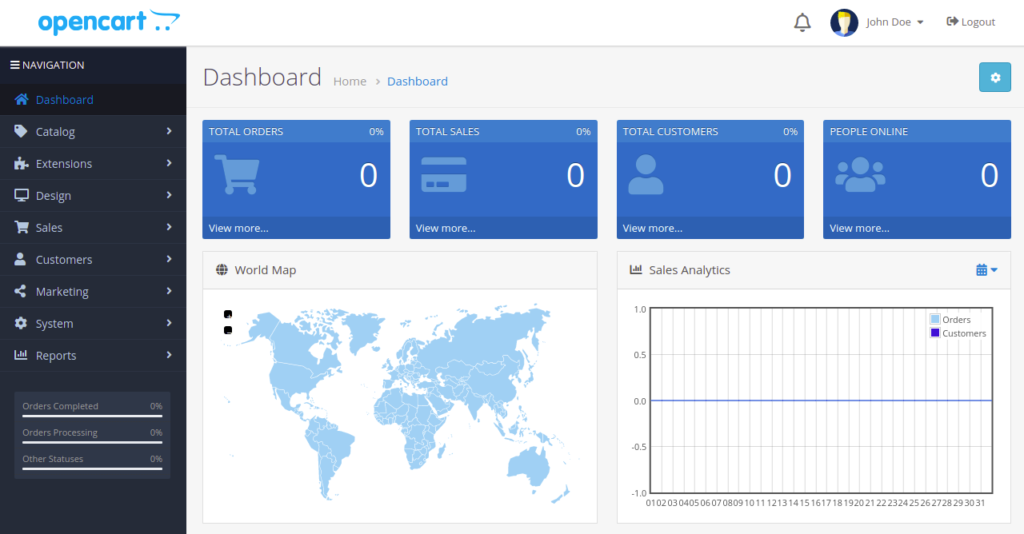
Provide your admin username and password and click on the Login. You should see the OpenCart dashboard on the following page:
Conclusion
Congratulations! Your OpenCart platform is now ready to use. You can now deploy your own online store using OpenCart. Get started on dedicated hosting from Atlantic.Net.
* This post is for informational purposes only and does not constitute professional, legal, financial, or technical advice. Each situation is unique and may require guidance from a qualified professional.
Readers should conduct their own due diligence before making any decisions.