AzuraCast is an open-source and self-hosted web radio management suite that helps you to get a web radio station up and running in minutes. It offers a powerful and intuitive web interface where you can manage every aspect of your radio station. You can upload media, manage playlists, create local mount points and remote relays, and view analytics and reports via a web browser. It also offers an API to build your own players and interfaces.
In this post, we will show you how to install AzuraCast radio management solutions on Fedora Linux.
Step 1 – Add Docker Repo
By default, the Docker package is not included in the Fedora default repo, so you will need to add the repo for Docker.
You can add the Docker repo using the following command.
dnf -y install dnf-plugins-core
dnf config-manager --add-repo https://download.docker.com/linux/fedora/docker-ce.repo
The above command will create a docker-ce.repo file in the Yum configuration directory.
Step 2 – Install Docker and Docker Compose
Once the Docker repo is added to the Yum repository, you can install both Docker and Docker compose packages with the following command.
dnf install docker-ce docker-ce-cli containerd.io docker-compose-plugin docker-compose -y
After installing both packages, start and enable the Docker service.
systemctl start docker
systemctl enable docker
You can now verify the Docker version using the following command.
docker --version
Output:
Docker version 20.10.17, build 100c701
Step 3 – Install AzureCast
First, create a directory to store all configuration files.
mkdir -p /var/azuracast
Next, download the AzureCast installation script using the following command.
cd /var/azuracast
curl -fsSL https://raw.githubusercontent.com/AzuraCast/AzuraCast/main/docker.sh > docker.sh
Next, set the executable permissions on the downloaded script.
chmod a+x docker.sh
Next, start the AzureCast installation with the following command.
./docker.sh install
You will be asked several questions as shown below:
Checking installation requirements for AzuraCast...
[PASS] Operating System: Linux
[PASS] Architecture: x86_64
[PASS] Command Present: curl
[PASS] Command Present: awk
[PASS] User Permissions
[PASS] Installation Directory
[PASS] All requirements met!
Docker is already installed! Continuing...
Docker Compose v2 is already installed. Continuing...
Your current release channel is 'Rolling Release'. Switch to 'Stable' release channel? [y/N] N
Type N and press the Enter key. You will be asked to select a language.
 Select Language [English (Default)]:
  [en_US] English (Default)
  [cs_CZ] čeština
  [de_DE] Deutsch
  [es_ES] Español
  [fr_FR] Français
  [el_GR] ελληνικά
  [it_IT] Italiano
  [hu_HU] magyar
  [nl_NL] Nederlands
  [pl_PL] Polski
  [pt_PT] Português
  [pt_BR] Português do Brasil
  [ru_RU] Русский язык
  [sv_SE] Svenska
  [tr_TR] Türkçe
  [zh_CN] 簡化字
  [ko_KR] 한국어
 >
Just press the Enter key to choose the English language. You will see the following output.
AzuraCast Installer
===================

 Welcome to AzuraCast! Complete the initial server setup by answering a few questions.

AzuraCast is currently configured to listen on the following ports:
 * HTTP Port: 80
 * HTTPS Port: 443
 * SFTP Port: 2022
 * Radio Ports: 8000,8005,8006,8010,8015,8016,8020,8025,8026,8030,8035,8036,8040,8045,8046,8050,8055,8056,8060,8065,8066,8070,8075,8076,8090,8095,8096,8100,8105,8106,8110,8115,8116,8120,8125,8126,8130,8135,8136,8140,8145,8146,8150,8155,8156,8160,8165,8166,8170,8175,8176,8180,8185,8186,8190,8195,8196,8200,8205,8206,8210,8215,8216,8220,8225,8226,8230,8235,8236,8240,8245,8246,8250,8255,8256,8260,8265,8266,8270,8275,8276,8280,8285,8286,8290,8295,8296,8300,8305,8306,8310,8315,8316,8320,8325,8326,8330,8335,8336,8340,8345,8346,8350,8355,8356,8360,8365,8366,8370,8375,8376,8380,8385,8386,8390,8395,8396,8400,8405,8406,8410,8415,8416,8420,8425,8426,8430,8435,8436,8440,8445,8446,8450,8455,8456,8460,8465,8466,8470,8475,8476,8480,8485,8486,8490,8495,8496

 Customize ports used for AzuraCast? (yes/no) [no]:
 >
Just press the Enter key to select default ports.
 Enable Custom Code Plugins (yes/no) [no]:
 >
Press the Enter key to enable the default plugins.
 Enable web-based Docker image updates (yes/no) [yes]:
 >
Press the Enter key to use the default option. Once the installation has been completed, you should see the following output.
 [OK] AzuraCast installation complete!

      Visit http://192.168.10.10 to complete setup.


[+] Running 2/2
 ⠿ Container azuracast_updater  Started                                                                                                                            1.6s
 ⠿ Container azuracast          Started                                                                                                                           14.2s
Step 4 – Access AzureCast Web Interface
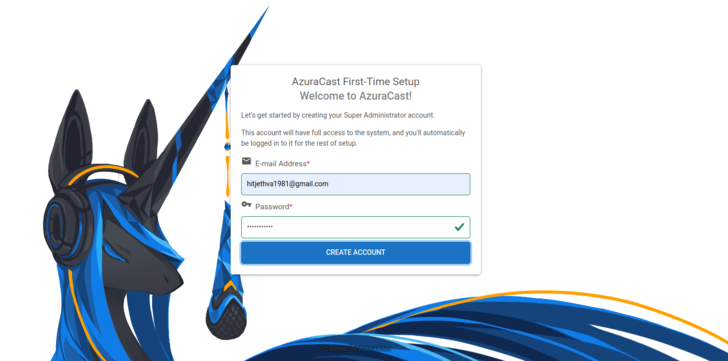
Now, open your web browser and access the AzureCast web interface using the URL http://your-server-ip. You will see the account creation page.
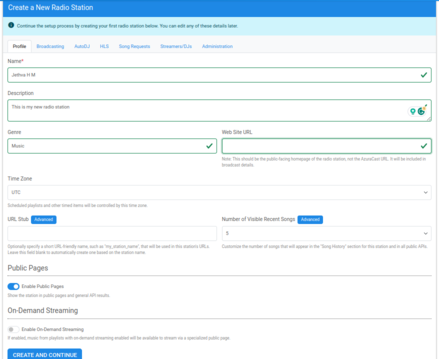
Define your account information and click on the CREATE ACCOUNT. You will see the Create Radio Station page.
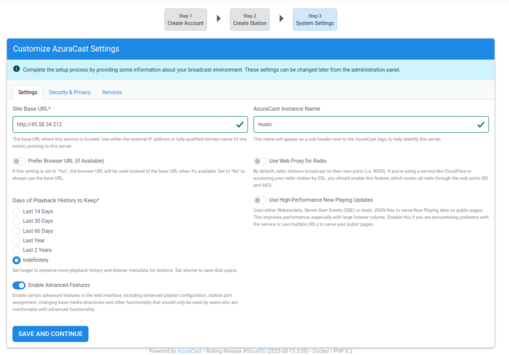
Provide all required information and click on CREATE AND CONTINUE. You should see the “Customize AzuraCast” page.
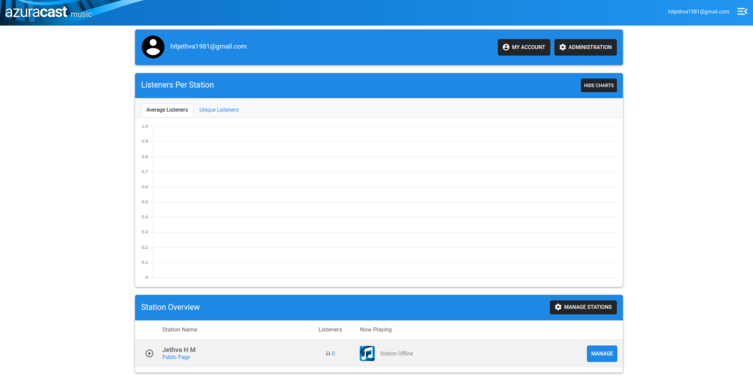
Select your required options and click on SAVE AND CONTINUE. You should see the following page.
You can now add your music files and start playing them via a web browser.
Conclusion
Congratulations! You have successfully installed the AzuraCast radio station management tool on Fedora Linux and can now start your own radio station with AzureCast. You can now test AzureCast on dedicated server hosting from Atlantic.Net!


