Bitwarden is a fast, open-source password management solution trusted by millions of users worldwide. It stores all your passwords and sensitive information in an encrypted vault. You can store and manage all your login credentials in a central location and sync them across all devices. Bitwarden offers a client application for mobile, desktop, browser extensions, command line interface, and web interface.
In this post, we will show you how to install the Bitwarden password manager on Arch Linux.
Step 1 – Configure Repository
By default, the default repository is outdated in Arch Linux, so you will need to modify the default mirror list. You can do it by editing the mirror list configuration file:
nano /etc/pacman.d/mirrorlist
Remove all lines and add the following lines:
## Score: 0.7, United States
Server = http://mirror.us.leaseweb.net/archlinux/$repo/os/$arch
## Score: 0.8, United States
Server = http://lug.mtu.edu/archlinux/$repo/os/$arch
Server = http://mirror.nl.leaseweb.net/archlinux/$repo/os/$arch
## Score: 0.9, United Kingdom
Server = http://mirror.bytemark.co.uk/archlinux/$repo/os/$arch
## Score: 1.5, United Kingdom
Server = http://mirrors.manchester.m247.com/arch-linux/$repo/os/$arch
Server = http://archlinux.dcc.fc.up.pt/$repo/os/$arch
## Score: 6.6, United States
Server = http://mirror.cs.pitt.edu/archlinux/$repo/os/$arch
## Score: 6.7, United States
Server = http://mirrors.acm.wpi.edu/archlinux/$repo/os/$arch
## Score: 6.8, United States
Server = http://ftp.osuosl.org/pub/archlinux/$repo/os/$arch
## Score: 7.1, India
Server = http://mirror.cse.iitk.ac.in/archlinux/$repo/os/$arch
## Score: 10.1, United States
Server = http://mirrors.xmission.com/archlinux/$repo/os/$arch
Save and close the file, then update all the package indexes with the following command:
pacman -Syu
Step 2 – Install Docker
Bitwarden can be installed using Docker, so Docker and Docker Compose packages must be installed on your server. If not installed, you can install both by running the following command.
pacman -S docker docker-compose
Once Docker is installed, enable the Docker service to start at system reboot.
systemctl enable docker
Next, restart your system to apply the system.
reboot
Step 3 – Install Bitwarden
First, download the Bitwarden installation script using the following command.
curl -Lso bitwarden.sh https://go.btwrdn.co/bw-sh
Next, set executable permissions on the downloaded file.
chmod +x bitwarden.sh
Now, run the downloaded script to start the installation.
./bitwarden.sh install
You will be asked to define your domain or IP address, select Let’s Encrypt SSL and database as shown below:
 _     _ _                         _
| |__ (_) |___      ____ _ _ __ __| | ___ _ __
| '_ \| | __\ \ /\ / / _` | '__/ _` |/ _ \ '_ \
| |_) | | |_ \ V  V / (_| | | | (_| |  __/ | | |
|_.__/|_|\__| \_/\_/ \__,_|_|  \__,_|\___|_| |_|

Open source password management solutions
Copyright 2015-2023, 8bit Solutions LLC
https://bitwarden.com, https://github.com/bitwarden

===================================================

bitwarden.sh version 2023.3.0
Docker version 23.0.1, build a5ee5b1dfc
Docker Compose version 2.17.0

(!) Enter the domain name for your Bitwarden instance (ex. bitwarden.example.com): 104.219.55.77

(!) Do you want to use Let's Encrypt to generate a free SSL certificate? (y/n): n

(!) Enter the database name for your Bitwarden instance (ex. vault): vault
Answer all the questions then press the Enter key. You will be asked to provide your Bitwarden installation id and key:
2023.3.0: Pulling from bitwarden/setup
3f9582a2cbe7: Pull complete
d866aec6058e: Pull complete
11332129480d: Pull complete
9f9b514859b0: Pull complete
b709e83c5e9e: Pull complete
1f8900615ea1: Pull complete
47137b35c8bf: Pull complete
b7b87e36a4d9: Pull complete
223d50917a39: Pull complete
23ee09621502: Pull complete
Digest: sha256:e09da2acdedd62819dd1fe774935d1a215058244cc6e1c18203bb65cf845f70c
Status: Downloaded newer image for bitwarden/setup:2023.3.0
docker.io/bitwarden/setup:2023.3.0

(!) Enter your installation id (get at https://bitwarden.com/host): Installation ID

(!) Enter your installation key: Installation Key
Provide your installation ID and key and press the Enter key. You will be asked for SSL certificates.
(!) Do you have a SSL certificate to use? (y/n): n
(!) Do you want to generate a self-signed SSL certificate? (y/n): y
Choose your preferred options and press the Enter key. Once the installation is completed, you will get the following output.
Generating self signed SSL certificate.
Generating a RSA private key
....................................++++
.................................................++++
writing new private key to '/bitwarden/ssl/self/104.219.55.77/private.key'
-----
Generating key for IdentityServer.
Generating a RSA private key
..............................++++
........++++
writing new private key to 'identity.key'
-----


Building nginx config.
Building docker environment files.
Building docker environment override files.
Building FIDO U2F app id.
Building docker-compose.yml.

Installation complete

If you need to make additional configuration changes, you can modify
the settings in `./bwdata/config.yml` and then run:
`./bitwarden.sh rebuild` or `./bitwarden.sh update`

Next steps, run:
`./bitwarden.sh start`
Step 4 – Start the Bitwarden
After successful installation, you can start the Bitwarden using the following command.
./bitwarden.sh start
If everything is fine, you will get the following output.
[+] Running 89/11
 ✔ events 5 layers [⣿⣿⣿⣿⣿]      0B/0B      Pulled 28.3s
 ✔ identity 5 layers [⣿⣿⣿⣿⣿]      0B/0B      Pulled 41.9s
 ✔ icons 5 layers [⣿⣿⣿⣿⣿]      0B/0B      Pulled 39.2s
 ✔ notifications 5 layers [⣿⣿⣿⣿⣿]      0B/0B      Pulled 31.7s
 ✔ web 11 layers [⣿⣿⣿⣿⣿⣿⣿⣿⣿⣿⣿]      0B/0B      Pulled 30.5s
 ✔ nginx 15 layers [⣿⣿⣿⣿⣿⣿⣿⣿⣿⣿⣿⣿⣿⣿⣿]      0B/0B      Pulled 10.2s
 ✔ mssql 9 layers [⣿⣿⣿⣿⣿⣿⣿⣿⣿]      0B/0B      Pulled 82.1s
 ✔ api 9 layers [⣿⣿⣿⣿⣿⣿⣿⣿⣿]      0B/0B      Pulled 11.2s
 ✔ sso 5 layers [⣿⣿⣿⣿⣿]      0B/0B      Pulled 17.7s
 ✔ attachments 4 layers [⣿⣿⣿⣿]      0B/0B      Pulled 27.5s
 ✔ admin 5 layers [⣿⣿⣿⣿⣿]      0B/0B      Pulled 40.0s
[+] Running 13/13
 ✔ Network docker_default             Created0.0s
 ✔ Network docker_public              Created0.1s
 ✔ Container bitwarden-attachments    Started2.4s
 ✔ Container bitwarden-sso            Started4.9s
 ✔ Container bitwarden-mssql          Started1.0s
 ✔ Container bitwarden-web            Started1.8s
 ✔ Container bitwarden-identity       Started4.0s
 ✔ Container bitwarden-notifications  Started4.2s
 ✔ Container bitwarden-api            Started4.9s
 ✔ Container bitwarden-events         Started4.8s
 ✔ Container bitwarden-icons          Started4.7s
 ✔ Container bitwarden-admin          Started4.7s
 ✔ Container bitwarden-nginx          Started6.6s
2023.3.0: Pulling from bitwarden/setup
Digest: sha256:e09da2acdedd62819dd1fe774935d1a215058244cc6e1c18203bb65cf845f70c
Status: Image is up to date for bitwarden/setup:2023.3.0
docker.io/bitwarden/setup:2023.3.0


Bitwarden is up and running!
===================================================

visit http://104.219.55.77
to update, run `./bitwarden.sh updateself` and then `./bitwarden.sh update`
You can now verify the Bitwarden container status with the following command.
docker ps
You should see the following output.
CONTAINER ID   IMAGE                              COMMAND            CREATED          STATUS                             PORTS                                                                                    NAMES
158a32601c48   bitwarden/nginx:2023.3.0           "/entrypoint.sh"   24 seconds ago   Up 17 seconds (health: starting)   80/tcp, 0.0.0.0:80->8080/tcp, :::80->8080/tcp, 0.0.0.0:443->8443/tcp, :::443->8443/tcp   bitwarden-nginx
ff726721653e   bitwarden/admin:2023.3.0           "/entrypoint.sh"   24 seconds ago   Up 19 seconds (health: starting)   5000/tcp                                                                                 bitwarden-admin
82165ad0a2fb   bitwarden/attachments:2023.3.0     "/entrypoint.sh"   24 seconds ago   Up 22 seconds (health: starting)                                                                                            bitwarden-attachments
b066cc257c91   bitwarden/web:2023.3.0             "/entrypoint.sh"   24 seconds ago   Up 22 seconds (health: starting)                                                                                            bitwarden-web
3556668964b6   bitwarden/notifications:2023.3.0   "/entrypoint.sh"   24 seconds ago   Up 20 seconds (health: starting)   5000/tcp                                                                                 bitwarden-notifications
4d283de21017   bitwarden/identity:2023.3.0        "/entrypoint.sh"   24 seconds ago   Up 20 seconds (health: starting)   5000/tcp                                                                                 bitwarden-identity
e46b0bc8fbf5   bitwarden/api:2023.3.0             "/entrypoint.sh"   24 seconds ago   Up 19 seconds (health: starting)   5000/tcp                                                                                 bitwarden-api
50409251986e   bitwarden/mssql:2023.3.0           "/entrypoint.sh"   24 seconds ago   Up 23 seconds (health: starting)                                                                                            bitwarden-mssql
83b214e36cd7   bitwarden/events:2023.3.0          "/entrypoint.sh"   24 seconds ago   Up 19 seconds (health: starting)   5000/tcp                                                                                 bitwarden-events
e5090c0b53e2   bitwarden/sso:2023.3.0             "/entrypoint.sh"   24 seconds ago   Up 19 seconds (health: starting)   5000/tcp                                                                                 bitwarden-sso
cc449cb26fb8   bitwarden/icons:2023.3.0           "/entrypoint.sh"   24 seconds ago   Up 19 seconds (health: starting)   5000/tcp
Step 5 – Access Bitwarden Web UI
At this point, Bitwarden is started and listening on port 80. You can access it using the URL https://your-server-ip. You should see the Bitwarden login page.
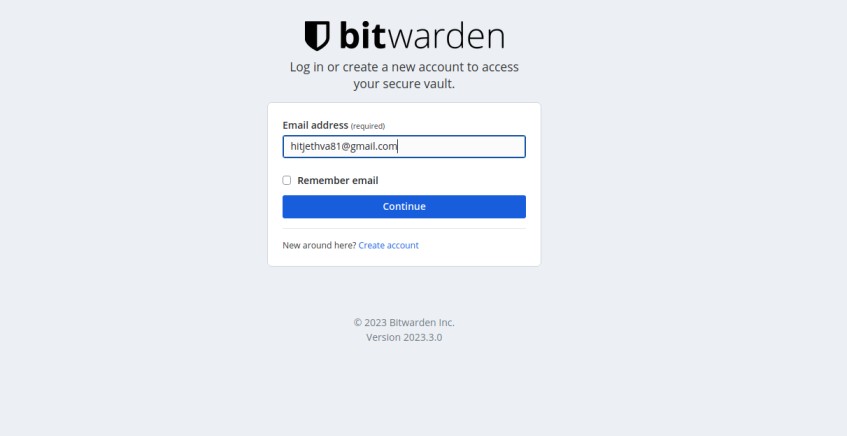
Click on the Create account page. You should see the following page.
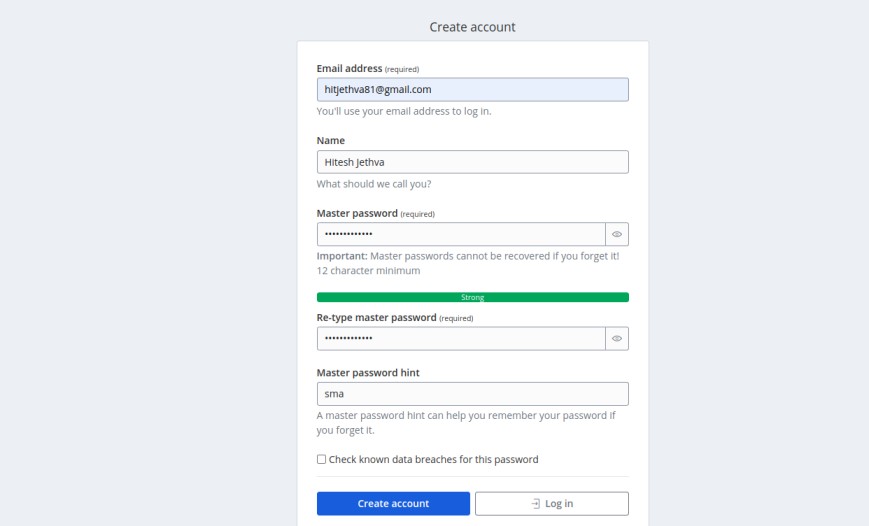
Define your email, username, and password, and click on the Create account button. You should see your login screen.
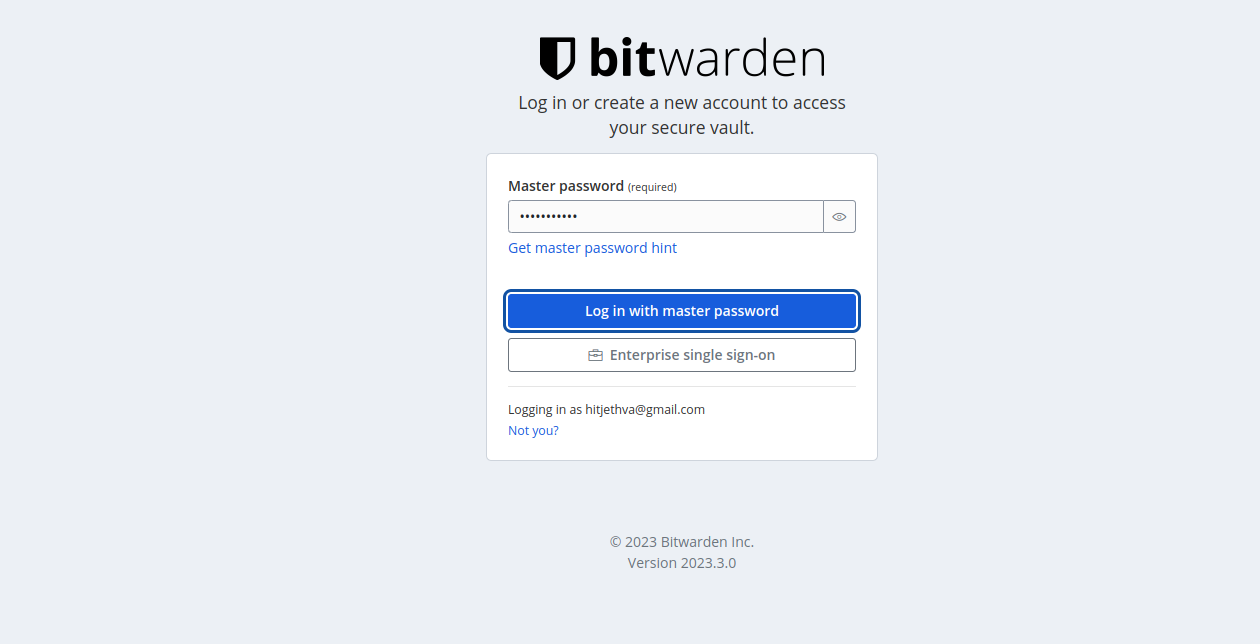
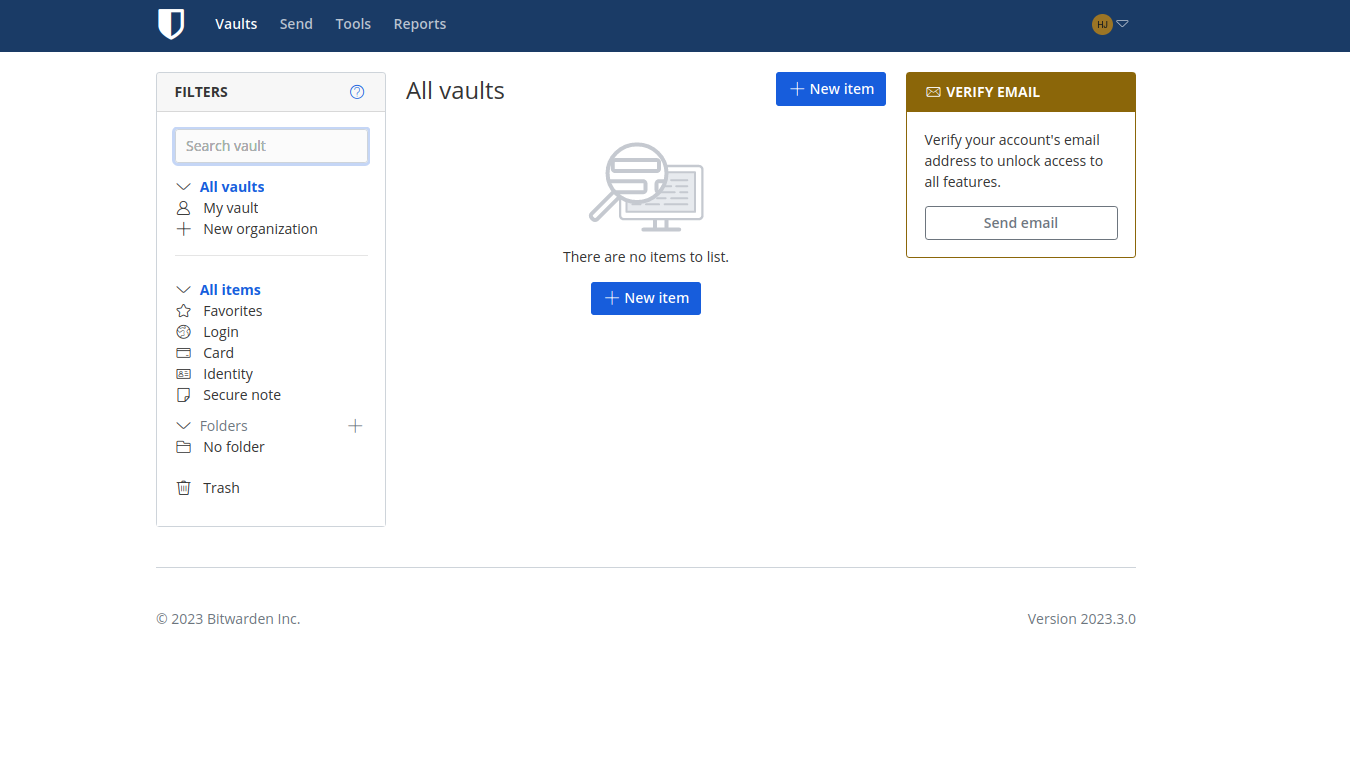
Provide your master password and click on Login with master password. You should see the Bitwarden dashboard on the following screen.
Conclusion
In this post, you learned how to install the Bitwarden password manager on Arch Linux. You can now implement Bitwarden in your organization and start managing all credentials from a central location. You can try to install Bitwarden password manager on dedicated server hosting from Atlantic.Net!
* This post is for informational purposes only and does not constitute professional, legal, financial, or technical advice. Each situation is unique and may require guidance from a qualified professional.
Readers should conduct their own due diligence before making any decisions.