AzuraCast is a free, open-source, and self-hosted radio station suite that lets you get a web radio station up and running in minutes. It comes with a powerful and intuitive interface that helps you manage every aspect of your radio station via a web browser. You can perform several tasks such as uploading media, managing playlists, and creating local mount points and remote relays via a web-based interface. AzureCast supports remote relays that broadcast your radio signal to any remote server on Icecast.
In this post, we will show you how to install AzuraCast Web Radio Management Suite on Arch Linux.
Step 1 – Configure Repository
By default, the default repository is outdated in Arch Linux, so you will need to modify the default mirror list. You can do it by editing the mirror list configuration file:
nano /etc/pacman.d/mirrorlist
Remove all lines and add the following lines:
## Score: 0.7, United States
Server = http://mirror.us.leaseweb.net/archlinux/$repo/os/$arch
## Score: 0.8, United States
Server = http://lug.mtu.edu/archlinux/$repo/os/$arch
Server = http://mirror.nl.leaseweb.net/archlinux/$repo/os/$arch
## Score: 0.9, United Kingdom
Server = http://mirror.bytemark.co.uk/archlinux/$repo/os/$arch
## Score: 1.5, United Kingdom
Server = http://mirrors.manchester.m247.com/arch-linux/$repo/os/$arch
Server = http://archlinux.dcc.fc.up.pt/$repo/os/$arch
## Score: 6.6, United States
Server = http://mirror.cs.pitt.edu/archlinux/$repo/os/$arch
## Score: 6.7, United States
Server = http://mirrors.acm.wpi.edu/archlinux/$repo/os/$arch
## Score: 6.8, United States
Server = http://ftp.osuosl.org/pub/archlinux/$repo/os/$arch
## Score: 7.1, India
Server = http://mirror.cse.iitk.ac.in/archlinux/$repo/os/$arch
## Score: 10.1, United States
Server = http://mirrors.xmission.com/archlinux/$repo/os/$arch
Save and close the file, then update all the package indexes with the following command:
pacman -Syu
Step 2 – Install Docker
The AzuraCastsuite is available as a Docker container, so Docker and Docker Compose packages must be installed on your server. If not installed, you can install both by running the following command.
pacman -S docker docker-compose
Once Docker is installed, enable the Docker service to start at system reboot.
systemctl enable docker
Next, restart your system to apply the system.
reboot
After the successful restart, you can verify the Docker status using the following command.
systemctl status docker
Step 3 – Install AzuraCast
First, create a directory to store AzuraCast configuration files.
mkdir -p /var/azuracast
Next, navigate to the AzuraCast directory and download the AzuraCast installation script.
cd /var/azuracast
curl -fsSL https://raw.githubusercontent.com/AzuraCast/AzuraCast/main/docker.sh > docker.sh
Next, set executable permissions on the downloaded file.
chmod a+x docker.sh
Next, start the AzuraCast installation using the following command.
./docker.sh install
You will be asked to switch to the stable release channel.
Checking installation requirements for AzuraCast...
[PASS] Operating System: Linux
[PASS] Architecture: x86_64
[PASS] Command Present: curl
[PASS] Command Present: awk
[PASS] User Permissions
[PASS] Installation Directory
[PASS] All requirements met!
Docker is already installed! Continuing...
Docker Compose is already installed. Continuing...
Your current release channel is 'Rolling Release'. Switch to 'Stable' release channel? [y/N] N
Type N and press the Enter key. You will be asked to select the language.
 Select Language [English (Default)]:
  [en_US] English (Default)
  [cs_CZ] čeština
  [de_DE] Deutsch
  [es_ES] Español
  [fr_FR] Français
  [el_GR] ελληνικά
  [it_IT] Italiano
  [hu_HU] magyar
  [nl_NL] Nederlands
  [pl_PL] Polski
  [pt_PT] Português
  [pt_BR] Português do Brasil
  [ru_RU] Русский язык
  [sv_SE] Svenska
  [tr_TR] Türkçe
  [zh_CN] 簡化字
  [ko_KR] 한국어
 >
Just press the Enter key to select the English language. You will be asked to use a custom port.
AzuraCast Installer
===================

 Welcome to AzuraCast! Complete the initial server setup by answering a few questions.

AzuraCast is currently configured to listen on the following ports:
 * HTTP Port: 80
 * HTTPS Port: 443
 * SFTP Port: 2022
 * Radio Ports: 8000,8005,8006,8010,8015,8016,8020,8025,8026,8030,8035,8036,8040,8045,8046,8050,8055,8056,8060,8065,8066,8070,8075,8076,8090,8095,8096,8100,8105,8106,8110,8115,8116,8120,8125,8126,8130,8135,8136,8140,8145,8146,8150,8155,8156,8160,8165,8166,8170,8175,8176,8180,8185,8186,8190,8195,8196,8200,8205,8206,8210,8215,8216,8220,8225,8226,8230,8235,8236,8240,8245,8246,8250,8255,8256,8260,8265,8266,8270,8275,8276,8280,8285,8286,8290,8295,8296,8300,8305,8306,8310,8315,8316,8320,8325,8326,8330,8335,8336,8340,8345,8346,8350,8355,8356,8360,8365,8366,8370,8375,8376,8380,8385,8386,8390,8395,8396,8400,8405,8406,8410,8415,8416,8420,8425,8426,8430,8435,8436,8440,8445,8446,8450,8455,8456,8460,8465,8466,8470,8475,8476,8480,8485,8486,8490,8495,8496

 Customize ports used for AzuraCast? (yes/no) [no]:
 >
Just press the Enter key to use the default ports. You will be asked to enable the custom plugins.
 Enable Custom Code Plugins (yes/no) [no]:
 >
Press the Enter key to enable the default plugins. You will be asked to enable the web-based Docker image updates.
 Enable web-based Docker image updates (yes/no) [yes]:
 >
Press the Enter key to use the default option. Once the installation has been completed, you should see the following output.
Writing configuration files...


Restarting all radio stations...
--------------------------------

    0 [▓░░░░░░░░░░░░░░░░░░░░░░░░░░░]


 [OK] AzuraCast installation complete!

      Visit http://209.23.10.234 to complete setup.


[+] Running 2/2
 ✔ Container azuracast_updater  Started                                                                                                                            0.7s
 ✔ Container azuracast          Started                                                                                                                            4.7s
Step 4 – Access AzuraCast Web UI
Now, open your web browser and access AzuraCast using the URL http://your-server-IP. You should see the AzuraCast Setup page.
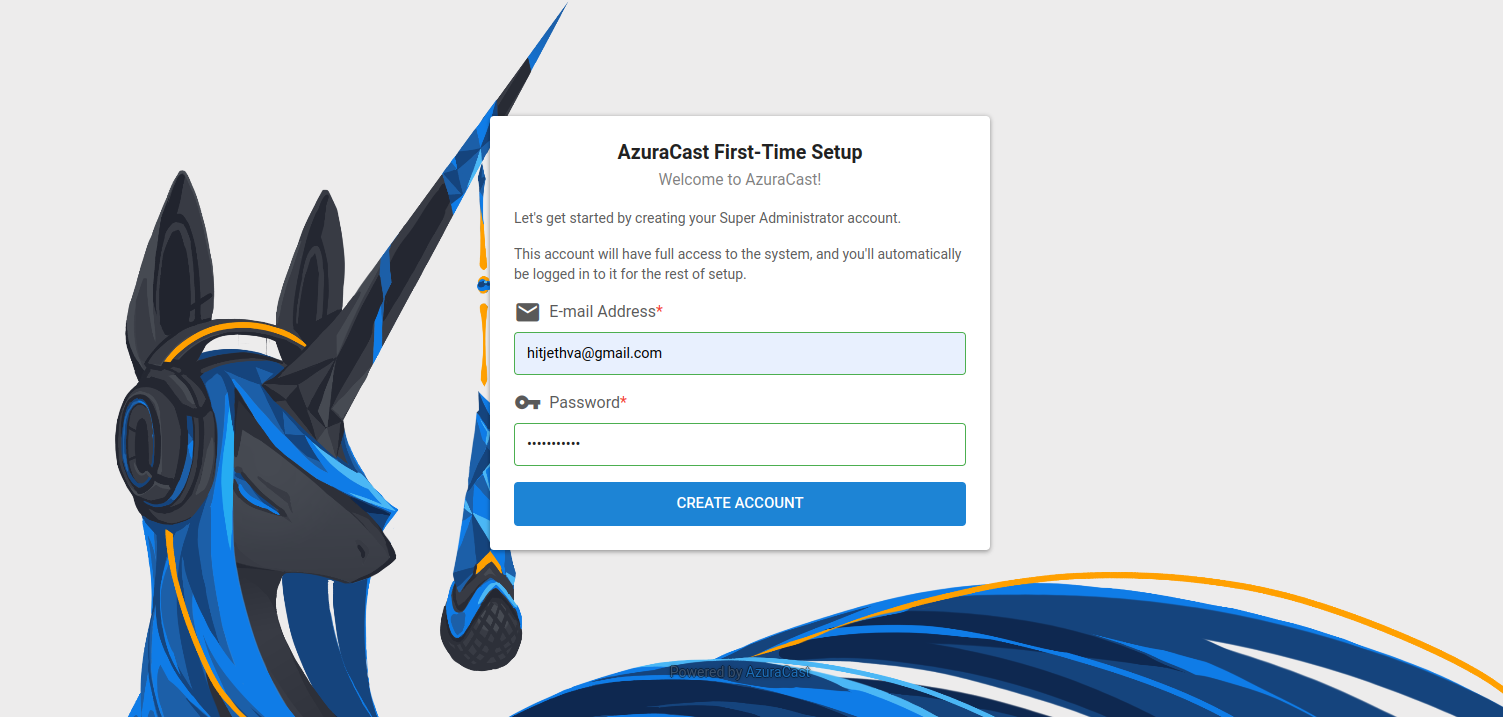
Set your email address, and password then click on the CREATE ACCOUNT. You should see the”Create a radio station” page.
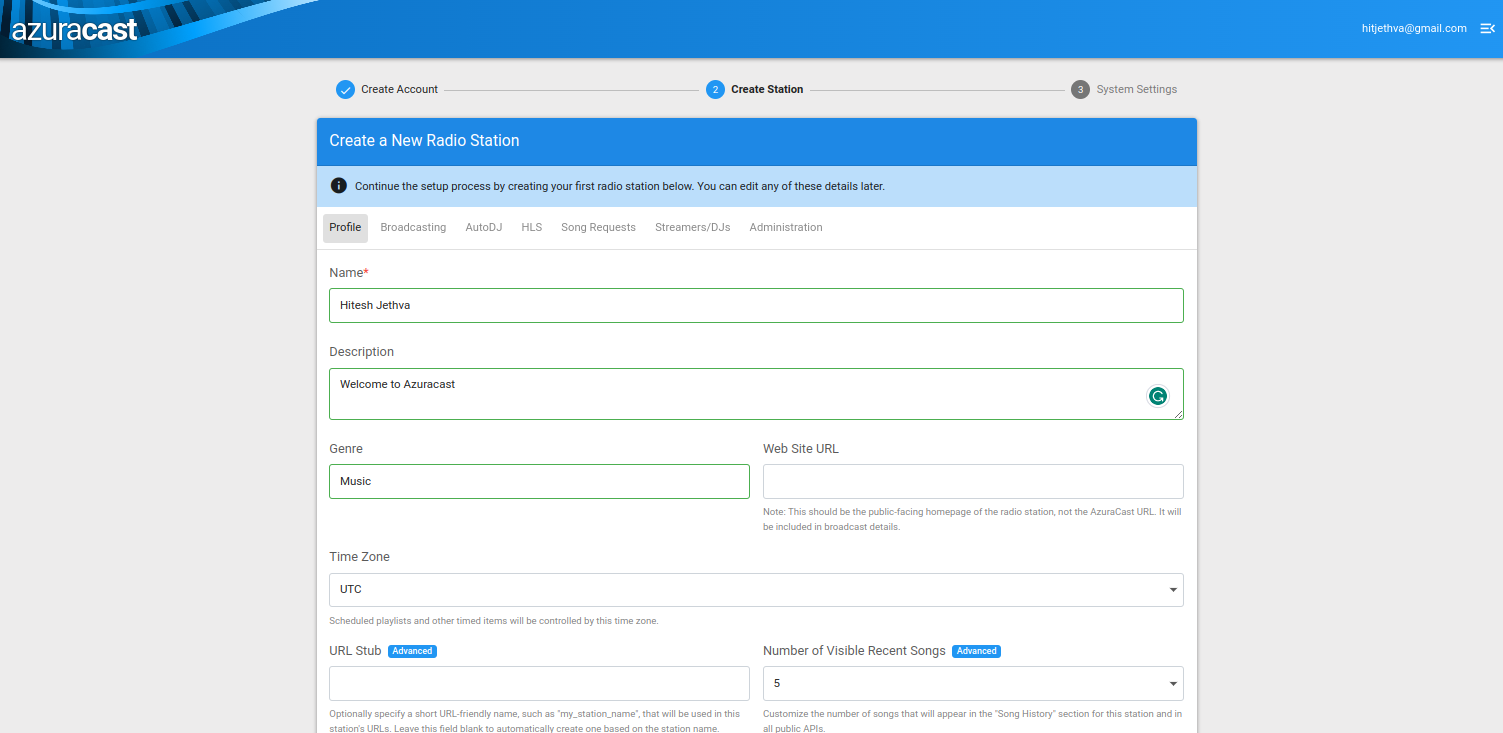
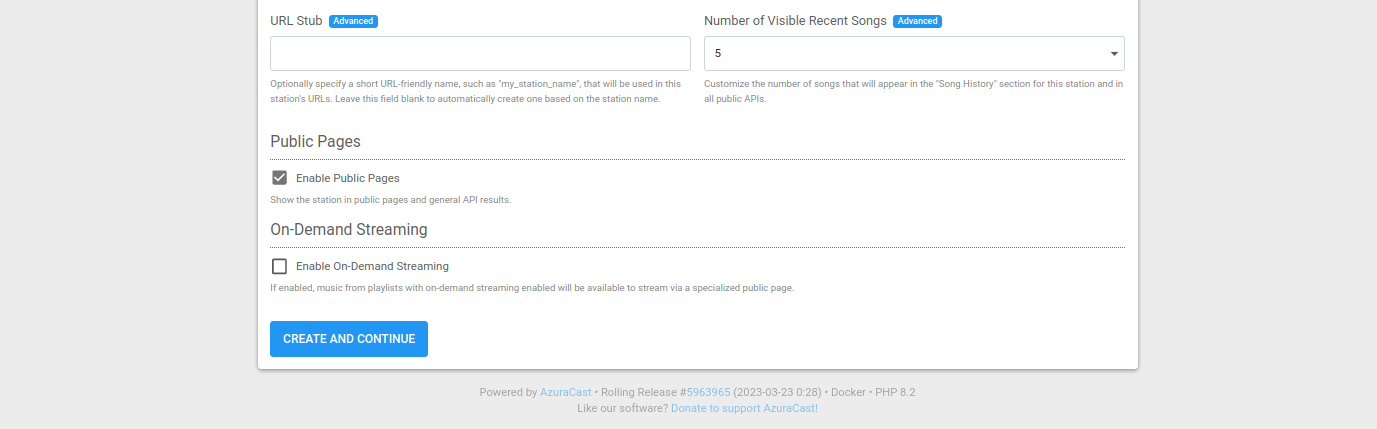
Provide your radio station information and click on the CREATE AND CONTINUE. You should see the “Customize AzuraCast” page.
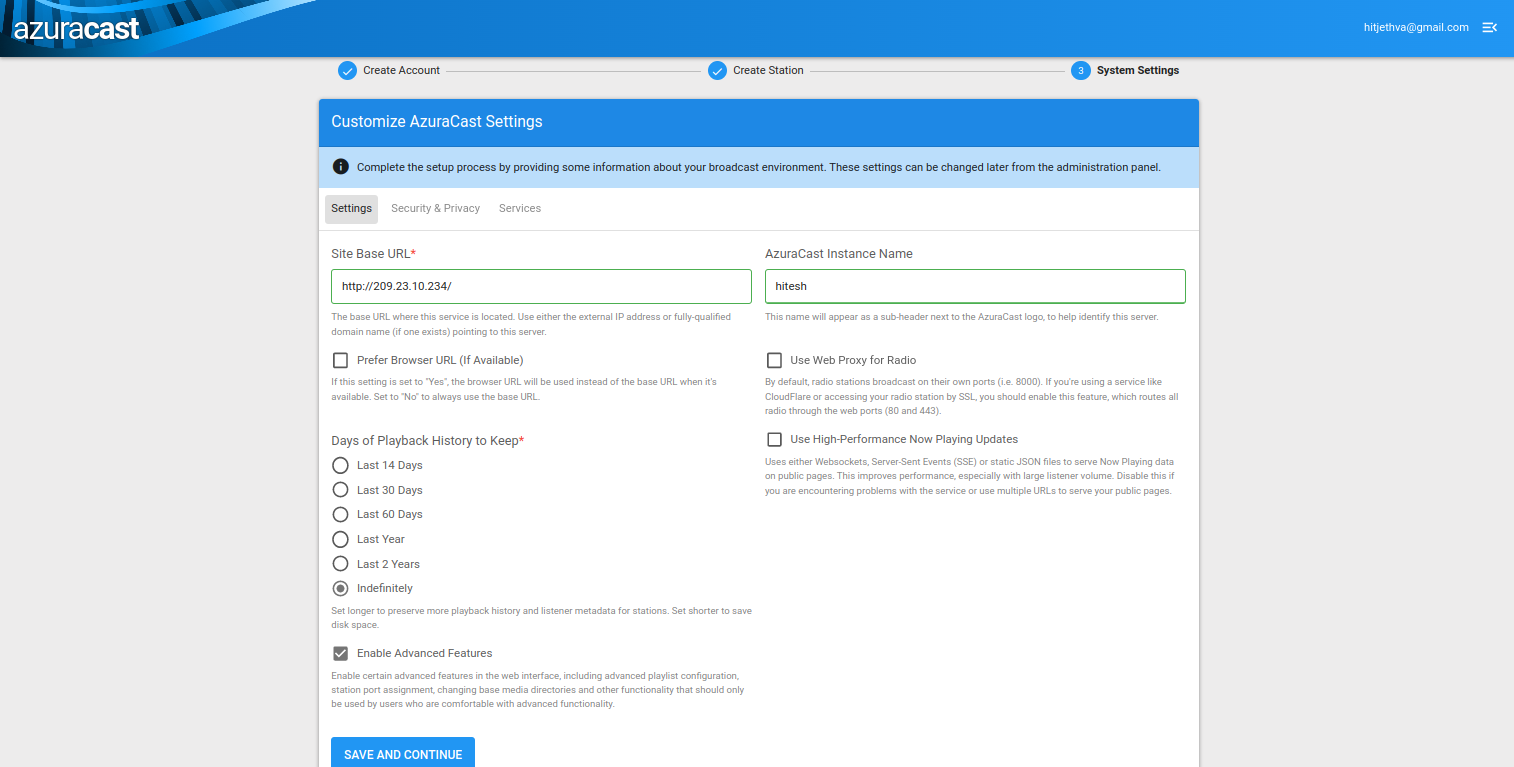
Define all settings and click on SAVE AND CONTINUE. You should see the following page.
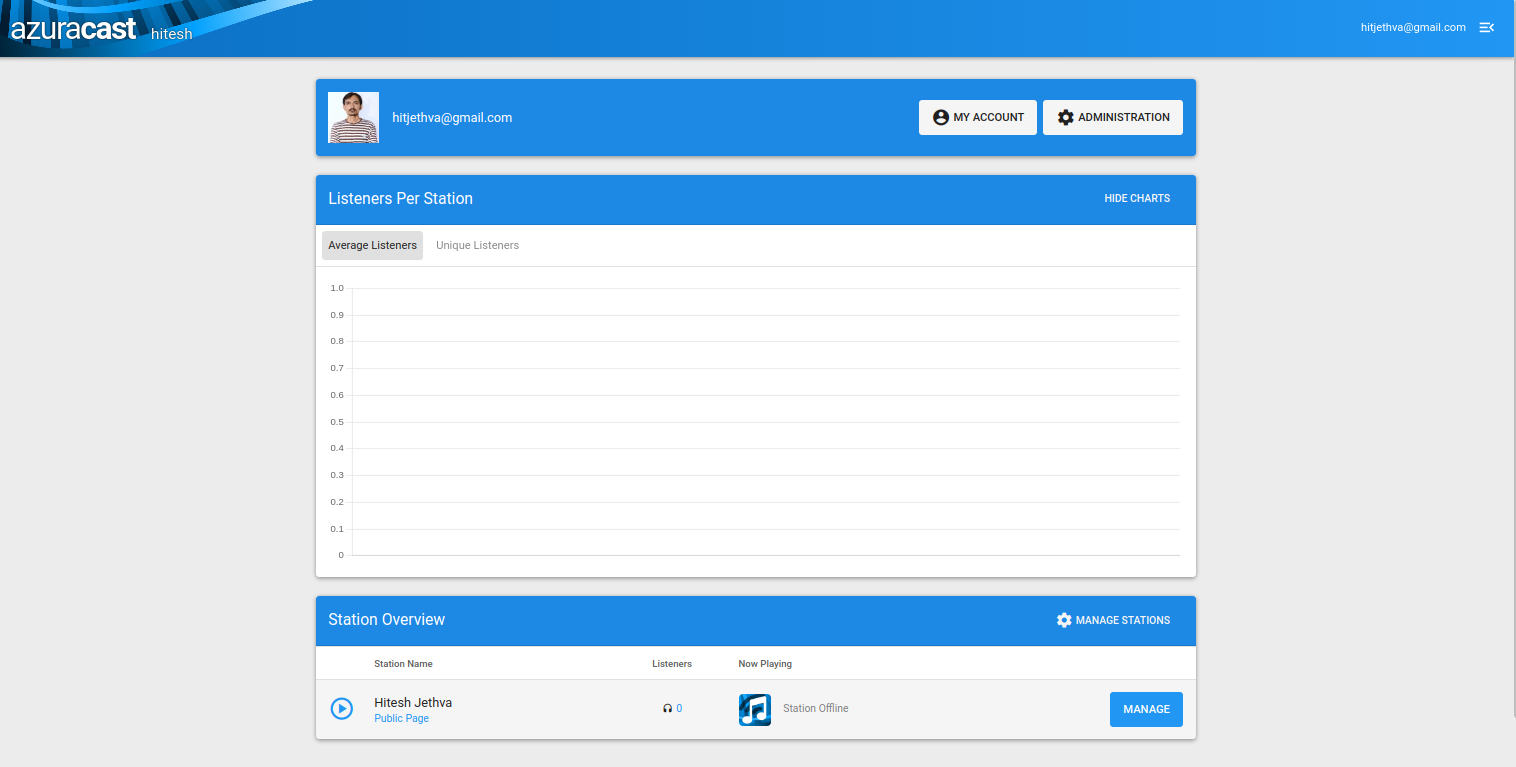
Click on the MANAGE button. You should see the following page.
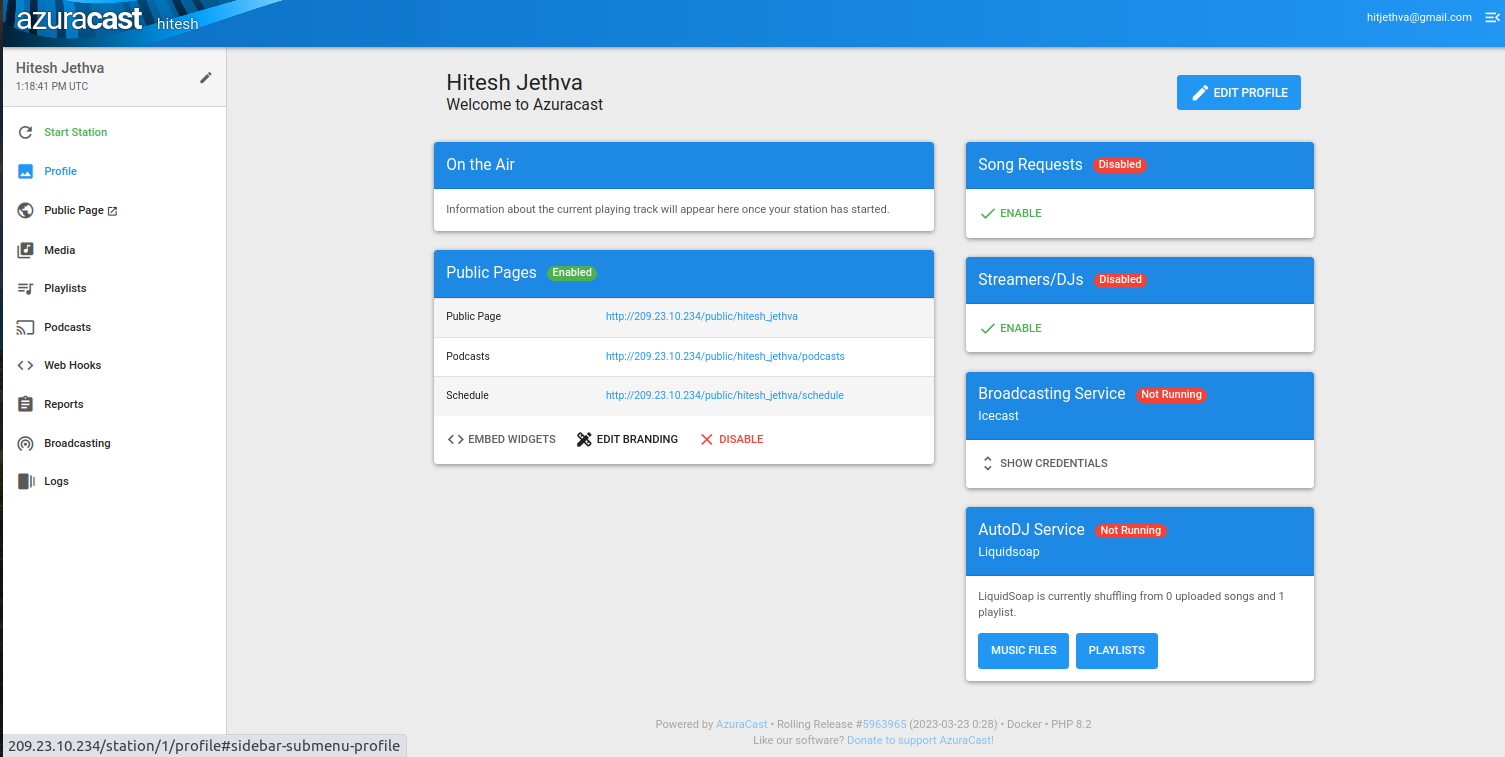
Click on the Music Files. You should see the following page.
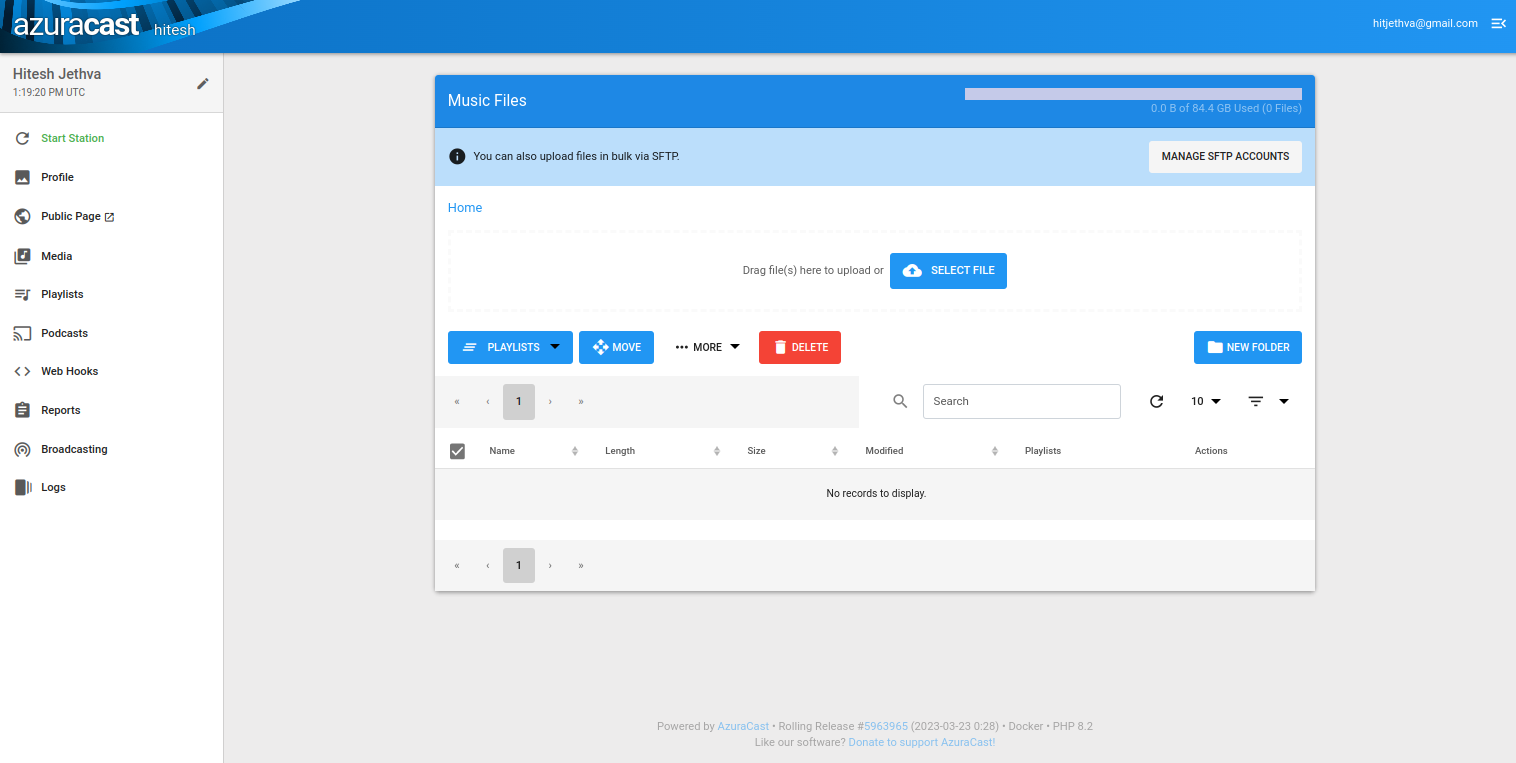
Click on the SELECT FILES to upload any MP3 file to AzuraCast. Once the file is added, you should see the following page.
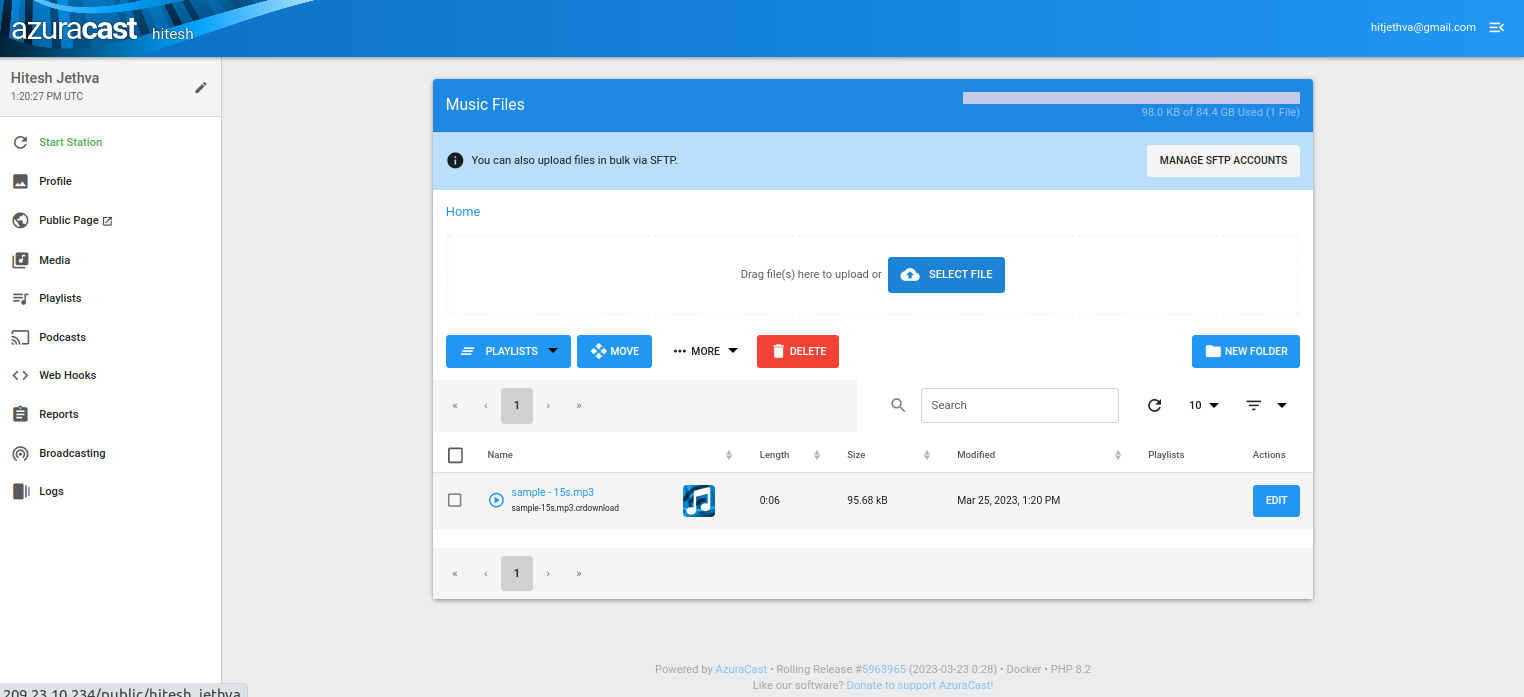
You can now add these uploaded files to your playlist and start playing it via a web browser.
Conclusion
In this post, we explained how to install the AzuraCast radio station management tool on Arch Linux. You can now easily set up your own online radio station using AzuraCast. You can now try to set up AzuraCast on dedicated server hosting from Atlantic.Net!
* This post is for informational purposes only and does not constitute professional, legal, financial, or technical advice. Each situation is unique and may require guidance from a qualified professional.
Readers should conduct their own due diligence before making any decisions.