Bitwarden is a free and open-source password manager used to store sensitive information such as passwords in an encrypted vault. It can be available in a variety of client applications including mobile applications, browser extensions, web interfaces, and desktop apps. Compared to other password managers, Bitwarden is free and includes all the necessary password management features.
In this post, we will show you how to install the Bitwarden password manager on Fedora Linux.
Step 1 – Install Docker and Docker Compose
By default, the Docker and Docker Compose packages are not included in the Fedora default repo, so you will need to add a Docker repo to the Yum repository. You can add it with the following command.
dnf -y install dnf-plugins-core
dnf config-manager --add-repo https://download.docker.com/linux/fedora/docker-ce.repo
The above command will create a docker-ce.repo file in the Yum configuration directory.
Now, run the following command to install Docker, Docker Compose, and other packages to Fedora.
dnf install docker-ce docker-ce-cli containerd.io docker-compose-plugin docker-compose -y
After successful installation, start and enable the Docker service using the following command.
systemctl start docker
systemctl enable docker
You can now verify the Docker version using the following command.
docker --version
Output.
Docker version 20.10.17, build 100c701
Step 2 – Install Bitwarden
Bitwarden provides a script to install Bitwarden to your server automatically via the command line. First, download the auto installation script using the following command.
curl -Lso bitwarden.sh https://go.btwrdn.co/bw-sh
Next, set executable permissions to the script.
chmod +x bitwarden.sh
Next, run the following command to start the installation.
./bitwarden.sh install
You will be asked to provide your domain name or IP address as shown below:
 _     _ _                         _
| |__ (_) |___      ____ _ _ __ __| | ___ _ __
| '_ \| | __\ \ /\ / / _` | '__/ _` |/ _ \ '_ \
| |_) | | |_ \ V  V / (_| | | | (_| |  __/ | | |
|_.__/|_|\__| \_/\_/ \__,_|_|  \__,_|\___|_| |_|

Open source password management solutions
Copyright 2015-2023, 8bit Solutions LLC
https://bitwarden.com, https://github.com/bitwarden

===================================================

bitwarden.sh version 2023.7.2
Docker version 20.10.17, build 100c701
docker-compose version 1.28.6, build unknown

(!) Enter the domain name for your Bitwarden instance (ex. bitwarden.example.com): 192.168.10.10
Provide your server IP and press the Enter key. You will be asked for SSL installation, database name, Bitwarden installation key, region, and self-signed installation as shown below:
(!) Do you want to use Let's Encrypt to generate a free SSL certificate? (y/n): n

(!) Enter the database name for your Bitwarden instance (ex. vault): vault

(!) Enter your installation id (get at https://bitwarden.com/host): 60baaac0-2c35-4b4b-80ea-b06001083c0b

(!) Enter your installation key: LfhbacCe5EYy4pn2L5if

(!) Enter your region (US/EU) [US]: US

(!) Do you have a SSL certificate to use? (y/N): N

(!) Do you want to generate a self-signed SSL certificate? (y/N): y
Provide all required information and press the Enter key. Once the Bitwarden is installed, you will see the following output.
Generating self signed SSL certificate.
Generating a RSA private key
.......................++++
............................................++++
writing new private key to '/bitwarden/ssl/self/192.168.10.10/private.key'
-----
Generating key for IdentityServer.
Generating a RSA private key
.................................................................................................................................................................++++
.........................++++
writing new private key to 'identity.key'
-----

!!!!!!!!!! WARNING !!!!!!!!!!
You are using an untrusted SSL certificate. This certificate will not be
trusted by Bitwarden client applications. You must add this certificate to
the trusted store on each device or else you will receive errors when trying
to connect to your installation.

Building nginx config.
Building docker environment files.
Building docker environment override files.
Building FIDO U2F app id.
Building docker-compose.yml.

Installation complete

If you need to make additional configuration changes, you can modify
the settings in `./bwdata/config.yml` and then run:
`./bitwarden.sh rebuild` or `./bitwarden.sh update`
Step 3 – Start Bitwarden
Next, run the following command to start Bitwarden.
./bitwarden.sh start
If everything is fine, you will get the following output.
 _     _ _                         _
| |__ (_) |___      ____ _ _ __ __| | ___ _ __
| '_ \| | __\ \ /\ / / _` | '__/ _` |/ _ \ '_ \
| |_) | | |_ \ V  V / (_| | | | (_| |  __/ | | |
|_.__/|_|\__| \_/\_/ \__,_|_|  \__,_|\___|_| |_|

Open source password management solutions
Copyright 2015-2023, 8bit Solutions LLC
https://bitwarden.com, https://github.com/bitwarden

===================================================

bitwarden.sh version 2023.7.2
Docker version 20.10.17, build 100c701
docker-compose version 1.28.6, build unknown

Bitwarden is up and running!
===================================================

visit https://192.168.10.10
to update, run `./bitwarden.sh updateself` and then `./bitwarden.sh update`
Step 4 – Access Bitwarden Web UI
At this point, Bitwarden is installed and running on your server. You can now access the Bitwarden web interface using the URL https://your-server-ip. You will see the account creation page:
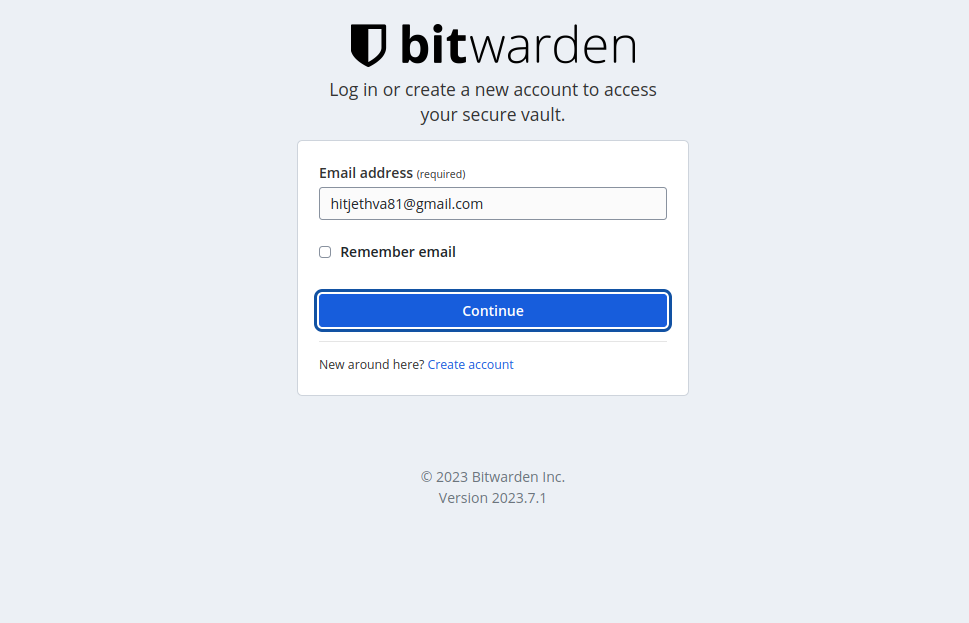
Provide your email address and click on Create account. You will see the following screen.
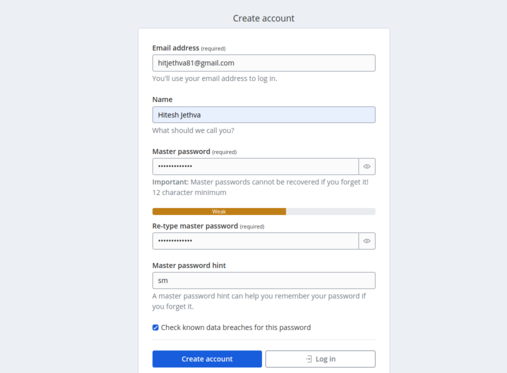
Provide all the required information and click on Create Account. You will see the Bitwarden login screen.
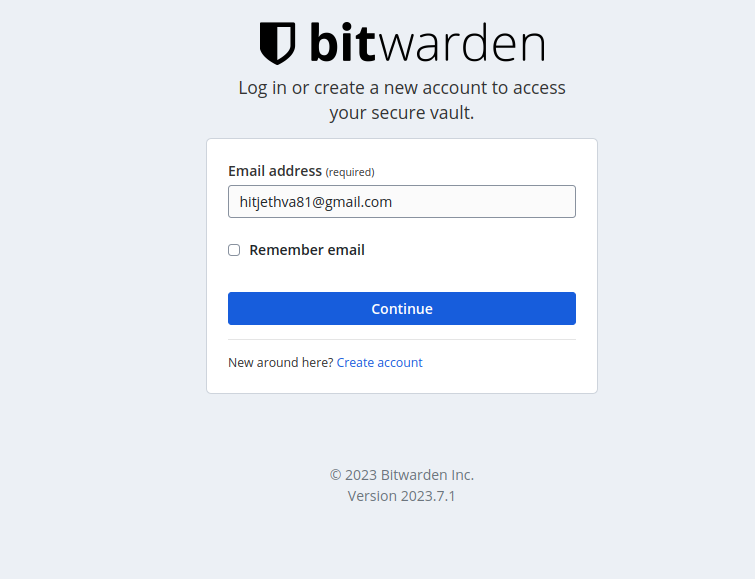
Provide your username and click on Continue. You will see the following screen.
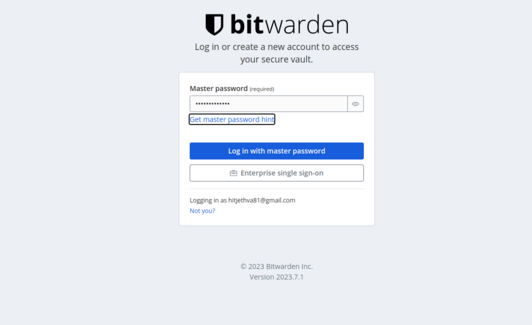
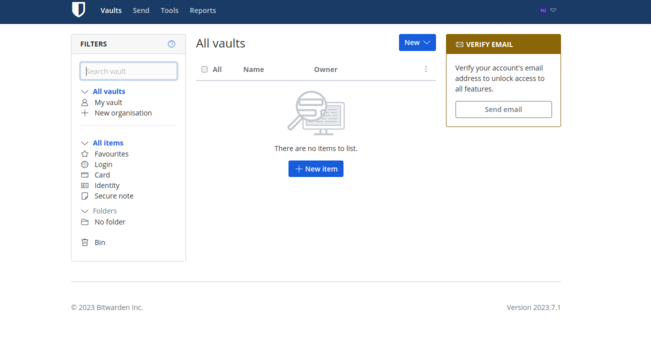
Provide your password and click on Login with a master password. You will see the Bitwarden dashboard on the following screen.
Conclusion
In this guide, we explained how to install the Bitwarden password manager using Docker on Fedora Linux. Now you can explore the Bitwarden features and use Bitwarden in your company to manage all credentials from the web-based interface. Try Bitwarden on dedicated server hosting from Atlantic.Net!
* This post is for informational purposes only and does not constitute professional, legal, financial, or technical advice. Each situation is unique and may require guidance from a qualified professional.
Readers should conduct their own due diligence before making any decisions.