GlassFish is an open-source Java application server used for the development and deployment of Java-based web applications. GlassFish is a flexible, lightweight, and production-ready application that provides many easy-to-use tools to manage, deploy, scale and set up Java-based applications. If you are looking for an enterprise-grade open-source platform for deploying Java applications, then Glassfish is the best option for you.
In this post, we will show you how to install GlassFish on Arch Linux.
Step 1 – Configure Repository
By default, the default repository is outdated in Arch Linux, so you will need to modify the default mirror list. You can do it by editing the mirror list configuration file:
nano /etc/pacman.d/mirrorlist
Remove all lines and add the following lines:
## Score: 0.7, United States
Server = http://mirror.us.leaseweb.net/archlinux/$repo/os/$arch
## Score: 0.8, United States
Server = http://lug.mtu.edu/archlinux/$repo/os/$arch
Server = http://mirror.nl.leaseweb.net/archlinux/$repo/os/$arch
## Score: 0.9, United Kingdom
Server = http://mirror.bytemark.co.uk/archlinux/$repo/os/$arch
## Score: 1.5, United Kingdom
Server = http://mirrors.manchester.m247.com/arch-linux/$repo/os/$arch
Server = http://archlinux.dcc.fc.up.pt/$repo/os/$arch
## Score: 6.6, United States
Server = http://mirror.cs.pitt.edu/archlinux/$repo/os/$arch
## Score: 6.7, United States
Server = http://mirrors.acm.wpi.edu/archlinux/$repo/os/$arch
## Score: 6.8, United States
Server = http://ftp.osuosl.org/pub/archlinux/$repo/os/$arch
## Score: 7.1, India
Server = http://mirror.cse.iitk.ac.in/archlinux/$repo/os/$arch
## Score: 10.1, United States
Server = http://mirrors.xmission.com/archlinux/$repo/os/$arch
Save and close the file, then update all the package indexes with the following command:
pacman -Syu
Step 2 – Install Java
First, you will need to install Java on your server. You can install it using the following command.
pacman -S jre17-openjdk
After installing Java, you can check the Java version using the following command.
java --version
You will get the following output.
openjdk 17.0.6 2023-01-17
OpenJDK Runtime Environment (build 17.0.6+10)
OpenJDK 64-Bit Server VM (build 17.0.6+10, mixed mode)
Step 3 – Download and Install GlassFish
First, visit the GlassFish official download page and download the latest version of GlassFish using the following command.
wget https://download.eclipse.org/ee4j/glassfish/glassfish-7.0.1.zip
Once the download is completed, unzip the downloaded file using the following command.
pacman -S unzip
unzip glassfish-7.0.1.zip
Next, move the extracted directory to /opt using the following command.
mv glassfish7 /opt/
Next, export the GlassFish path to the ~/.bashrc file.
echo "export PATH=$PATH:/opt/glassfish7/bin" >> ~/.bashrc
After that, reload the ~/.bashrc file using the following command.
source ~/.bashrc
Step 4 – Start GlassFish Server
You can now use the asadmin command to start the GlassFish server.
asadmin start-domain
You will get the following output.
Waiting for domain1 to start ............
Waiting finished after 11,935 ms.
Successfully started the domain : domain1
domain  Location: /opt/glassfish7/glassfish/domains/domain1
Log File: /opt/glassfish7/glassfish/domains/domain1/logs/server.log
Admin Port: 4,848
Command start-domain executed successfully.
You can verify the GlassFish server using the following command.
asadmin list-domains
Sample output.
domain1 running
Command list-domains executed successfully.
Step 5 – Set GlassFish Admin Password
By default, there is not any password for the GlassFish admin user, so you can set it using the following command.
asadmin change-admin-password
You will be asked to provide your admin user:
Enter admin user name [default: admin]>
Just press the Enter key and you will be asked to provide your admin password.
Enter the admin password>
Just press the Enter key without typing anything. You will be asked to set a new admin password as shown below.
Enter the new admin password>
Enter the new admin password again>
Command change-admin-password executed successfully.
Next, you will also need to enable the admin user. You can enable it using the following command.
asadmin --port 4848 enable-secure-admin
You will be asked to provide your admin user and password to enable it as shown below.
Enter admin user name>  admin
Enter admin password for user "admin">
You must restart all running servers for the change in secure admin to take effect.
Command enable-secure-admin executed successfully.
Step 6 – Create a Systemd Service File for GlassFish
Before starting, stop the GlassFish server using the following command.
asadmin stop-domain
Next, create a systemd service file using the following command.
nano /usr/lib/systemd/system/glassfish.service
Add the following configurations.
[Unit]
Description = GlassFish Server v7.1.0
After = syslog.target network.target

[Service]
ExecStart = /usr/bin/java -jar /opt/glassfish7/glassfish/lib/client/appserver-cli.jar start-domain
ExecStop = /usr/bin/java -jar /opt/glassfish7/glassfish/lib/client/appserver-cli.jar stop-domain
ExecReload = /usr/bin/java -jar /opt/glassfish7/glassfish/lib/client/appserver-cli.jar restart-domain
Type = forking

[Install]
WantedBy = multi-user.target
Save the file, then reload the systemd daemon to apply the changes.
systemctl daemon-reload
Next, start and enable the GlassFish service using the following command.
systemctl start glassfish
systemctl enable glassfish
To verify the GlassFish service, run the following command.
systemctl status glassfish
Sample output.
● glassfish.service - GlassFish Server v7.1.0
     Loaded: loaded (/usr/lib/systemd/system/glassfish.service; disabled; preset: disabled)
     Active: active (running) since Mon 2023-02-06 11:41:57 UTC; 22s ago
    Process: 59110 ExecStart=/usr/bin/java -jar /opt/glassfish7/glassfish/lib/client/appserver-cli.jar start-domain (code=exited, status=0/SU>
   Main PID: 59125 (java)
      Tasks: 77 (limit: 2362)
     Memory: 195.5M
     CGroup: /system.slice/glassfish.service
             └─59125 /usr/lib/jvm/java-17-openjdk/bin/java -cp /opt/glassfish7/glassfish/modules/glassfish.jar -DWALL_CLOCK_START=2023-02-06T>

Feb 06 11:41:44 archlinux systemd[1]: Starting GlassFish Server v7.1.0...
Feb 06 11:41:57 archlinux java[59110]: Waiting for domain1 to start ...........
Feb 06 11:41:57 archlinux java[59110]: Waiting finished after 10,943 ms.
Feb 06 11:41:57 archlinux java[59110]: Successfully started the domain : domain1
Feb 06 11:41:57 archlinux java[59110]: domain  Location: /opt/glassfish7/glassfish/domains/domain1
Feb 06 11:41:57 archlinux java[59110]: Log File: /opt/glassfish7/glassfish/domains/domain1/logs/server.log
Feb 06 11:41:57 archlinux java[59110]: Admin Port: 4,848
Feb 06 11:41:57 archlinux java[59110]: Command start-domain executed successfully.
Feb 06 11:41:57 archlinux systemd[1]: Started GlassFish Server v7.1.0.
Step 7 – Access GlassFish Web UI
At this point, GlassFish is installed and listens on port 4848. You can now access it using the URL http://your-server-ip:4848. You should see the GlassFish login page:
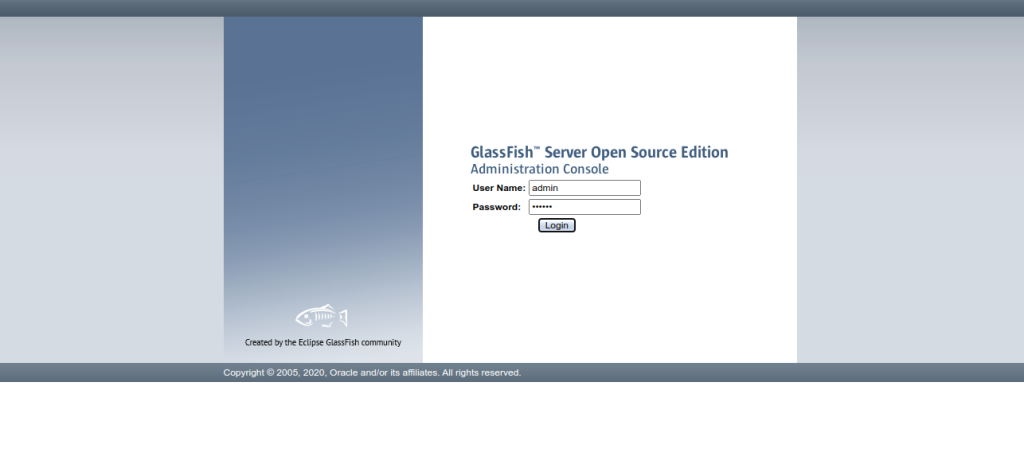
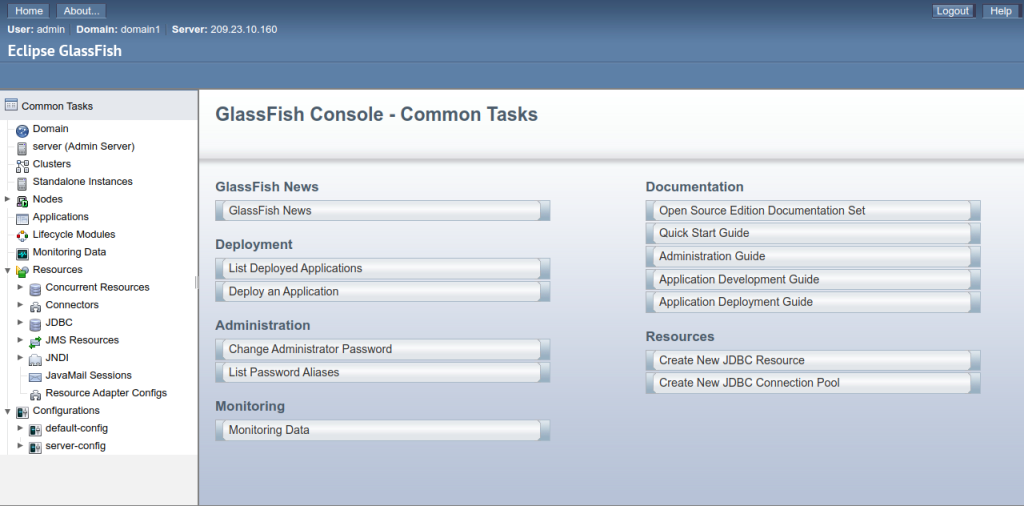
Type your admin username and password and click on the Login button. You should see the GlassFish dashboard on the following page.
Conclusion
In this post, we explained how to install a GlassFish server on Arch Linux. You can now deploy, manage and scale Java applications using your GlassFish server. You can try to set up a GlassFish server on dedicated server hosting from Atlantic.Net!
* This post is for informational purposes only and does not constitute professional, legal, financial, or technical advice. Each situation is unique and may require guidance from a qualified professional.
Readers should conduct their own due diligence before making any decisions.