Icinga is an open-source system and network monitoring solution which can monitor small to large network environments via a web browser. It is scalable and extensible. Icinga checks the availability of your network resources, notifies users of outages, and generates performance data for reporting. It is used by system and network administrators to check CPU, Memory, Uptime, Processes, Disk space, and other services like HTTP, SMTP, SSH, and more.
In this post, we will show you how to install Icinga 2 monitoring tool on Oracle Linux 8.
Step 1 – Configure MariaDB Database
Icinga 2 uses MariaDB to store its data, so you will need to install MariaDB server on your system. You can install it using the following command:
dnf update -y
dnf install mariadb-server -y
Once MariaDB is installed, start and enable the MariaDB service using the following command:
systemctl start mariadb
systemctl enable mariadb
Next, secure the MariaDB installation and set the root password with the following command:
mysql_secure_installation
Answer all the questions as shown below:
Enter current password for root (enter for none):
OK, successfully used password, moving on...
Set root password? [Y/n] Y
New password:
Re-enter new password:
Remove anonymous users? [Y/n] Y
Disallow root login remotely? [Y/n] Y
Remove test database and access to it? [Y/n] Y
Reload privilege tables now? [Y/n] Y
Next, log in to MariaDB with the following command:
mysql -u root -p
Once you are logged in, create a database and user for Icinga 2:
CREATE DATABASE icinga;
GRANT ALL PRIVILEGES ON icinga.* TO 'icinga'@'localhost' IDENTIFIED BY 'password';
Next, flush the privileges and exit from MariaDB with the following command:
FLUSH PRIVILEGES;
EXIT;
Step 2 – Add Icinga 2 Repository
By default, Icinga 2 is not included in the Oracle Linux 8 default repo, so you will need to add the Icinga 2 repository to your system.
First, add the EPEL repository using the following command:
dnf install https://dl.fedoraproject.org/pub/epel/epel-release-latest-8.noarch.rpm
Next, create an Icinga 2 repo with the following command:
nano /etc/yum.repos.d/icinga2.repo
Add the following lines:
[icinga2]
name=Icinga 2 Repository for EPEL 8
baseurl=https://packages.icinga.com/epel/8/release
enabled=1
Save and close the file, then import the Icinga 2 key:
rpm --import https://packages.icinga.com/icinga.key
Next, clean the package cache with the following command:
dnf clean all
dnf makecache
Step 3 – Install and Configure Icinga 2
Next, install the Icinga 2 package by running the following command:
dnf install icinga2 icinga2-selinux icinga2-ido-mysql vim-icinga2 -y
After the installation, enable some required features using the following command:
icinga2 feature enable command ido-mysql syslog
Next, import the Icinga 2 database schema to the Icinga database with the following command:
mysql -u root -p icinga < /usr/share/icinga2-ido-mysql/schema/mysql.sql
Next, edit the Icinga 2 MySQL configuration file:
nano /etc/icinga2/features-available/ido-mysql.conf
Define your database settings as shown below:
 * The IdoMysqlConnection type implements MySQL support
 * for DB IDO.
 */

object IdoMysqlConnection "ido-mysql" {
  user = "icinga"
  password = "password"
  host = "localhost"
  database = "icinga"
}
Save and close the file, then start and enable the Icinga 2 service:
systemctl start icinga2
systemctl enable icinga2
You can also check the Icinga 2 service using the following command:
systemctl status icinga2
You will get the following output:
● icinga2.service - Icinga host/service/network monitoring system
   Loaded: loaded (/usr/lib/systemd/system/icinga2.service; disabled; vendor preset: disabled)
   Active: active (running) since Wed 2022-07-04 09:22:54 UTC; 4s ago
  Process: 18616 ExecStartPre=/usr/lib/icinga2/prepare-dirs /etc/sysconfig/icinga2 (code=exited, status=0/SUCCESS)
 Main PID: 18624 (icinga2)
   Status: "Startup finished."
    Tasks: 11 (limit: 11411)
   Memory: 14.2M
   CGroup: /system.slice/icinga2.service
           ├─18624 /usr/lib64/icinga2/sbin/icinga2 --no-stack-rlimit daemon --close-stdio -e /var/log/icinga2/error.log
           ├─18639 /usr/lib64/icinga2/sbin/icinga2 --no-stack-rlimit daemon --close-stdio -e /var/log/icinga2/error.log
           └─18642 /usr/lib64/icinga2/sbin/icinga2 --no-stack-rlimit daemon --close-stdio -e /var/log/icinga2/error.log
Step 4 – Install Icinga Web 2 Dashboard
Icinga Web 2 is a web-based application used for managing Icinga 2 from the web-based interface. By default, it is available in the Oracle Linux default repo.
You can run the following command to install Icinga Web 2 with Apache and other packages:
dnf install httpd icingacli icingaweb2 php-json php-ldap
Once all the packages are installed, start and enable the Apache and PHP-FPM service:
systemctl enable --now httpd
systemctl enable --now php-fpm.service
Step 5 – Access Icinga Web 2 Setup Wizard
Before starting, you will need to configure the Apache web server for Icinga Web 2. You can configure it using the following command:
icingacli setup config webserver apache
Next, generate an authentication token with the following command:
icingacli setup token create
You will get the following output:
The newly generated setup token is: a84a833dd624e6a0
Next, open your web browser and type the URL http://your-server-ip/icingaweb2/setup to access the Icinga 2 web. You should see the Icinga Web 2 welcome screen:

Type your generated token and click on the Next button. You should see the following screen:
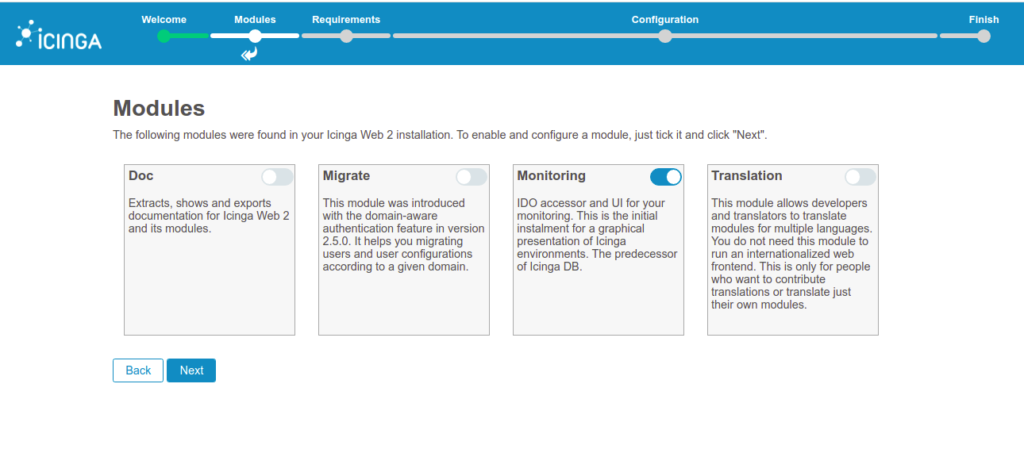
Select the desired module that you want to enable and click on the Next button. You should see the following screen:
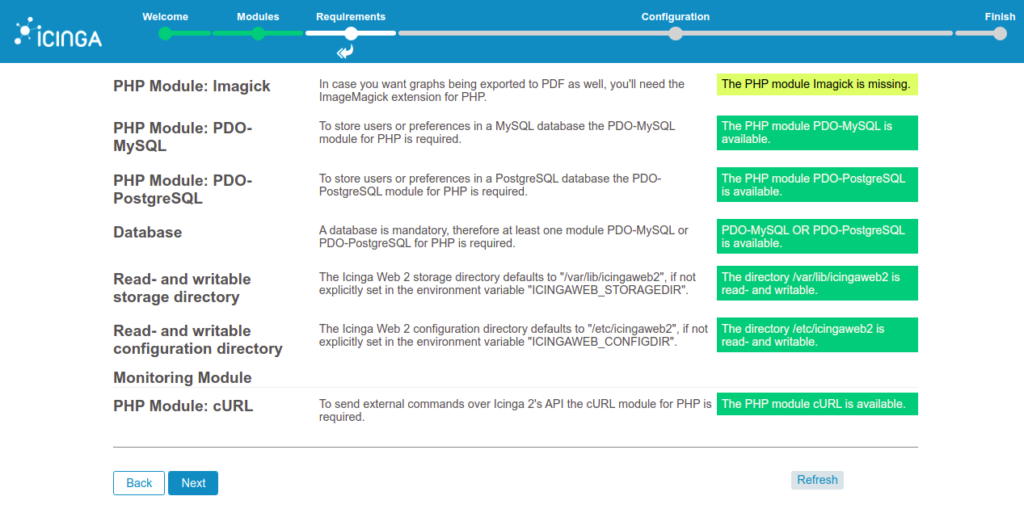
Check all the PHP extensions then click on the Next button. You should see the following screen:
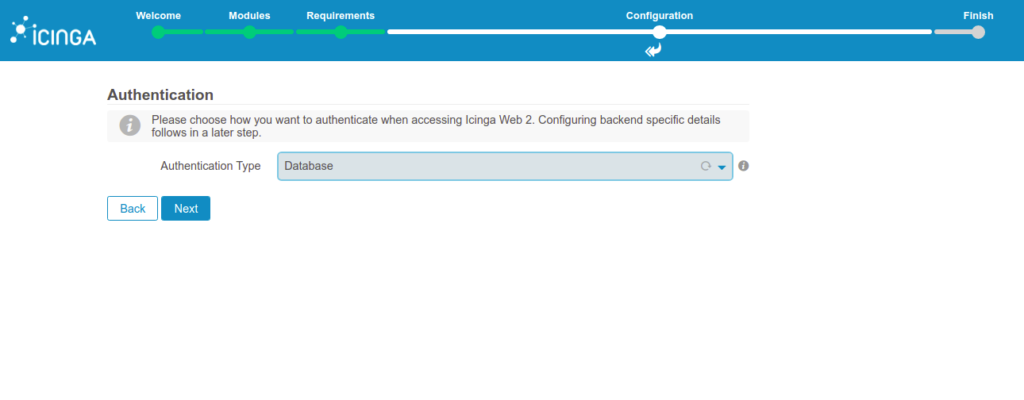
Choose your authentication type and click on the Next button. You should see the following screen:

Provide your Icinga Web 2 database name, root username, and password, and click on the Next button. You should see the following screen:
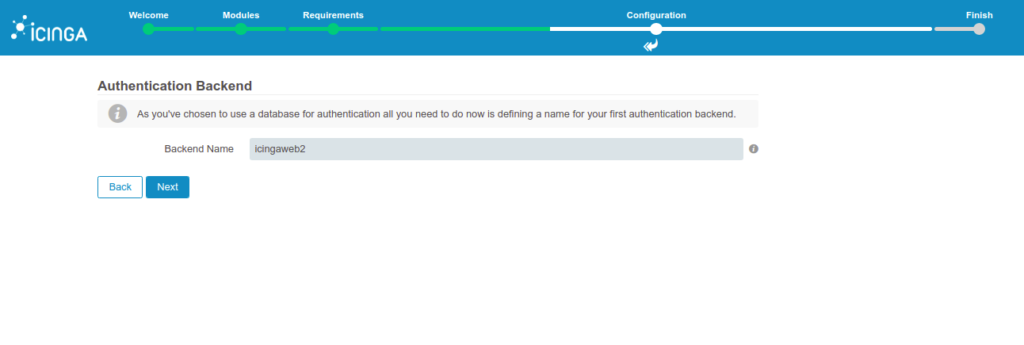
Provide your backend name and click on the Next button. You should see the following screen:
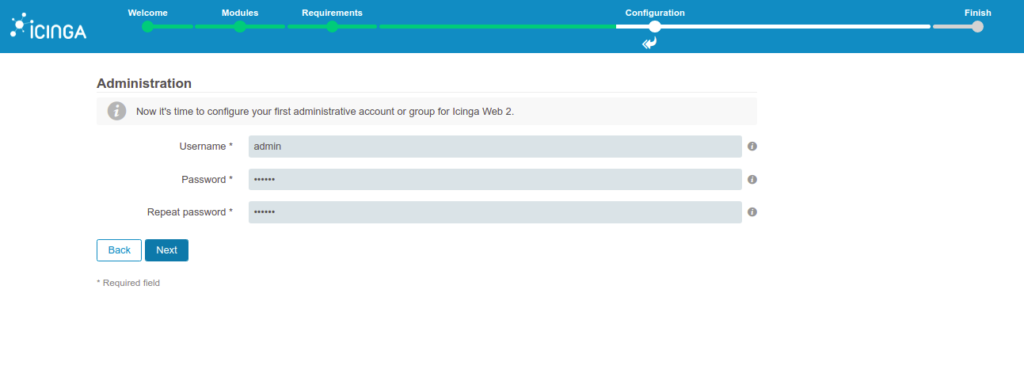
Provide your admin username and password and click on the Next button. You should see the following screen:
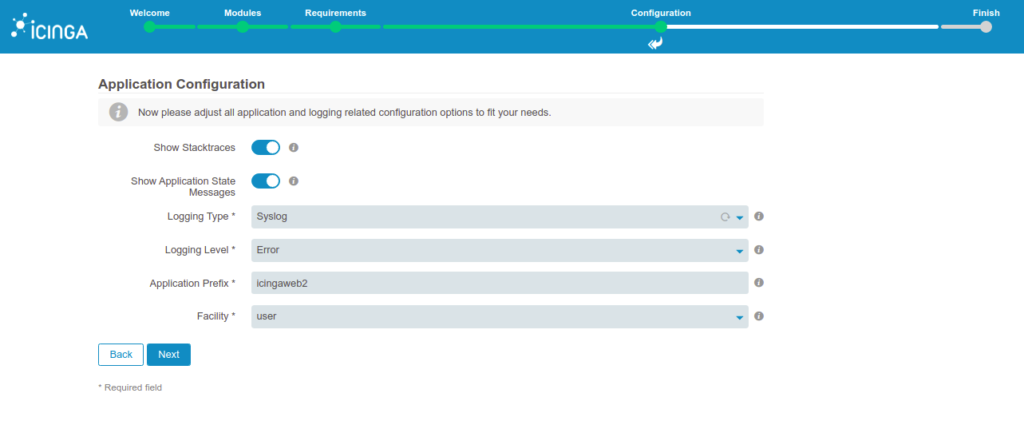
Provide your log details and click on the Next button. You should see the following screen:
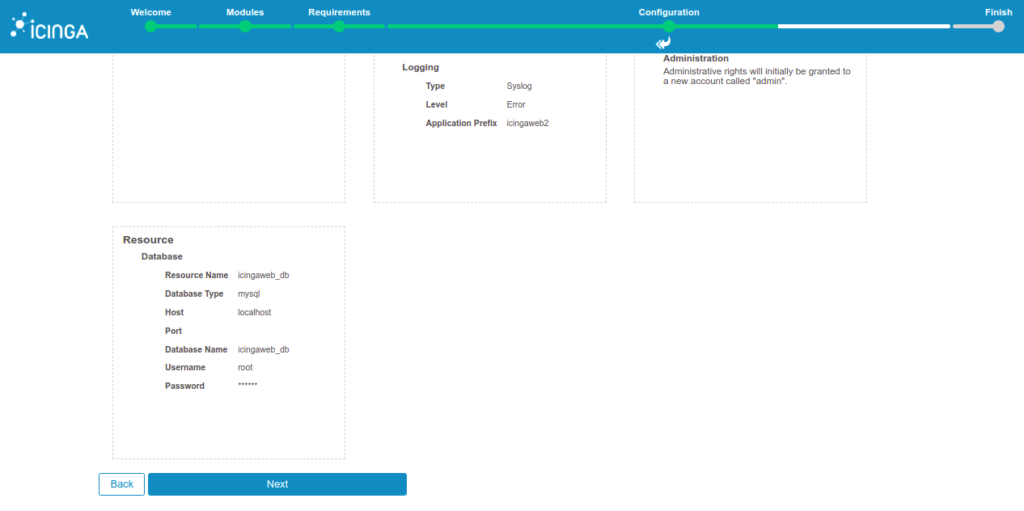
Verify all details and click on the Next button. You should see the following screen:
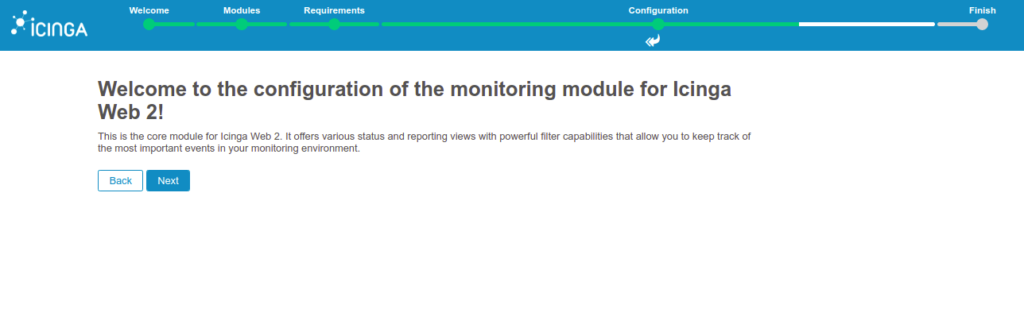
Click on the Next button. You should see the following screen:
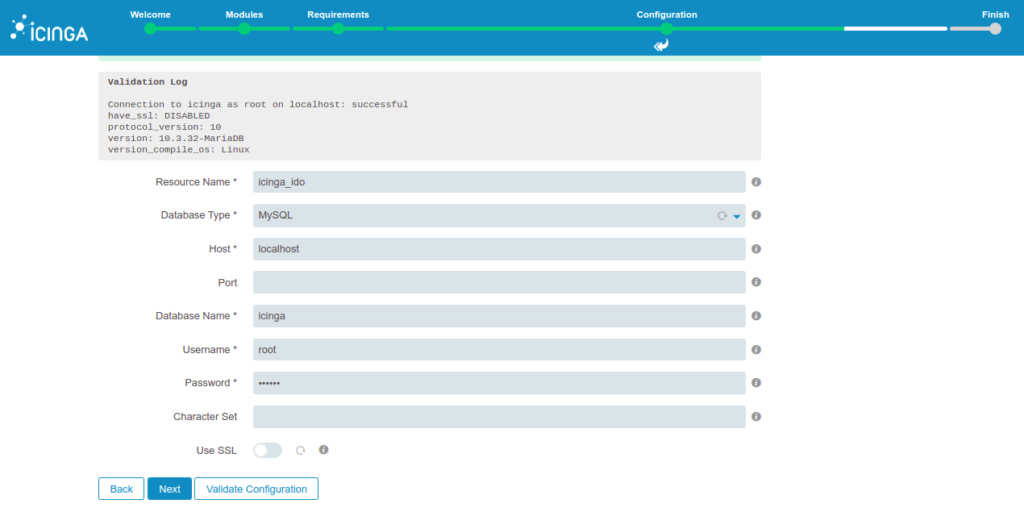
Provide your Icinga 2 database name, root username, and password, and click on the Next button. You should see the following screen:
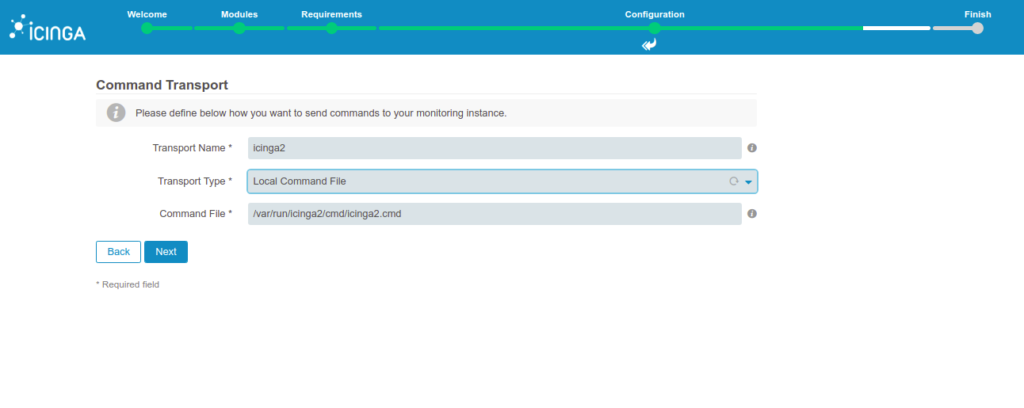
Configure the command transport and click on the Next button. You should see the following screen:
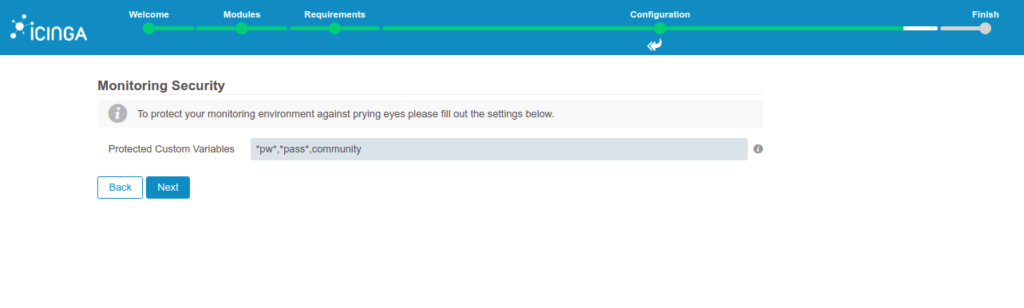
Configure monitoring security and click on the Next button. You should see the following screen:
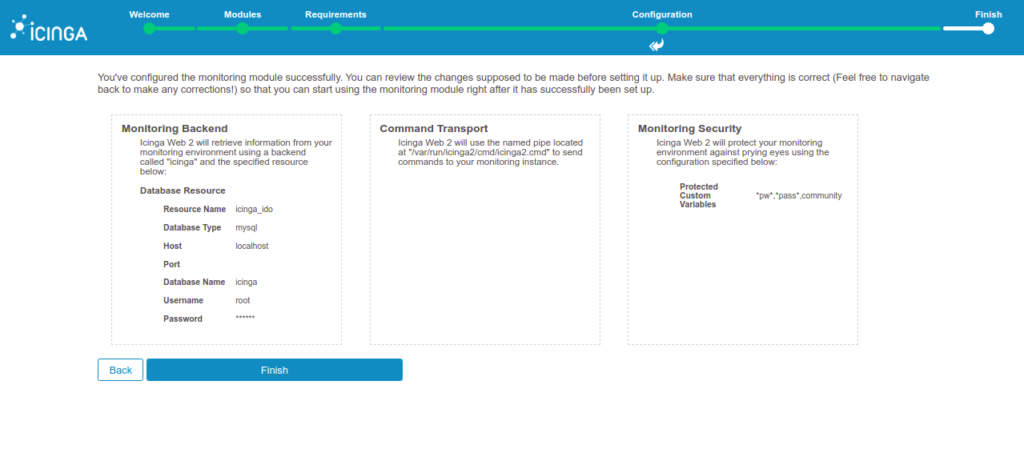
Verify all settings and click on the Next button. You should see the following screen:
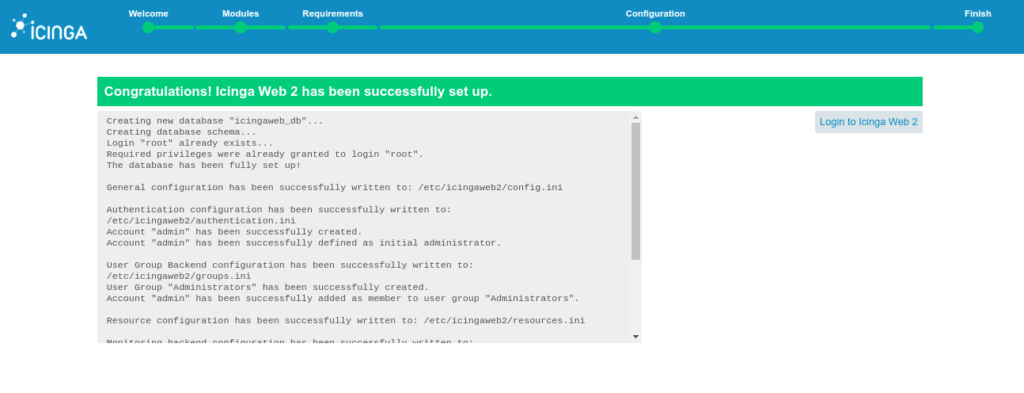
Click on the Login to Icinga Web 2 button. You should see the following screen:

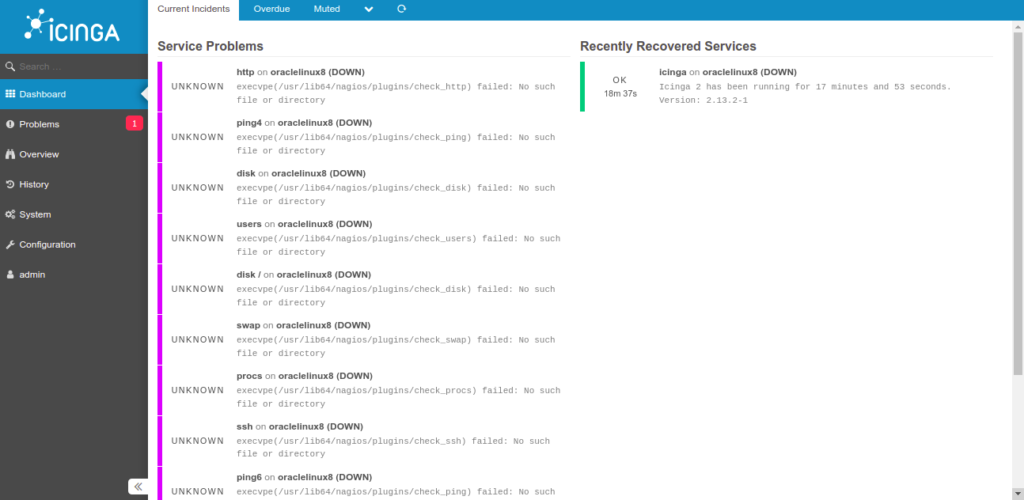
Provide your admin username and password and click on the Login button. You should see the Icinga Web 2 dashboard on the following screen:
Conclusion
In this post, we showed you how to install Icinga 2 and Icinga Web 2 on Oracle Linux 8. Now install the Icinga 2 agent on the monitoring server and desktop system and start monitoring them from the Icinga Web 2 dashboard. Give it a try on your dedicated server from Atlantic.Net!
* This post is for informational purposes only and does not constitute professional, legal, financial, or technical advice. Each situation is unique and may require guidance from a qualified professional.
Readers should conduct their own due diligence before making any decisions.