Jellyfin is a free and open-source media streaming software used to organize media content and stream it to any device. It is similar to other media streaming applications like Plex and Netflix. Jellyfin is cross-platform, and it can be accessed from a range of devices such as mobile phones, tablets, TVs, PCs and popular media devices like Roku or NVIDIA Shield. Jellyfin manages all your movies, songs, photos, and podcasts from a central location and streams them to other devices.
In this post, we will show you how to install the Jellyfin media server on Rocky Linux 8.
Step 1 – Install Required Repository
By default, the Jellyfin media package is not included in the Rocky Linux 8 default repo, so you will need to add the EPEL, RPM Fusion, and Power Tools repo to your system.
You can install all of these using the following commands:
dnf update -y
dnf install epel-release -y
dnf install https://download1.rpmfusion.org/free/el/rpmfusion-free-release-8.noarch.rpm https://download1.rpmfusion.org/nonfree/el/rpmfusion-nonfree-release-8.noarch.rpm
dnf config-manager --enable powertools
Next, install the SDL2 and FFmpeg packages with the following command:
dnf install -y SDL2 ffmpeg ffmpeg-devel
Once all the required packages are installed, you can move to the next step.
Also Read
How to Compare Two Files in Linux Terminal
Step 2 – Install Jellyfin Media Server
Now, run the following command to install the Jellyfin media server to your system.
dnf install https://repo.jellyfin.org/releases/server/centos/stable/server/jellyfin-10.7.7-1.el7.x86_64.rpm https://repo.jellyfin.org/releases/server/centos/stable/server/jellyfin-server-10.7.7-1.el7.x86_64.rpm https://repo.jellyfin.org/releases/server/centos/stable/web/jellyfin-web-10.7.7-1.el7.noarch.rpm
Once the Jellyfin package is installed, start the Jellyfin service and enable it to start at system reboot:
systemctl start jellyfin
systemctl enable jellyfin
You can now verify the status of Jellyfin using the following command:
systemctl status jellyfin
You will get the following output:
● jellyfin.service - Jellyfin is a free software media system that puts you in control of managing and streaming your media.
   Loaded: loaded (/usr/lib/systemd/system/jellyfin.service; enabled; vendor preset: disabled)
  Drop-In: /etc/systemd/system/jellyfin.service.d
           └─override.conf
   Active: active (running) since Wed 2022-02-16 15:49:18 UTC; 10s ago
 Main PID: 2469 (jellyfin)
    Tasks: 20 (limit: 11412)
   Memory: 108.9M
   CGroup: /system.slice/jellyfin.service
           └─2469 /usr/lib64/jellyfin/jellyfin --webdir=/usr/share/jellyfin-web --restartpath=/usr/libexec/jellyfin/restart.sh

Feb 16 15:49:22 linux jellyfin[2469]: [15:49:22] [WRN] [4] Jellyfin.Networking.Manager.NetworkManager: 127.0.0.1/32: GetBindInterface: Loopba>
Feb 16 15:49:22 linux jellyfin[2469]: [15:49:22] [INF] [4] Emby.Server.Implementations.ApplicationHost: Executed all pre-startup entry points>
Feb 16 15:49:22 linux jellyfin[2469]: [15:49:22] [INF] [4] Emby.Server.Implementations.ApplicationHost: Core startup complete
Feb 16 15:49:22 linux jellyfin[2469]: [15:49:22] [INF] [4] Emby.Server.Implementations.ApplicationHost: Executed all post-startup entry point>
Feb 16 15:49:22 linux jellyfin[2469]: [15:49:22] [INF] [4] Main: Startup complete 0:00:03.9283628
Feb 16 15:49:24 linux jellyfin[2469]: [15:49:24] [INF] [9] Emby.Server.Implementations.ScheduledTasks.TaskManager: StartupTrigger fired for t>
Feb 16 15:49:24 linux jellyfin[2469]: [15:49:24] [INF] [9] Emby.Server.Implementations.ScheduledTasks.TaskManager: Queuing task PluginUpdateT>
Feb 16 15:49:24 linux jellyfin[2469]: [15:49:24] [INF] [4] Emby.Server.Implementations.ScheduledTasks.TaskManager: Executing Update Plugins
Feb 16 15:49:25 linux jellyfin[2469]: [15:49:25] [INF] [9] Emby.Server.Implementations.ScheduledTasks.TaskManager: Update Plugins Completed a>
Feb 16 15:49:25 linux jellyfin[2469]: [15:49:25] [INF] [9] Emby.Server.Implementations.ScheduledTasks.TaskManager: ExecuteQueuedTasks
Also Read
How to Remove Files and Directories in Linux
Step 3 – Access Jellyfin Web Installation Wizard
At this point, Jellyfin is installed and listens on port 8096. You can now check the listening port with the following command:
ss -antpl | grep 8096
You will get the following output:
LISTEN 0 128 0.0.0.0:8096 0.0.0.0:* users:(("jellyfin",pid=2469,fd=289))
Now, open your web browser and access the Jellyfin web interface using the URL http://your-server-ip:8096. You will be redirected to the following screen:
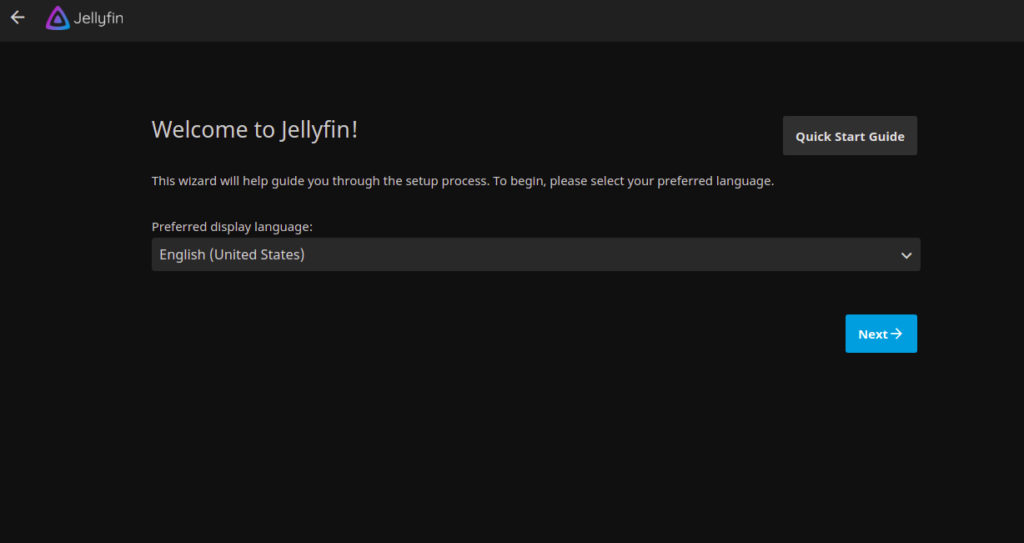
Select your language and click on the Next button. You should see the following screen:
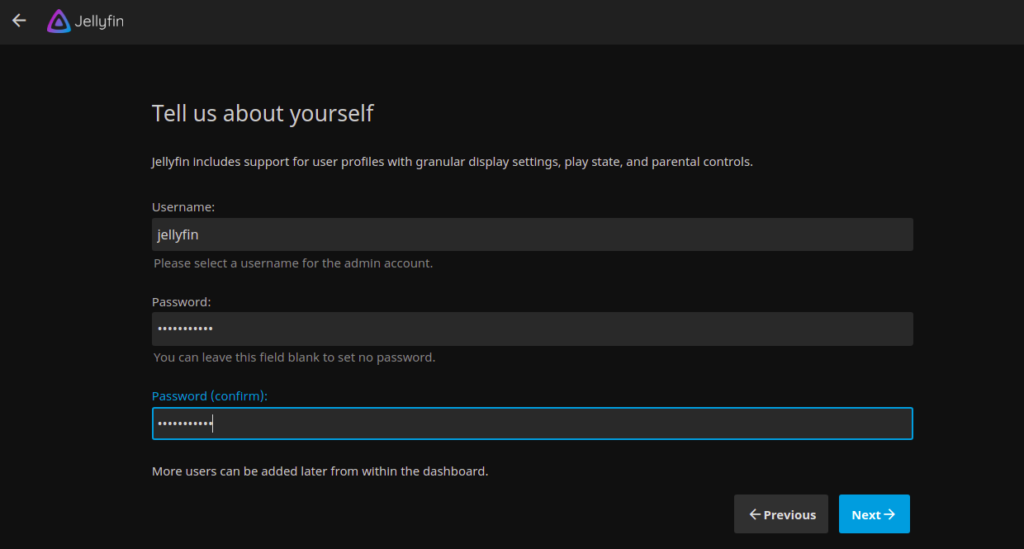
Provide your Jellyfin admin username and password and click on the Next button. You should see the following screen:
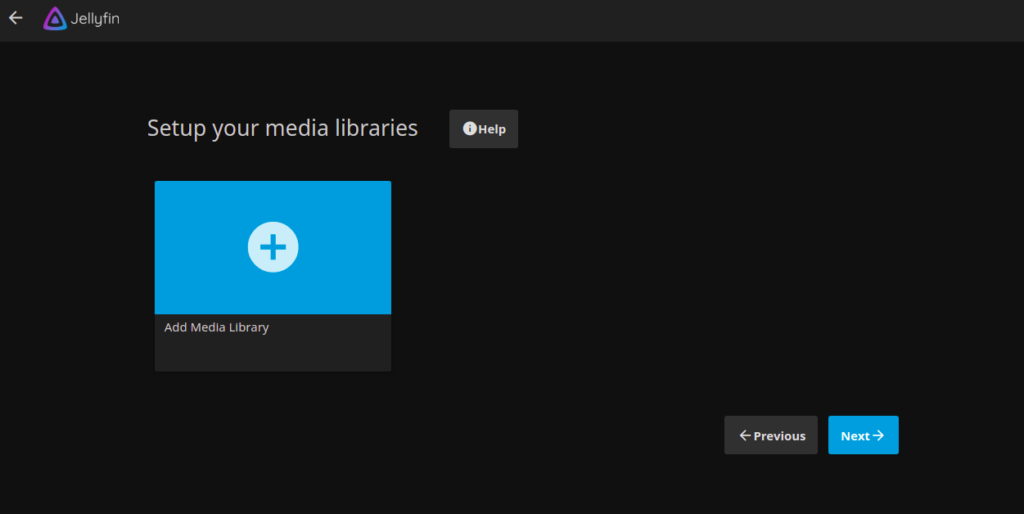
Click on the Next button. You should see the following screen:
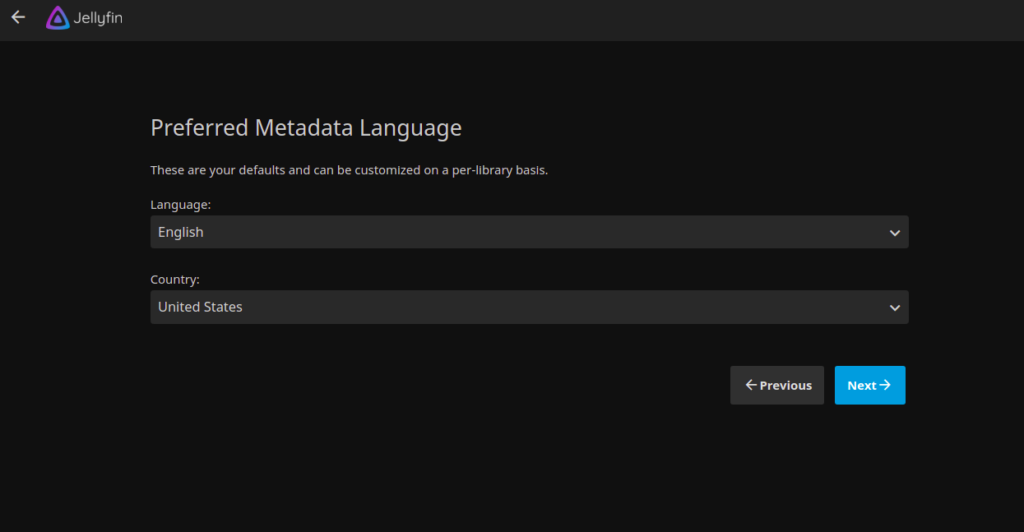
Select your metadata language and click on the Next button. You should see the following screen:
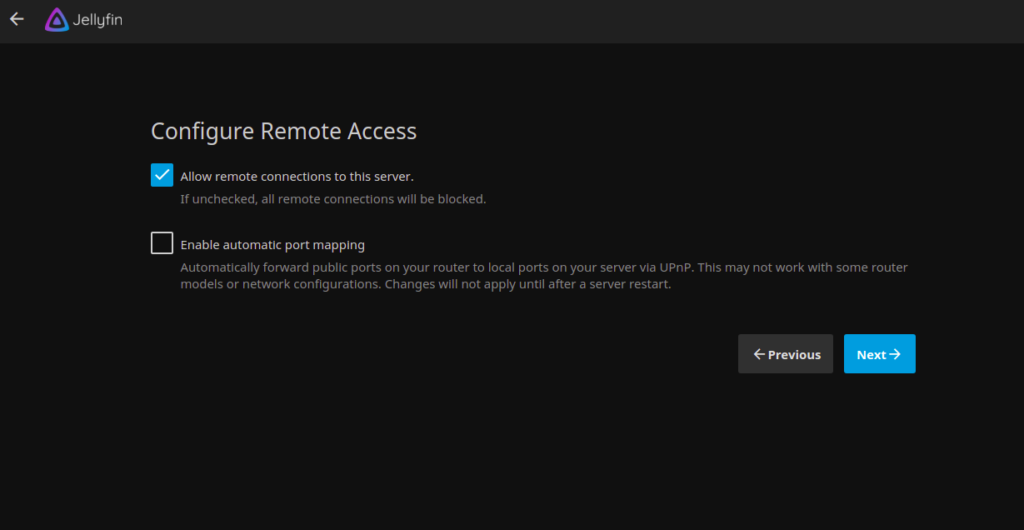
Configure remote access and click on the Next button. Once the installation is finished, you should see the following screen:
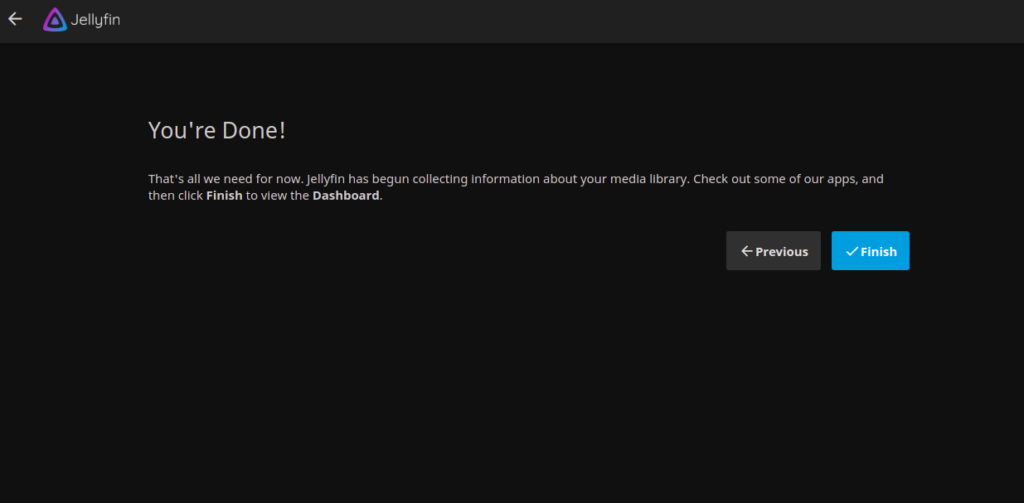
Click on the Finish button. You should see the Jellyfin login screen:
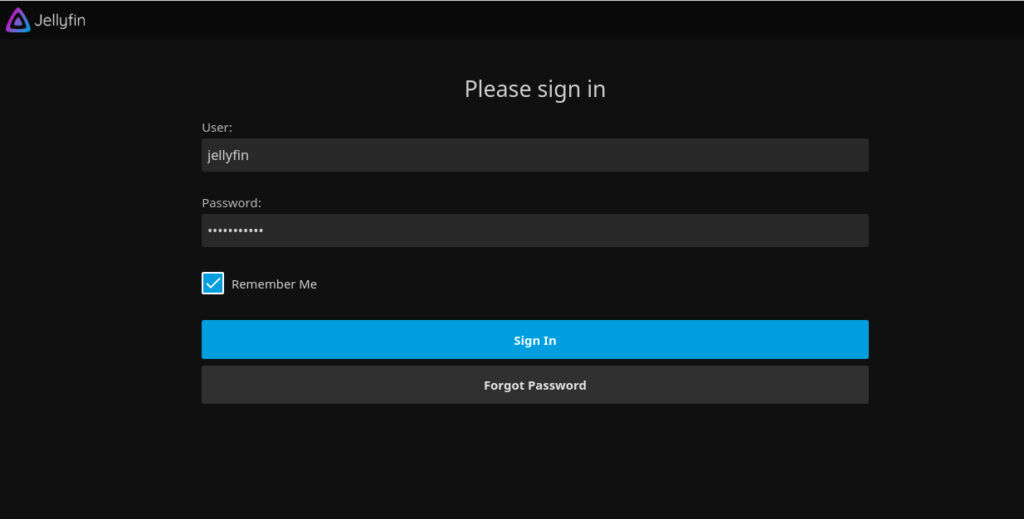
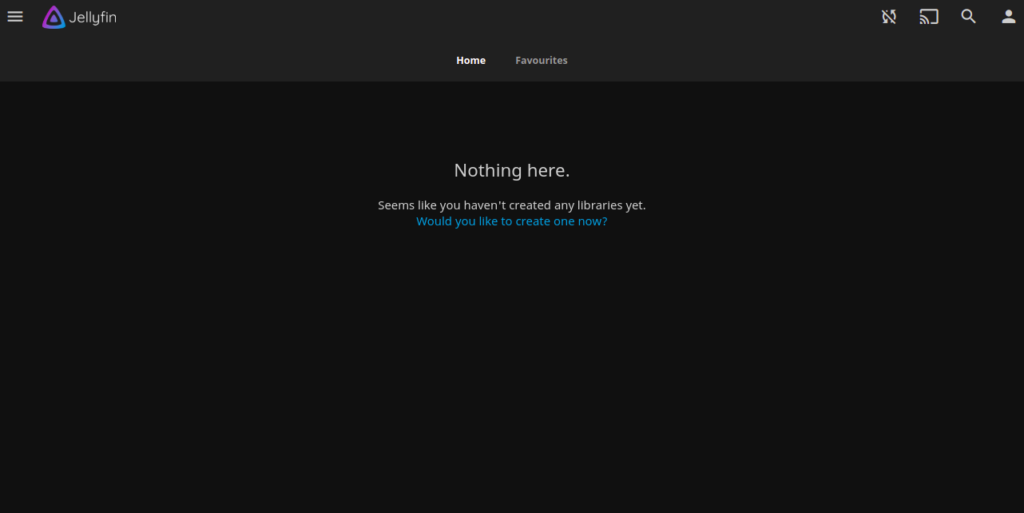
Provide your admin username, password, and click on the Sign In button. You should see the Jellyfin dashboard on the following screen:
Conclusion
In this guide, we explained how to install the Jellyfin media streaming server on Rocky Linux 8. Now, add your movies and other media to the Jellyfin media library and start streaming them from remote devices. Try installing a media server on a dedicated server from Atlantic.Net!