phpMyAdmin is a management console for MySQL and MariaDB database. It allows users to interact with MySQL and MariaDB via a web browser. It is designed for users who are not familiar with MySQL command line. You can use phpMyAdmin to browse, create, edit and delete tables, as well as modify columns and data from the central place.
In this post, we will show you how to install phpMyAdmin on Arch Linux.
Step 1 – Configure Repository
By default, the default repository is outdated in Arch Linux, so you will need to modify the default mirror list if you have not done so already. You can do it by editing the mirrorlist configuration file:
nano /etc/pacman.d/mirrorlist
Remove all lines and add the following lines:
## Score: 0.7, United States
Server = http://mirror.us.leaseweb.net/archlinux/$repo/os/$arch
## Score: 0.8, United States
Server = http://lug.mtu.edu/archlinux/$repo/os/$arch
Server = http://mirror.nl.leaseweb.net/archlinux/$repo/os/$arch
## Score: 0.9, United Kingdom
Server = http://mirror.bytemark.co.uk/archlinux/$repo/os/$arch
## Score: 1.5, United Kingdom
Server = http://mirrors.manchester.m247.com/arch-linux/$repo/os/$arch
Server = http://archlinux.dcc.fc.up.pt/$repo/os/$arch
## Score: 6.6, United States
Server = http://mirror.cs.pitt.edu/archlinux/$repo/os/$arch
## Score: 6.7, United States
Server = http://mirrors.acm.wpi.edu/archlinux/$repo/os/$arch
## Score: 6.8, United States
Server = http://ftp.osuosl.org/pub/archlinux/$repo/os/$arch
## Score: 7.1, India
Server = http://mirror.cse.iitk.ac.in/archlinux/$repo/os/$arch
## Score: 10.1, United States
Server = http://mirrors.xmission.com/archlinux/$repo/os/$arch
Save and close the file, then update all the package indexes with the following command:
pacman -Syu
Step 2 – Install Apache Web Server
First, you will need to install the Apache web server package on your server. You can install it using the following command:
pacman -S apache
Once Apache is installed, start and enable the Apache service with the following command:
systemctl start httpd
systemctl enable httpd
You can verify the Apache status using the following command:
systemctl status httpd
Step 3 – Install MySQL Server
Next, you will need to install the MySQL database server on your server. You can install it with the following command:
pacman -S mysql
Once MySQL is installed, initialize the MySQL database with the following command:
mysql_install_db --user=mysql --basedir=/usr --datadir=/var/lib/mysql
Next, start and enable the MySQL service using the following command:
systemctl enable mysqld
systemctl start mysqld
Next, run the following command to secure the MySQL installation and set the root password:
mysql_secure_installation
Answer all the questions as shown below:
Switch to unix_socket authentication [Y/n] Y
Change the root password? [Y/n] Y
New password:
Re-enter new password:
Remove anonymous users? [Y/n] Y
Disallow root login remotely? [Y/n] Y
Remove test database and access to it? [Y/n] Y
Reload privilege tables now? [Y/n] Y
Step 4 – Install PHP
Next, you will also need to install PHP on your server. You can install it with the following command:
pacman -S php php-apache
Once PHP is installed, edit the PHP configuration file:
nano /etc/php/php.ini
Add the following lines to enable the required extensions:
extension=bz2.so
extension=mcrypt.so
extension=mysqli.so
Save and close the file when you are finished.
Step 5 – Install phpMyAdmin
By default, the phpMyAdmin package is included in the Arch Linux default repository. You can install it with the following command:
pacman -S phpmyadmin
Next, edit the phpMyAdmin configuration file and define the blowfish secret.
nano /etc/webapps/phpmyadmin/config.inc.php
Change the following line:
$cfg['blowfish_secret'] = 'My_Secret';
Save and close the file when you are done.
Step 6 – Configure Apache for phpMyAdmin
Next, edit the Apache default configuration file:
nano /etc/httpd/conf/httpd.conf
Comment out the following line:
#LoadModule mpm_event_module modules/mod_mpm_event.so
Uncomment the following line:
LoadModule mpm_prefork_module modules/mod_mpm_prefork.so
Add the following lines:
LoadModule php_module modules/libphp.so
AddHandler php7-script php
Include conf/extra/php_module.conf
Include conf/extra/phpmyadmin.conf
Save and close the file, then create an Apache virtual host configuration file:
nano /etc/httpd/conf/extra/phpmyadmin.conf
Add the following lines:
Alias /phpmyadmin "/usr/share/webapps/phpMyAdmin"
 <Directory "/usr/share/webapps/phpMyAdmin">
  DirectoryIndex index.php
  AllowOverride All
  Options FollowSymlinks
  Require all granted
 </Directory>
Save and close the file, then restart the Apache service to apply the changes:
systemctl restart httpd
Step 7 – Access phpMyAdmin Web Interface
Now, open your web browser and access the phpMyAdmin web interface using the URL http://your-server-ip/phpmyadmin. You should see the phpMyAdmin login page:
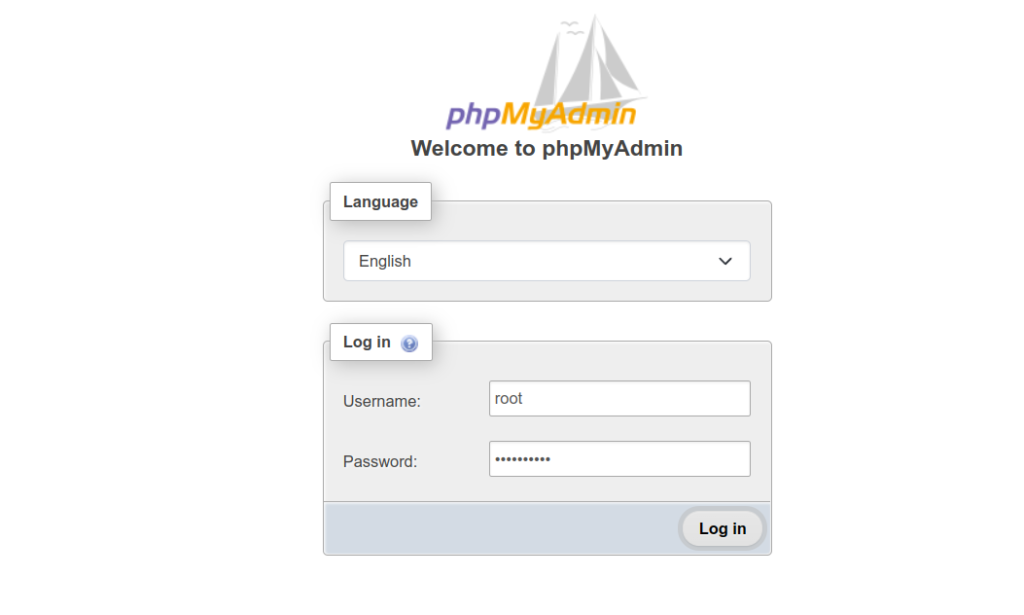
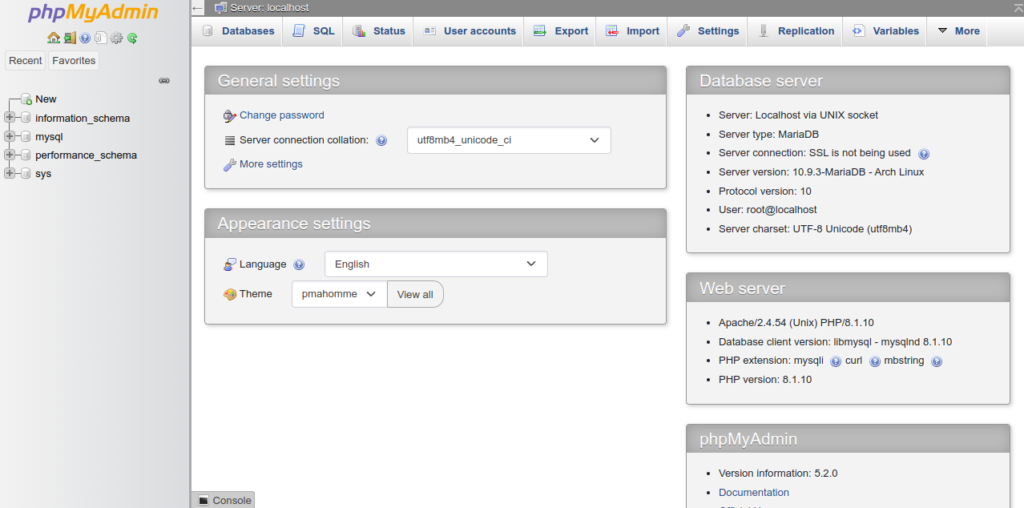
Provide your MySQL root user and password and click on the Login button. You should see the phpMyAdmin dashboard on the following screen:
Conclusion
In this post, we explained how to install phpMyAdmin on Arch Linux. You can now use phpMyAdmin to interact with MySQL and perform several tasks via a web browser. You can now try to deploy phpMyAdmin on dedicated hosting from Atlantic.Net!
* This post is for informational purposes only and does not constitute professional, legal, financial, or technical advice. Each situation is unique and may require guidance from a qualified professional.
Readers should conduct their own due diligence before making any decisions.