phpMyAdmin is an open-source tool used to manage databases via the web interface. It is written in PHP and was built to handle the administration of MySQL over the Internet. Creating and managing a database manually is very difficult for any beginner user. In that case, phpMyAdmin helps users to create and manage databases and execute database queries via a GUI interface.
This tutorial will show you how to install phpMyAdmin on Fedora 34.
Step 1 – Install the LAMP Server
First, install the Apache and MariaDB server with the following command.
dnf install httpd mariadb-server -y
Once both packages are installed, start and enable the MariaDB service with the following command.
systemctl start httpd mariadb
systemctl enable httpd mariadb
Next, install the PHP Remi repository with the following command.
dnf install -y http://rpms.remirepo.net/fedora/remi-release-34.rpm
Next, enable the PHP Remi repo with the following command.
dnf module enable -y php:remi-8.1
Then, install PHP with other required extensions using the following command.
dnf install php php-fpm php-mysqlnd php-opcache php-gd php-xml php-mbstring php-curl php-pecl-imagick
Step 2 – Secure the MariaDB Installation
Next, you must set the MariaDB root password and secure the installation. You can do it with the following command.
mysql_secure_installation
Answer all the questions as shown below:
Change the root password? [Y/n] Y
New password:
Re-enter new password:
Remove anonymous users? [Y/n] Y
Disallow root login remotely? [Y/n] Y
Remove test database and access to it? [Y/n] Y
Reload privilege tables now? [Y/n] Y
Step 3 – Install phpMyAdmin
By default, the phpMyAdmin package is not included in the Fedora 34 default repo, so you will need to install it from the Remi repo. Run the following command to install the phpMyAdmin to your server.
dnf --enablerepo=remi,remi-test install phpMyAdmin
Once the phpMyAdmin is installed, you can verify the phpMYAdmin package information with the following command.
rpm -qi phpMyAdmin
You will get the following output.
Name        : phpMyAdmin
Version     : 5.2.0
Release     : 1.fc34.remi
Architecture: noarch
Install Date: Thursday 13 April 2023 11:52:18 PM
Group       : Unspecified
Size        : 46210128
License     : GPLv2+ and MIT and BSD and LGPLv3 and MPLv2.0
Signature   : RSA/SHA256, Thursday 12 May 2022 01:30:06 AM, Key ID b19527f1478f8947
Source RPM  : phpMyAdmin-5.2.0-1.fc34.remi.src.rpm
Build Date  : Thursday 12 May 2022 01:27:46 AM
Build Host  : builder.remirepo.net
Packager    : Remi Collet
Vendor      : Remi's RPM repository <https://rpms.remirepo.net/>
URL         : https://www.phpmyadmin.net/
Bug URL     : https://forum.remirepo.net/
Summary     : A web interface for MySQL and MariaDB
Description :
phpMyAdmin is a tool written in PHP intended to handle the administration of
MySQL over the Web. Currently it can create and drop databases,
create/drop/alter tables, delete/edit/add fields, execute any SQL statement,
manage keys on fields, manage privileges,export data into various formats and
is available in 50 languages
Step 4 – Configure Apache for phpMyAdmin
By default, phpMYAdmin is accessible only from the local machine. To access the phpMyAdmin from the remote machine, you will need to edit the phpMYAdmin configuration file and make some changes.
nano /etc/httpd/conf.d/phpMyAdmin.conf
Find the following line:
Require local
And replace it with the following line:
Require all granted
Save and close the file, then restart the Apache service to apply the changes.
systemctl restart httpd
Step 5 – Access phpMyAdmin
Now, open your web browser and access the phpMyAdmin using the URL http://your-server-ip/phpmyadmin. You should see the phpMyAdmin login page.
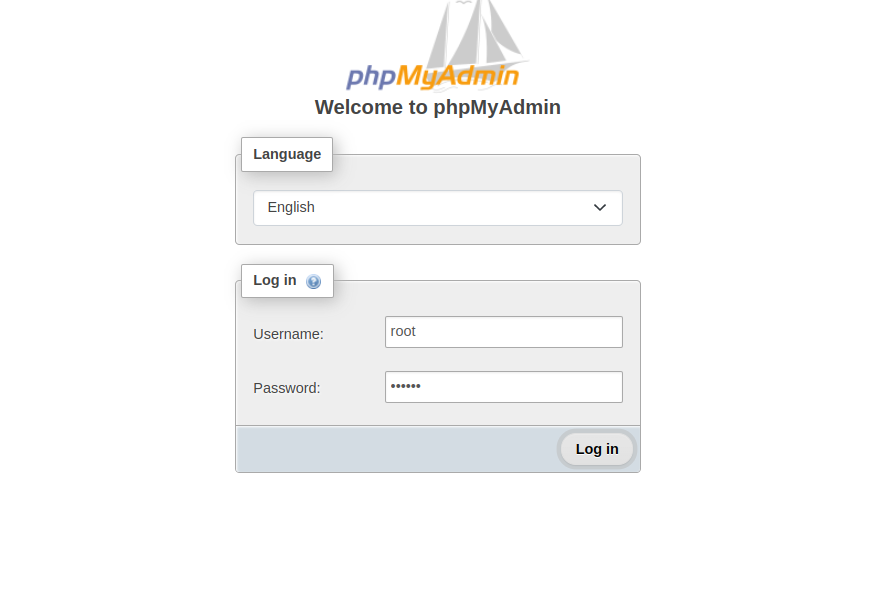
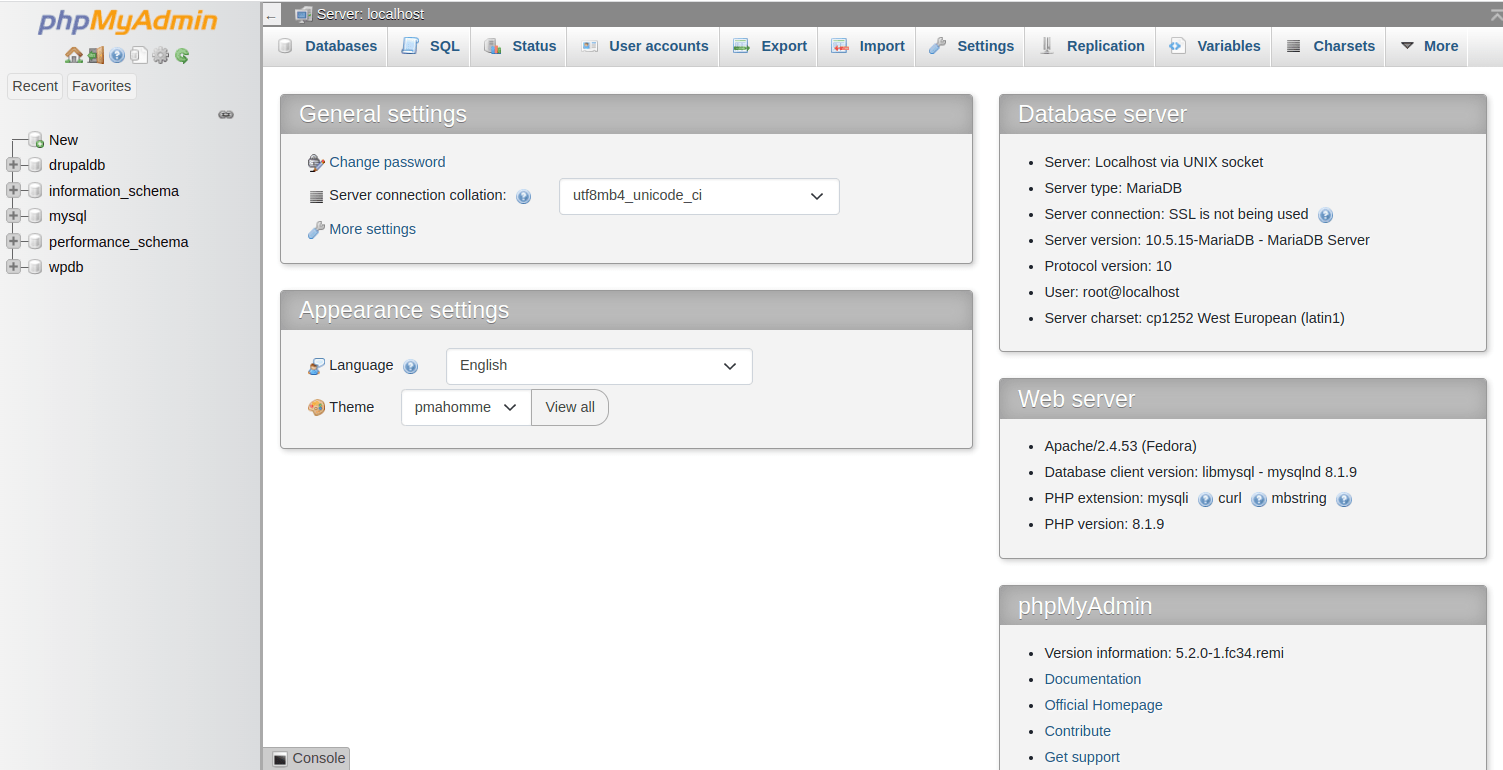
Type your MariaDB root username and password and click on the Login button. You should see the phpMyAdmin dashboard on the following screen.
Conclusion
In this tutorial, we explained how to install phpMyAdmin with Apache on Fedora 34. You can now create and manage the MariaDB database via the phpMyAdmin dashboard. Try to deploy phpMyAdmin on dedicated server hosting from Atlantic.Net!
* This post is for informational purposes only and does not constitute professional, legal, financial, or technical advice. Each situation is unique and may require guidance from a qualified professional.
Readers should conduct their own due diligence before making any decisions.