Redmine is a free and open-source project management software solution for Linux. It is a web-based issue tracking tool that allows you to manage multiple projects and associated subprojects. It can be integrated with various version control systems and also provides a repository browser. Redmine is written in the Ruby on Rails framework, is cross-platform, and supports 49 languages. It is very useful in daily work for handling tasks like tracking customer complaints, application failure, and project management.
In this guide, we will explain how to install the Redmine project management system on Rocky Linux 8.
Step 1 – Install Apache and MariaDB Database
First, you will need to install the Apache webserver and MariaDB database server to your system. You can install them using the following command:
dnf update -y
dnf install httpd mariadb-server -y
Once both packages are installed, start and enable both services with the following command:
systemctl start httpd mariadb
systemctl enable httpd mariadb
Step 2 – Create a Database for Redmine
Redmine uses MySQL/MariaDB as a database backend, so you will need to create a database and user for Redmine.
First, log in to the MariaDB shell with the following command:
mysql
Once you are logged in, create a database and user with the following command:
create database redmine;
grant all on redmine.* to redmine@localhost identified by 'securepassword';
Next, flush the privileges and exit from the MariaDB shell with the following command:
flush privileges;
quit;
Step 3 – Install Redmine Dependencies
Next, you will need to install the EPEL repository and other dependencies required for Redmine on your system.
First, install the EPEL repo with the following command:
dnf install epel-release -y
Next, enable the PowerTools repo with the following command:
dnf config-manager --set-enabled powertools
Next, install other required dependencies using the following command:
dnf install ruby ruby-devel vim make openssl-devel automake rpm-build wget libxml2-devel libtool ImageMagick ImageMagick-devel mariadb-devel gcc httpd-devel libcurl-devel gcc-c++ -y
Once all the dependencies are installed, you can proceed to the next step.
Step 4 – Install and Configure Redmine
First, create a dedicated user for Redmine using the following command:
useradd -r -m -d /opt/redmine redmine
Next, add a Redmine user to the Apache group with the following command:
usermod -a -G redmine apache
Next, download the latest version of Redmine with the following command:
wget https://www.redmine.org/releases/redmine-4.2.2.tar.gz
Next, extract the downloaded file to the /opt with the following command:
tar xzf redmine-4.2.2.tar.gz -C /opt/redmine/ --strip-components=1
Next, change the ownership of the /opt/redmine directory to redmine:
chown -R redmine:redmine /opt/redmine/
Next, switch the user to redmine with the following command:
su - redmine
Next, copy all sample configuration files with the following command:
cp config/configuration.yml{.example,}
cp public/dispatch.fcgi{.example,}
cp config/database.yml{.example,}
Next, edit the database configuration file:
nano config/database.yml
Define your database credentials as shown below:
production:
  adapter: mysql2
  database: redmine
  host: localhost
  username: redmine
  password: "securepassword"
  # Use "utf8" instead of "utfmb4" for MySQL prior to 5.7.7
  encoding: utf8mb4
Next, install required modules with the following command:
gem install bundler --no-rdoc --no-ri
bundle install --without development test postgresql sqlite --path vendor/bundle
Next, generate a secret token with the following command:
bundle exec rake generate_secret_token
Next, migrate the database with the following command:
RAILS_ENV=production bundle exec rake db:migrate
RAILS_ENV=production REDMINE_LANG=en bundle exec rake redmine:load_default_data
Next, verify the Redmine installation with the following command:
bundle exec rails server webrick -e production
If everything is fine, you should get the following output:
=> Booting WEBrick
=> Rails 5.2.6 application starting in production on http://0.0.0.0:3000
=> Run `rails server -h` for more startup options
[2021-09-22 12:18:01] INFO  WEBrick 1.4.2.1
[2021-09-22 12:18:01] INFO  ruby 2.5.9 (2021-04-05) [x86_64-linux]
[2021-09-22 12:18:01] INFO  WEBrick::HTTPServer#start: pid=35515 port=3000
Next, press CTRL+C to stop the server.
Next, install the passenger and apache module with the following command:
gem install passenger --no-rdoc --no-ri


passenger-install-apache2-module

Note: this process will take around 15 minutes to complete
Next, exit from the Redmine user with the following command:
exit
Step 5 – Configure Apache for Redmine
Next, you will need to configure Apache for Redmine.
First, create a passenger configuration file:
nano /etc/httpd/conf.modules.d/00-passenger.conf
Add the following lines:
   LoadModule passenger_module /opt/redmine/.gem/ruby/gems/passenger-6.0.10/buildout/apache2/mod_passenger.so
   <IfModule mod_passenger.c>
     PassengerRoot /opt/redmine/.gem/ruby/gems/passenger-6.0.10
     PassengerDefaultRuby /usr/bin/ruby
   </IfModule>
Save and close the file, then create an Apache virtual host configuration file for Redmine:
nano /etc/httpd/conf.d/redmine.conf
Add the following lines:
Listen 3000
<IfModule mod_passenger.c>
     PassengerRoot /opt/redmine/.gem/ruby/gems/passenger-6.0.10
  PassengerDefaultRuby /usr/bin/ruby
</IfModule>
<VirtualHost *:3000>
    ServerName redmine.example.com
    DocumentRoot "/opt/redmine/public"

    CustomLog logs/redmine_access.log combined
    ErrorLog logs/redmine_error_log
    LogLevel warn

    <Directory "/opt/redmine/public">
        Options Indexes ExecCGI FollowSymLinks
        Require all granted
        AllowOverride all
    </Directory>
</VirtualHost>
Save and close the file, then restart the Apache service to apply the changes:
systemctl restart httpd
Step 6 – Access Redmine Web UI
At this point, Redmine is started and listening on port 3000. You can access it using the URL http://redmine.example.com:3000/. You will be redirected to the following page:
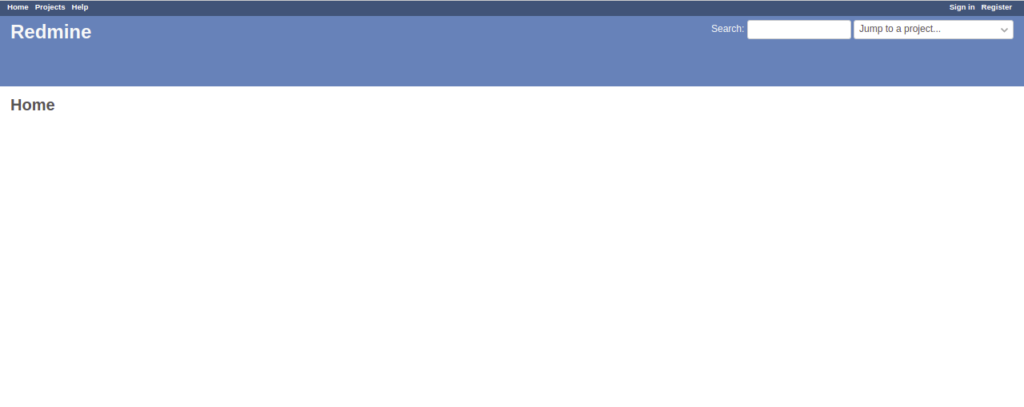
Click on the Sign in button. You should see the following page:
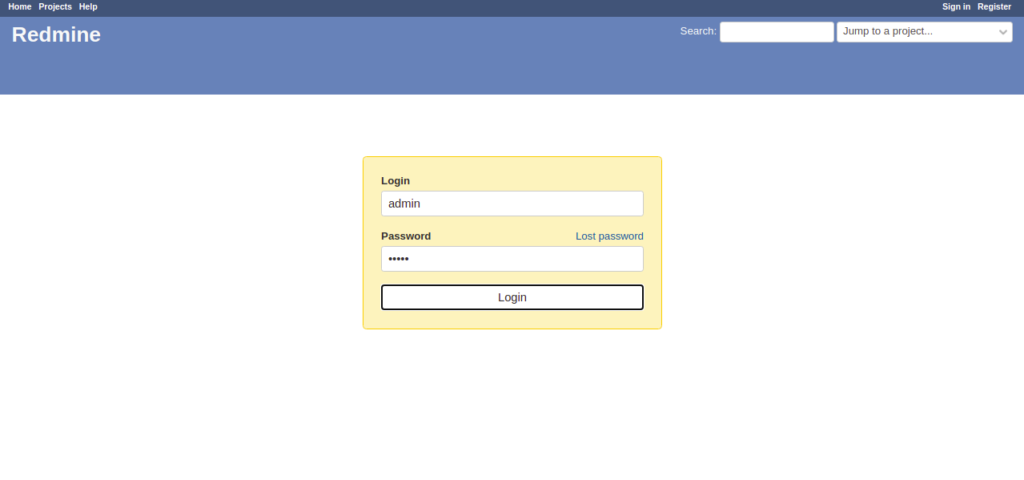
Provide default username and password as admin/admin and click on the Login button. You should see the Redmine password reset screen on the following page:
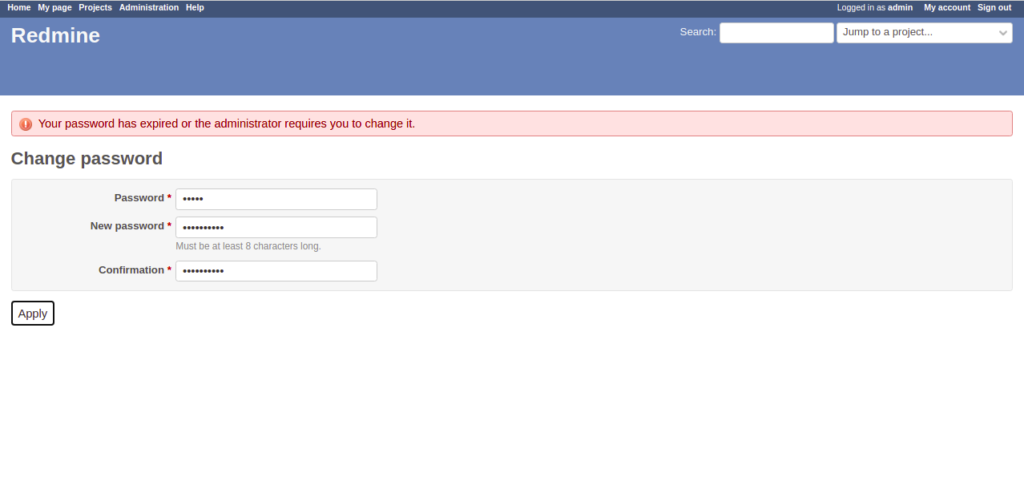
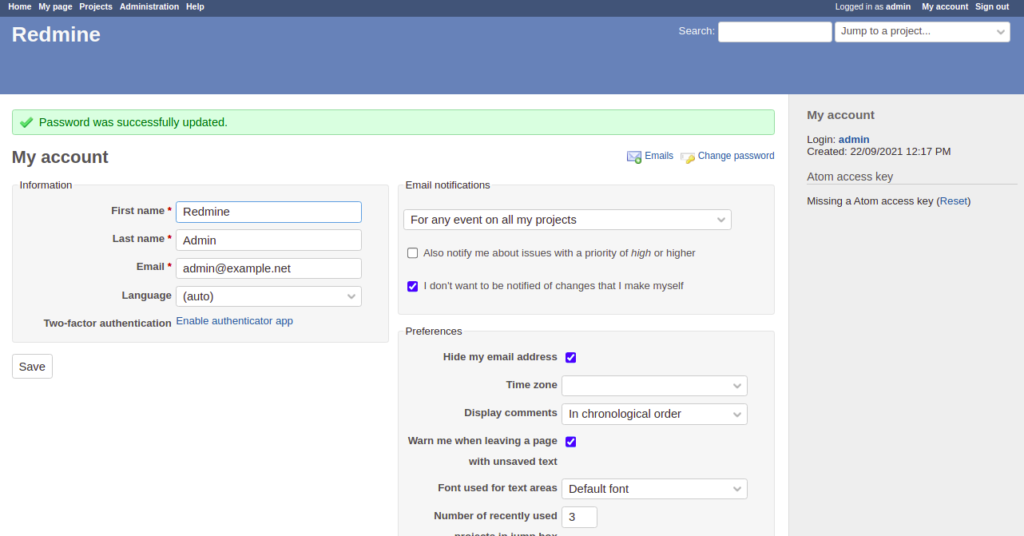
Set your new password and click on the Apply button. You should see the Redmine dashboard on the following page:
Conclusion
Congratulations! You have successfully installed Redmine on RockyLinux 8. You can now track and manage your project easily through the web browser. Try it on dedicated hosting from Atlantic.Net!