Webmin is a free, open-source, and web-based control panel that allows the system administrators to manage a Linux server from a web browser. It supports a wide range of Linux distributions including Linux, Solaris, FreeBSD, and more. With Webmin, you can do many things including package management, network configuration, and performance monitoring, user account creation, file management, firewall management, and more. It has become a good open-source alternative for cPanel.
In this post, we will show you how to install Webmin on Rocky Linux 8.
Step 1 – Install Webmin
By default, Webmin is not included in the RockyLinux default repository, so you will need to install it from the RockyLinux installation script.
First, install required packages with the following command:
dnf install wget tar perl -y
Next, download the latest version of Webmin with the following command:
wget https://www.webmin.com/download/webmin-current.tar.gz
After downloading Webmin, extract the downloaded file using the following command:
tar xvf webmin-current.tar.gz
Next, create an installation directory for Webmin.
mkdir -p /usr/local/webmin
Next, install the Webmin by running the following script:
./webmin-1.981/setup.sh /usr/local/webmin/
During the installation, you will be asked to provide a Webmin port, admin username, and password as shown below:
Config file directory [/etc/webmin]:
Log file directory [/var/webmin]:

***********************************************************************
Webmin is written entirely in Perl. Please enter the full path to the
Perl 5 interpreter on your system.

Full path to perl (default /usr/bin/perl):

Testing Perl ...
Perl seems to be installed ok

***********************************************************************
Operating system name:    Rocky Linux
Operating system version: 8.4

***********************************************************************
Webmin uses its own password protected web server to provide access
to the administration programs. The setup script needs to know :
 - What port to run the web server on. There must not be another
   web server already using this port.
 - The login name required to access the web server.
 - The password required to access the web server.
 - If the webserver should use SSL (if your system supports it).
 - Whether to start webmin at boot time.

Web server port (default 10000):
Login name (default admin):
Login password:
Password again:
Use SSL (y/n): n
Start Webmin at boot time (y/n): y
***********************************************************************
Webmin has been installed and started successfully. Use your web
browser to go to

  http://RockyLinux8:10000/

and login with the name and password you entered previously.
By default, Webmin listens on port 10000. You can check it with the following command:
ss -antpl | grep 10000
You should see the following output:
LISTEN 0 128 0.0.0.0:10000 0.0.0.0:* users:(("miniserv.pl",pid=20906,fd=7))
Step 2 – Configure Firewall
If the firewalld firewall is installed and running in your server, then you will need to allow port 10000 through the firewalld. You can allow it with the following command:
firewall-cmd --add-port=10000/tcp --permanent
Next, reload firewalld to apply the changes:
firewall-cmd --reload
Step 3 – Access Webmin Web Interface
Now, open your web browser and access the Webmin web interface using the URL http://your-server-ip:10000. You will be redirected to the Webmin login page:
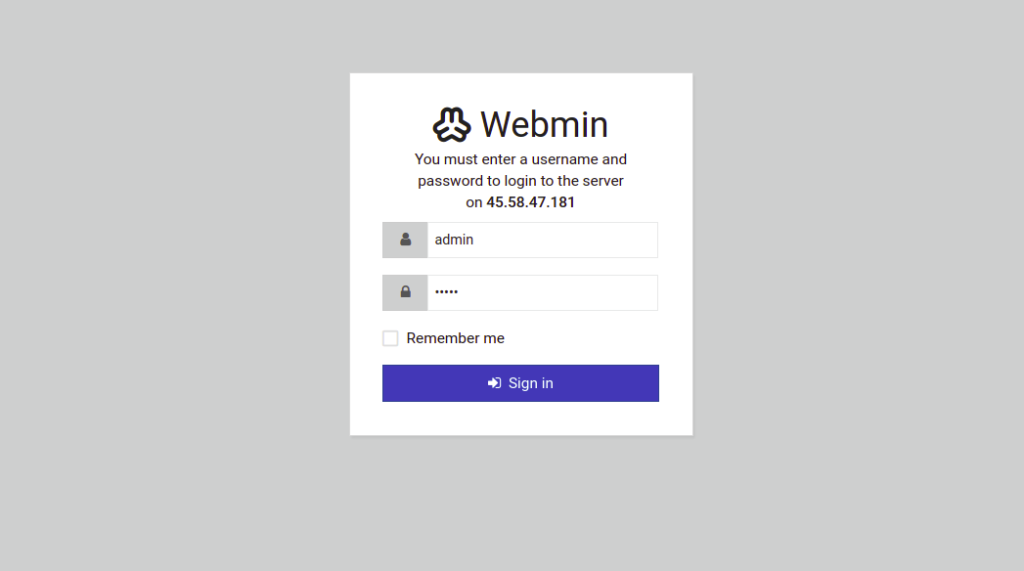
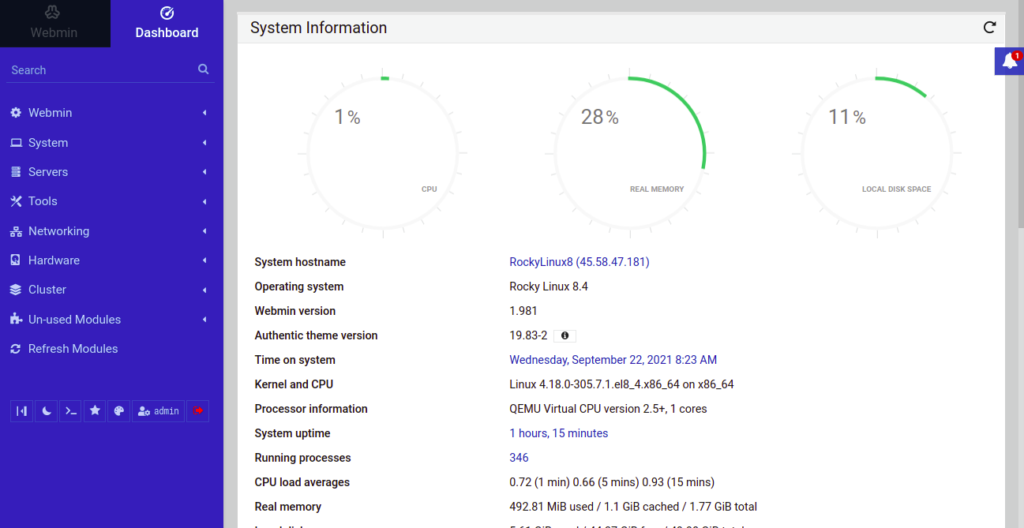
Provide your admin username and password and click on the Sign in button. You should see the Webmin dashboard on the following page:
Click on the Tools => Command Shell. You should see the following page:
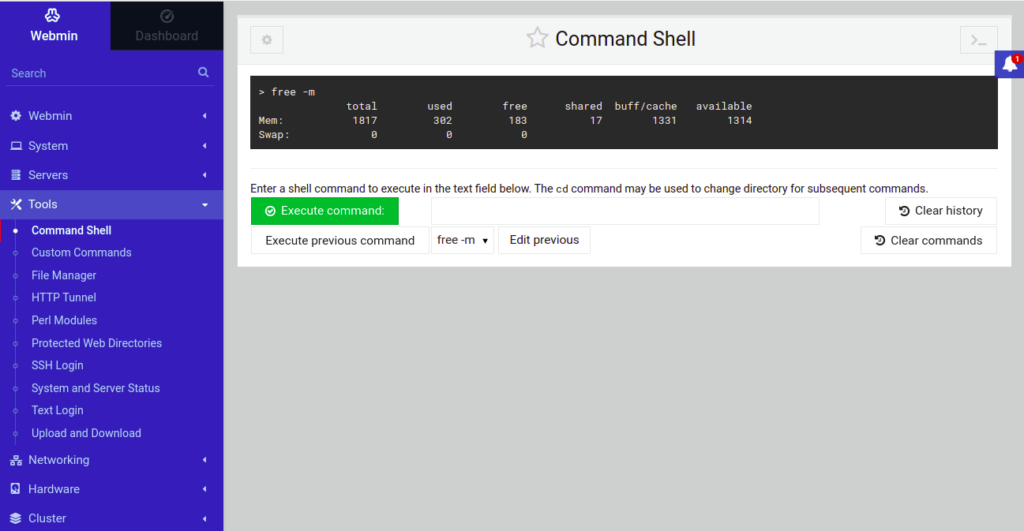
From here, you can execute any command on your Linux server.
Click on the Tools => File Manager. You should see the following page:
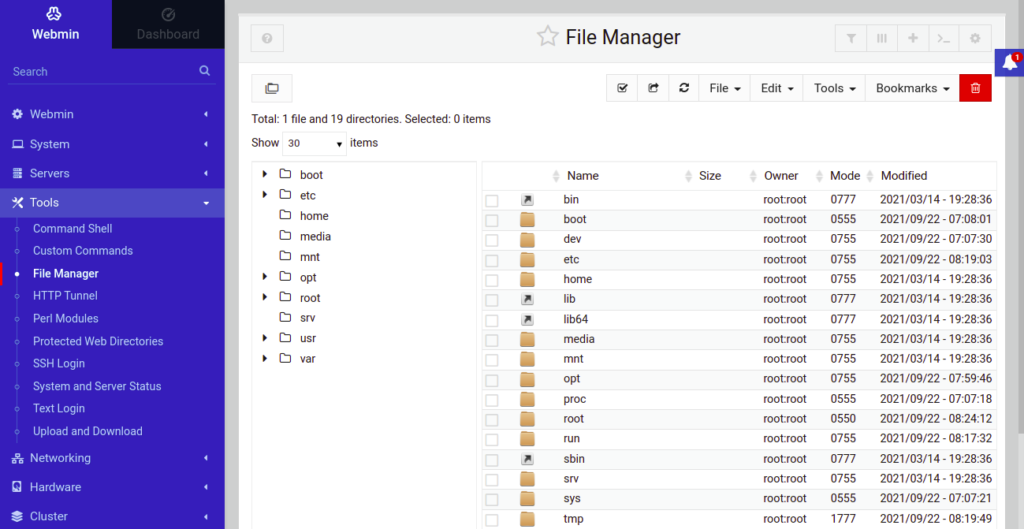
From here, you can create and manage files and directories on your server.
Click on the Tools => Text Login. You should see the following page:
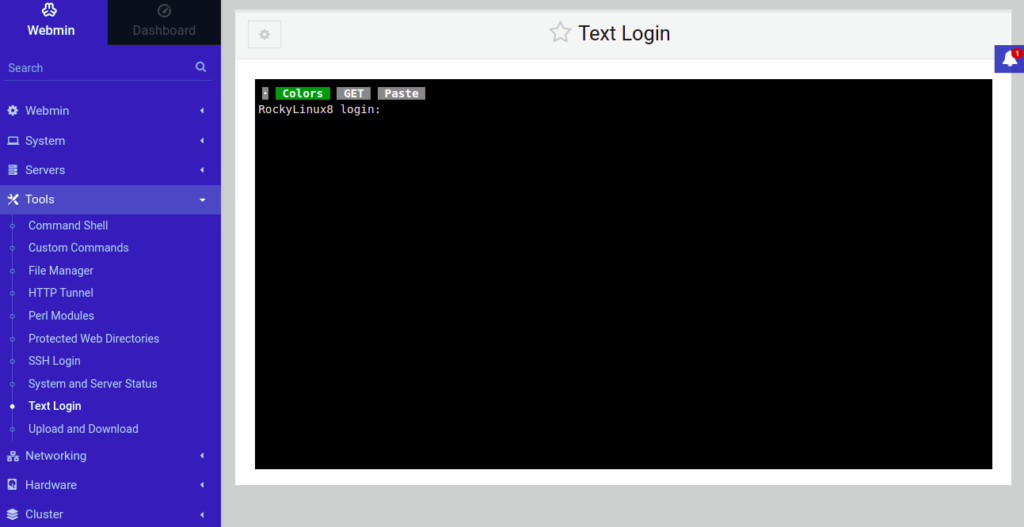
From here, you can log in to your server with any user.
Click on the Un-used Modules. You should see the following page:
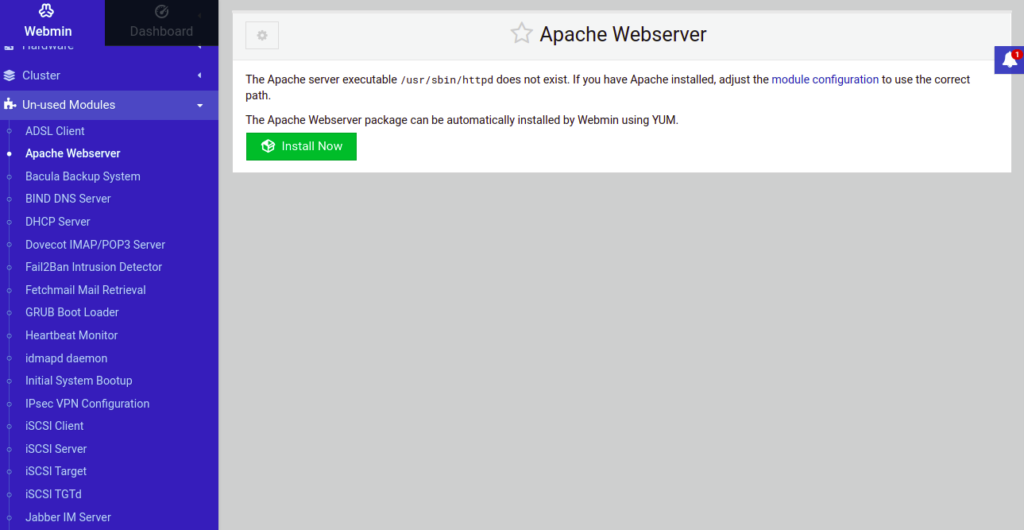
From here, you can install any package on your server.
If you want to uninstall Webmin from your server, run the following script:
bash /etc/webmin/uninstall.sh
Conclusion
Congratulations! You have successfully installed Webmin to RockyLinux 8. You can now manage your Linux server easily from the web-based interface – try it on your dedicated server from Atlantic.Net!