Sonatype Nexus is a free, open-source artifact management tool that helps you to manage artifacts effectively across your software supply chain. It provides a single source of truth for every component with native package manager compatibility. It can be integrated with your existing user and authentication systems like LDAP and Atlassian Crowd. Sonatype Nexus is compatible with popular IDEs and CI like Eclipse, IntelliJ, Visual Studio, Jenkins, and more.
In this post, we will show you how to install Sonatype Nexus on Oracle Linux 10.
Step 1 – Install Java JDK
Sonatype Nexus is a Java-based application, so Java must be installed on your system. If not installed, you can install it with the following command:
dnf update -y
dnf install java-21-openjdk -y
Once Java is installed, you can verify the Java version using the following command:
java -version
You should see the following output:
openjdk version "21.0.9" 2025-10-21 LTS
OpenJDK Runtime Environment (Red_Hat-21.0.9.0.10-1.0.1) (build 21.0.9+10-LTS)
OpenJDK 64-Bit Server VM (Red_Hat-21.0.9.0.10-1.0.1) (build 21.0.9+10-LTS, mixed mode, sharing)
Step 2 – Install Sonatype Nexus on Oracle Linux 8
First, create a dedicated user to run Nexus with the following command:
adduser nexus
Next, create the required directory to store Nexus files:
mkdir /app
Next, change the directory to /app and download the latest version of Nexus with the following command:
cd /app
wget -O nexus.tar.gz https://download.sonatype.com/nexus/3/nexus-3.87.1-01-linux-x86_64.tar.gz
Next, extract the downloaded file with the following command:
tar -xvf nexus.tar.gz
Next, rename the extracted directory with the following command:
mv nexus-3* nexus
Next, change the ownership and permissions of the Nexus directory with the following command:
chown -R nexus:nexus /app/nexus
chown -R nexus:nexus /app/sonatype-work
Step 3 – Create a Systemd Service File for Nexus
Next, you will need to create a systemd service file to manage the Nexus via systemd.
You can create it with the following command:
nano /etc/systemd/system/nexus.service
Add the following configurations:
[Unit]
Description=nexus service
After=network.target

[Service]
Type=forking
LimitNOFILE=65536
User=nexus
Group=nexus
ExecStart=/app/nexus/bin/nexus start
ExecStop=/app/nexus/bin/nexus stop
User=nexus
Restart=on-abort

[Install]
WantedBy=multi-user.target
Save and close the file, then reload the systemd daemon with the following command:
systemctl daemon-reload
Next, start and enable the Nexus service with the following command:
systemctl start nexus
systemctl enable nexus
You can check the status of the Nexus service using the following command:
systemctl status nexus
You will get the following output:
● nexus.service - nexus service
     Loaded: loaded (/etc/systemd/system/nexus.service; disabled; preset: disabled)
     Active: active (running) since Sat 2025-12-27 03:08:20 EST; 4s ago
 Invocation: a0a502f0d6b642928067f00b8f945727
    Process: 3227 ExecStart=/app/nexus/bin/nexus start (code=exited, status=0/SUCCESS)
   Main PID: 3474 (java)
      Tasks: 20 (limit: 24812)
     Memory: 321.7M (peak: 322.2M)
        CPU: 9.280s
     CGroup: /system.slice/nexus.service
             └─3474 /app/nexus/jdk/temurin_21.0.9_10_linux_x86_64/jdk-21.0.9+10/bin/java -server -Dnexus.installer.type=linux-x86-64 -Xms2703m -Xmx2703m -XX:+UnlockDiagnosticVMOptions>
Step 4 – Access Nexus Web Interface
At this point, Nexus is started and listens on port 8081. You can check it with the following command:
ss -antpl
You will get the following output:
State        Recv-Q       Send-Q             Local Address:Port              Peer Address:Port       Process
LISTEN       0            1                      127.0.0.1:42221                  0.0.0.0:*           users:(("java",pid=13939,fd=118))
LISTEN       0            50                       0.0.0.0:8081                   0.0.0.0:*           users:(("java",pid=13939,fd=971))
Nexus’s default username is admin and the default password is stored in the /app/sonatype-work/nexus3/admin.password file. You can see the Nexus admin password with the following command:
cat /app/sonatype-work/nexus3/admin.password
You should see the Nexus admin password in the following output:
9691dbd2-6d32-41a5-b4d4-e6ada1643869
Now, open your web browser and access the Nexus web interface using the URL http://your-server-ip:8081. You should see the Nexus login page:
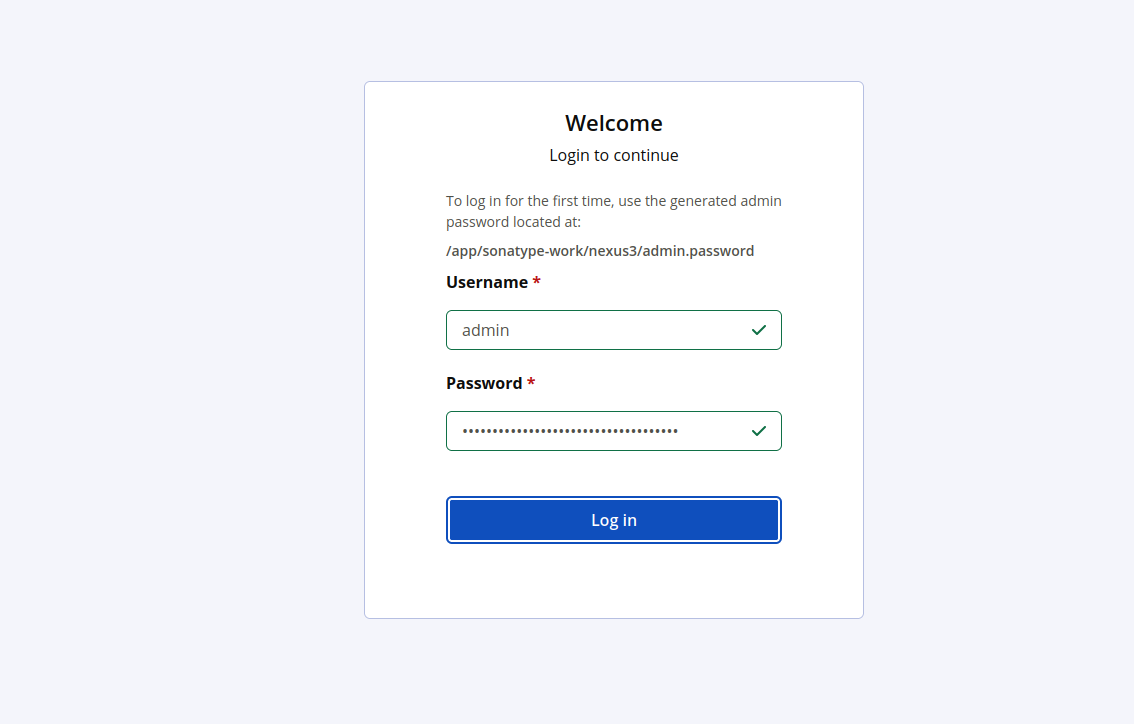
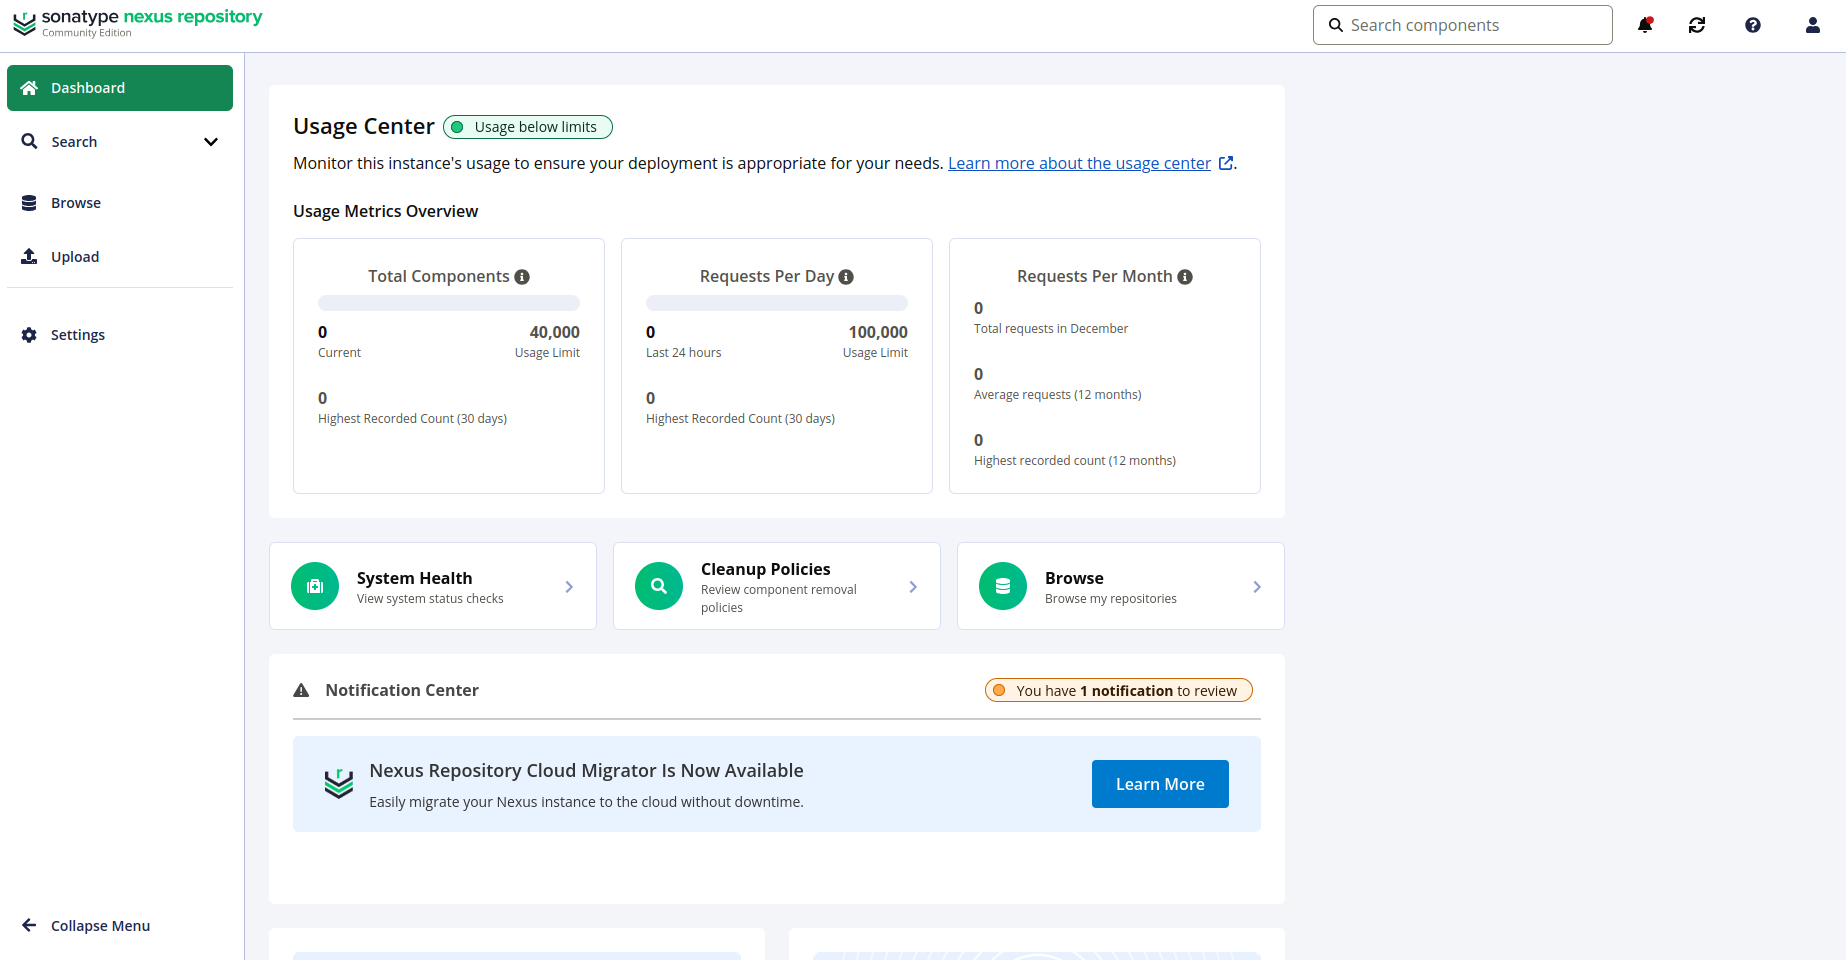
Enter your admin username, password and click Login. You will see the Nexus home page.
Conclusion
In this tutorial, we explained how to install Nexus on Oracle Linux 10. You can now start managing your packages across your software supply chain. For more information, visit the Nexus documentation. Try it on dedicated hosting from Atlantic.Net!
* This post is for informational purposes only and does not constitute professional, legal, financial, or technical advice. Each situation is unique and may require guidance from a qualified professional.
Readers should conduct their own due diligence before making any decisions.