Umami is a sleek and modern open-source analytics platform designed to help website owners and developers gain insights into user behavior and engagement. Unlike traditional analytics solutions, Umami prioritizes privacy, offering a self-hosted alternative that gives you full control over your data without compromising on functionality or usability. Umami allows you to set up your own analytics platform, track website traffic, monitor user interactions, and analyze key metrics—all within a secure and customizable environment.
In this guide, we will walk you through the step-by-step process of installing Umami on Ubuntu 22.04.
Step 1 – Install Node.js
Before starting, you will need to install some required dependencies to your server. You can install all of them using the following command.
apt install wget curl nano ufw software-properties-common dirmngr apt-transport-https gnupg2 ca-certificates lsb-release debian-archive-keyring unzip -y
Next, add the Node.js GPG key.
curl -fsSL https://deb.nodesource.com/gpgkey/nodesource-repo.gpg.key | gpg --dearmor -o /usr/share/keyrings/nodesource.gpg
Then, add the Node.js repository to APT.
echo "deb [signed-by=/usr/share/keyrings/nodesource.gpg] https://deb.nodesource.com/node_20.x nodistro main" | tee /etc/apt/sources.list.d/nodesource.list
Next, update the repository and install Node.js.
apt update
apt install nodejs
You can now verify the Node.js version using the following command.
node --version
Output.
v20.11.0
Step 2 – Install MariaDB Server
First, install the MariaDB database server.
apt install mariadb-server -y
Once MariaDB is installed, log in to the MariaDB console using the following command.
mysql
Once you are logged in, create a database and user for Umami.
CREATE USER 'umamiuser'@'localhost' IDENTIFIED BY 'password';
CREATE DATABASE umami;
Then, grant all necessary privileges to the Umami database.
GRANT ALL PRIVILEGES ON umami.* TO 'umamiuser'@'localhost';
GRANT ALL ON *.* TO 'umami'@'localhost' IDENTIFIED BY 'password' WITH GRANT OPTION;
Next, flush the privileges to apply the changes.
FLUSH PRIVILEGES;
Next, exit from the MariaDB console using the following command.
EXIT;
Step 3 – Download Umami
First, install the Yarn package using the following command.
npm install -g yarn
Next, download the latest version of Umami from the Git repo.
git clone https://github.com/mikecao/umami.git
Once the download is completed, navigate to the Umami directory and install all required dependencies.
cd umami
yarn install
Next, generate a secret key.
openssl rand 30 | openssl base64 -A
Output.
WPKWGO1bEYMCBmgOl2Ch6AvO+sBs9j6h4BZC/Dw5
Next, edit the .env file.
nano .env
Define your database and secret as shown below:
DATABASE_URL=mysql://umamiuser:password@localhost:3306/umami
APP_SECRET=WPKWGO1bEYMCBmgOl2Ch6AvO+sBs9j6h4BZC/Dw5
DISABLE_TELEMETRY=1
TRACKER_SCRIPT_NAME=custom
Then, run the following command to bundle the app into static files for production.
yarn build
Next, install PM2 to manage your application.
yarn global add pm2
Then, start the Umami application using PM2.
pm2 start yarn --name umami -- start
Output.
[PM2] Spawning PM2 daemon with pm2_home=/root/.pm2
[PM2] PM2 Successfully daemonized
[PM2] Starting /usr/bin/yarn in fork_mode (1 instance)
[PM2] Done.
┌────┬──────────┬─────────────┬─────────┬─────────┬──────────┬────────┬──────┬───────────┬──────────┬──────────┬──────────┬──────────┐
│ id │ name     │ namespace   │ version │ mode    │ pid      │ uptime │ ↺    │ status    │ cpu      │ mem      │ user     │ watching │
├────┼──────────┼─────────────┼─────────┼─────────┼──────────┼────────┼──────┼───────────┼──────────┼──────────┼──────────┼──────────┤
│ 0  │ umami    │ default     │ N/A     │ fork    │ 46628    │ 0s     │ 0    │ online    │ 0%       │ 43.8mb   │ root     │ disabled │
└────┴──────────┴─────────────┴─────────┴─────────┴──────────┴────────┴──────┴───────────┴──────────┴──────────┴──────────┴──────────┘
Step 4 – Configure Nginx for Umami
Next, you will need to configure Nginx as a reverse proxy to access the Umami from the outside world.
First, install the Nginx web server.
apt install nginx
Then, create an Nginx virtual host file.
nano /etc/nginx/conf.d/umami.conf
Add the following configurations.
server {
    listen       80;
    server_name  umami.example.com;

    access_log  /var/log/nginx/umami.access.log;
    error_log   /var/log/nginx/umami.error.log;

    location / {
      proxy_pass http://localhost:3000;
      proxy_set_header X-Real-IP $remote_addr;
      proxy_set_header Host $host;
      proxy_set_header X-Forwarded-For $proxy_add_x_forwarded_for;
  }
}
Save the file, then edit the Nginx main configuration file.
nano /etc/nginx/nginx.conf
Add the following line after the line http{:
server_names_hash_bucket_size 64;
Save and close the file, then verify the Nginx for any syntax errors.
nginx -t
Output.
nginx: the configuration file /etc/nginx/nginx.conf syntax is ok
nginx: configuration file /etc/nginx/nginx.conf test is successful
Finally, reload Nginx to implement the changes.
systemctl restart nginx
Step 5 – Access Umami Dashboard
Now, open your web browser and access the Umami dashboard using the URL http://umami.example.com. You will see the Umami login page.
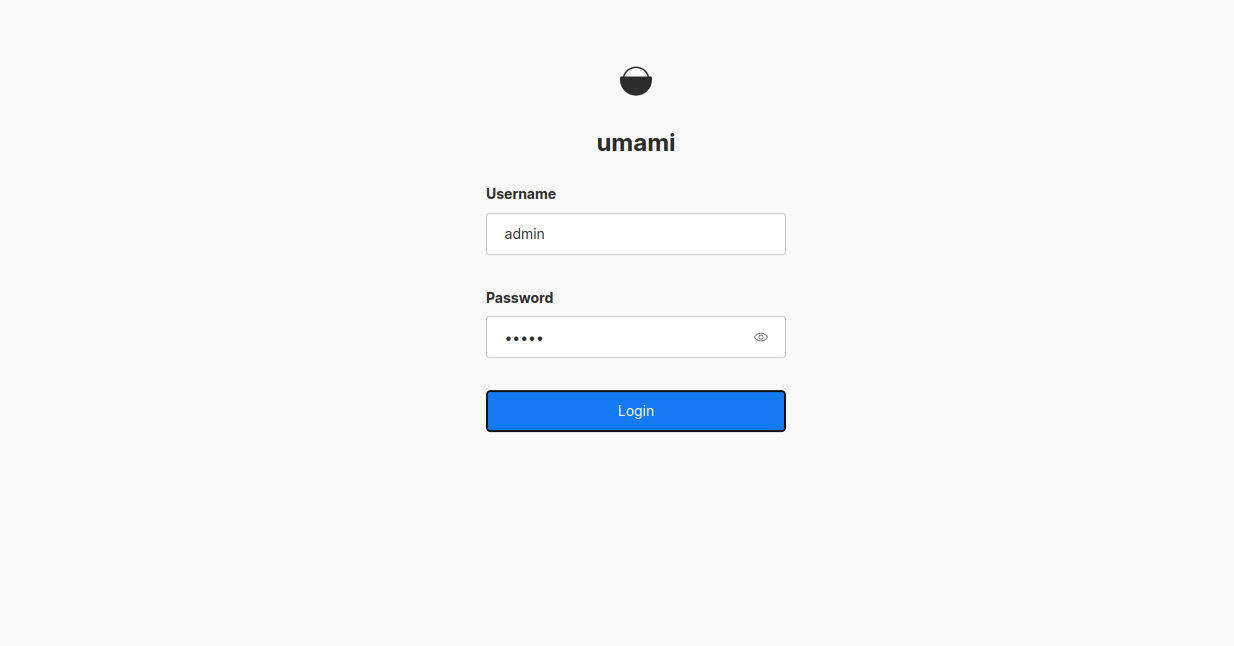
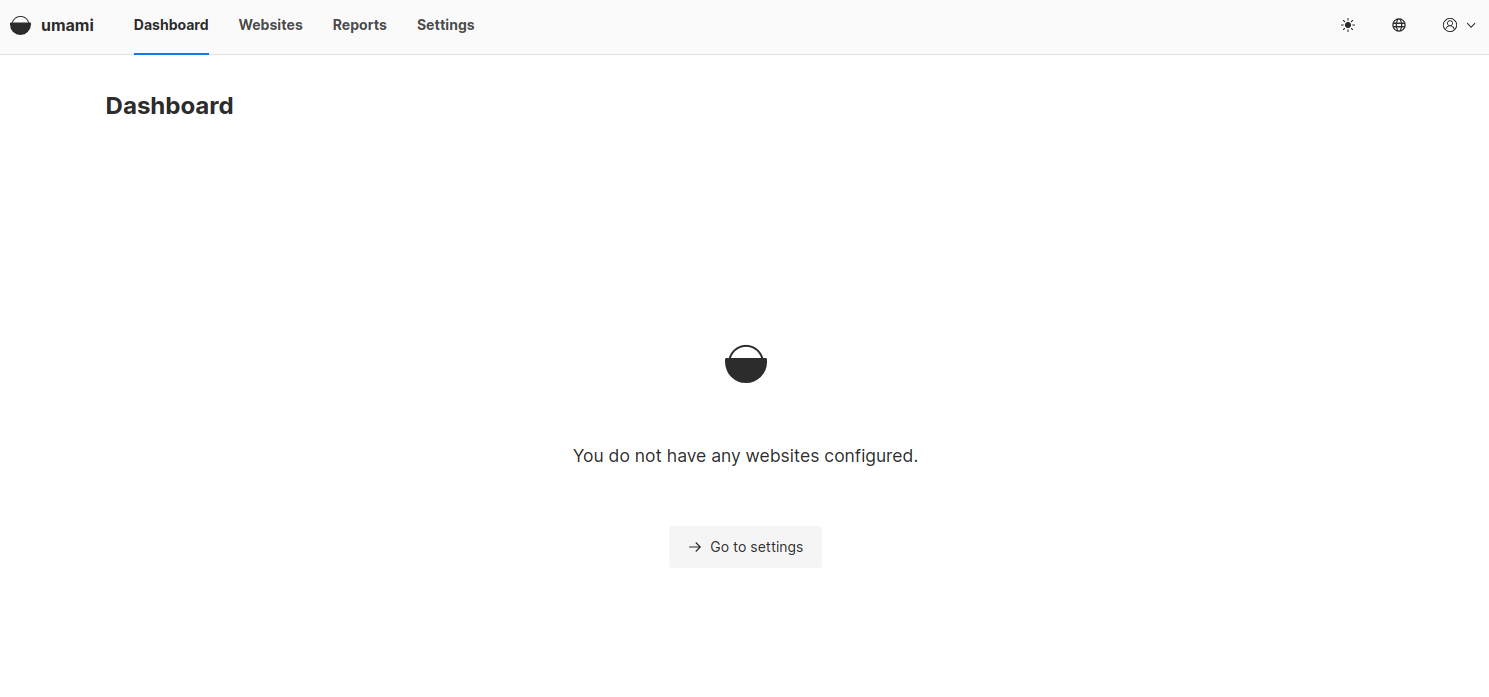
Provide the default username as admin and password as umami, then click on the Login button. You should see the Umami dashboard on the following screen.
Conclusion
In conclusion, Umami offers you a powerful and privacy-focused solution for tracking website analytics and gaining insights into user behavior. Throughout this guide, we’ve covered the steps to install Umami, configure its settings, and access its dashboard for monitoring website traffic and engagement. You can now try Umami on dedicated server hosting from Atlantic.Net!
* This post is for informational purposes only and does not constitute professional, legal, financial, or technical advice. Each situation is unique and may require guidance from a qualified professional.
Readers should conduct their own due diligence before making any decisions.