WordPress is a content management system that allows you to build and host a website on the web. It offers a plugin architecture and a template system that allows users to customize any website to fit their business, blog, portfolio, or online store. It is written in PHP and uses MariaDB and MySQL as database backends.
In this post, we will show you how to install WordPress with Apache on Arch Linux.
Step 1 – Configure Repository
By default, the default repository is outdated in Arch Linux, so you will need to modify the default mirror list. You can do it by editing the mirrorlist configuration file:
nano /etc/pacman.d/mirrorlist
Remove all lines and add the following lines:
## Score: 0.7, United States
Server = http://mirror.us.leaseweb.net/archlinux/$repo/os/$arch
## Score: 0.8, United States
Server = http://lug.mtu.edu/archlinux/$repo/os/$arch
Server = http://mirror.nl.leaseweb.net/archlinux/$repo/os/$arch
## Score: 0.9, United Kingdom
Server = http://mirror.bytemark.co.uk/archlinux/$repo/os/$arch
## Score: 1.5, United Kingdom
Server = http://mirrors.manchester.m247.com/arch-linux/$repo/os/$arch
Server = http://archlinux.dcc.fc.up.pt/$repo/os/$arch
## Score: 6.6, United States
Server = http://mirror.cs.pitt.edu/archlinux/$repo/os/$arch
## Score: 6.7, United States
Server = http://mirrors.acm.wpi.edu/archlinux/$repo/os/$arch
## Score: 6.8, United States
Server = http://ftp.osuosl.org/pub/archlinux/$repo/os/$arch
## Score: 7.1, India
Server = http://mirror.cse.iitk.ac.in/archlinux/$repo/os/$arch
## Score: 10.1, United States
Server = http://mirrors.xmission.com/archlinux/$repo/os/$arch
Save and close the file, then update all the package indexes with the following command:
pacman -Syu
Step 2 – Install Apache and PHP
First, install the Apache web server with the following command:
pacman -Sy apache
After successful installation, start and enable the Apache service with the following command:
systemctl start httpd
systemctl enable httpd
Next, install PHP and other required extensions using the following command:
pacman -Sy php php-gd php-cgi php-apache
Next, edit the PHP configuration file and enable the required extensions:
nano /etc/php/php.ini
Add the following lines:
extension=pdo_mysql
extension=mysqli
Save and close the file when you are finished.
Step 3 – Install and Configure MariaDB Database
First, install the MariaDB server with the following command:
pacman -S mariadb
Next, start and enable the MariaDB service with the following command:
systemctl start mysqld
systemctl enable mysqld
Now, run the security script that is included with MariaDB. This is a critical step to secure your database installation by setting a root password, removing anonymous users, and restricting root user access.
mariadb-secure-installation
Follow the on-screen prompts. It is highly recommended to answer “Y” (yes) to all questions for a secure environment:
- Enter current password for root (enter for none): Press Enter
- Set root password? [Y/n]: Y
- Remove anonymous users? [Y/n]: Y
- Disallow root login remotely? [Y/n]: Y
- Remove test database and access to it? [Y/n]: Y
- Reload privilege tables now? [Y/n]: Y
With the database server secured, log in to the MariaDB console as the root user:
mariadb -u root -p
Once you are connected, create a database and user for WordPress:
CREATE DATABASE wordpress CHARACTER SET utf8mb4 COLLATE utf8mb4_general_ci;
CREATE USER 'wordpress'@'localhost' IDENTIFIED BY 'your_strong_password';
GRANT ALL PRIVILEGES ON wordpress.* TO 'wordpress'@'localhost';
Next, flush the privileges and exit from the MariaDB shell with the following command:
FLUSH PRIVILEGES;
EXIT;
Step 4 – Install WordPress CMS
First, navigate to the Apache default root directory and download the latest version of WordPress with the following command:
cd /srv/http
wget https://wordpress.org/latest.tar.gz
Once the download is completed, extract the downloaded file using the following command:
tar xvf latest.tar.gz
Next, rename the WordPress configuration file:
mv /srv/http/wordpress/wp-config-sample.php /srv/http/wordpress/wp-config.php
Next, edit the WordPress configuration file and define your database:
nano /srv/http/wordpress/wp-config.php
Change the following lines:
define( 'DB_NAME', 'wordpress' );

/** MySQL database username */
define( 'DB_USER', 'wordpress' );

/** MySQL database password */
define( 'DB_PASSWORD', 'password' );
Save and close the file, then change the ownership of the WordPress directory:
chown -R root:http /srv/http/wordpress
Next, grant ownership of the wp-content directory to the Apache user (http). This allows WordPress to install themes/plugins and upload media.
chown -R http:http /srv/http/wordpress/wp-content
Finally, set secure file and directory permissions. Directories should be 755 and files should be 644.
find /srv/http/wordpress/ -type d -exec chmod 755 {} \;
find /srv/http/wordpress/ -type f -exec chmod 644 {} \;
These permissions ensure that only the file owner can write to files, while the web server can still manage themes, plugins, and uploads in the designated wp-content directory.
Step 5 – Configure Apache for WordPress
Next, edit the Apache default virtual host configuration file:
nano /etc/httpd/conf/extra/httpd-vhosts.conf
Remove all lines and add the following code:
<VirtualHost *:80>
    ServerAdmin webmaster@example.com
    DocumentRoot "/srv/http/wordpress"
    ServerName wordpress.example.com
    ErrorLog "/var/log/httpd/wordpress-error_log"
    CustomLog "/var/log/httpd/wordpress-access_log" common
</VirtualHost>
Save and close the file, then edit the Apache configuration file:
nano /etc/httpd/conf/httpd.conf
Uncomment the following line:
Include conf/extra/httpd-vhosts.conf
LoadModule mpm_prefork_module modules/mod_mpm_prefork.so
Comment out the following line:
#LoadModule mpm_event_module modules/mod_mpm_event.so
Add the following lines:
LoadModule php_module modules/libphp.so
AddHandler php-script .php
Include conf/extra/php_module.conf
Save and close the file, then restart the Apache service to apply the changes:
systemctl restart httpd
Step 6 – Access WordPress Web Installation Wizard
With all the server-side components configured, there are two final steps: telling your local machine how to find your new site and running the WordPress web installer.
Update Your Local Hosts File
To access the site using the custom domain wordpress.example.com, you must map this hostname to your local machine’s IP address.
Add the entry to your /etc/hosts file with the following command. This ensures your web browser knows to look for the site on your local machine.
echo "127.0.0.1 wordpress.example.com" | sudo tee -a /etc/hosts
Access the WordPress Web Installation Wizard
Now, open your web browser and access the WordPress installation using the URL http://wordpress.example.com. You will be redirected to the WordPress site configuration page:
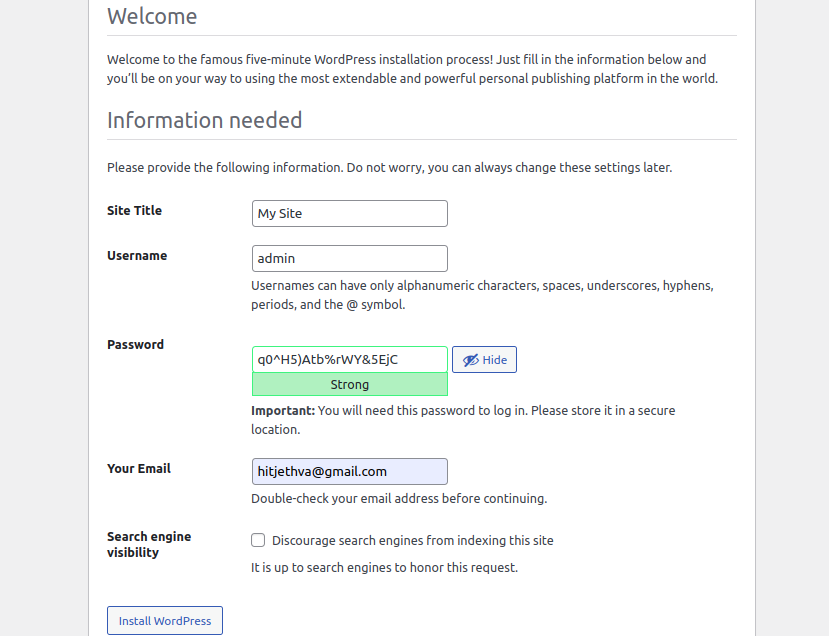
Provide your website name and admin credentials and click on the Install WordPress button. Once WordPress is installed, you should see the following page:

Click on the Login button. You should see the WordPress login page:
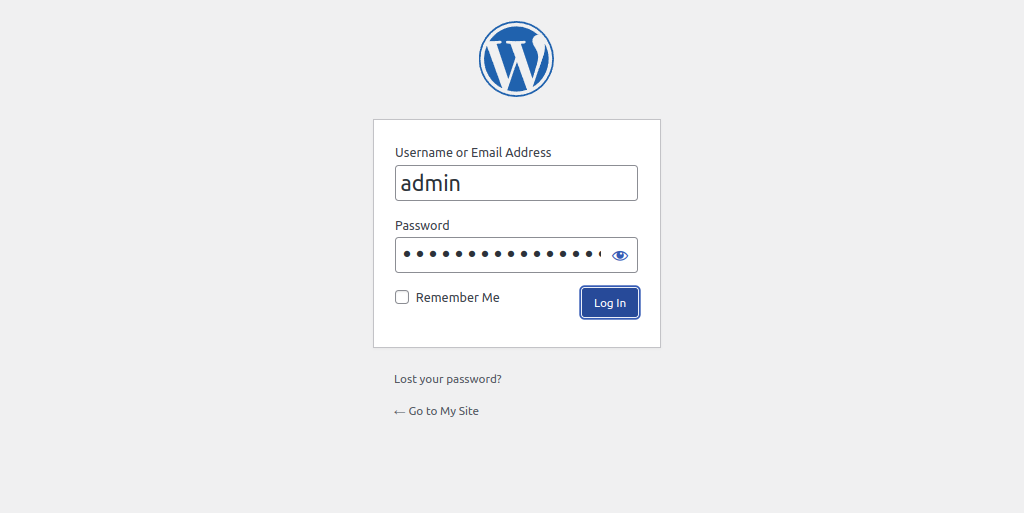
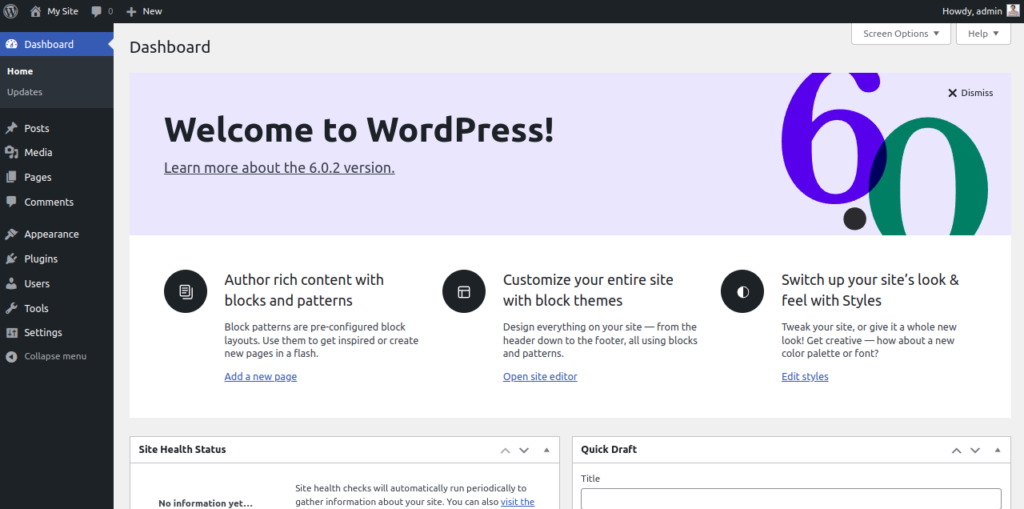
Provide your admin username and password and click on the Login button. You should see the WordPress admin dashboard on the following page:
Conclusion
In this post, we explained how to install WordPress with Apache on Arch Linux. You can now create and deploy your website or blog from the WordPress admin dashboard. Try WordPress on dedicated server hosting from Atlantic.Net!
* This post is for informational purposes only and does not constitute professional, legal, financial, or technical advice. Each situation is unique and may require guidance from a qualified professional.
Readers should conduct their own due diligence before making any decisions.