Table of Contents
Many applications enable automation and configuration management, including Ansible, Puppet, and Chef. However, all those applications require in-depth knowledge and a lot of configuration to implement in a production environment. This is where SlickStack comes into the picture. SlickStack provides an easy-to-use shell script to deploy the modern web stack.
SlickStack is a free and open-source LEMP stack automation script created by LittleBizzy. It simplifies the installation of WordPress and other PHP-based CMS software with a single command. You can use SlickStack to set up a lightning-fast WordPress site. SlickStack takes care of all modern SEO specs and optimizes scores in GTMetrix, SSL Labs, Security Headers, Google PageSpeed Insights, and more.
SlickStack script will install the following modules:
- WordPress
- Nginx
- OpenSSL or Let’s Encrypt SSL
- MySQL
- PHP-FPM
- Redis
- Adminer
- Postfix
- ClamAV
- UFW Firewall
In this post, we will show you how to install WordPress with SlickStack on Ubuntu 20.04.
Install WordPress with SlickStack
You can run the following command to install SlickStack with WordPress and Nginx FastCGI Cache.
cd /tmp/ && wget -O ss slick.fyi && bash ss
This command will run the SlickStack script and launch the setup wizard as shown below:
welcome to the magical world of ss where all your dreams come true
 _____________________________
< screw containers! excelsior >
 -----------------------------
        \   ^__^
         \  (oo)\_______
            (__)\       )\/\
                ||----w |
                ||     ||


################################################################################
SlickStack build   :  SEP2021MM
Ubuntu version     :  20.04 LTS
Hostname (FQDN)    :  ubuntu2004
IP Address (IPv4)  :  104.219.55.50
IP Address (IPv6)  :  fe80::200:68ff:fedb:3732
################################################################################

Welcome to SlickStack! It appears that your ss-config file has not been
setup yet. Please use the wizard to configure required options, or hit
Ctrl+C to cancel wizard and configure ss-config manually:  1

#### SlickStack Interactive Setup Wizard (SS-Config) ######################
###########################################################################

Choose sudo username (for SSH): batman

Choose sudo password (should be strong): 36977ae8d23eef73db21a4c2

Choose SSH port (use 22 for best compatibility): 22

Enable SSH keys (advanced users only): false

Choose SFTP username (limited access): robin

Choose SFTP password (should be strong): a44750d7958c44ca33e5f68d

Choose app (only wordpress supported currently): wordpress

Enable the WordPress plugin blacklist: true

Link to your pilot file (leave blank if none):

Are you using a remote database: false

Choose database name (single database): production

Choose database user (non-root user): robin

Choose database user password (should be strong): aad9c63bec8ea492fef9002f

Choose database host (IP address): 127.0.0.1

Choose database table prefix: wp_

Choose site TLD (subdomains not allowed): linuxbuz.com

Choose site domain (subdirectories not allowed): wp.linuxbuz.com

Enable site noindexing (block robots): false

Choose SSL cert [openssl|certbot]: openssl

Choose Cloudflare API key (account profile): your-cloudflare-api-key

Choose Cloudflare API email (account profile): hitjethva@gmail.com

Enable staging site (subdomain): false

Password protect staging site: false

Enable dev site (subdomain): false

Password protect dev site: false

Choose guest username (to view staging/dev): guest

Choose guest password (easy is fine): a6fcba50cdb32c2ad9daf67e
Provide all configuration options and hit Enter. Once the installation has been completed, you should see the following output:
###########################################################################
#### Congrats! Here are your current SlickStack settings: #################
###########################################################################

SlickStack build: SEP2021MM
IPv4: 104.219.55.50
IPv6: fe80::200:68ff:fedb:3732
Site TLD: linuxbuz.com
Site domain: https://wp.linuxbuz.com
Site noindex: false
Staging site: false
Dev site: false
Sudo user: batman
Sudo password: 36977ae8d23eef73db21a4c2
SFTP user: robin
SFTP password: a44750d7958c44ca33e5f68d
SSH/SFTP port: 22
SSH keys: false
DB name: production
DB user: robin
DB user password: aad9c63bec8ea492fef9002f
DB admin user: admin@127.0.0.1
DB admin user password: ec3d77980c6fa9d44d561327
DB host: 127.0.0.1
DB prefix: wp_
WP Multisite: false
WP Multisite subdomains: true
WP Multisite domain mapping: false
CloudFlare API key: api-key
CloudFlare API email: user@gmail.com
SlickStack will save all settings in the ss-config file located at /var/www. You can check it with the following command:
cat /var/www/ss-config
Access WordPress Installation
Now, open your web browser and access the WordPress installation using the URL install wp admin. You should see the WordPress language selection screen:
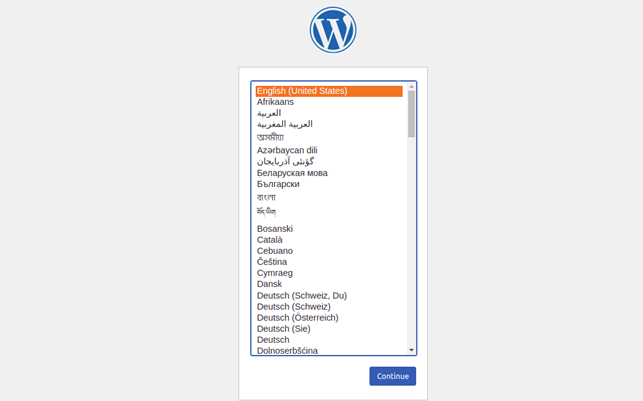
Select your language and click on the Continue. You should see the WordPress site configuration screen:
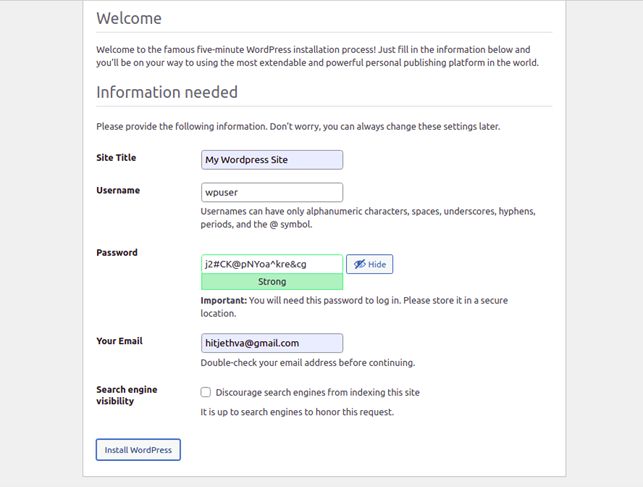
Provide your site name, admin username, password, and email, and click on Install WordPress. Once the installation has been completed, you should see the following screen:
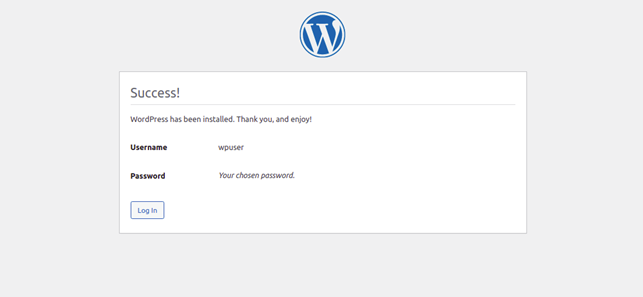
Click on the Log In button. You should see the WordPress login screen:
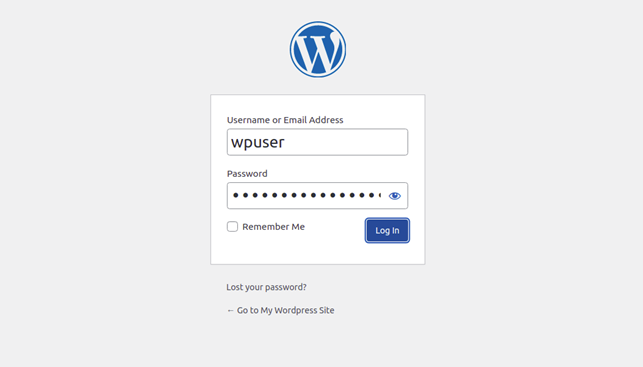
Provide your admin username and password and click on Log In. You should see the WordPress dashboard on the following screen:
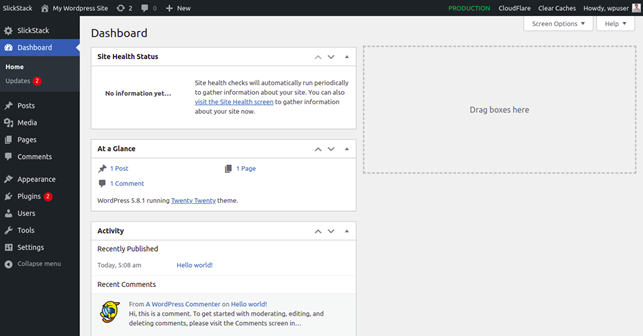
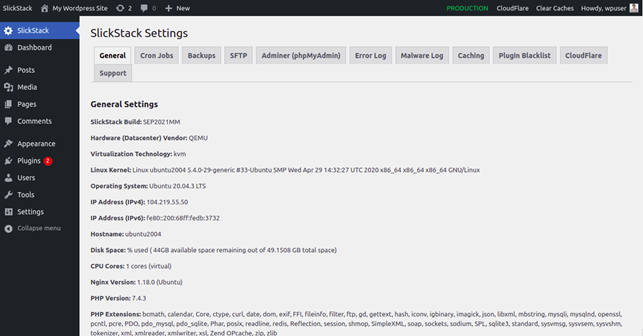
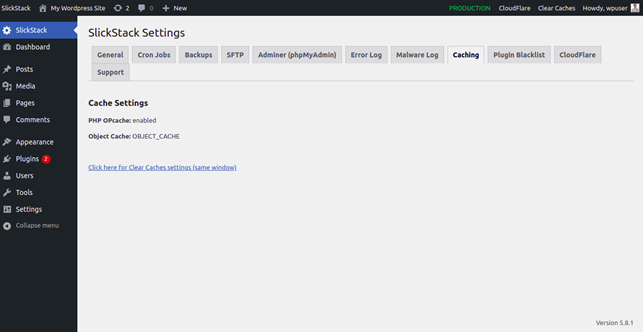
In the left pane, click on the SlickStack. You can see the SlickStack Settings on the following screen:
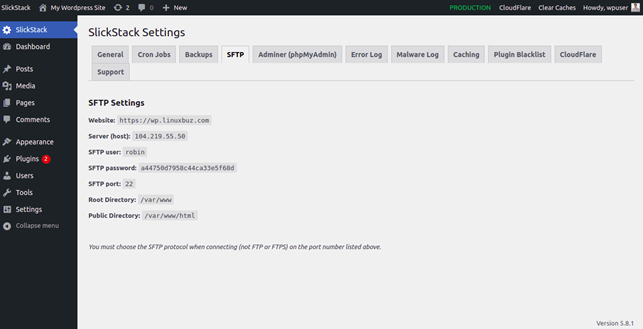
Click on the SFTP tab. You should see the SFTP Settings on the following screen:
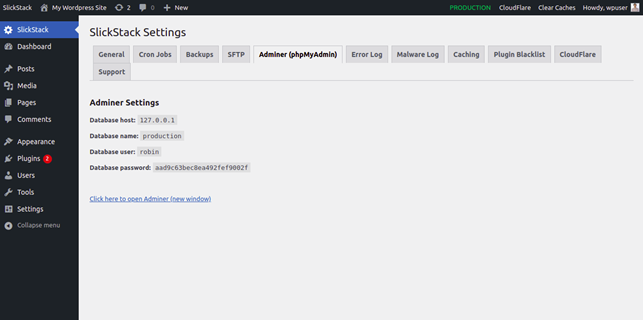
Click on the Adminer tab. You should see the Adminer Settings on the following screen:
Click on the Caching tab. You should see the Cache Settings on the following screen:
You can also access the Adminer using the URL https://wp.linuxbuz.com/adminer?. You should see the Adminer login screen:
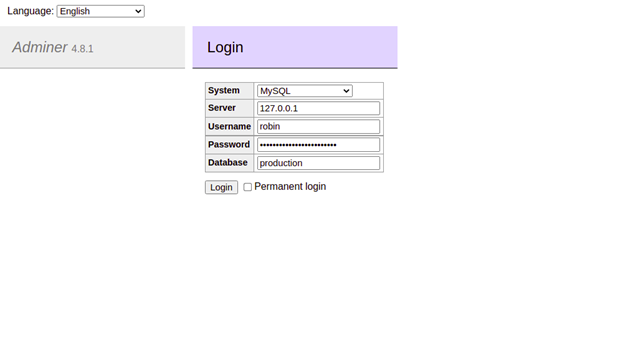
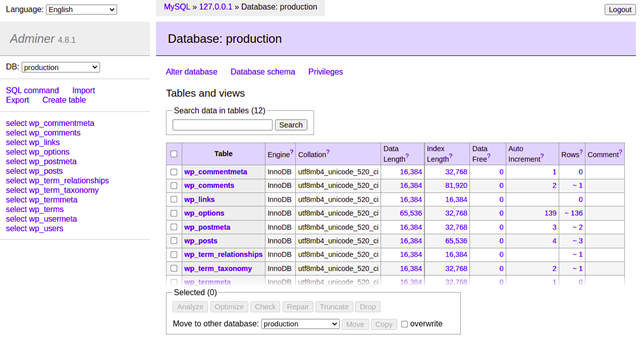
Provide your Adminer username, password and click on the Login button. You should see the Adminer dashboard on the following screen:
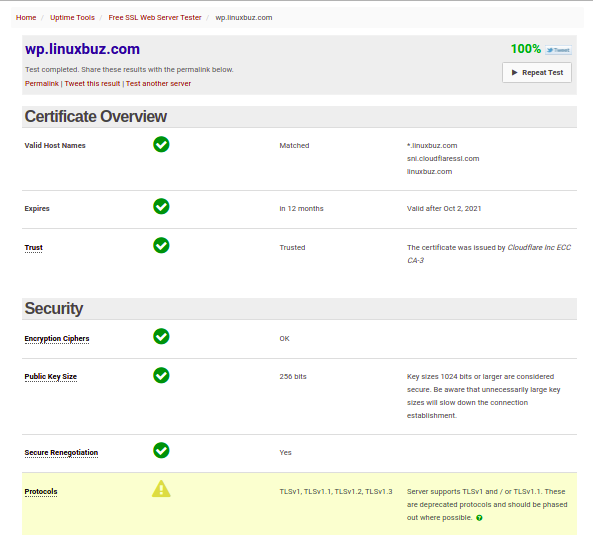
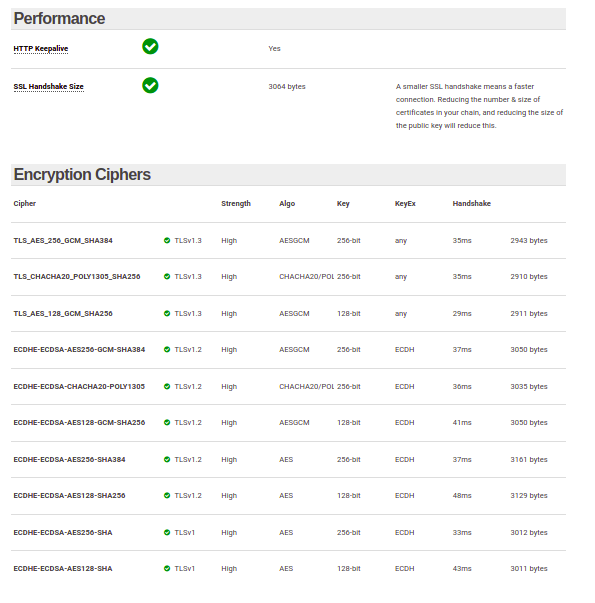
To perform the SSL test for your website. Open the Wormly SSL Test and test your website as shown below:
Conclusion
In the above guide, we explained how to install WordPress CMS with SlickStack installation script. This script will help you to simplify the WordPress installation, provisioning, and security on your dedicated hosting account from Atlantic.Net.
* This post is for informational purposes only and does not constitute professional, legal, financial, or technical advice. Each situation is unique and may require guidance from a qualified professional.
Readers should conduct their own due diligence before making any decisions.