Table of Contents
- Prerequisites
- Step 1: Update the Server
- Step 2: Install Python and Required Packages
- Step 3: Install and Configure Jupyter Notebook Kernel
- Step 4: Install Jupyter Notebook
- Step 5: Test Jupyter Notebook for GPU Support
- Step 6: Launch Jupyter Notebook
- Step 7: Run a PyTorch Model in Jupyter Notebook
- Step 8: Monitor GPU Usage
- Conclusion
Jupyter Notebook is an open-source, interactive computing environment that supports data visualization, analysis, and machine learning workflows. When paired with a GPU-enabled Atlantic.Net server, it allows for accelerated computations, making it an excellent choice for tasks like deep learning and large-scale data processing.
This guide will walk you through setting up and using Jupyter Notebook on a GPU-enabled Atlantic.Net server.
Prerequisites
- An Ubuntu 22.04 GPU Server
- CUDA Toolkit and cuDNN Installed
- A root or sudo privileges
Step 1: Update the Server
To ensure the latest updates and security patches are included, run:
apt update -y
apt upgrade -y
This updates the package repository and upgrades outdated packages.
Step 2: Install Python and Required Packages
Jupyter Notebook is built on Python, and its ecosystem relies on Python libraries for everything from data visualization to machine learning.
Install Python and pip.
apt install python3 python3-pip -yCheck the versions of Python and pip to confirm the installation:
python3 --version
pip3 --version
Install libraries required for machine learning and data analysis:
pip install tensorflow torch matplotlib pandas numpyThese packages include popular frameworks like TensorFlow and PyTorch, along with essential libraries for data manipulation and visualization.
Step 3: Install and Configure Jupyter Notebook Kernel
A kernel is the engine that executes the code in your notebooks. Configuring a kernel ensures it has access to the installed libraries and GPU resources.
Install the ipykernel package.
pip install ipykernelCreate a custom kernel for Jupyter.
python3 -m ipykernel install --user --name=gpu_env --display-name "Python (GPU)"Output.
Installed kernelspec gpu_env in /root/.local/share/jupyter/kernels/gpu_envThis kernel links your Python environment to Jupyter Notebook, ensuring it recognizes the GPU-enabled libraries.
Step 4: Install Jupyter Notebook
Install Jupyter Notebook using pip.
pip install notebookVerify the installation by checking its version.
jupyter notebook --versionOutput.
7.2.2Generate a configuration file to enable remote access.
jupyter notebook --generate-configEdit the generated configuration file to enable access over the network.
nano ~/.jupyter/jupyter_notebook_config.pyAdd the following lines:
c.ServerApp.ip = '0.0.0.0'
c.ServerApp.open_browser = False
c.ServerApp.port = 8888
Step 5: Test Jupyter Notebook for GPU Support
Before launching Jupyter Notebook, verify that your GPU is accessible:
Open a Python shell.
python3Check PyTorch GPU availability.
>>>import torch
>>>print("PyTorch GPU Support:", torch.cuda.is_available())
Output.
PyTorch GPU Support: TrueTest TensorFlow GPU support.
>>>import tensorflow as tf
>>>print("TensorFlow GPU Devices:", tf.config.list_physical_devices('GPU'))
Output.
TensorFlow GPU Devices: [PhysicalDevice(name='/physical_device:GPU:0', device_type='GPU')]These tests confirm that your GPU is ready for computation.
Step 6: Launch Jupyter Notebook
Start Jupyter Notebook on your server with the following command.
jupyter notebook --no-browser --port=8888 --ip=your-server-ip --allow-rootReplace your-server-ip with the server’s public IP address. The output will display a URL to access the notebook:
    To access the server, open this file in a browser:
        file:///root/.local/share/jupyter/runtime/jpserver-8084-open.html
    Or copy and paste one of these URLs:
        http://45.77.182.191:8888/tree?token=8e99e04461348b61490e1a51559a8be313840260787e7e17
        http://127.0.0.1:8888/tree?token=8e99e04461348b61490e1a51559a8be313840260787e7e17
Step 7: Run a PyTorch Model in Jupyter Notebook
Open your web browser and access the Jupyter Notebook using the URL http://your-server-ip:8888/tree?token=8e99e04461348b61490e1a51559a8be313840260787e7e17.
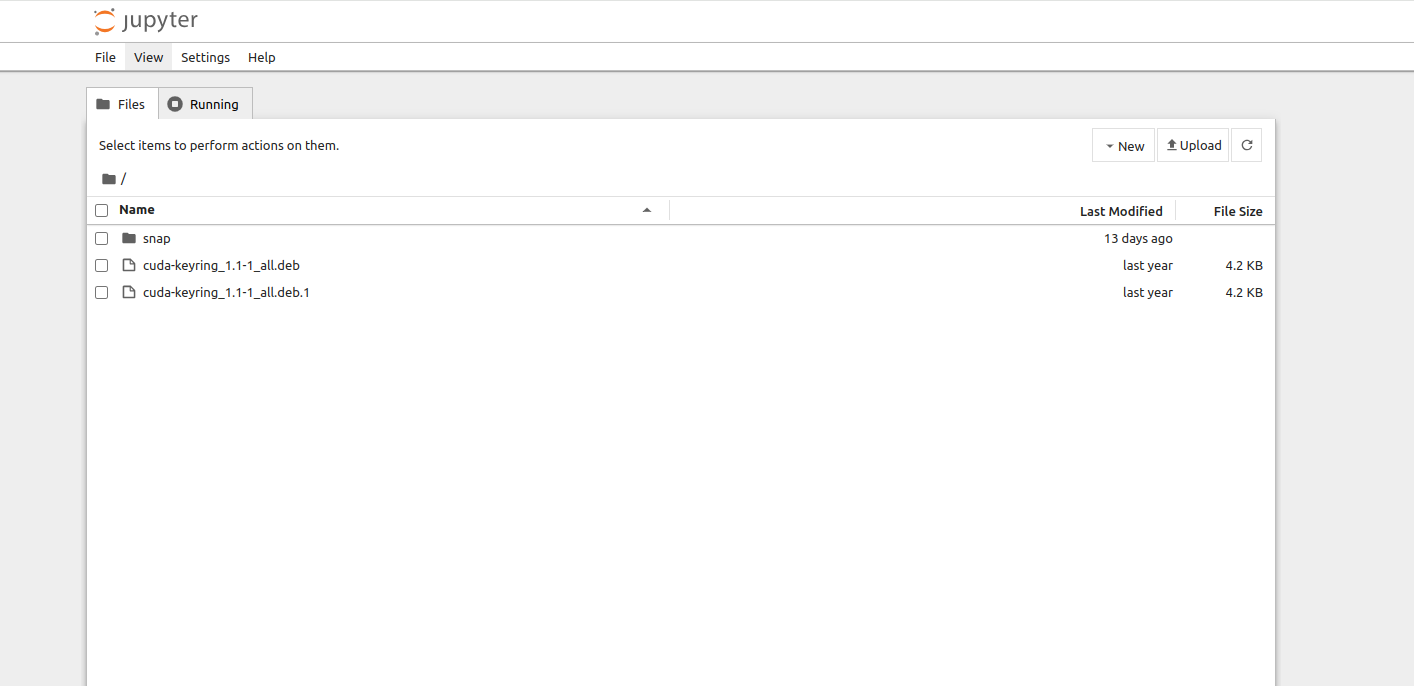
Click on File > New > Notebook. You will be asked to select the Kernel.

Select the “Python (GPU)” kernel and click Select to create a new notebook.
Add the following code to train a simple PyTorch model.
import torch
import torch.nn as nn
import torch.optim as optim

# Check GPU availability
device = torch.device('cuda' if torch.cuda.is_available() else 'cpu')
print(f"Using device: {device}")

# Simple linear model
model = nn.Linear(10, 1).to(device)
print(model)

# Sample data
inputs = torch.randn(100, 10).to(device)
targets = torch.randn(100, 1).to(device)

# Loss and optimizer
criterion = nn.MSELoss()
optimizer = optim.SGD(model.parameters(), lr=0.01)

# Training loop
for epoch in range(5):
    optimizer.zero_grad()
    outputs = model(inputs)
    loss = criterion(outputs, targets)
    loss.backward()
    optimizer.step()
    print(f"Epoch {epoch+1}, Loss: {loss.item()}")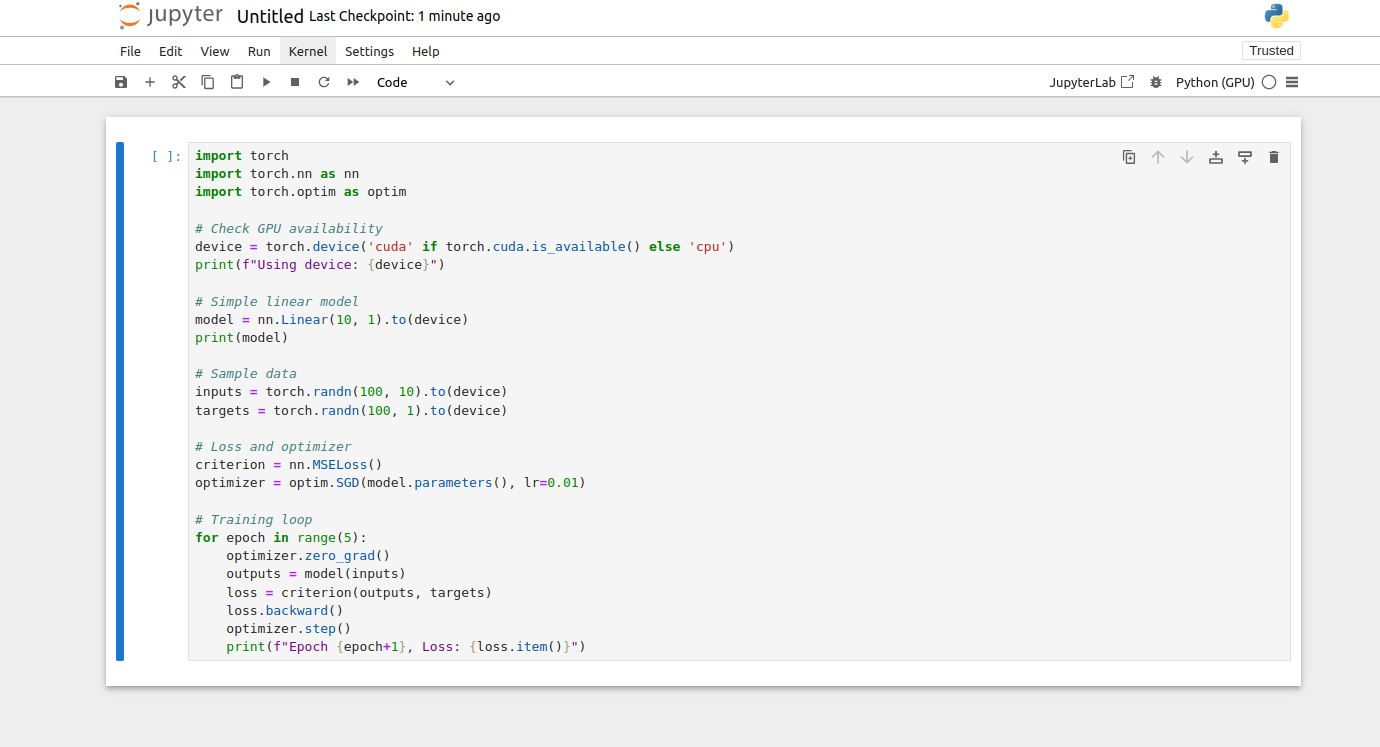
Now, click on the run symbol to run your Notebook. This will print the loss for each epoch, confirming the GPU is being used if device is cuda.

Step 8: Monitor GPU Usage
For the above examples, you can use the nvidia-smi command in the server’s terminal to monitor GPU utilization:
nvidia-smiIf the models are correctly using the GPU, you will see GPU memory and utilization metrics updating during training.
Mon Nov 25 08:18:16 2024
+-----------------------------------------------------------------------------------------+
| NVIDIA-SMI 550.90.07              Driver Version: 550.90.07      CUDA Version: 12.4     |
|-----------------------------------------+------------------------+----------------------+
| GPU  Name                 Persistence-M | Bus-Id          Disp.A | Volatile Uncorr. ECC |
| Fan  Temp   Perf          Pwr:Usage/Cap |           Memory-Usage | GPU-Util  Compute M. |
|                                         |                        |               MIG M. |
|=========================================+========================+======================|
|   0  NVIDIA A16-2Q                  On  |   00000000:06:00.0 Off |                    0 |
| N/A   N/A    P0             N/A /  N/A  |    1398MiB /   2048MiB |      0%      Default |
|                                         |                        |                  N/A |
+-----------------------------------------+------------------------+----------------------+

+-----------------------------------------------------------------------------------------+
| Processes:                                                                              |
|  GPU   GI   CI        PID   Type   Process name                              GPU Memory |
|        ID   ID                                                               Usage      |
|=========================================================================================|
|    0   N/A  N/A      8257      C   /usr/bin/python3                             1397MiB |
+-----------------------------------------------------------------------------------------+
Conclusion
By following this guide, you’ve set up a powerful Jupyter Notebook environment on an Atlantic.Net GPU Server. This setup empowers you to perform high-performance data analysis and machine learning tasks with ease. Make sure to explore additional Jupyter features like extensions and plugins to further enhance your productivity.
* This post is for informational purposes only and does not constitute professional, legal, financial, or technical advice. Each situation is unique and may require guidance from a qualified professional.
Readers should conduct their own due diligence before making any decisions.