Verified and Tested 08/31/15
Introduction
WordPress is a simple blogging system the helped maintain many blogs by making a simple interface that interacts with a database. Now, it has become a one of the most powerful content management systems (CMS) in the web, especially it being a free open source software. In this how-to, we will walk through the Installation of WordPress on a FreeBSD server.
Prerequisites
You need a FreeBSD server that is configured with a static IP address.
You will also need to have a FAMP stacked server. If you haven’t installed FAMP on your server click here then proceed with this tutorial.
Installing WordPress
With the following command you could find the latest version of WordPress available.
pkg search wordpress
Once you find the version of WordPress you could install it with the following command:
pkg install wordpress-4.3,1
With WordPress installed on your FreeBSD server, we need to move the files over to Apache’s web folder with the following command:
mv /usr/local/www/wordpress /usr/local/www/apache24/data/
Configuring Apache
We will need to make minor changes to the Apache configuration file to allow php files over http. Access the Apache configuration file with the following command:
nano /usr/local/etc/apache24/httpd.conf
Now, search the mime_module and add the following 2 lines under the TypesConfig etc/apache24/mime.types line.
AddType application/x-httpd-php .php
AddType application/x-httpd-php-source .phps
It is a good idea to change the host name now, although this can be done anytime.
echo 'your.ip.add.ress wordpress.yourdomain.tld' >> /etc/hosts
Restart Apache so we all the changes to take affect. Do this with the following command:
service apache24 restart
Creating The MySQL Database
We will need to create a Database for WordPress to function correctly. Access MySQL with the following command:
mysql -u root -p
Created the WordPress Database with the following command:
CREATE DATABASE wordpress;
We will also need to create a user so we can access the Database. This user can be created with the following command replacing mywpuser with your name and replacing ‘password’ with the password you want.
CREATE USER mywpuser@localhost IDENTIFIED BY 'password';
We must now give permission for that user to access the WordPress Database. This can be completed with the following command.
GRANT ALL PRIVILEGES ON wordpress.* TO mywpuser@localhost;
Refresh the privileges in MySQL to make those permissions active.
FLUSH PRIVILEGES;
Exit your MySQL session with the following command:
exit
Finally, we need to edit WordPress’s configuration file to specify the database, user and password. Change directories to the WordPress location with the following command:
cd /usr/local/www/apache24/data/wordpress
Copy the sample configuration file and rename it wp-config.php, with the following command:
cp wp-config-sample.php wp-config.php
Now edit the Database name ‘wordpress’, ‘mywpuser’ and ‘password’. See the how it looks below:
// ** MySQL settings - You can get this info from your web host ** //
 /** The name of the database for WordPress */
 define('DB_NAME', 'wordpress');

/** MySQL database username */
 define('DB_USER', 'mywpuser');

/** MySQL database password */
 define('DB_PASSWORD', 'password');
Finally, the rest of the the installation will be completed via your web browser. Go to your web browser and type your IP address and WordPress just like the command below:
http://10.50.2.10/wordpress
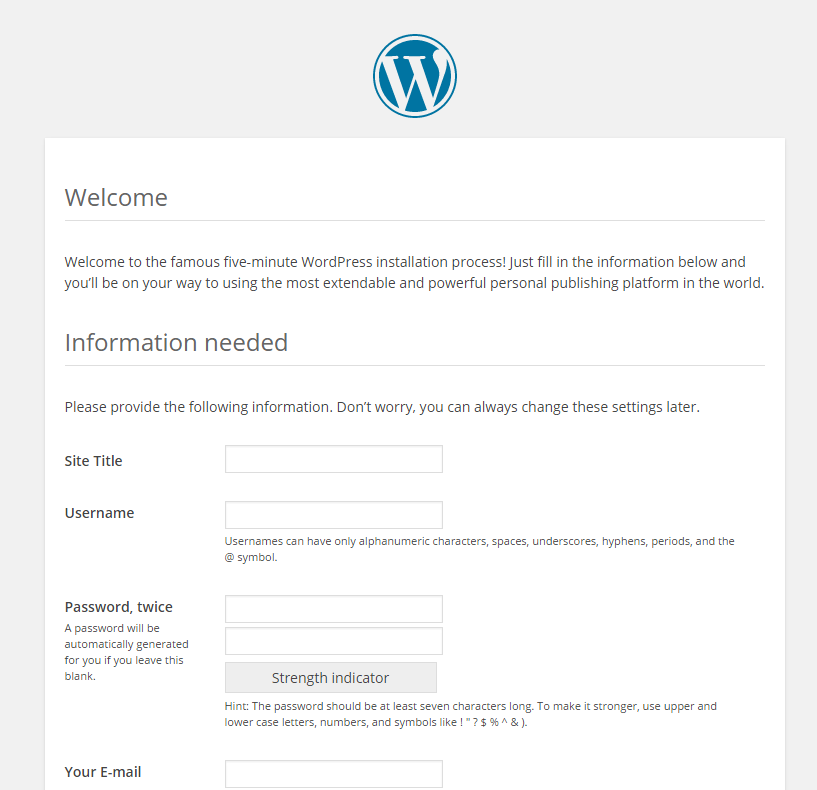
This is the welcome page for WordPress on your browser in FreeBSD
What Next?
Congratulations! You now have a server with WordPress installed. Thank you for following along and feel free to check back with us for further updates.
Atlantic.Net
Atlantic.Net offers VPS hosting as well as managed hosting services which include a layer of business-essential managed services to your hosting packages. Contact us today for more information.