Introduction
This how-to will help you with your install and configuration of Apache on your Ubuntu 20.04 server. Apache is a web server that is very popular in Linux systems and over the Internet. It is used by many Web Hosting companies worldwide because of its popularity and efficiency in hosting sites over the World Wide Web.
Prerequisites
You need a Ubuntu 20.04 server that is configured with a static IP address. If you do not have a server already, you can spin up a secure virtual private server in under 30 seconds.
Install Apache on Ubuntu 20.04
The first step is to install Apache with the following command:
sudo apt-get install apache2
Start Apache with the following command:
service apache2 start
Verify if all is working by typing http://YOUR.IP.ADD.RESS
Your IP could be retrieved from the server with following command:
ifconfig eth0 | grep inet | awk '{ print $2 }'
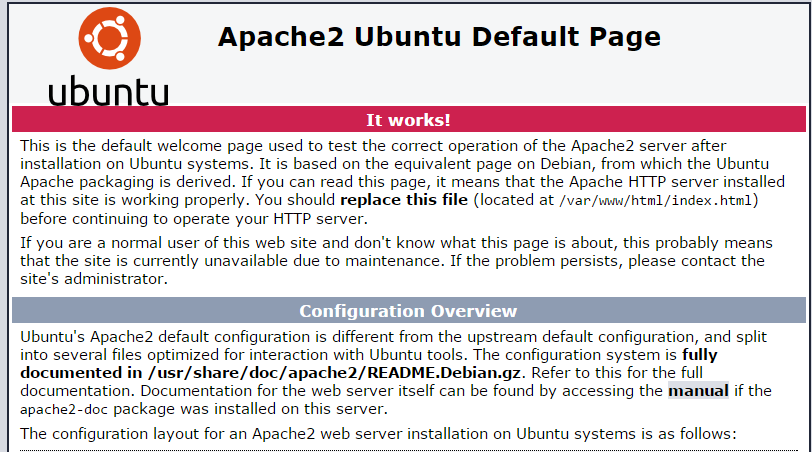
This image is the default web page when installing Apache on Ubuntu 20.04
Configure Apache (Single Host)
We will now configure Apache by opening the main configuration file and edit ServerName and ServerAdmin lines accordingly.
nano /etc/apache2/sites-available/000-default.conf
<VirtualHost *:80>
        # The ServerName directive sets the request scheme, hostname and port that
        # the server uses to identify itself. This is used when creating
        # redirection URLs. In the context of virtual hosts, the ServerName
        # specifies what hostname must appear in the request's Host: header to
        # match this virtual host. For the default virtual host (this file) this
        # value is not decisive as it is used as a last resort host regardless.
        # However, you must set it for any further virtual host explicitly.
        #ServerName www.example.com

        ServerAdmin webmaster@localhost
        DocumentRoot /var/www/html

        # Available loglevels: trace8, ..., trace1, debug, info, notice, warn,
        # error, crit, alert, emerg.
        # It is also possible to configure the loglevel for particular
        # modules, e.g.
        #LogLevel info ssl:warn

        ErrorLog ${APACHE_LOG_DIR}/error.log
        CustomLog ${APACHE_LOG_DIR}/access.log combined

        # For most configuration files from conf-available/, which are
        # enabled or disabled at a global level, it is possible to
        # include a line for only one particular virtual host. For example the
        # following line enables the CGI configuration for this host only
        # after it has been globally disabled with "a2disconf".
        #Include conf-available/serve-cgi-bin.conf
</VirtualHost>

# vim: syntax=apache ts=4 sw=4 sts=4 sr noet
Save the file and restart the Apache HTTP service, so the changes take effect.
service apache2 restart
Now you can create/upload your web content to the HTML directory of Apache.(Remember to replace the existing index.html file with your index.html which is your home page)
nano /var/www/html/index.html
Configure Apache (Multi-Host)
If you would like to host multiple websites, proceed by opening the main configuration file, copy the existing Virtual Host entry and paste it underneath it. Then edit the ServerName, ServerAdmin, and DocumentRoot lines accordingly.
nano /etc/apache2/sites-available/000-default.conf
Alternatively you can just copy the following entries and edit accordingly:
<VirtualHost *:80>
ServerAdmin [email protected]
DocumentRoot /var/www/site1
ServerName site1.com
ServerAlias www.site1.com
 ErrorLog ${APACHE_LOG_DIR}/error.log
 CustomLog ${APACHE_LOG_DIR}/access.log combined
</VirtualHost>

<VirtualHost *:80>
ServerAdmin [email protected]
DocumentRoot /var/www/site2
ServerName site2.com
ServerAlias www.site2.com
 ErrorLog ${APACHE_LOG_DIR}/error.log
 CustomLog ${APACHE_LOG_DIR}/access.log combined
</VirtualHost>
We must now make directories for the sites that were just configured, site1 and site2.
mkdir /var/www/site1
mkdir /var/www/site2
Now you may begin creating/uploading your web content in the sites directory of Apache.
nano /var/www/site1/index.html
nano /var/www/site2/index.html
What Next?
With that, you now have a server installed and configured with Apache. You may now continue building your website. Thank you for following along and feel free to check back with us for further updates, take a look at other Ubuntu related posts in our blog or learn more about our award-winning VPS hosting solutions.