Docker is an open-source containerization tool that allows you to create, deploy, and run applications using containers. Containers allow you to package an application with all required parts and deploy it as a single package. Containers are portable, and you can deploy them anywhere. A container brings developers a uniform and streamlined work environment that can be easily shared.
This guide will show you how to deploy a PHP application with Nginx and MySQL using Docker and Docker Compose.
Step 1 – Install Docker and Docker Compose
By default, the latest version of Docker is not included in the Ubuntu default repository, so you will need to add the Docker repository to your system.
First, install the required dependencies using the following commands:
apt-get update -y
apt-get install apt-transport-https ca-certificates curl tree software-properties-common -y
Next, add the Docker repository using the following command:
curl -fsSL https://download.docker.com/linux/ubuntu/gpg | apt-key add -
add-apt-repository "deb [arch=amd64] https://download.docker.com/linux/ubuntu focal stable"
Next, install the Docker and Docker Compose with the following command:
apt-get install docker-ce docker-compose -y
Once you are finished, you can proceed to the next step.
Step 2 – Directory Structure
For this tutorial, we will use the following directory structure:
/root/docker-project/
├── docker-compose.yml
├── nginx
│   ├── default.conf
│   └── Dockerfile
├── php
│   └── Dockerfile
└── www
    └── html
        └── index.php
Step 3 – Create an Nginx Container
Before starting, you must create and launch an Nginx container to host the PHP application.
First, create a directory for your project with the following command:
mkdir ~/docker-project
Next, change the directory to your project and create a docker-compose.yml file to launch the Nginx container.
cd ~/docker-project
nano docker-compose.yml
Add the following lines:
     nginx:
      image: nginx:latest
      container_name: nginx-container
      ports:
       - 80:80
Save and close the file when you are finished.
The above file will download the latest Nginx image, create an Nginx container, and expose it on port 80.
Next, launch the Nginx container with the following command:
docker-compose up -d
You can check the running container with the following command:
docker ps
You should see the following output:
CONTAINER ID   IMAGE          COMMAND                  CREATED         STATUS         PORTS                               NAMES
c6641e4d5bbf   nginx:latest   "/docker-entrypoint.…"   5 seconds ago   Up 3 seconds   0.0.0.0:80->80/tcp, :::80->80/tcp   nginx-container
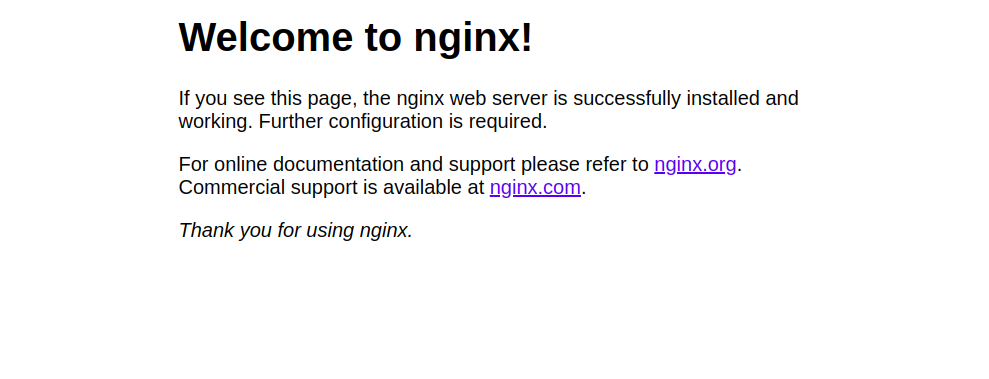
Now, open your web browser and access your Nginx container using the URL http://your-server-ip. You should see the Nginx test page on the following screen:
Step 4 – Create a PHP Container
First, create a new directory inside your project with the following command:
mkdir -p ~/docker-project/www/html
Next, create an index.php file to verify your PHP version.
nano ~/docker-project/www/html/index.php
Add the following lines:
     <!DOCTYPE html>
     <head>
      <title>Hello World!</title>
     </head>

     <body>
      <h1>Hello World!</h1>
      <p><?php echo 'We are running PHP, version: ' . phpversion(); ?></p>
     </body>
Save and close the file, then create a directory for Nginx inside your project directory:
mkdir ~/docker-project/nginx
Next, create an Nginx default configuration file to run your PHP application:
nano ~/docker-project/nginx/default.conf
Add the following lines:
server {

     listen 80 default_server;
     root /var/www/html;
     index index.html index.php;

     charset utf-8;

     location / {
      try_files $uri $uri/ /index.php?$query_string;
     }

     location = /favicon.ico { access_log off; log_not_found off; }
     location = /robots.txt { access_log off; log_not_found off; }

     access_log off;
     error_log /var/log/nginx/error.log error;

     sendfile off;

     client_max_body_size 100m;

     location ~ .php$ {
      fastcgi_split_path_info ^(.+.php)(/.+)$;
      fastcgi_pass php:9000;
      fastcgi_index index.php;
      include fastcgi_params;
      fastcgi_param SCRIPT_FILENAME $document_root$fastcgi_script_name;
      fastcgi_intercept_errors off;
      fastcgi_buffer_size 16k;
      fastcgi_buffers 4 16k;
    }

     location ~ /.ht {
      deny all;
     }
    }
Save and close the file.
Next, create a Dockerfile inside the nginx directory. This will copy the Nginx default config file to the Nginx container.
nano ~/docker-project/nginx/Dockerfile
Add the following lines:
    FROM nginx:latest
    COPY ./default.conf /etc/nginx/conf.d/default.conf
Next, edit the docker-compose.yml file:
nano ~/docker-project/docker-compose.yml
Remove the old contents and add the following contents:
nginx
  build: ./nginx/
  container_name: nginx-container
  ports:
    - '80:80'
  links:
    - php
  volumes_from:
    - app-data
php:
  build: ./php/
  container_name: php-container
  expose:
    - 9000
  links:
    - mysql
  volumes_from:
    - app-data
app-data:
  image: 'php:7.0-fpm'
  container_name: app-data-container
  volumes:
    - './www/html/:/var/www/html/'
  command: 'true'
mysql:
  image: 'mysql:5.7'
  container_name: mysql-container
  volumes_from:
    - mysql-data
  environment:
    MYSQL_ROOT_PASSWORD: secret
    MYSQL_DATABASE: mydb
    MYSQL_USER: myuser
    MYSQL_PASSWORD: password
mysql-data:
  image: 'mysql:5.7'
  container_name: mysql-data-container
  volumes:
    - /var/lib/mysql
  command: 'true'
'
Save and close the file when you are finished.
The above file will create a new PHP-container, expose PHP-FPM on port 9000, link nginx-container to php-container, create a volume, and mount it on the container so that all content will be in sync with the container’s directory /var/www/html/.
Now, launch the container with the following command:
cd ~/docker-project
docker-compose up -d
You can verify the running containers with the following command:
docker ps
You should see the following output:
CONTAINER ID   IMAGE                  COMMAND                  CREATED          STATUS          PORTS                               NAMES
82c8baf15221   docker-project_nginx   "/docker-entrypoint.…"   23 seconds ago   Up 22 seconds   0.0.0.0:80->80/tcp, :::80->80/tcp   nginx-container
10778c6686d8   php:7.0-fpm            "docker-php-entrypoi…"   25 seconds ago   Up 23 seconds   9000/tcp                            php-container
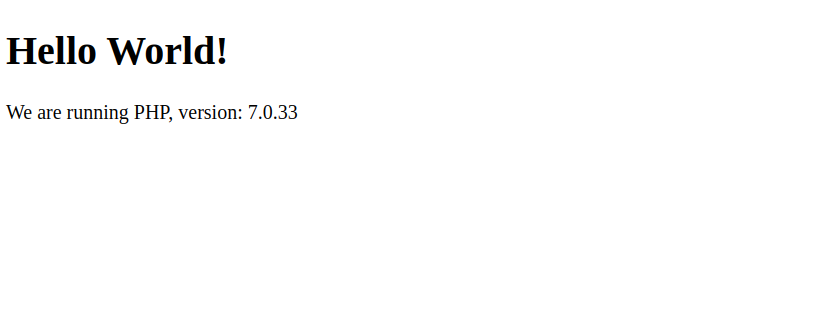
Now, open your web browser and access the URL http://your-server-ip. You should see your Hello World page:
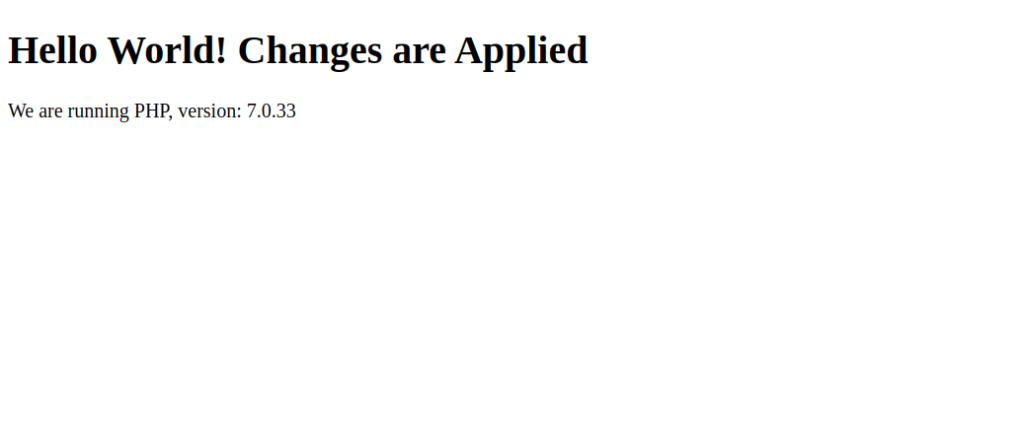
Next, we will check whether our mounted volume works or not. To do so, edit the index.php file:
nano ~/docker-project/www/html/index.php
Change the line “Hello World! Changes are Applied”:
     <!DOCTYPE html>
     <head>
      <title>Hello World!</title>
     </head>

     <body>
      <h1>Hello World! Changes are Applied</h1>
      <p><?php echo 'We are running PHP, version: ' . phpversion(); ?></p>
     </body>
Now, refresh your web page. You should see your modified page on the screen:
Step 5 – Create a Data Container
As you can see, we have mounted the directory www/html to our containers, nginx-container, and php-container. However, this is not a proper way. This section will create a separate data container to hold the data and link it to all other containers.
To do so, edit the docker-compose.html file:
nano ~/docker-project/docker-compose.yml
Make the following changes:
nginx:
  build: ./nginx/
  container_name: nginx-container
  ports:
    - '80:80'
  links:
    - php
  volumes_from:
    - app-data
php:
  image: 'php:7.0-fpm'
  container_name: php-container
  expose:
    - 9000
  volumes_from:
    - app-data
app-data:
  image: 'php:7.0-fpm'
  container_name: app-data-container
  volumes:
    - './www/html/:/var/www/html/'
  command: 'true'
Now, recreate and launch all containers using the following command:
cd ~/docker-project
docker-compose up -d
Now, verify all running containers with the following command:
docker ps -a
You should see the following output:
CONTAINER ID   IMAGE                  COMMAND                  CREATED          STATUS                      PORTS                               NAMES
849315c7ffc0   docker-project_nginx   "/docker-entrypoint.…"   27 seconds ago   Up 25 seconds               0.0.0.0:80->80/tcp, :::80->80/tcp   nginx-container
59a0d7040fd8   php:7.0-fpm            "docker-php-entrypoi…"   28 seconds ago   Up 27 seconds               9000/tcp                            php-container
fbca95944234   php:7.0-fpm            "docker-php-entrypoi…"   29 seconds ago   Exited (0) 28 seconds ago                                       app-data-container
Step 6 – Create a MySQL Container
This section will create a MySQL database container and link it to all other containers.
First, you must modify the PHP image and install the PHP extension for MySQL to connect to the MySQL database.
First, create a directory for PHP with the following command:
mkdir ~/docker-project/php
Next, create a Dockerfile to install the PHP extension:
nano ~/docker-project/php/Dockerfile
Add the following lines:
    FROM php:7.0-fpm
    RUN docker-php-ext-install pdo_mysql
Save and close the file. Then, edit the docker-compose.yml file to create a MySQL container and MySQL data container to hold the database and tables:
nano ~/docker-project/docker-compose.yml
Make the following changes:
nginx:
  build: ./nginx/
  container_name: nginx-container
  ports:
    - '80:80'
  links:
    - php
  volumes_from:
    - app-data
php:
  build: ./php/
  container_name: php-container
  expose:
    - 9000
  links:
    - mysql
  volumes_from:
    - app-data
app-data:
  image: 'php:7.0-fpm'
  container_name: app-data-container
  volumes:
    - './www/html/:/var/www/html/'
  command: 'true'
mysql:
  image: 'mysql:5.7'
  container_name: mysql-container
  volumes_from:
    - mysql-data
  environment:
    MYSQL_ROOT_PASSWORD: secret
    MYSQL_DATABASE: mydb
    MYSQL_USER: myuser
    MYSQL_PASSWORD: password
mysql-data:
  image: 'mysql:5.7'
  container_name: mysql-data-container
  volumes:
    - /var/lib/mysql
  command: 'true'
Save and close the file.
Next, edit the index.php file and make changes to test the database connection.
nano ~/docker-project/www/html/index.php
Make the following changes:
     <!DOCTYPE html>
     <head>
      <title>Hello World!</title>
     </head>

     <body>
      <h1>Hello World!</h1>
      <p><?php echo 'We are running PHP, version: ' . phpversion(); ?></p>
      <?
       $database ="mydb";
       $user = "myuser";
       $password = "password";
       $host = "mysql";

       $connection = new PDO("mysql:host={$host};dbname={$database};charset=utf8", $user, $password);
       $query = $connection->query("SELECT TABLE_NAME FROM information_schema.TABLES WHERE TABLE_TYPE='BASE TABLE'");
       $tables = $query->fetchAll(PDO::FETCH_COLUMN);

        if (empty($tables)) {
          echo "<p>There are no tables in database \"{$database}\".</p>";
        } else {
          echo "<p>Database \"{$database}\" has the following tables:</p>";
          echo "<ul>";
            foreach ($tables as $table) {
              echo "<li>{$table}</li>";
            }
          echo "</ul>";
        }
        ?>
    </body>
</html>
Save and close the file, then launch the container with the following command:
cd ~/docker-project
docker-compose up -d
Verify all running containers with the following command:
docker ps -a
You should see the following output:
CONTAINER ID   IMAGE                  COMMAND                  CREATED          STATUS                      PORTS                               NAMES
d3e82747fe0d   mysql:5.7              "docker-entrypoint.s…"   39 seconds ago   Up 38 seconds               3306/tcp, 33060/tcp                 mysql-container
606320e5a7f8   mysql:5.7              "docker-entrypoint.s…"   41 seconds ago   Exited (0) 39 seconds ago                                       mysql-data-container
ca4f63797d11   docker-project_php     "docker-php-entrypoi…"   2 hours ago      Up 2 hours                  9000/tcp                            php-container
849315c7ffc0   docker-project_nginx   "/docker-entrypoint.…"   2 hours ago      Up 2 hours                  0.0.0.0:80->80/tcp, :::80->80/tcp   nginx-container
fbca95944234   php:7.0-fpm            "docker-php-entrypoi…"   2 hours ago      Exited (0) 39 seconds ago                                       app-data-container
Step 7 – Verify Database Connection
Now, open your web browser and access the web page at http://your-server-ip. You should see the following screen:
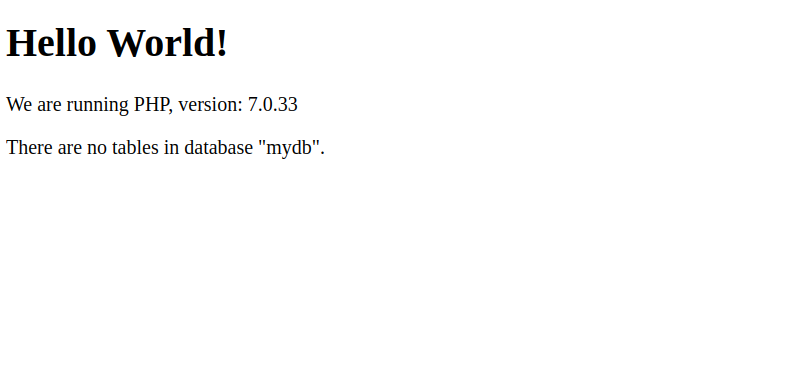
As you can see, there are no tables in the mydb database.
However, there are, in fact, some tables that are not visible to a regular user. If you want to see them, edit the index.php file and change $user to “root” and $password to “secret.”
nano ~/docker-project/www/html/index.php
Change the following line:
       $user = "root";
       $password = "secret";
Save and close the file, then refresh the page. You should see the database with all tables on the following screen:

Conclusion
In the above guide, you learned how to deploy a PHP application with Nginx and MySQL using Docker and Docker Compose. You should now be able to host the PHP application in the production environment with Docker; try it on your VPS hosting account from Atlantic.Net.
* This post is for informational purposes only and does not constitute professional, legal, financial, or technical advice. Each situation is unique and may require guidance from a qualified professional.
Readers should conduct their own due diligence before making any decisions.