MySQL Workbench is a graphical and visual database designing tool for MySQL servers and databases. It is specially designed to enable database administrators, developers and database architects to visually design, generate, model and manage databases. MySQL Workbench’s aim is to provide a simple and easy-to-use interface for working with databases. It has an ability to create multiple models in the same environment and supports all objects including tables, views, triggers, and stored procedures.
In this tutorial, we will install MySQL server on one Ubuntu 18.04 server, install MySQL workbench on another Ubuntu 18.04 desktop and connect MySQL server with MySQL Workbench interface.
Step 1 – Install and Configure MySQL Server
MySQL Workbench supports MySQL server versions 5.6 and higher, so you will need to install a MySQL server version greater than 5.6 in your first server.
On the Ubuntu 18.04 server, run the following command to install MySQL server:
apt-get update -y
apt-get install mysql-server -y
After installing the MySQL server, you will need to set the MySQL root password, as MySQL is configured to login without a password by default.
First, access the MySQL shell with the following command:
mysql
Once connected, change the database to mysql using the following command:
use mysql;
Next, set the MySQL root password with the following command:
ALTER USER 'root'@'localhost' IDENTIFIED WITH mysql_native_password BY 'password';
Next, flush the privileges and exit from the MySQL shell with the following command:
FLUSH PRIVILEGES;
EXIT;
Next, log in to MySQL with root user:
mysql -u root -p
Provide your MySQL root password and hit Enter to connect the MySQL shell. Next, create a test database with the following command:
create database testdb;
Next, grant all privileges to all database and all remote IPs with the following command:
GRANT ALL PRIVILEGES ON *.* TO 'root'@'%' IDENTIFIED BY 'password';
Next, flush the privileges and exit from the MySQL shell with the following command:
FLUSH PRIVILEGES;
EXIT;
In order to connect MySQL Workbench via TCP/IP over SSH tunnel, you will need to add KexAlgorithms key exchange algorithms in your SSH config file. You can do it by editing the file /etc/ssh/sshd_config:
nano /etc/ssh/sshd_config
Add the following line at the end of the file:
KexAlgorithms [email protected],ecdh-sha2-nistp256,ecdh-sha2-nistp384,ecdh-sha2-
nistp521,diffie-hellman-group-exchange-sha256,diffie-hellman-group14-sha1,diffie-hellman-
group1-sha1
Save and close the file when you are finished, then restart the SSH service to implement the changes:
systemctl restart ssh
At this point, the MySQL server is installed and configured.
Step 2 – Install MySQL Workbench
Next, you will need to install MySQL Workbench in your Ubuntu 18.04 desktop system.
By default, MySQL Workbench is available in the Ubuntu 18.04 default repository. You can install it by simply running the following command:
apt-get install mysql-workbench -y
Once the installation is completed, you can proceed to the next step.
Step 3 – Connect MySQL Server with MySQL Workbench
In this section, we will open the MySQL Workbench interface and connect the MySQL server via TCP/IP over SSH.
On the Ubuntu 18.04 desktop system, open the MySQL Workbench interface as shown below:
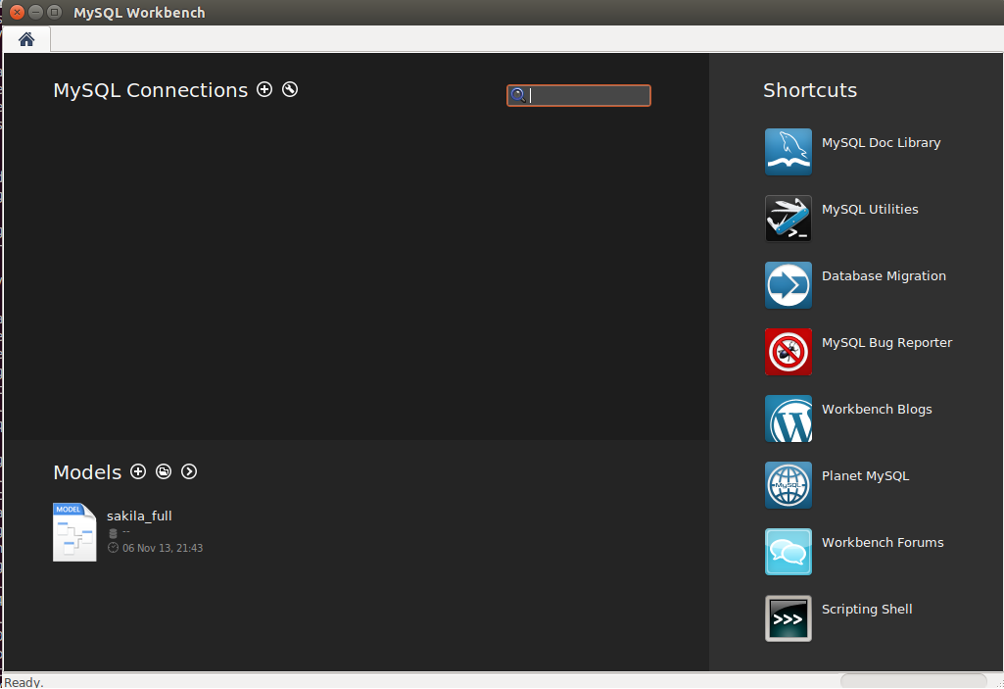
Click on the + icon to create a new connection. You should see the following screen:
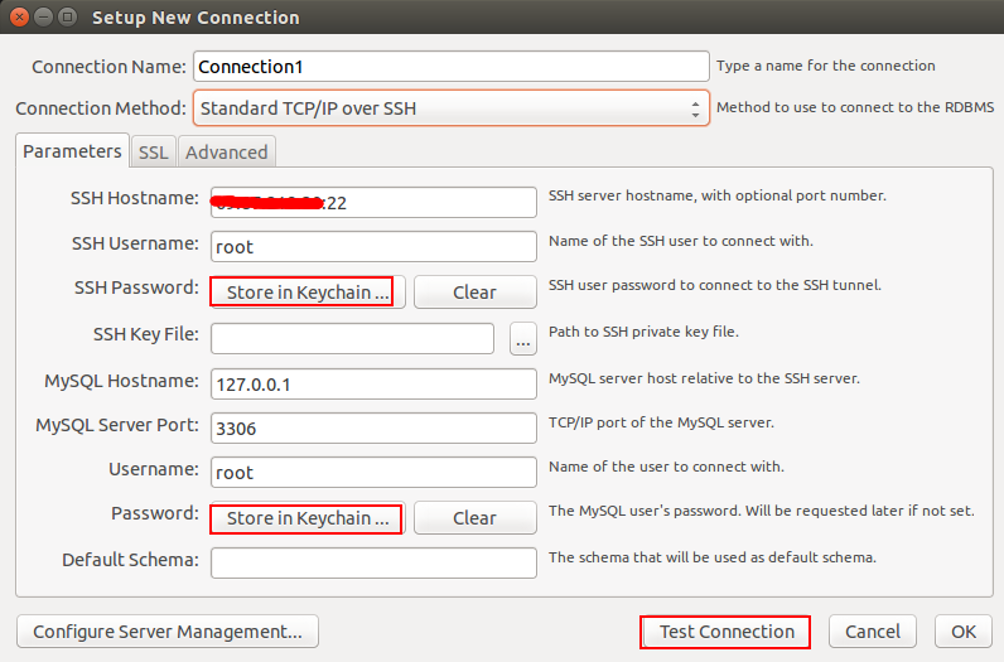
Provide connection name, select connection method, provide your MySQL Server IP address and username, and in SSH Password field, click on “Store in keychain“. You should see the following screen:
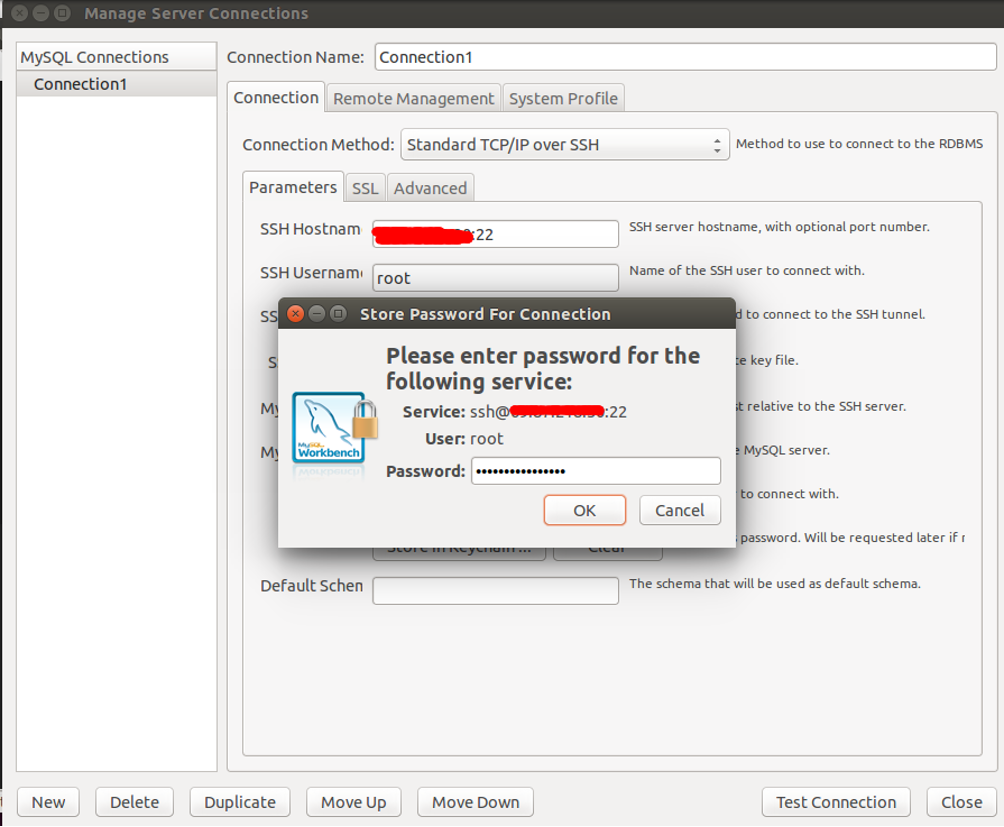
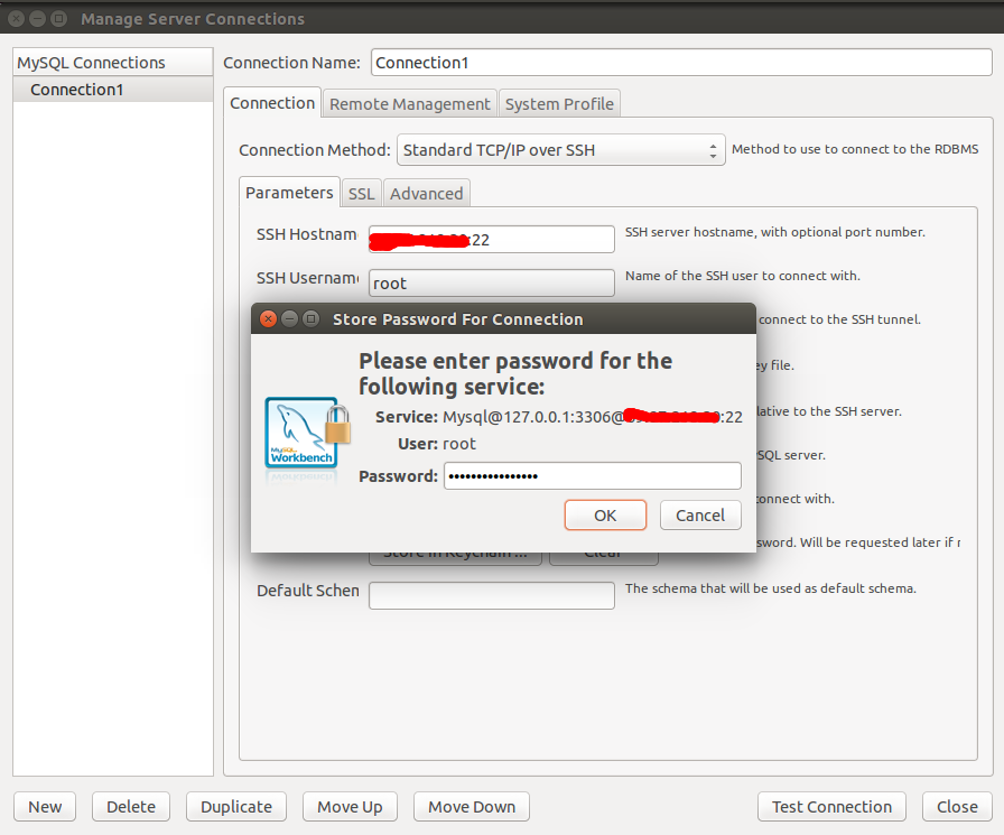
Provide your MySQL server SSH root password and click on the OK button. Next, provide your MySQL server host, port, and username, then in the MySQL Password field, click on “Store in Keychain” and click on the Test Connection button. Once the connection is tested successfully, you should see the following screen:
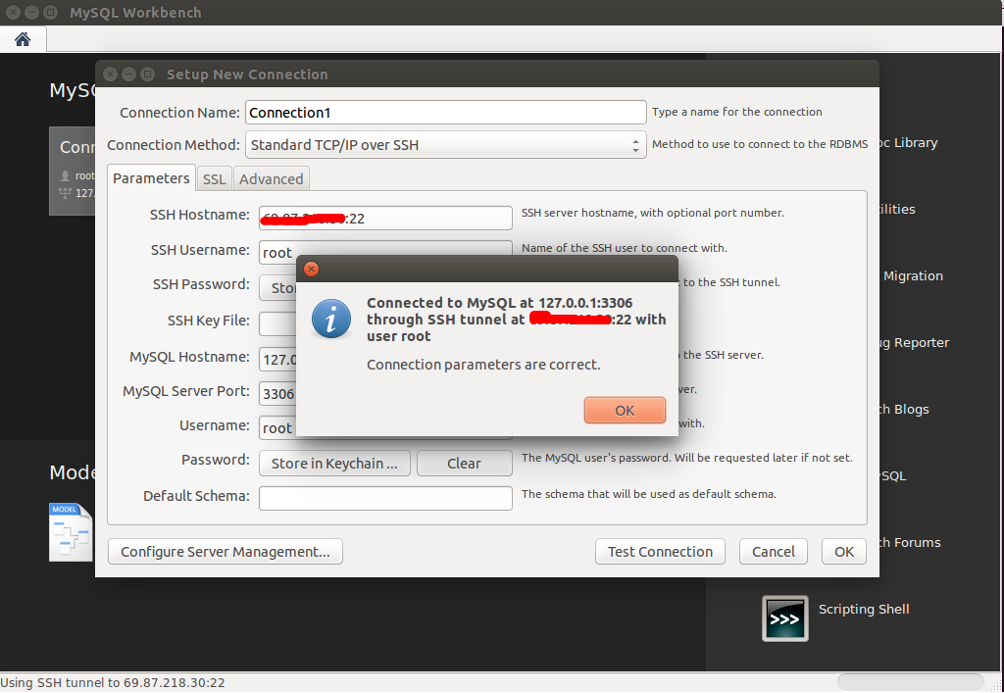
Click on the OK button and again click on the OK button to save the connection. You should see the following screen:

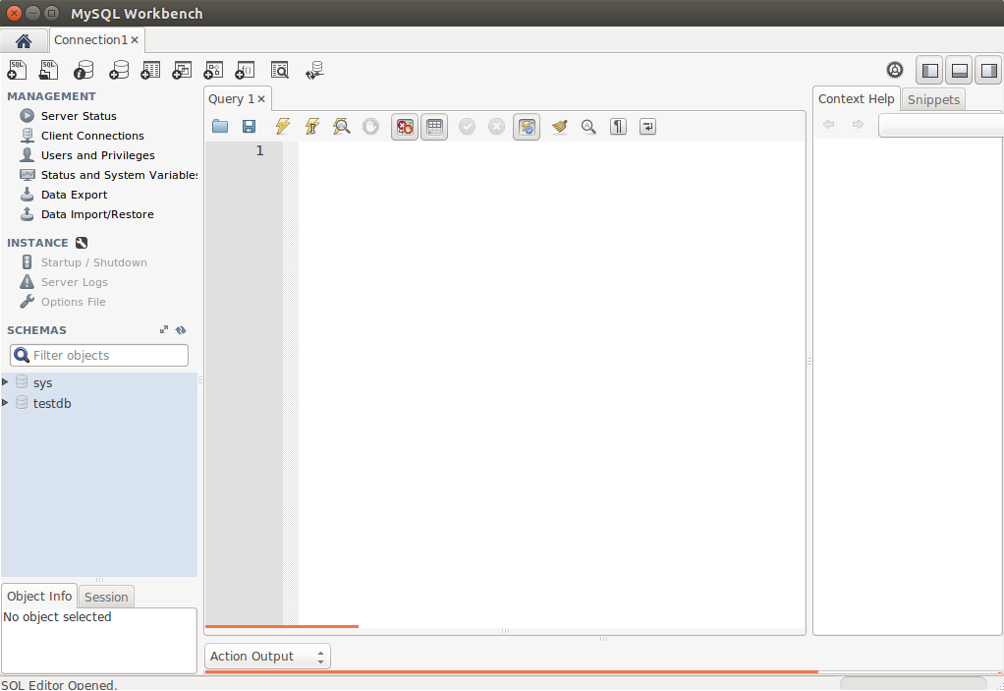
Now, double click on your connection. Once the connection has been established successfully, you should see the MySQL Workbench start page.
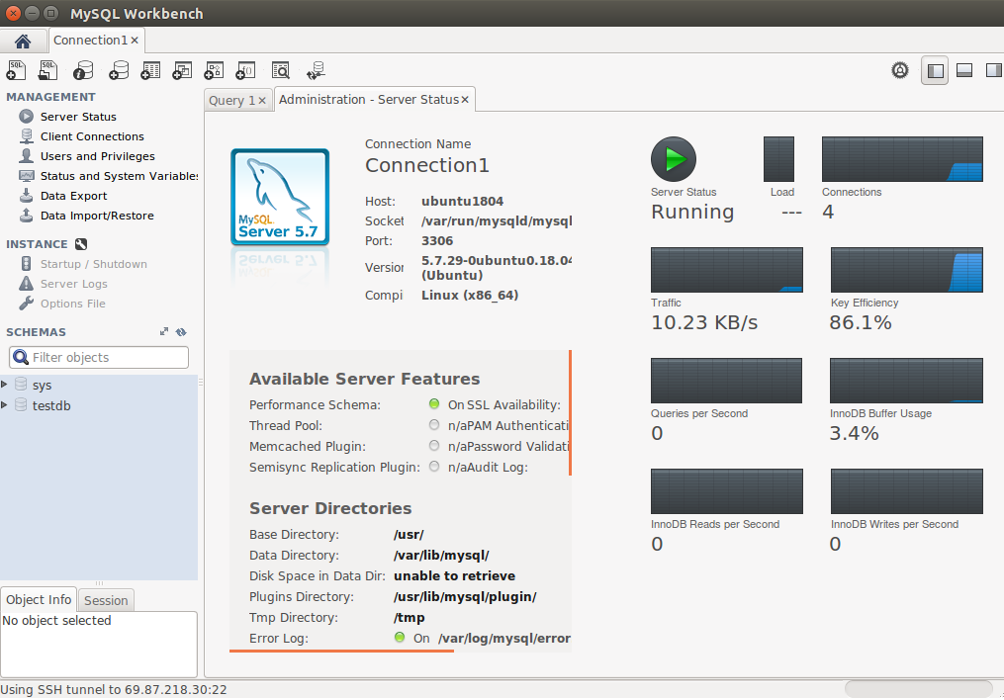
Now, click on the Server Status in the left pane and you should see your MySQL Server status in the following screen:
Conclusion
Congratulations! You have successfully installed MySQL server on Ubuntu 18.04 server and connected with MySQL Workbench. You can now start managing your MySQL users, schemas, databases, and much more. For more information, visit the MySQL Workbench documentation. Get started with MySQL Workbench on VPS Hosting from Atlantic.Net today!