Metabase is a free and open-source business intelligence tool that helps you to visualize large data sets without ever writing a single line of SQL. It is a powerful database lookup tool that comes with a web-based interface that makes it easier to search for data sets and display information. Metabase can be integrated with almost all types of databases and allows you to run queries on the database.
In this tutorial, we will explain how to install Metabase on CentOS 8.
Step 1 – Install Java
Metabase is a Java-based application, so Java must be installed in your system. If not installed, you can install it by running the following command:
dnf update -y
dnf install java-11-openjdk-devel -y
Once Java is installed, verify the installed version of Java with the following command:
java --version
You should get the following output:

Step 2 – Install and Configure MariaDB
Next, you will need to install the MariaDB server in your system. You can install it with the following command:
dnf install mariadb-server -y
Once installed, start the MariaDB service and enable it to start on system reboot with the following command:
systemctl start mariadb
systemctl enable mariadb
Next, log in to MariaDB with the following command:
mysql
Once logged in, create a database and user for Metabase with the following command:
create database metabasedb;
create user metabaseuser@'localhost' identified by 'password';
Next, grant all privileges to the Metabase with the following command:
grant all on metabasedb.* to metabaseuser@'localhost' with grant option;
Next, flush the privileges and exit from the MariaDB with the following command:
flush privileges;
exit
Step 3 – Download and Setup Metabase Installation Directory
Before starting, create a user and group for Metabase with the following command:
groupadd --system metabase
useradd --system -g metabase --no-create-home metabase
Next, create the necessary directories and files for Metabase:
mkdir -p /opt/metabase
touch /var/log/metabase.log
touch /etc/default/metabase
Next, change the ownership with the following command:
chown -R metabase:metabase /opt/metabase
chown metabase:metabase /var/log/metabase.log
chmod 640 /etc/default/metabase
Next, create a log file for Metabase with the following command:
nano /etc/rsyslog.d/metabase.conf
Add the following lines:
:msg,contains,"metabase" /var/log/metabase.log
& stop
Save and close the file, then restart the rsyslog service with the following command:
systemctl restart rsyslog
Next, change the directory to metabase and download the latest version of Metabase with the following command:
cd /opt/metabase
wget https://downloads.metabase.com/v0.36.2/metabase.jar
Next, change the ownership of the downloaded file to metabase with the following command:
chown -R metabase:metabase /opt/metabase
Step 4 – Create a System Service File for Metabase
Next, create a systemd service file to manage the Metabase service. You can create it with the following command:
nano /etc/systemd/system/metabase.service
Add the following lines:
[Unit]
Description=Metabase server
After=syslog.target
After=network.target

[Service]
WorkingDirectory=/opt/metabase/
ExecStart=/usr/bin/java -jar /opt/metabase/metabase.jar
EnvironmentFile=/etc/default/metabase
User=metabase
Type=simple
StandardOutput=syslog
StandardError=syslog
SyslogIdentifier=metabase
SuccessExitStatus=143
TimeoutStopSec=120
Restart=always

[Install]
WantedBy=multi-user.target
Save and close the file, then reload the systemd daemon with the following command:
systemctl daemon-reload
Next, start the Metabase service and enable it to start at system reboot with the following command:
systemctl start metabase
systemctl enable metabase
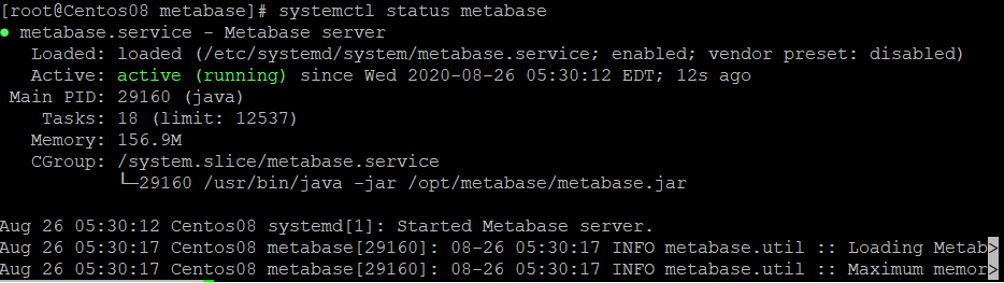
You can now check the status of the Metabase service with the following command:
systemctl status metabase
You should get the following output:
Step 5 – Access Metabase Web Interface
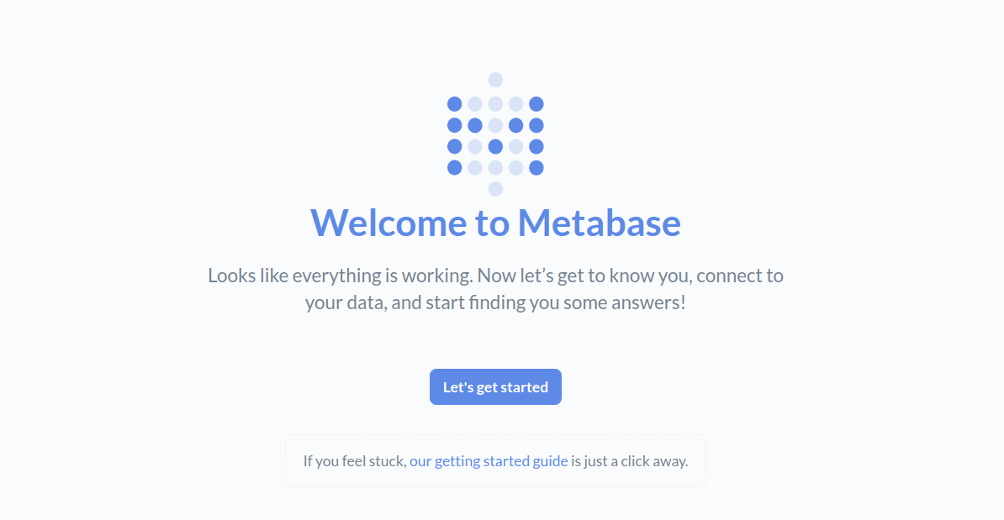
At this point, Metabase is started and listening on port 3000. Now, open your web browser and access Metabase using the URL http://your-server-ip:3000. You should see the following page:
Click on the “Let’s get started“. You should see the following page:
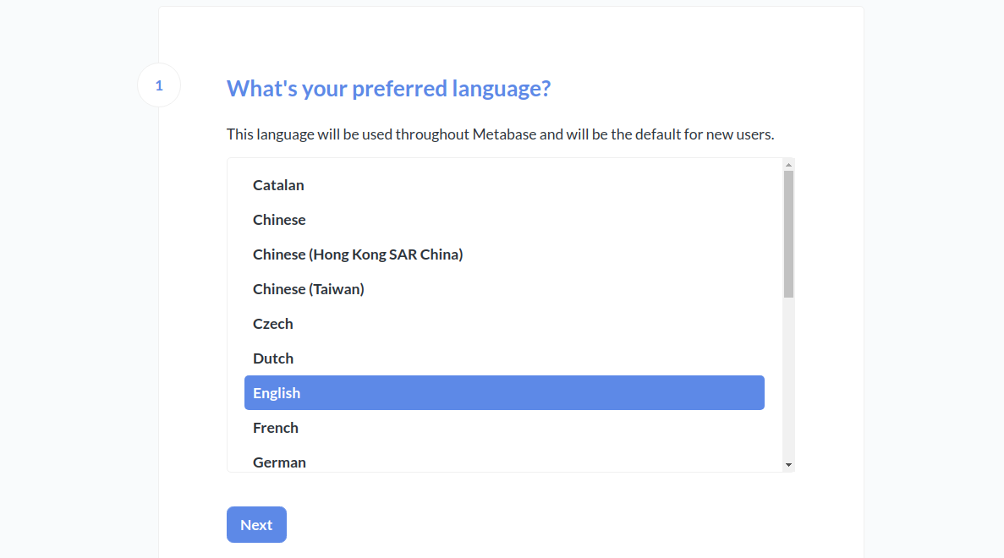
Select your language and click on the Next button. You should see the following page:
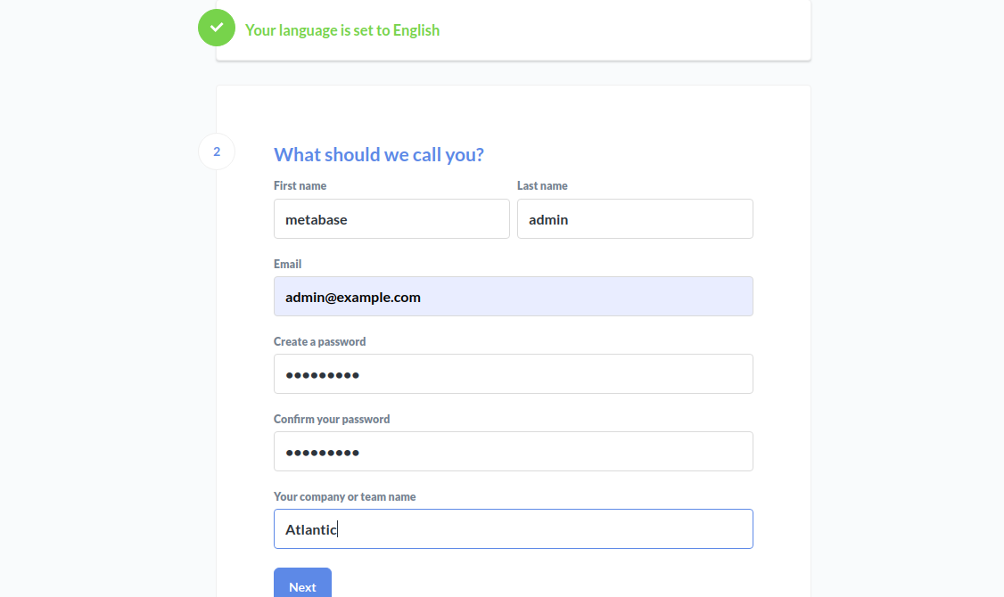
Provide your full name, email address, and password and click on the Next button. You should see the following page:
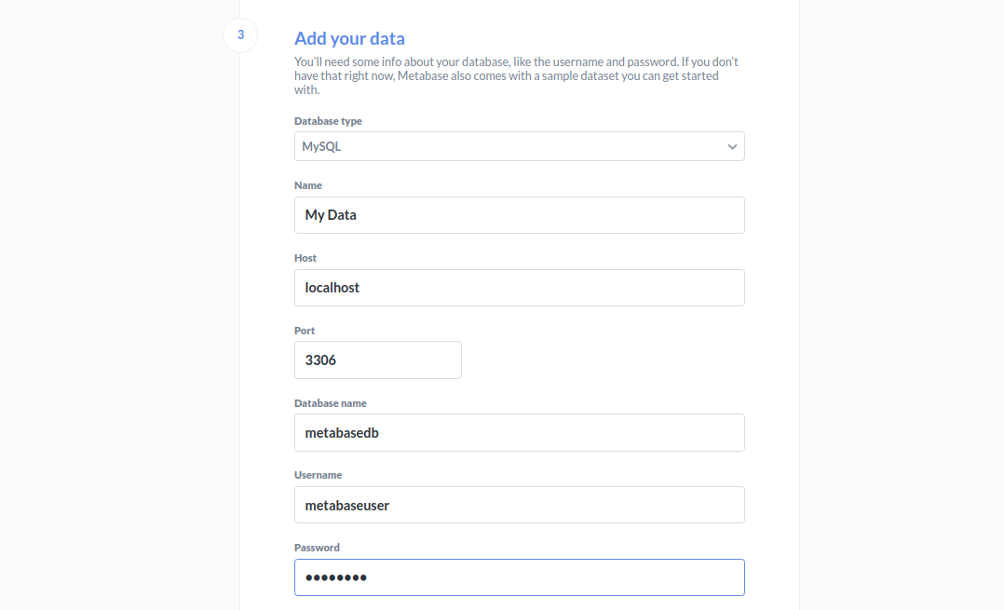
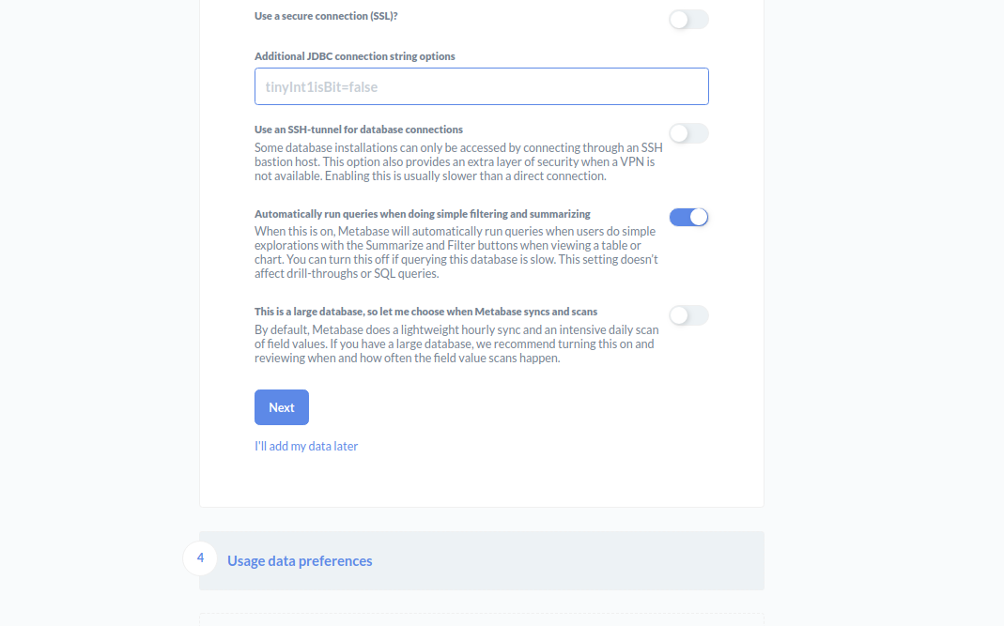
Provide your database details and click on the Next button. You should see the following page:
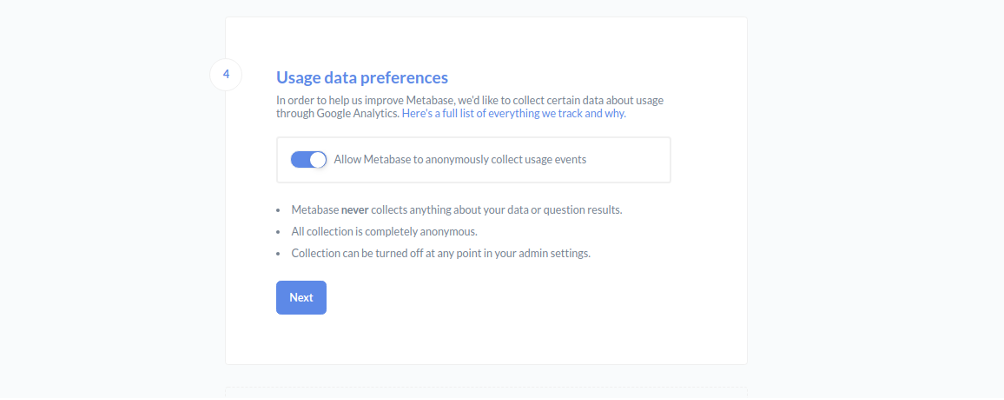
Enable your “Usage data preferences” and click on the Next button. You should see the following page:
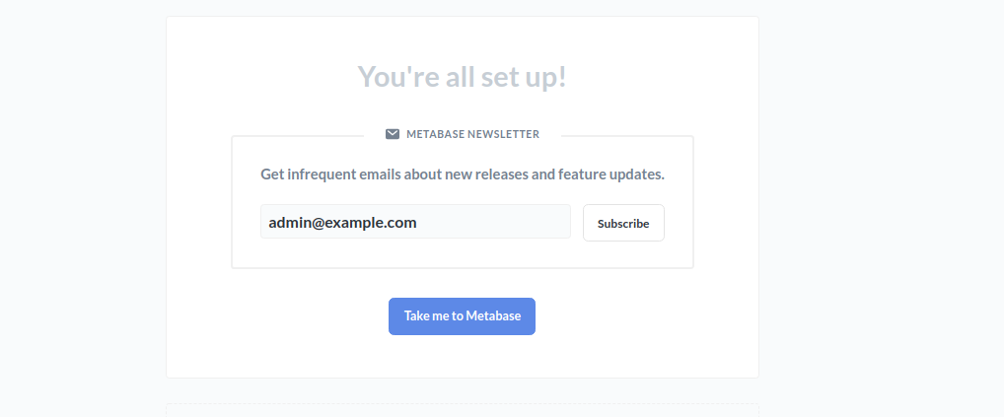
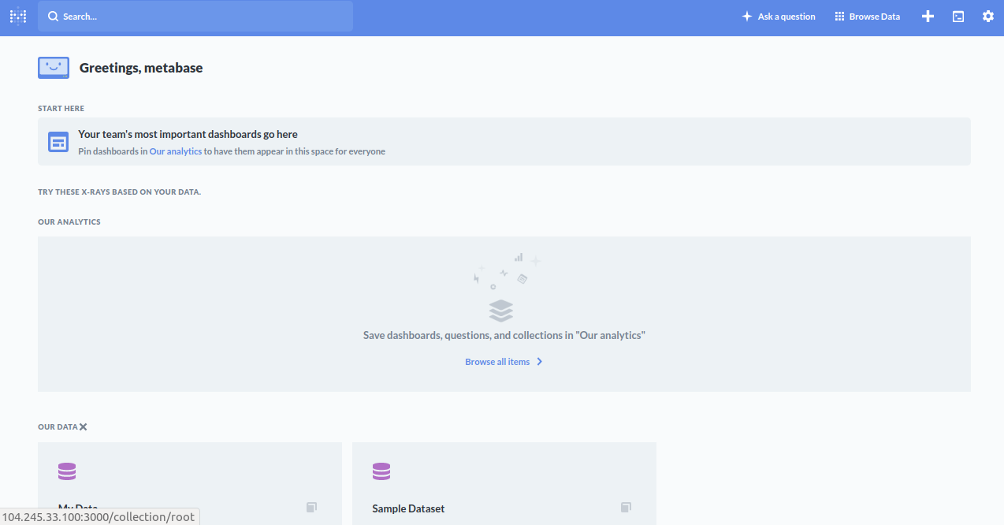
Provide your admin email address and click on the Take me to Metabase button. You should see the Metabase default dashboard in the following page:
Conclusion
In this guide, you learned how to install and configure Metabase on CentOS 8. You can now use the application for gleaning new insights from your dataset. You can visit the Metabase official documentation for more information. Try Metabase on VPS Hosting from Atlantic.Net using the tutorial above!
* This post is for informational purposes only and does not constitute professional, legal, financial, or technical advice. Each situation is unique and may require guidance from a qualified professional.
Readers should conduct their own due diligence before making any decisions.